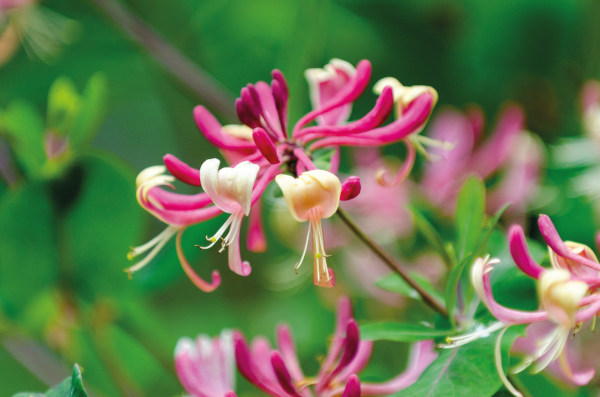
How to grow Lonicera
Better known as honeysuckle, lonicera is a diverse and varied genus which includes approximately 180 species of deciduous and evergreen shrubs and twining climbers. Perhaps most familiar to UK gardeners will be Lonicera periclyenum, the native wild honeysuckle (commonly known as woodbine) which scrambles through hedgerows and woodland, filling the summer air with the distinctive, sweet scent of its flowers.
There are many different forms of climbing honeysuckle, most of which tend to flower in summer. Deciduous species such as L. periclyenum and L. x italica often have a spectacular show of blooms, while evergreens like L. sempervirens, L. japonica, and L. henryii are more florally understated though make up for it with year-round foliage cover.
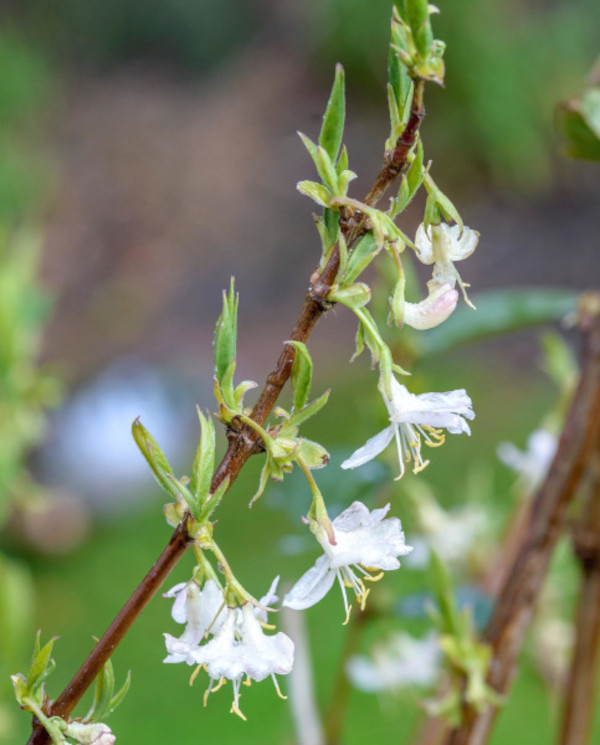
Shrubby types can also be deciduous or evergreen. Deciduous species include the winter-flowering L. fragrantissima and L. x purpusii, while evergreens include the popular box alternatives L. nitida (now renamed to L. ligustrina var. yunnanensis), and L. pileata.
In addition to these there is a third, less well-known type – the edible honeysuckle. Also known as honeyberry, L. caerulea is a deciduous shrub which bears long, blueberry-like fruits rich in antioxidants and vitamin C, and makes an easy, low-maintenance, unusual addition to a productive garden. It is worth noting here, however, that the fruits of most other lonicera species are toxic to humans and should not be consumed (though birds feast on them with no ill effect).
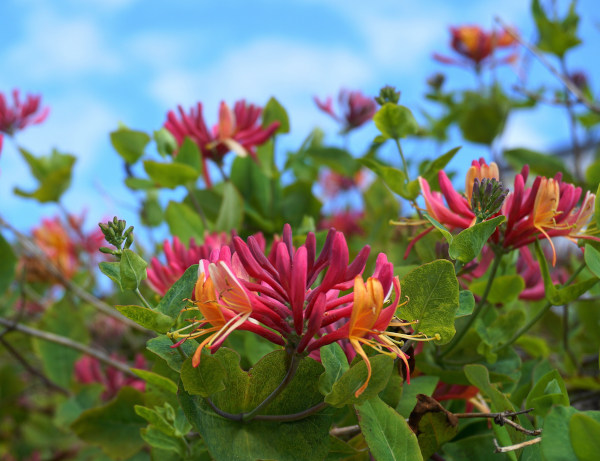
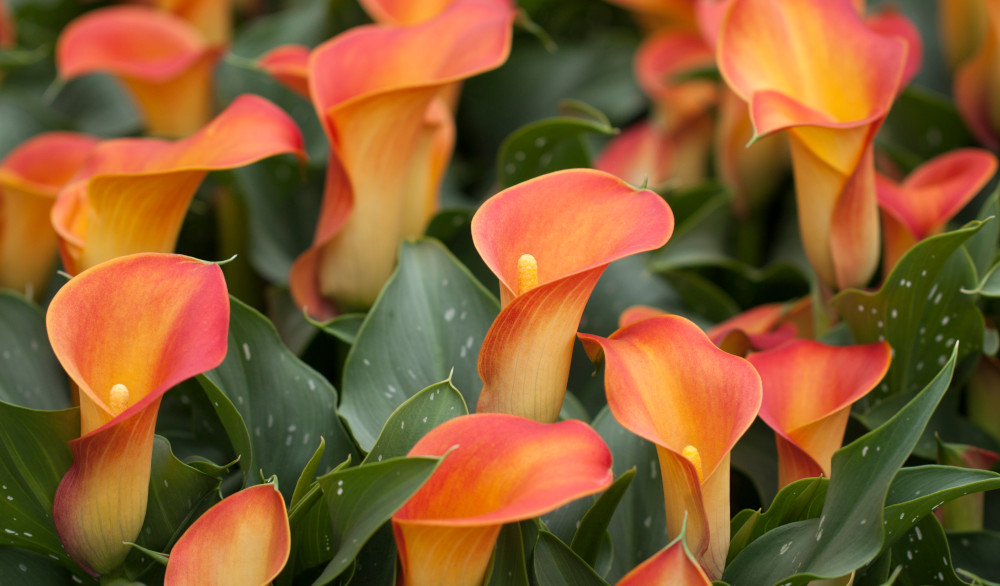
Zantedeschia is a genus of flowering plants from the family Araceae and is native to southern Africa. With a rich history dating back to the Ancient Romans, these deciduous or semi-evergreen perennials have been used as a symbol of celebration. Zantedeschia was Named after Professor Giovanni Zantedeschia, an Italian botanist.
There are two main forms of Zantedeschia: hardy and tender. Hardy forms of the plant can be grown outdoors, enjoy moist soil and full sun or partially shaded conditions - these are known as Arum lilies. Tender forms of Zantedeschia prefer being grown in containers or pots and should be brought inside over the winter - these are known as Calla lilies.
With tuberous flora in all colours from whites, yellows and oranges to deep reds and purples, Zantedeschias are not to be overlooked in any garden, as long as they have sufficient sunlight to grow in.
Ready to learn more about growing Zantedeschia? Read on for all there is to know...
Key Information
Soil pH
Position
Hardiness

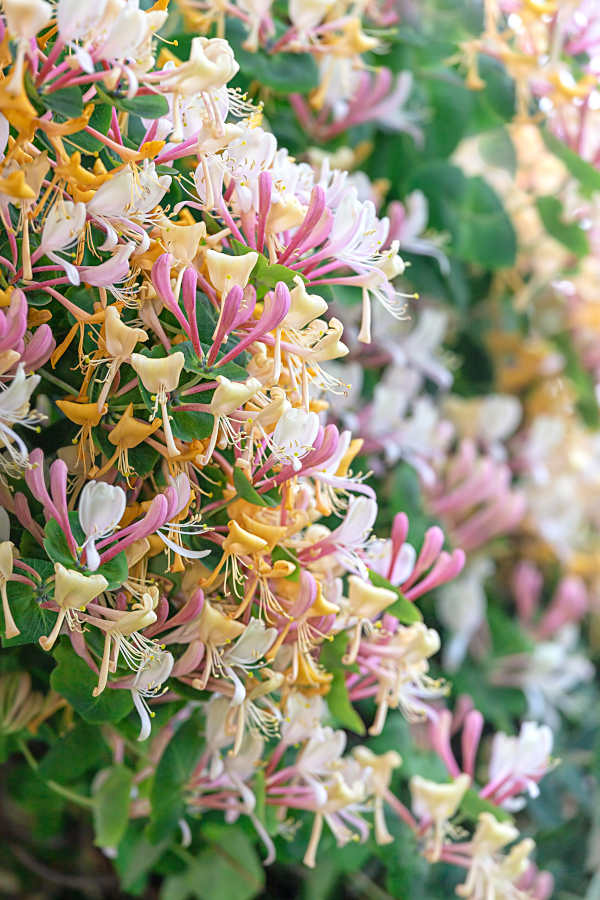
Where & when to plant Lonicera
Position - As a general rule, aim for full sun to partial shade.
Climbing species enjoy the ‘clematis formula’ of roots in the shade and top growth in the sun. This stems from their natural habitat of hedgerows and woodland, where they have evolved to scramble through shrubs and trees towards the light. Recreate the conditions in your garden by growing through low-growing perennials and shrubs, or planting against a west-facing wall or fence.
Soil - Will grow in most soils, though prefer free-draining, humus-rich conditions. Avoid the extremes of very wet or dry.
Flowering Period - Can be summer or winter depending on the species.
Hardiness - Usually fully hardy. A handful are rated H4 (-5 to -10°C), though the majority are H5 (-10 to -15°C) or H6 (-15 to -20°C). Check individual descriptions to choose according to your local conditions.
For best results, plant evergreen species in autumn or spring. An autumn planting can be done by those gardening in mild conditions (and broadly speaking, this is the southern half of the UK). For those liable to cold winters, it is best to wait until spring (generally the northern half of the UK).
Deciduous species are best planted in late winter/ early spring.
Planting can also be carried out in summer although as a last resort, as woody plants struggle to establish well from this. Be prepared to water frequently throughout the growing season if you plant at this time.
When it comes to choosing a spot, try to locate flowering species where their blooms will be best appreciated. This might mean near a seating area for summer-flowering types, or next to a doorway for winter-flowering forms. Shrubby, evergreen types can be clipped into hedges and topiary in the same way as box, and the edible version is ideal for a fruit cage or forest garden (just make sure you plant groups of two or more to ensure good pollination).
Lonicera is happiest in the open ground, though may be grown in a large pot if necessary. Remember that climbing species will require a sturdy support such as a trellis, pergola, or strong wires fixed to a wall or fence. Whatever you go for, ensure there is sufficient room for the twining growth to wrap itself around all sides of the support (i.e., it is not fixed flush against a wall or fence). Spacers can be useful in this respect.
How to plant Lonicera
- For planting in the garden, dig the soil area removing any large stones and weeds and breaking up any lumps. Mix in some organic matter such as manure or garden compost. Rake level and firm with your heels. Rake level again.
- Water plant well and allow to drain before planting.
- Dig a hole twice the width of the root-ball.
- Place the plant in the hole, ensuring the top of the root ball sits level with the surface of the soil. Too low and the plant may rot, too high and the roots can dry out.
- If you are planting a climbing type, angle it slightly towards its support and, if necessary, insert a bamboo cane to guide it in the right direction.
- Backfill with soil and firm in gently with your foot.
- Soak well with water.
- Mulch around the base with well-rotted organic matter.
- For planting in containers, first choose an appropriately sized pot. The best practice is to start just a few centimetres larger than the rootball and increase in size every year or two. Always ensure there are plenty of drainage holes in the bottom.
- If you are using a large or heavy pot, it can be a good idea to fill and plant it in situ to save yourself the trouble of moving once full.
- Use a good quality potting compost with plenty of horticultural grit mixed in, and, if not already present in the compost (check the description on the bag) some slow-release fertiliser granules.
- Start by part-filling the pot and place the rootball on the surface of the compost. Again, if you are planting a climbing type, angle it slightly towards its support, and insert a bamboo cane to guide it in the right direction if necessary.
- Infill with compost, firming down with your fingers then adding a little more so the plant is held tight. Aim to leave a gap of 2-3 centimetres between the surface of the compost and the top of the pot to make watering more efficient.
- Pick up the pot (if you can!) and lightly tap on the potting bench or ground a few times to help further settle the compost around the plant.
- Soak well with water.
- A mulch with horticultural grit will look attractive and help to prevent a ‘cap’ or crust forming on the top of the compost (something container plants can suffer due to the artificial nature of their watering).
What to plant with Lonicera
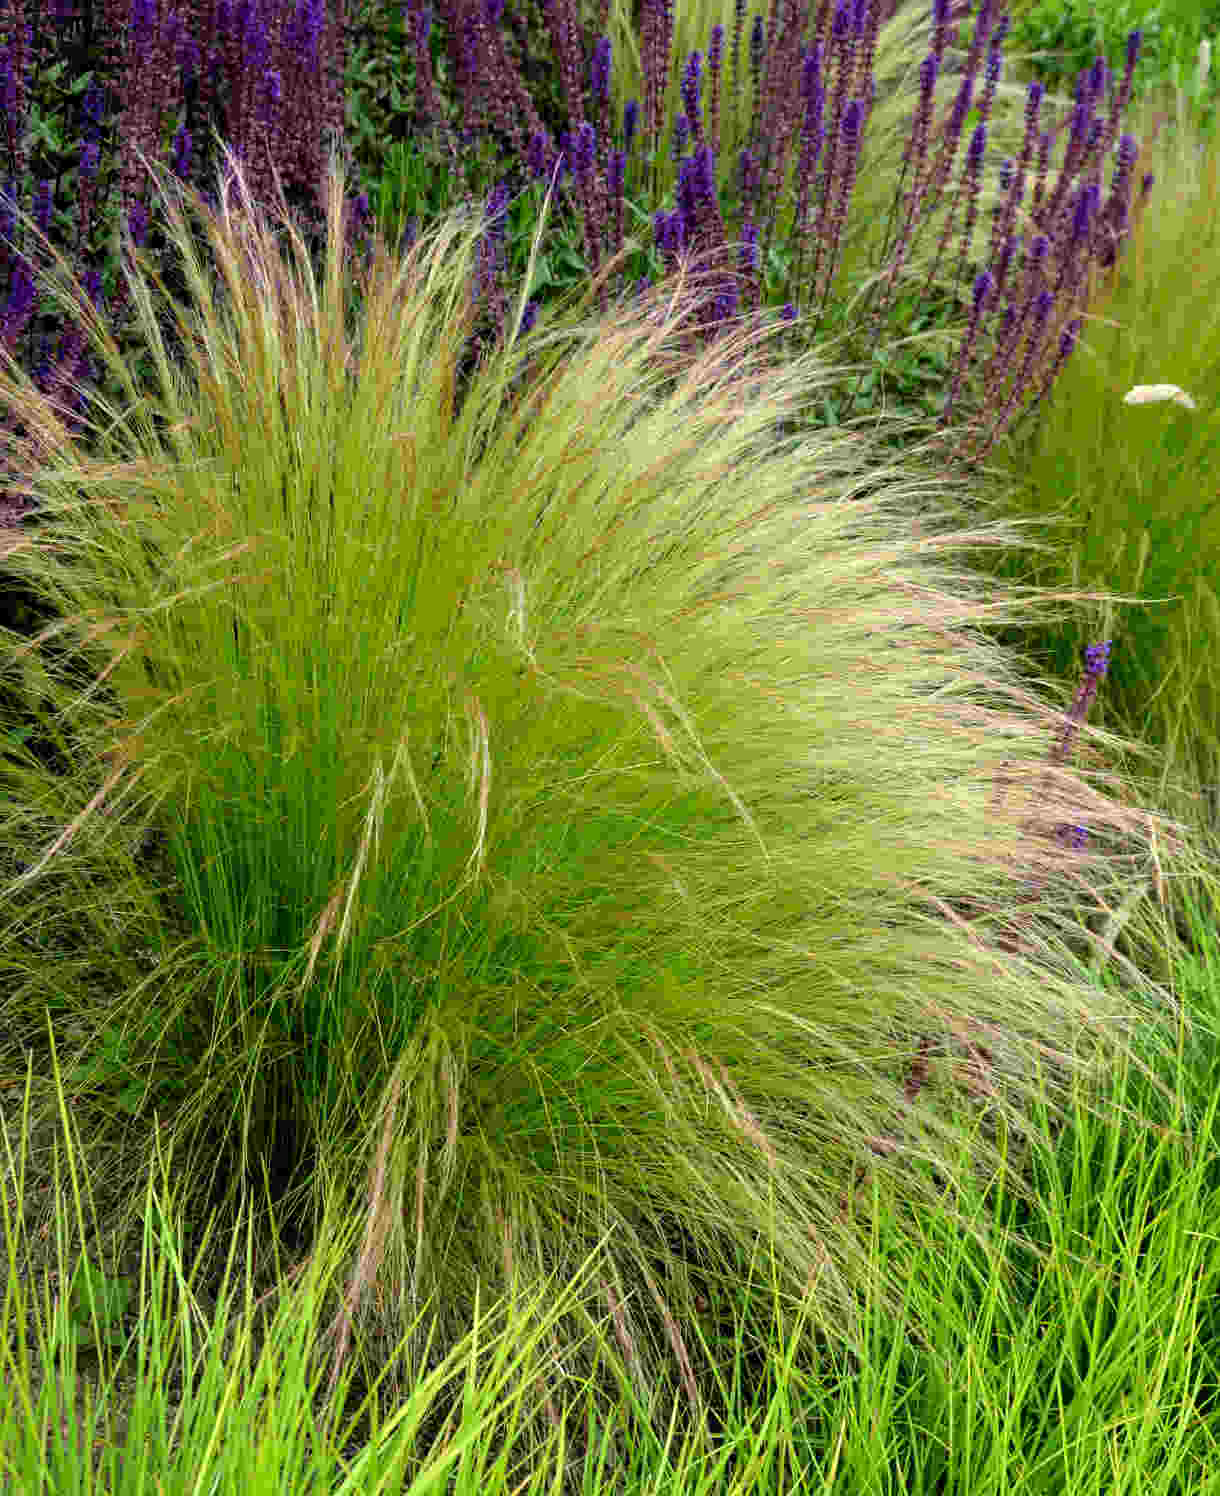
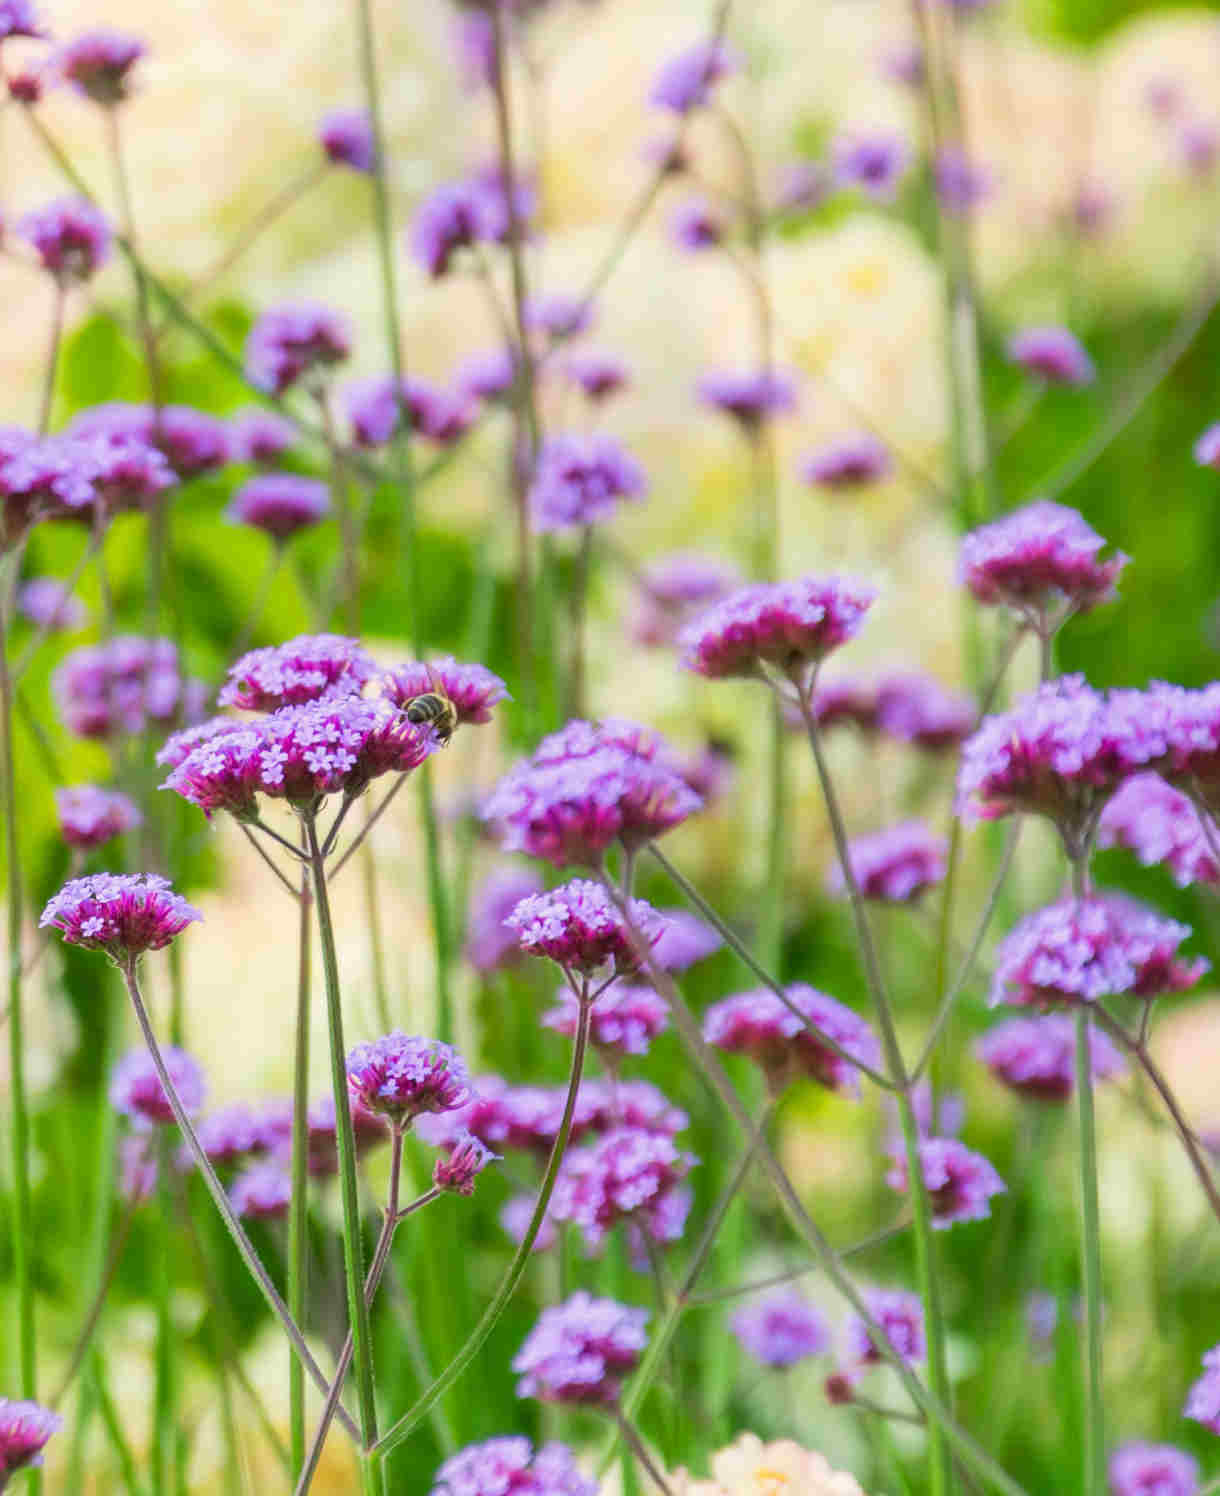
With their wonderfully unkempt, romantic appearance, climbing honeysuckles pair beautifully with other cottage garden favourites, such as the similarly scrambling clematis and rambling roses, with rampant self-seeders filling every nook and cranny at their feet. Think Verbena bonariensis, aquilegia, Erigeron karvinskianus, Stipa tenuissima, Alchemilla mollis, linaria, digitalis, and eryngium.
Shrubby species can be an invaluable member of a low-maintenance tree and shrub border. Equally undemanding and reliable companions may include pittosporum, cotinus, viburnum, philadelphus, daphne, hydrangea, and garrya.
When the colder months arrive, you won’t regret planting a selection of winter-interest shrubs with your winter-flowering honeysuckle. We suggest chimonanthus, Viburnum bodnantense, hamamelis, sarcococca, and colourfully stemmed cornus for season-defying beauty, scent, and colour.

How to care for Lonicera
Pruning and deadheading: Climbing honeysuckle
The first step when it comes to pruning a climbing honeysuckle is to establish whether you have an early or late flowering variety. Early flowering types will bloom during the first part of the summer and should be pruned immediately after flowering. Cut back any flowered stems by one third, and if you’re growing this type in a small space you can also shorten any side shoots to a couple of buds to keep things to a manageable size.
Late flowering types will bloom in the second half of summer and should be pruned in spring. They require a lighter touch than their early flowering counterparts – think of it as a light trim and tidy Remove any dead, diseased, damaged, or wayward shoots, and thin out any congested areas as necessary.
Left untouched for a few years, climbing honeysuckle can become congested at the top and bare at the bottom. Do not despair – the issue is easily solved with a drastic renovation prune in late winter, whereby the whole lot is cut back to knee height to generate a rush of strong, vigorous growth in spring. Over the course of that growing season, tie a few well-placed stems into the support as a permanent framework, then prune annually as above. Having said all this, a dense, overgrown tangle is ideal for nesting birds, so wildlife-conscious gardeners may wish to embrace the bare bottom and leave things well alone!
Pruning and deadheading: Shrubby honeysuckle
Winter-flowering honeysuckle generally need only a light prune, best carried out in spring immediately after flowering (RHS Pruning Group 2). Remove any dead, diseased, damaged, or misplaced shoots, as well as thinning out any congested areas.
Evergreen shrubby honeysuckle can be clipped two or three times from spring until autumn to maintain a tight, neat shape (use a hedgetrimmer or hand shears). Please note, it is important to check first for evidence of nesting birds, and, if found, delay any trimming until late September.
Much like climbing honeysuckle, if left unattended for a few years shrubby types can become overgrown and bare at the bottom. The advice remains the same – cut the lot down to knee height in late winter to generate a rush of replacement growth.
Pruning and deadheading: Edible honeysuckle
So that they can become well established, edible honeysuckles are best left unpruned for their first three years in the ground, apart from the removal of dead, diseased, or damaged branches once a year in midsummer.
From year four onwards, pruning annually will help to maintain a neat, productive shrub. After harvesting, in midsummer, first remove any dead, diseased, or damaged shoots. Then take out several old shoots from the base to reduce congestion and generate strong, replacement growth. Trim back the tips of the remaining shoots by a couple of centimetres to just above a set of leaves (this encourages more flowering and fruiting).
Watering
Give a good soak on initial planting, and then regularly throughout the first growing season in the ground.
Once established, honeysuckle should be largely self-sufficient and require watering only in the most prolonged periods of hot, dry weather. Having said this, climbing plants grown against a wall or fence may sit in its ‘rain shadow’, in which case extra watering is required throughout the drier months.
Container-grown honeysuckle has less access to moisture so needs regularly watering throughout every growing season. Allowing the top couple of centimetres of compost to dry out between watering is a useful rule of thumb to help avoid overwatering. Use your finger inserted into the compost to check this, being aware that in the height of summer watering can be needed every day. From mid-autumn, the British climate tends to take over watering needs, though do remember to step in in the event of an unseasonably dry spell.
Feeding
In healthy, fertile soil, a mulch of well-rotted organic matter (i.e., a layer of leaf mould, manure, or garden compost applied to the soil around the plant) should provide sufficient nutrients for your honeysuckle. This has the added benefit of suppressing weeds and locking in moisture. Mulch when planting, and then again each spring.
If you feel your honeysuckle could do with a boost (perhaps you garden on poor soil, are noticing yellowing leaves or lack of vigour, or have recently carried out a hard, renovation prune), a dose of balanced fertiliser such as blood, fish, and bone can work wonders. Do this in spring, ideally in conjunction with mulching. First apply the feed, lightly fork into the surface of the soil, water, then mulch. Resist the temptation to feed more than once a year as this may cause an excess of nutrients and do more harm than good.
Container-grown plants rely solely on the gardener for nutrition and therefore need a little more attention when it comes to feeding. Get off to a flying start by making sure you use a good quality compost with slow-release granules mixed in, then throughout the growing season (March to October) apply a general liquid feed at monthly intervals (opting for a special evergreen feed if suitable). Remember also to repot your honeysuckle every few years into a larger pot with fresh compost. When this is no longer feasible, we advise a top dress each spring. Simply scrape away the top few centimetres of compost and replace with fresh (not forgetting to mix in some slow-release granules).
Cold Protection
Honeysuckle is usually hardy enough to withstand a UK winter without the need for additional protection, however it’s worth planting winter-flowering and edible types in a sheltered spot to shield their blooms from damage.
Pests and Diseases
Honeysuckle tends to be problem-free aside from the potential for a fungal disease known as powdery mildew. This appears as a white, powder-like coating on foliage, and can be caused by poor air flow, drought stress, or insufficient sunlight.
A little TLC usually rectifies the problem. Simply prune off and dispose of any affected leaves, give the plant a good soak (avoiding water on the foliage if possible), and apply a generous mulch of well-rotted organic matter. It can also be worth thinning out surrounding plants to improve airflow. Do not be tempted to give an extra feed, as this will generate an excess of soft, new growth which is particularly susceptible.
Aphids can also be partial to the soft, supple new growth of honeysuckles, particularly on some of the climbers. As always, our advice is that these are part of a balanced garden ecosystem and the best approach is to leave them to their natural predators (e.g. birds, ladybirds, and wasps). When numbers are so large, however, that their feeding starts to inhibit and disfigure growth, you may feel it necessary to act. Regularly blasting off with a hose or wiping away with a cloth or piece of kitchen paper can help to keep numbers down without harming other insects.
How to propagate Lonicera
Shrubby and edible honeysuckles are best propagated by hardwood cuttings taken from late autumn to midwinter.
· Select a healthy and firm section of ripe, current year growth.
· Trim to 30 centimetres, with the top cut just above a pair of buds, and the bottom cut just below a pair of buds. Make the top cut sloping, both to aid water runoff, and to remind you which end is which! Upside down cuttings have no chance of rooting.
· Spacing approximately 10-15cm apart, firm into a trench in a prepared bed outside (with well-rotted organic matter and grit dug in), the top 3-5cm of the cutting showing above soil level. Alternatively insert into containers filled with a gritty compost mix.
· Water in lightly. Place containers in a cold frame or unheated greenhouse.
· Check and re-firm trench cuttings after a frost (which can lift them out of the ground).
· Leave cuttings in place until the following autumn ensuring they do not dry out during the summer. By this point they should have rooted and can be lifted and either potted or planted out as required.
Climbing honeysuckles are best propagated by softwood cuttings in spring and summer.
· Look for current year’s growth which is firm and woody at the base, while still soft and pliable at the tip. You’re aiming for a cutting of 10 centimetres or less (any longer and they are more likely to dry out and fail). For best results, choose stems where the leaf nodes are close together rather than far apart.
· Using a sharp knife or secateurs, sever the cutting from the plant and put in a plastic bag straight away.
· Fill a pot (or several, if you have a lot of cuttings) with a perlite-heavy compost mix (at least 50% perlite).
· Trim the end of the cutting to just below a node (point at which leaves grow).
· Remove lowest leaves and soft tip, leaving 2-4 leaves.
· If the remaining leaves are large, cut them in half with a sharp knife to reduce water lost through transpiration.
· Insert the cuttings into the compost and water lightly. Several cuttings can be put in the same container if there is enough space to do this without them touching.
· Place in a greenhouse or propagating unit if you have one or covered with a plastic bag on a windowsill if not (out of direct sunlight).
· Keep the cuttings misted and occasionally watered until they root. You will know this has happened when roots emerge out of the bottom of the container, which should take around 6 to 8 weeks.
· Gently remove rooted cuttings and pot them into individual pots. Grow on in a cool yet frost-free environment such as an unheated conservatory, greenhouse, or cold frame, until they are large enough to be planted out as above.
* Many plants carry Plant Breeders Rights and cannot be propagated for commercial purposes.
Common Lonicera Questions
Does honeysuckle need a trellis?
Climbing honeysuckles need something sturdy to scramble up, whether that be a trellis, pergola, arbour, or wires. There should be a gap of at least 5 centimetres between a trellis and the wall or fence to which it is fixed so that the honeysuckle has space to twine around. Using spacers is an effective way to achieve this.
Does honeysuckle grow fast?
Yes, honeysuckles are fast, vigorous growers which can reach full size in as little as 5 years.
What month does honeysuckle bloom?
The flowering period of honeysuckle varies according to type. A few bloom in spring or winter, though the majority can be expected to flower in summer.
Do you have any advice on harvesting edible honeyberries?
The fruits are typically ready to pick between late spring and early summer. You’ll know they’re ripe when they turn blue-back and develop a white bloom. The fruit should be purple-red inside.
