How to grow Clerodendrum
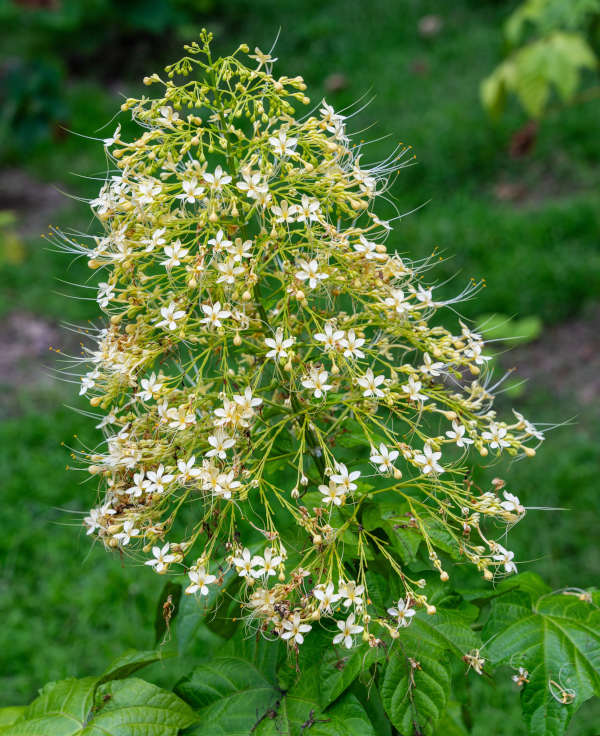
Also known as glory flower or bleeding heart, clerodendrum is an attractive and unusual genus of shrubs, trees, and climbers, mostly from woodland in tropical and subtropical regions of Asia and Africa.
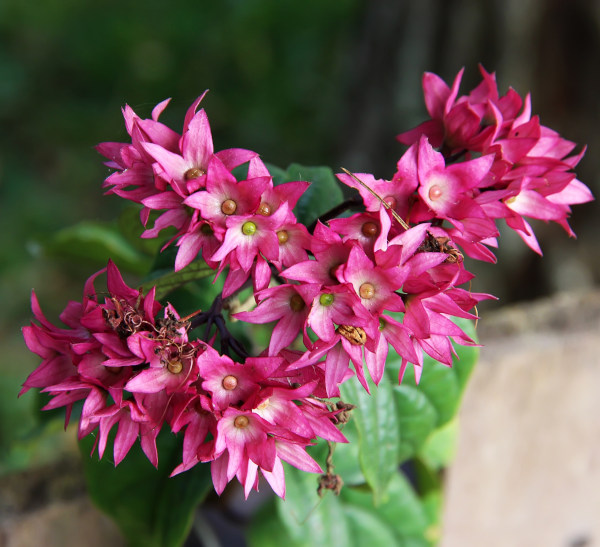
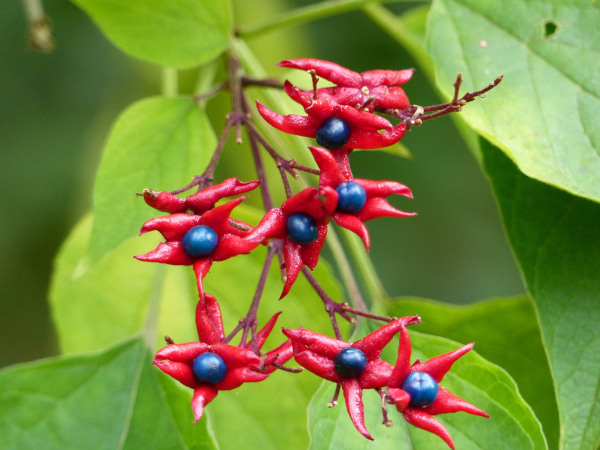
Of the hundreds of species, only a couple are hardy enough for outdoor growing in the UK. Clerodendrum bungei is a deciduous shrub with large, heart-shaped leaves and domed heads of dark pink flowers in late summer and autumn. Clerodendrum trichotomum is a small, deciduous tree with ovate leaves and white to pale pink flowers which give way to spectacular bright blue berries held against deep pink sepals. Both species are spreading and suckering, and therefore require plenty of elbow room. Their flowers are highly attractive to butterflies.
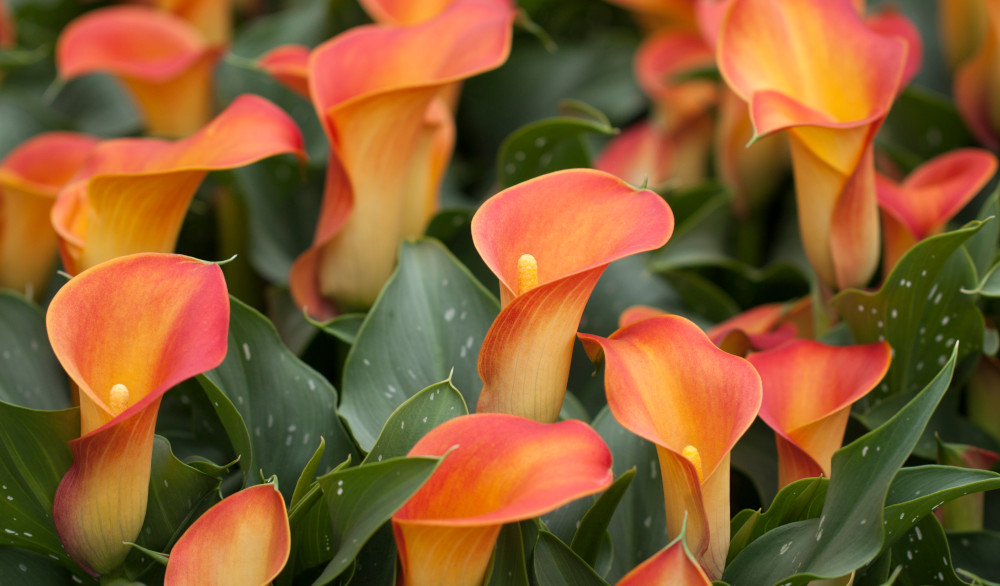
Zantedeschia is a genus of flowering plants from the family Araceae and is native to southern Africa. With a rich history dating back to the Ancient Romans, these deciduous or semi-evergreen perennials have been used as a symbol of celebration. Zantedeschia was Named after Professor Giovanni Zantedeschia, an Italian botanist.
There are two main forms of Zantedeschia: hardy and tender. Hardy forms of the plant can be grown outdoors, enjoy moist soil and full sun or partially shaded conditions - these are known as Arum lilies. Tender forms of Zantedeschia prefer being grown in containers or pots and should be brought inside over the winter - these are known as Calla lilies.
With tuberous flora in all colours from whites, yellows and oranges to deep reds and purples, Zantedeschias are not to be overlooked in any garden, as long as they have sufficient sunlight to grow in.
Ready to learn more about growing Zantedeschia? Read on for all there is to know...
Key Information
Soil pH
Position
Hardiness

Where & when to plant Clerodendrum
Position - Flower best in a warm, sunny spot, though light shade will be tolerated
Soil - Fertile, humus-rich, moist and well-draining. Tolerant of any pH.
Flowering Period - Summer into autumn
Hardiness - Clerodendrum bungei is rated H4, meaning its minimum temperature is somewhere between -5°C and -10°C (i.e., fine in the average UK winter). We’ve found it to be ‘root hardy’, in that it can be killed down to the ground in a cold winter but bounces back with lots of healthy, new growth in spring. Clerodendrum trichotomum is hardier at H5, meaning a minimum temperature between -10°C and -15°C. It should be fine even in a very cold UK winter, unless grown in an exposed spot or frost pocket.
Clerodendrum usually comes as a pot grown plant. This means it can be planted at any time of year, though best results are achieved from a spring planting, giving it time to establish before facing the challenges of a UK winter. Autumn is an option if you live in a milder part of the country (generally the south and coastal areas) and can offer reliably well-draining soil. Summer planting is the last resort – be prepared to water regularly and see slower establishment.
When it comes to choosing a spot for clerodendrum, there are a few things to take into consideration. Firstly, it’s worth noting that clerodendrum can emit a somewhat unpleasant smell when its foliage is crushed or bruised (especially C. bungei), meaning a spot next to a path or doorway is not advised. Secondly, these shrubs and trees tend to have a spreading, suckering habit so are best planted where this won’t become a problem, i.e., not too close to any precious or delicate planting. Thirdly, clerodendrum can be difficult to eradicate once established, making it important to carefully choose a ‘forever’ spot from the outset. However, don’t let these observations put you off. Clerodendrum makes a spectacular specimen plant in a lawn or courtyard, a beautiful, informal flowering hedge, or a lovely, late-flowering addition to a wildlife garden. It can also be grown in a container, though be prepared to pot up into a larger size regularly and start again with a younger plant when this is no longer feasible. It will sulk if its tendency to spread and sucker is constrained long term.
How to plant Clerodendrum
- For planting into the ground, start by watering the plant well and allowing it to drain.
- Dig the soil area over, removing any large stones and weeds and breaking up any lumps. Mix in a generous amount of organic matter such as manure or garden compost.
- Rake level and firm with your heels. Rake level again.
- Now dig the planting hole, aiming for twice the width of the rootball.
- Place the plant in the hole, ensuring the top of the rootball sits level with the surface of the soil. Too low and the stem can rot, too high and the roots can dry out.
- Backfill with soil and firm in gently with your foot.
- Soak well with water.
- Mulch around the base with well-rotted organic matter such as manure or garden compost.
- For planting in containers first choose an appropriately sized pot. The best practice is to start just a few centimetres larger than the root ball and go up in size every year or so. Always ensure there are plenty of drainage holes in the bottom.
- Again, water the roots thoroughly and allow to drain before potting.
- It can be a good idea to fill and plant your pot in situ to save yourself the trouble of moving it once full.
- Use a good quality potting compost with plenty of horticultural grit mixed in, and, if not already present in the compost (check the description on the bag) some slow-release fertiliser granules.
- Start by partially filling the pot with compost; enough so that when placed on it the top of the roots sit about 3cm lower than the top of the pot.
- Infill all the space surrounding the roots with compost, firming down with your fingers then adding a little more so the plant is held tight.
- Pick up the pot (if you can!) and lightly tap on the potting bench or ground a few times to help further settle the compost around the plant.
- Soak well with water.
- A mulch with horticultural grit will look attractive and help to prevent a ‘cap’ or crust forming on the top of the compost (something container plants can suffer due to the artificial nature of their watering).
What to plant with Clerodendrum
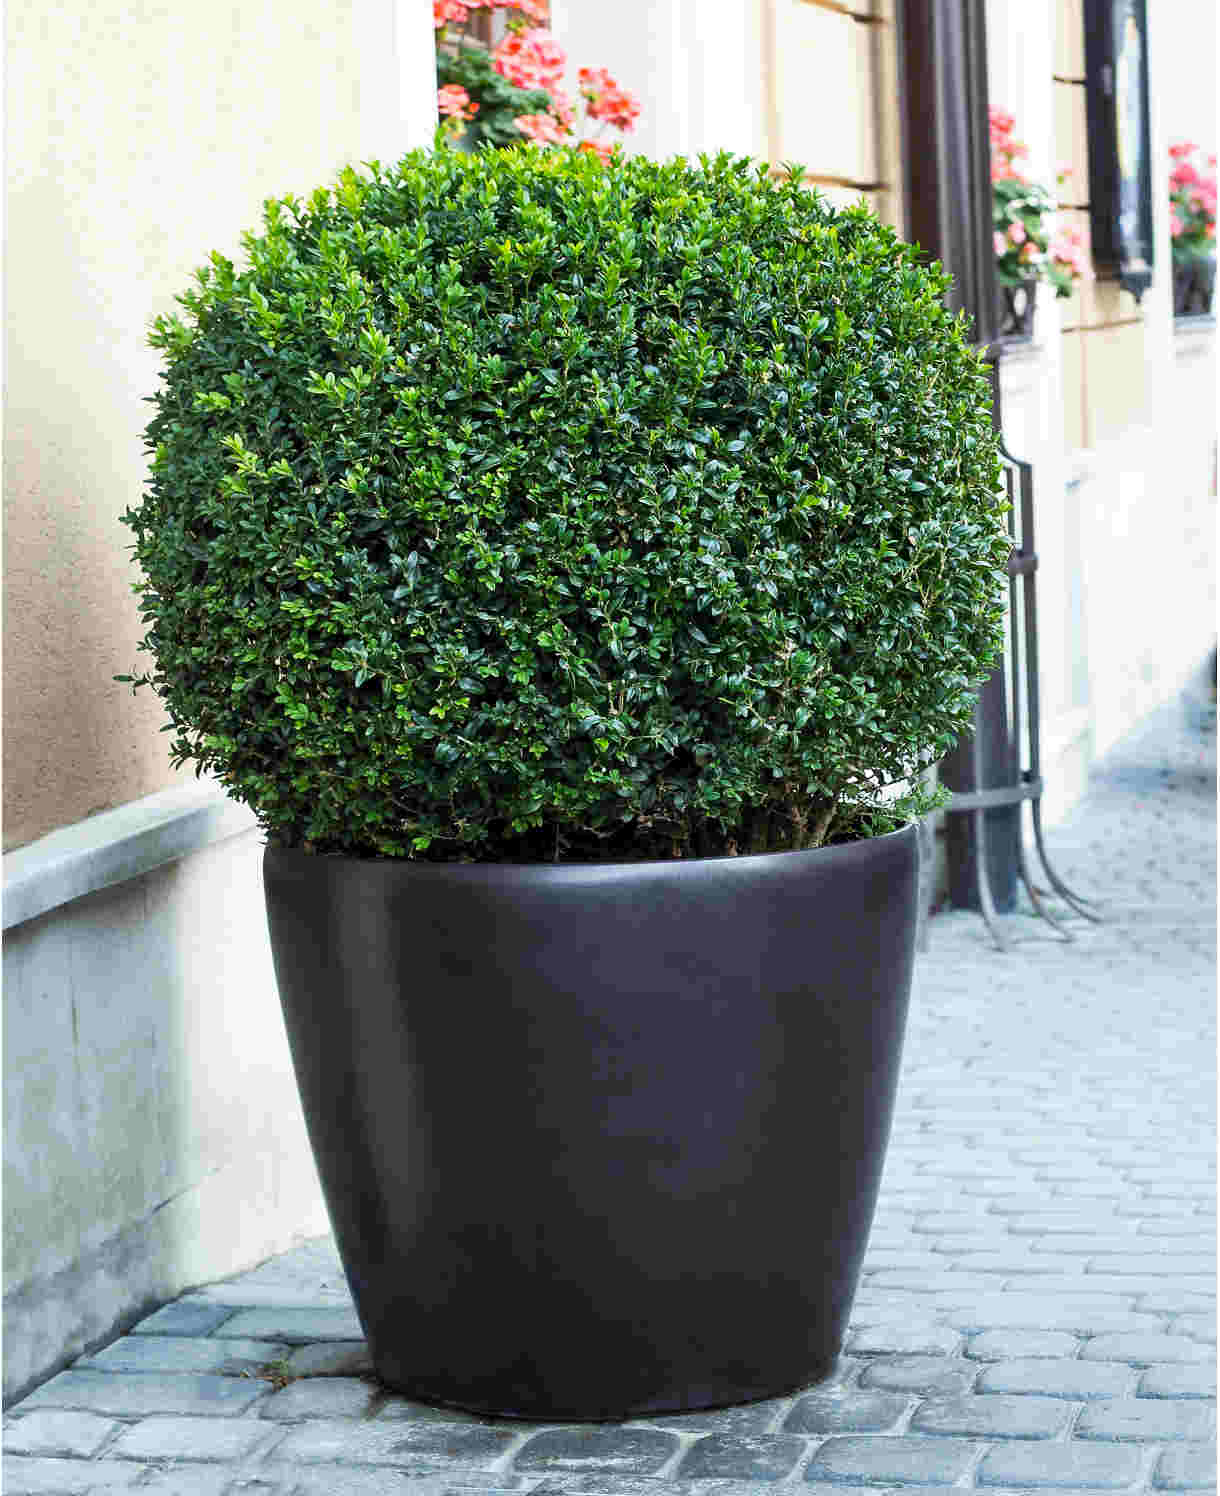
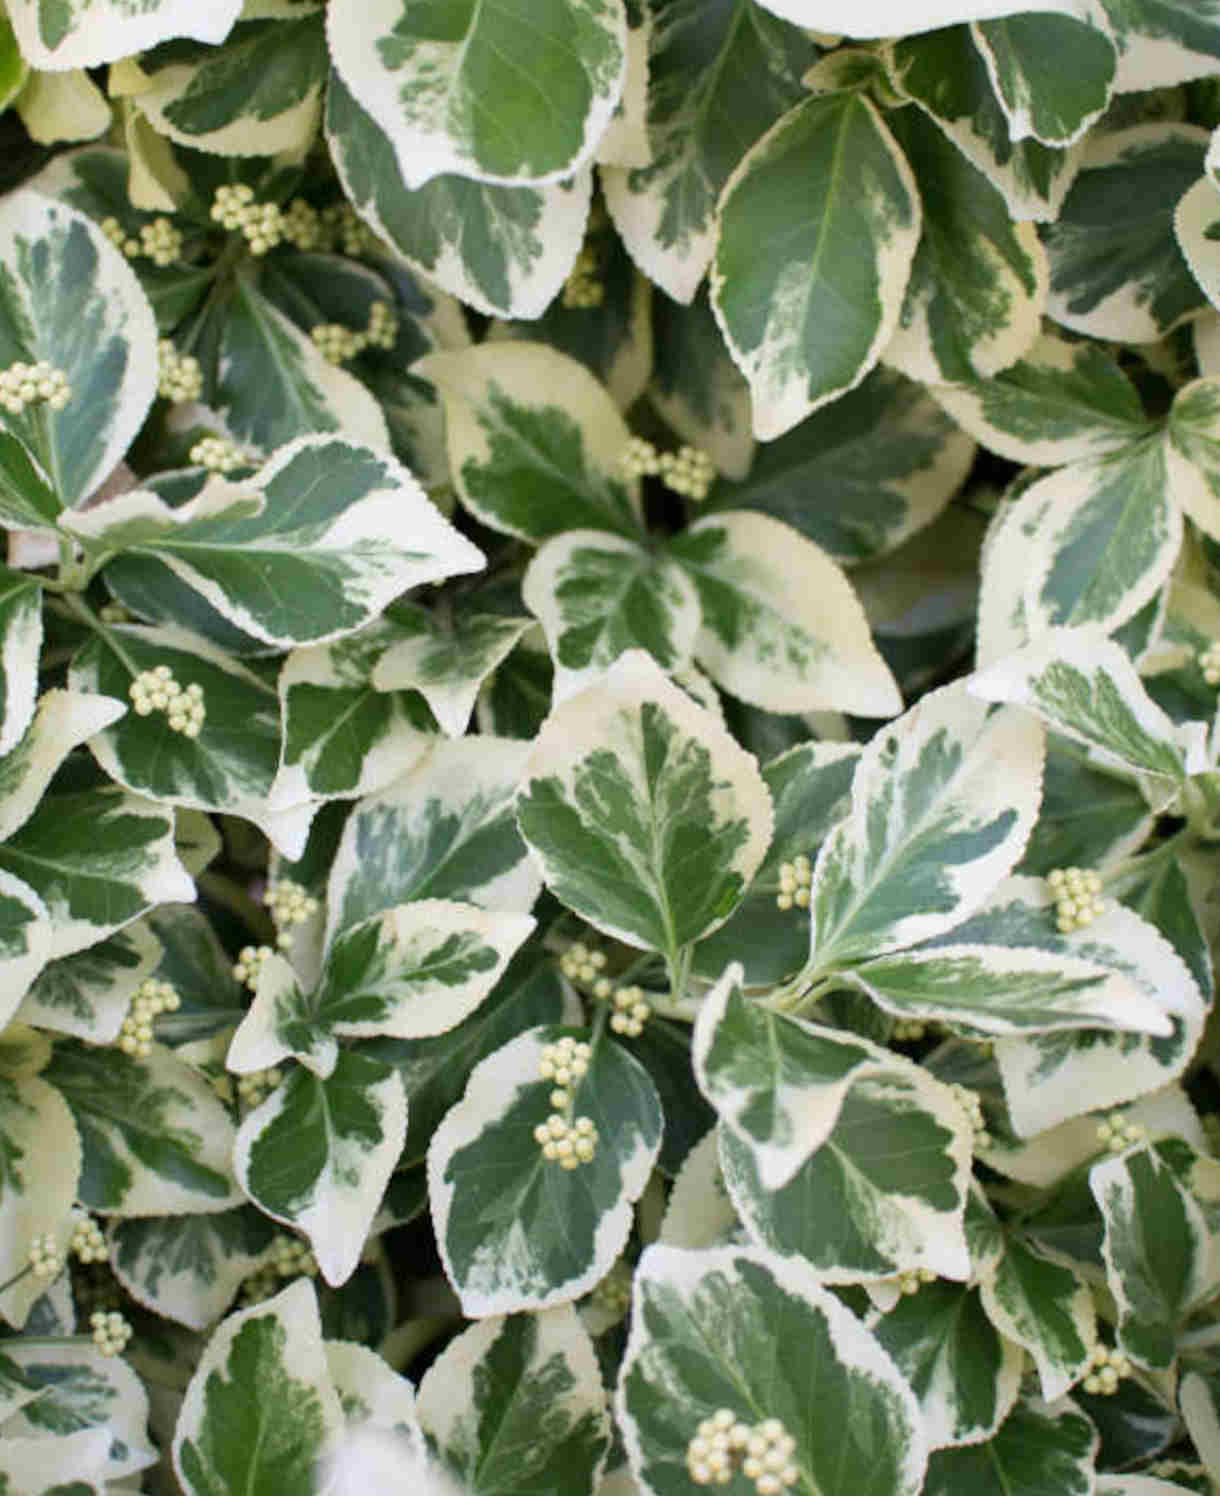
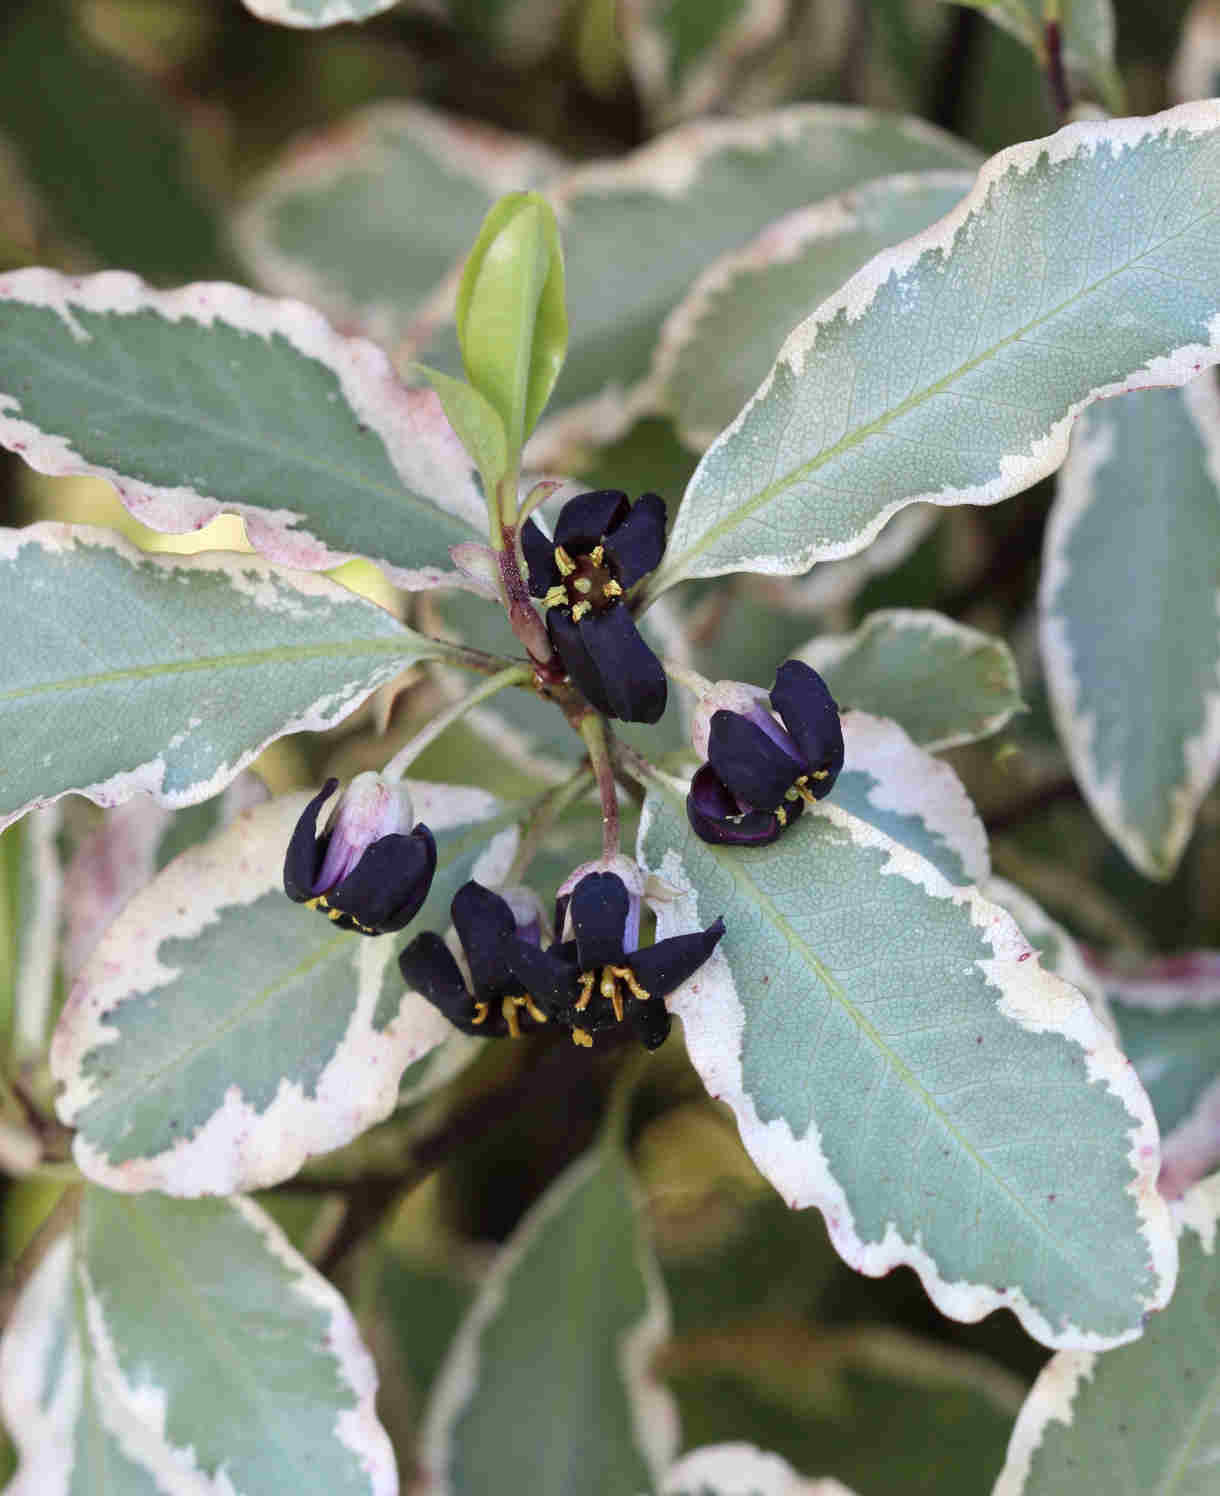
The loose, informal form of flowering shrubs and trees such as clerodendrum are perhaps best appreciated when contrasted against sharp, clipped topiary. Buxus sempervirens is the traditional choice, though Euonymus japonicus ‘Green Spire’ and Pittosporum tenuifolium are two excellent alternatives with greater resistance to pests and diseases.
How to care for Clerodendrum
Pruning and Deadheading
Clerodendrum trichotomum is RHS Pruning Group 1, which means it requires little pruning and in fact may be spoiled by heavy-handed secateur action. Leave this species to its own devices, save for the occasional tidy in late winter to early spring, removing any dead, diseased, damaged, or badly placed growth.
Clerodendrum bungei is RHS Pruning Group 6. This means it will benefit from annual pruning in early to mid-spring, to boost flowering, keep growth in check, and maintain good overall health. In the first year, prune all growth back to a couple of buds above ground level. In subsequent years, prune back to 1-2 buds above where you cut last time. Remove any thin, weak growth completely.
In both cases, overall spread can be reduced by digging out unwanted suckers each autumn or spring with a sharp spade. These can either be disposed of (we advise against putting them on the compost heap, as they may regrow) or potted up to make new plants. See ‘How to Propagate Clerodendrum’ for more information.
Watering
Clerodendrum is not especially thirsty, however like all woody plants it does best with regular watering for its first couple of growing seasons in the ground (to encourage root establishment). After this it should be largely self-sufficient, though it still pays to water in prolonged periods of hot, dry weather. An annual mulch is also useful for locking in moisture – more on this in our ‘Feeding’ section below.
Container-grown clerodendrum has less access to moisture and, as it is fast growing and likely to fill a pot quickly, can be watered freely throughout the growing season. Try to avoid the compost drying out completely, being aware that this can happen in as little as 24 hours during the height of summer, and sometimes even less for very full containers. From mid-autumn, the British climate tends to take over watering needs, though do remember to step in in the event of an unseasonably dry spell.
Feeding
To give it the best possible start, feed your clerodendrum for its first couple of years in the ground with a general-purpose granular feed applied to the surface of the soil and lightly worked in (known as a ‘top dress’). This is best done in late winter, along with a mulch of well-rotted organic matter (i.e., a layer of manure or garden compost applied to the soil around the plant), which has the added benefit of suppressing weeds and locking in moisture.
Once your clerodendrum is well established, an annual mulch should provide sufficient nutrients, however, apply a top dress as above if ever you feel an extra boost is needed.
Container-grown plants rely more on the gardener for nutrition. Get off to a flying start by making sure you use a good quality compost with slow-release granules mixed in, then throughout the growing season (March to September) apply a monthly liquid feed. An annual top dress is also advisable: each spring, scrape off the top 5cm of compost and replace with fresh.
Cold Protection
Given a warm, sunny spot out of cold, drying winds, the clerodendrum in this growing guide should come through the average UK winter largely unscathed, particularly if you pile a dry mulch around the roots in autumn for extra insulation (bark chips, bracken, or straw all work well). If, however, you live in a cold region or garden in an exposed spot, it can be worth taking extra action when there is a cold snap forecast, particularly for the slightly less hardy C. bungei. One of these handy fleece jackets temporarily popped over top growth can work wonders, or alternatives including a bedsheet or layer of horticultural fleece. Wrap containers in fleece or hessian to protect the roots.
Don’t panic if your plant does sustain winter damage. Clerodendrum will often reshoot from the base if killed back by frosts (see ‘Hardiness’ above). Simply cut the blackened growth down to just above ground level in early to mid-spring, give it a good mulch, and cross your fingers that you’ll soon see new shoots racing up.
Pests and Diseases
When grown outdoors, clerodendrum is rarely troubled by pests or diseases.
How to propagate Clerodendrum
By far the simplest way to propagate clerodendrum a is to remove and pot up suckers in autumn or spring.
- Choose a day when the ground is not frozen or waterlogged.
- Using a spade, dig up strong, healthy suckers, severing from the parent plant with clean, sharp secateurs.
- Pot into a container filled with a well-draining compost mix.
- Water thoroughly.
- Grow on in a cool yet frost-free environment such as a cold frame, unheated greenhouse, or against a south-facing wall, keeping well-watered yet not soggy.
- When large enough to be planted out, do so following our ‘How to plant clerodendrum’ guide above.
* Many plants carry Plant Breeders Rights and cannot be propagated for commercial purposes.
Common Clerodendrum questions
What plant family is clerodendrum in?
Until the 1990s it was a member of the verbena family (its flowers closely resembling those of verbena and lantana), however it has since been moved to the mint family, in the same subfamily as ajuga and teucrium.
Is clerodendrum perennial?
Clerodenron is a woody rather than herbaceous plant. Depending on the species, it can be a tree, shrub, or climber, and either evergreen or deciduous. In this growing guide we have focused on a deciduous shrub ( bungei) and a deciduous small tree (C. trichotomum).
Is clerodendrum poisonous?
Clerodendrum has no toxic effects reported.
Can clerodendrum be grown as a houseplant?
thomsoniae (glory bower) and C. splendens are both tender, evergreen climbers which you may see grown in conservatories and warm greenhouses.
