How to grow Chitalpa
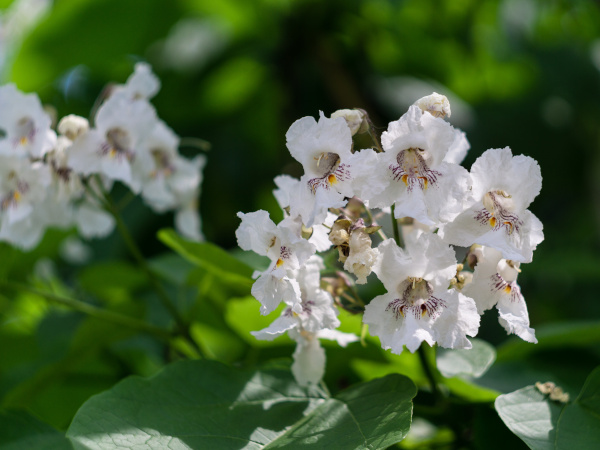
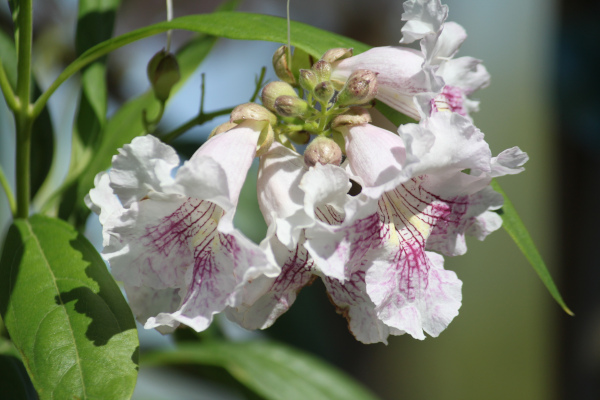
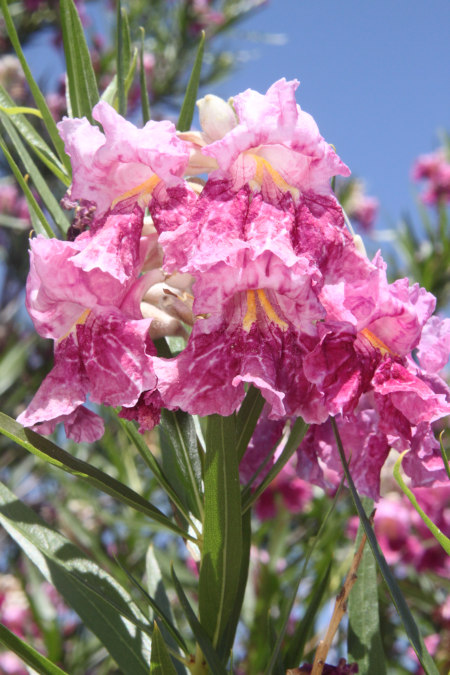
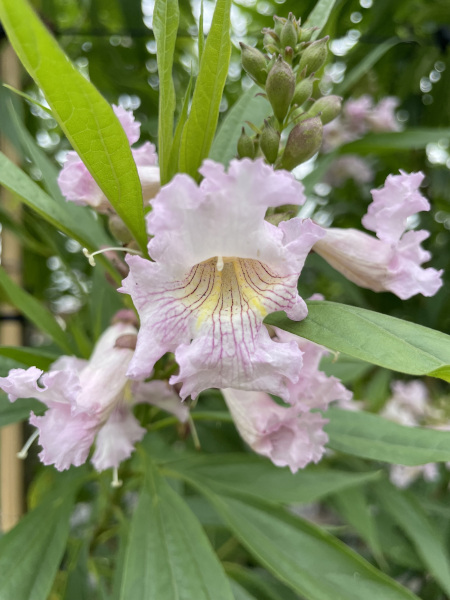
x Chitalpa is an unusual, intergeneric hybrid between two members of Bignoniaceae, a plant family known for its showy, trumpet shaped flowers. It was created in the 1960s by botanical scientists in Uzbekistan; the result of a cross between the SE USA native Catalpa bignoniodes (Indian bean tree), and Chilopsis linearis (desert willow) from SW USA and Mexico. Classed as a small tree or large shrub, it is valued for its manageable size and stature and profusion of attractive and long-lasting summer flowers. These look like exotic, frilly foxgloves – pink with a yellow, marked throat, and are held in upright panicles from midsummer until early autumn. The variety ‘Summer Bells’ is a recent, paler pink introduction.
With long, narrow leaves, x Chitalpa casts light, dappled shade, and as a sterile hybrid it doesn’t produce messy fruits or seedpods. As a result, it is easy to garden beneath and therefore well-suited to small gardens where efficient use of space is key.
x Chitalpa is a drought tolerant and fast-growing tree – expect it to put on around 90cm per year.
Key Information
Position
Soil Conditions

Hardiness

Where & when to plant Chitalpa
Position - Full sun, with shelter from cold winds coming from the north or east
Soil - Any moderately fertile, well-draining soil
Flowering Period - Summer
Hardiness - Hardy in the average UK winter. Rated H4, meaning able to withstand temperatures dipping to between -5°C and -10°C.
x Chitalpa usually comes as a pot grown plant. This means it can be planted at any time of year, though best results are achieved from a spring planting to give it time to settle in before being faced with the challenges of a UK winter. Planting can also be carried out in summer, though be prepared to water regularly. Autumn is another option if you live in a milder part of the country (generally the south and coastal areas).
x Chitalpa can be grown as a standard tree (clear trunk and rounded crown), or pruned back hard to create a multi-stemmed shrub. As a tree it is a useful choice for growing in a border, as the conditions beneath the airy, deciduous canopy are favourable for many plants. As a multi-stemmed shrub, it makes a beautiful specimen in a lawn or mixed shrub border.
Like most trees and shrubs, x Chitalpa grows best in the open ground, though you can also try growing it in a large container.
How to plant Chitalpa
- For planting into the ground, start by watering the roots well and allowing them to drain before planting.
- If you are planting into grass, remove a circle of grass at least 1m in diameter.
- Dig the soil area over, removing any large stones and weeds and breaking up any lumps. Mix in a generous amount of organic matter such as manure or garden compost.
- Rake level and firm with your heels. Rake level again.
- Now dig the planting hole, aiming for twice the width of the rootball.
- Place the plant in the hole, ensuring the top of the rootball sits level with the surface of the soil. Too low and the stem can rot, too high and the roots can dry out.
- Backfill with soil and firm in gently with your foot.
- Soak well with water.
- Mulch around the base with well-rotted organic matter such as manure or garden compost.
- For planting in containers, first choose an appropriately sized pot. x Chitalpa is a fast-growing tree, so it is fine to go for a large pot straight away (rather than working your way up gradually as is recommended for slower-growing plants). Ensure there are plenty of drainage holes in the bottom.
- Again, water the roots thoroughly and allow to drain before potting.
- It can be a good idea to fill and plant your pot in situ to save yourself the trouble of moving it once full.
- Use a good quality potting compost with plenty of horticultural grit mixed in, and, if not already present in the compost (check the description on the bag) some slow-release fertiliser granules.
- Start by partially filling the pot with compost; enough so that when placed on it the top of the roots sit about 3cm lower than the top of the pot.
- Infill all the space surrounding the roots with compost, firming down with your fingers then adding a little more so the plant is held tight.
- Pick up the pot (if you can!) and lightly tap on the potting bench or ground a few times to help further settle the compost around the plant.
- Soak well with water.
- A mulch with horticultural grit will look attractive and help to prevent a ‘cap’ or crust forming on the top of the compost (something container plants can suffer due to the artificial nature of their watering).
What to plant with Chitalpa
Flowering trees and shrubs are unsung heroes in the garden, providing colour and beauty year after year while demanding little in the way of care. They’re more self-sufficient than herbaceous plants when it comes to finding water and nutrients, and are useful for casting increasingly needed shade in the garden.
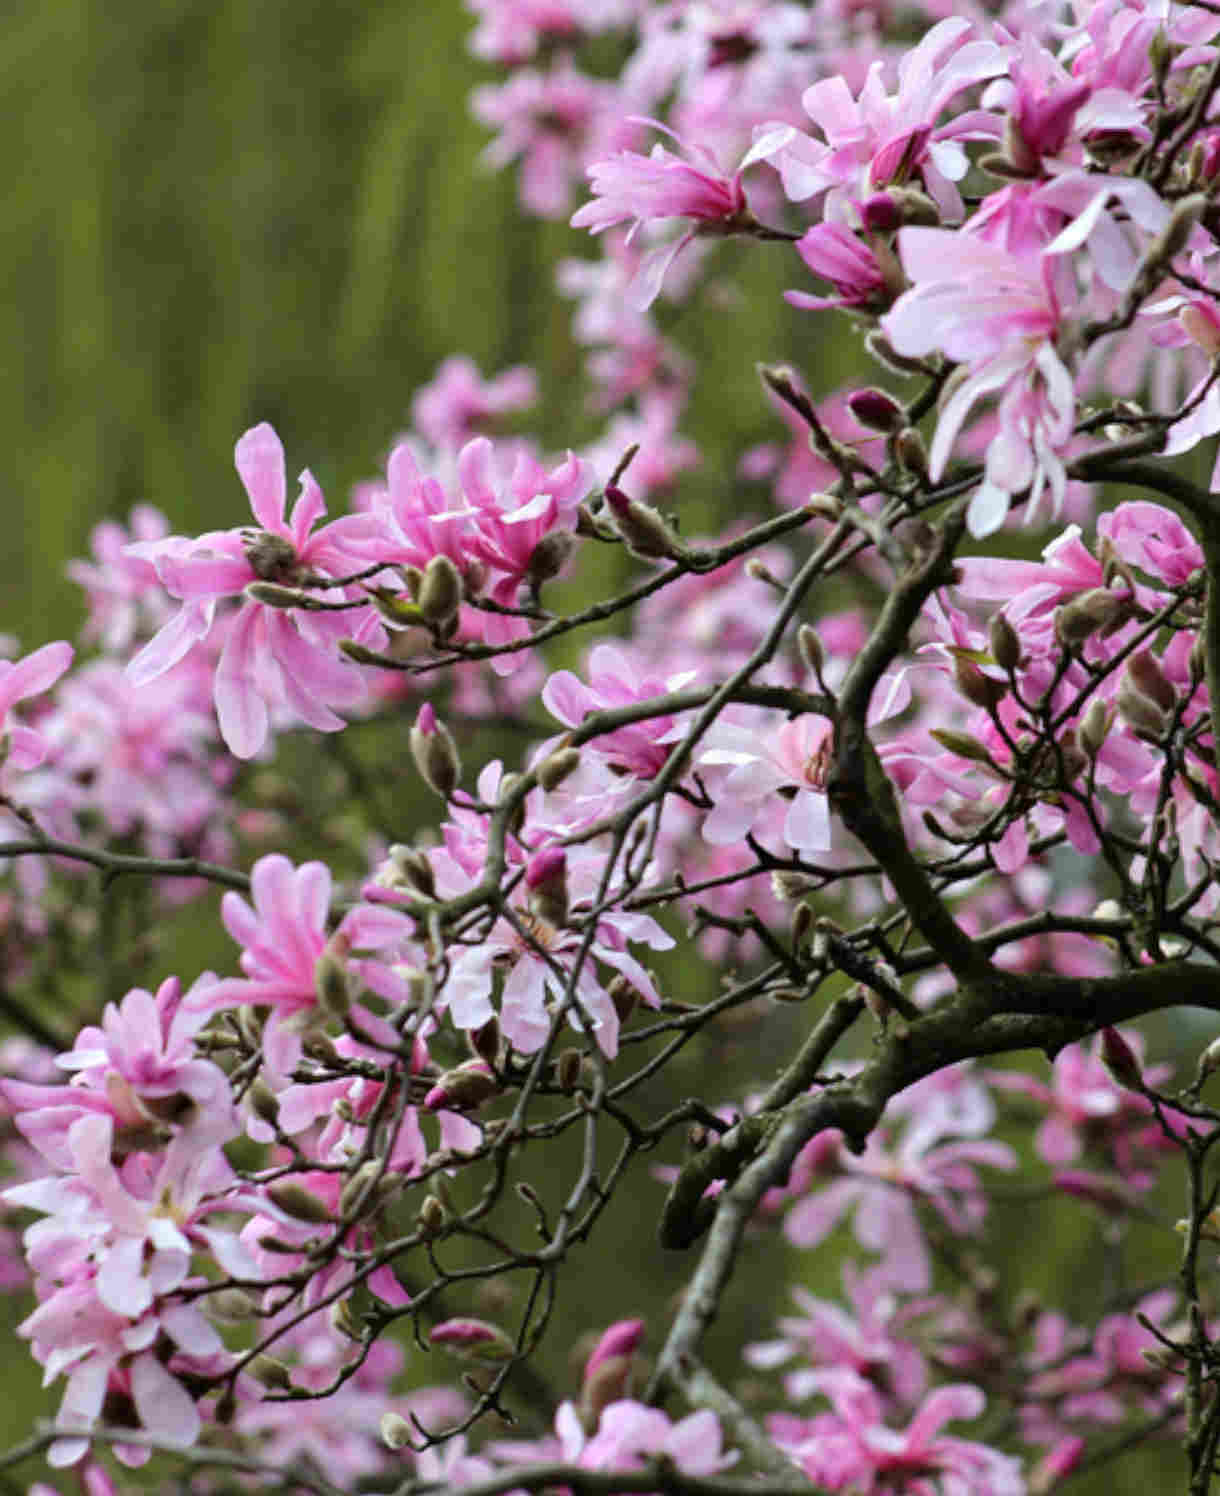
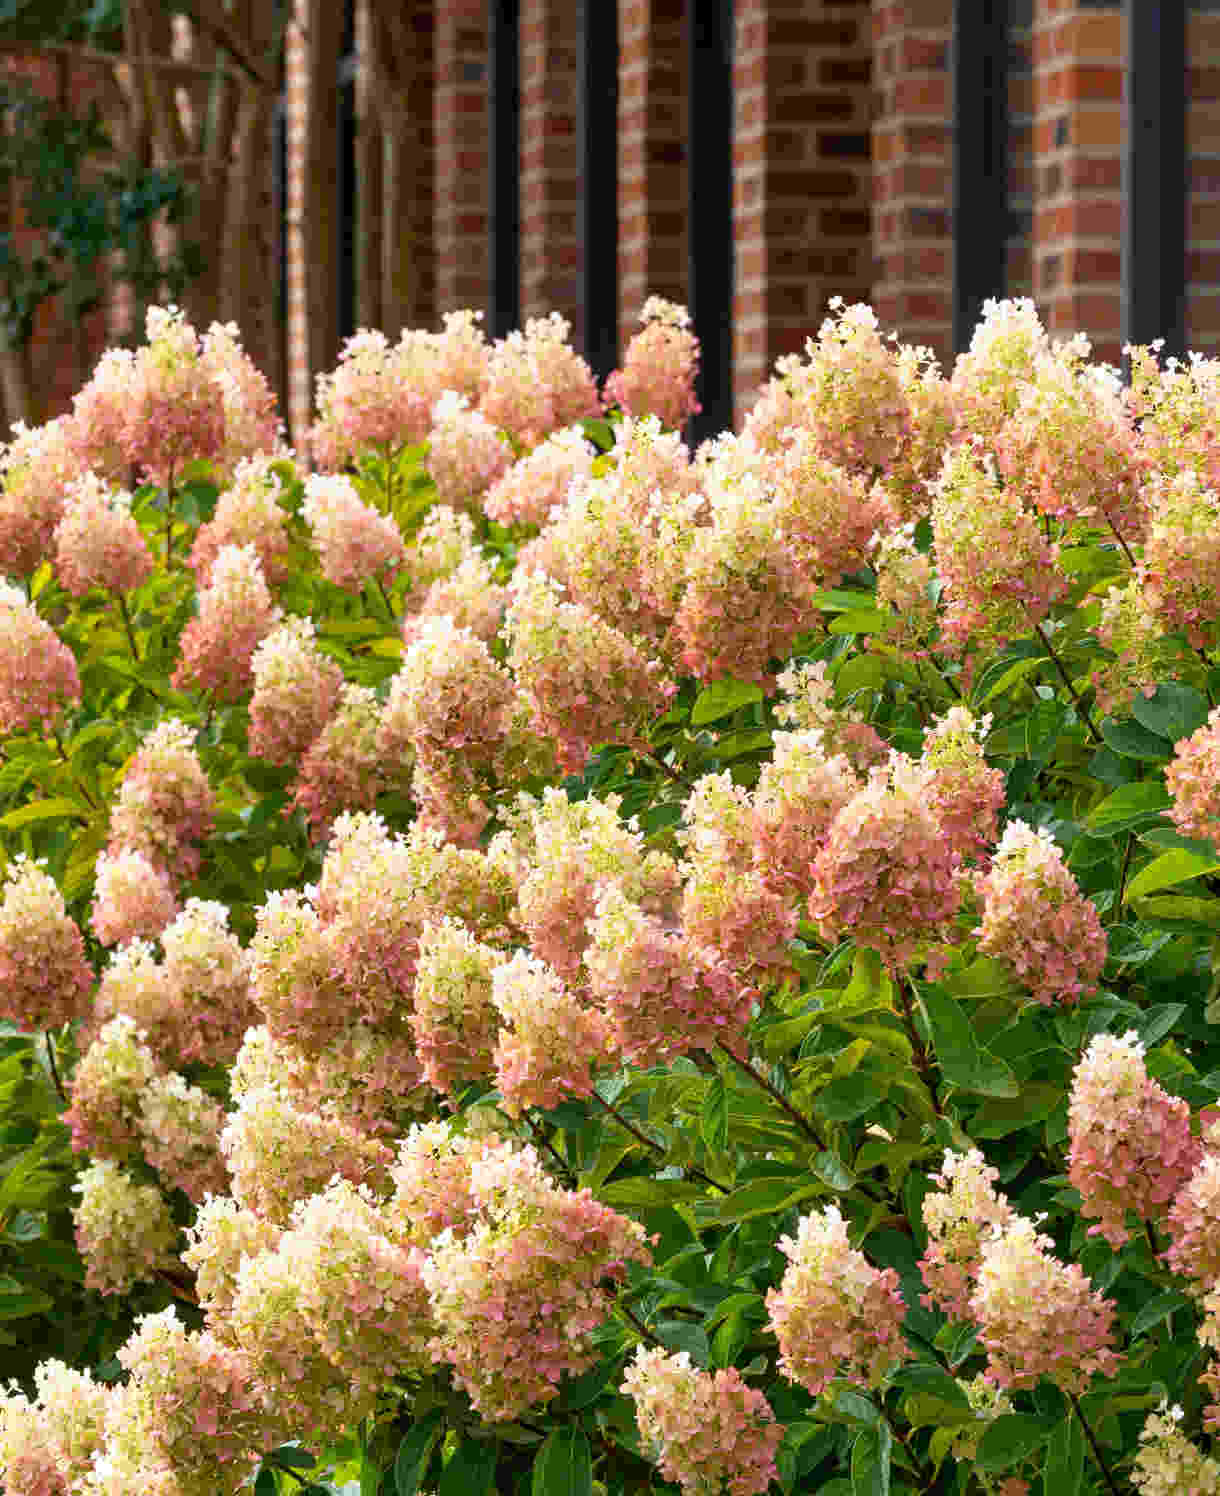
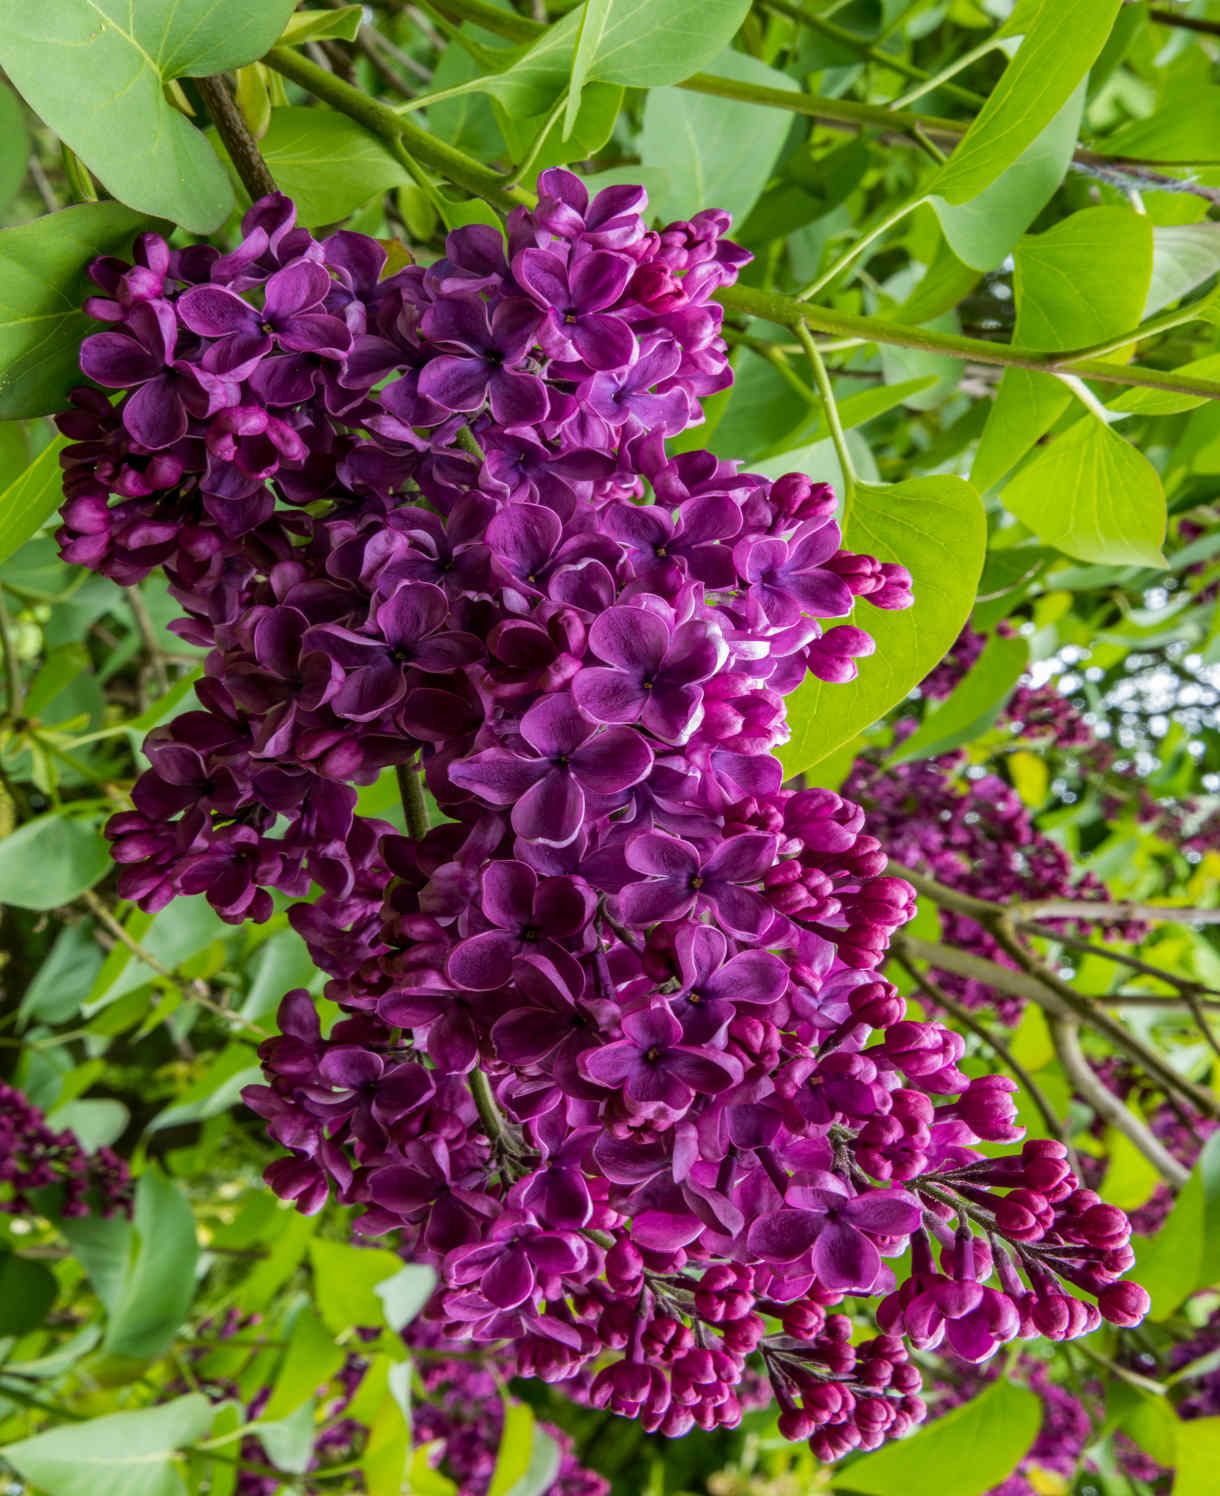
Combine this summer-flowering tree with earlier blooming companions to extend the season of interest – think magnolias, flowering cherries, lilacs, and laburnum. Add colour late in the season too, with autumn-blooming options such as buddleja, hydrangea, and abelia.
If you would like any further planting ideas or growing advice for your x Chitalpa, please contact our friendly and knowledgeable Customer Care Team - we will be more than happy to help you.
How to care for Chitalpa
Pruning and Deadheading
x Chitalpa falls into the RHS pruning group 1, which means no pruning is required other than the occasional removing of dead, diseased, damaged, or badly placed growth in winter. This is the approach to take when growing it as a specimen tree.
An alternative method is to prune x Chitalpa back down to the ground in late winter or early spring (coppicing). You can either do this just once to create a multi-stemmed shrub which will eventually become large, or every 2-3 years to maintain a small, compact size. Pollarding is another option, i.e., cutting back to the same desired height each year. This enables you to restrict the overall size while still having a single clear trunk. Give the plant a few years to establish before starting either of these practices, and make sure you prune to just above the previous cut each time to avoid repeatedly going into old wood.
Watering
Like all woody plants, x Chitalpa should be regularly watered during its first couple of growing seasons in the ground while its roots become established. After this it is more drought tolerant than most trees and shrubs and should be largely self-sufficient, though it still pays to water in prolonged periods of hot, dry weather. An annual mulch is also useful for locking in moisture – more on this in our ‘Feeding’ section below.
Container-grown x Chitalpa has less access to moisture so will need to be regularly watered throughout every growing season. Allowing the top couple of centimetres of compost to dry out between watering is a useful rule of thumb to help avoid overwatering, though be aware that during the height of summer this can happen in as little as 24 hours. A finger wiggled down into the compost is the best way to check. From mid-autumn, the British climate tends to take over watering needs, though do remember to step in in the event of an unseasonably dry spell.
Feeding
To give it the best possible start, feed x Chitalpa for its first few years in the ground with a balanced granular feed applied to the surface of the soil and lightly worked in (known as a ‘top dress’). This is best done in late winter, along with a mulch of well-rotted organic matter (i.e., a layer of manure or garden compost applied to the soil around the plant), which has the added benefit of suppressing weeds and locking in moisture.
Once your x Chitalpa is well established, an annual mulch should provide sufficient nutrients, however, apply a top dress as above if ever you feel an extra boost is needed.
Container-grown plants rely even more on the gardener for nutrition. Get off to a flying start by making sure you use a good quality compost with slow release feed in, then throughout the growing season (March to September) apply a liquid feed at regular intervals according to instructions. An annual top dress is also advisable: each spring, scrape off the top 5cm of compost and replace with fresh.
Cold Protection
When grown in the right spot (full sun, shelter from cold winds, good drainage), x Chitalpa should be hardy enough to withstand winter throughout most of the UK without the need for additional protection. Where winters are particularly harsh (more northerly or exposed gardens), it can be worth protecting young trees with a fleece jacket or similar whenever a cold spell is forecast.
Like all plants, those grown in containers can be more vulnerable to the cold. Wrapping pots with hessian or fleece can be a useful winter habit to establish. As well as insulating roots, this protects the pot from cracking.
Pests and Diseases
x Chitalpa is considered trouble free.
How to propagate Chitalpa
This sterile hybrid will not produce seed, therefore the best method of propagation is softwood cuttings, taken early in the season and given bottom heat.
- In early summer, choose non-flowering, healthy new stems, aiming to take a longer piece than the ideal eventual length of around 10cm (to allow for trimming).
- Put in a plastic bag straight away to prevent drying out.
- Fill a pot (or several, if you have a lot of cuttings) with a well-draining compost mix.
- Trim the end of the cutting to just below a node (point at which leaves grow).
- Remove lowest leaves and soft tip, leaving 2-4 leaves.
- If the remaining leaves are large, cut them in half with a sharp knife (to reduce water lost through transpiration).
- Insert the cuttings into the compost and water lightly. Several cuttings can be put in the same container if there is enough space to do this without them touching.
- Place in a heated propagating unit if you have one, or covered with a plastic bag on a windowsill if not (out of direct sunlight).
- Keep the cuttings misted and occasionally watered until they root. You will know this has happened when roots emerge out of the bottom of the container.
- Gently remove rooted cuttings and pot them into individual pots. Grow on in a protected environment such as a greenhouse, windowsill, or coldframe until they are large enough to be used.
* Many plants carry Plant Breeders Rights and cannot be propagated for commercial purposes.
Common Chitalpa questions
- Are chitalpa trees fast growing?
Yes, x Chitalpa is considered to have a fast growth rate (around 90cm per year), which lends it well to some of the hard pruning techniques described above. - How much watering does a chitalpa tree need?
Plenty for the first couple of years, then after this very little. See ‘Watering’ section for more details. - How big does a chitalpa tree get?
Left to grow freely this tree can reach a height of 9m and a width of 4m, however regular pruning can restrict this considerably. See ‘Pruning and deadheading’ above.