How to grow Chimonanthus
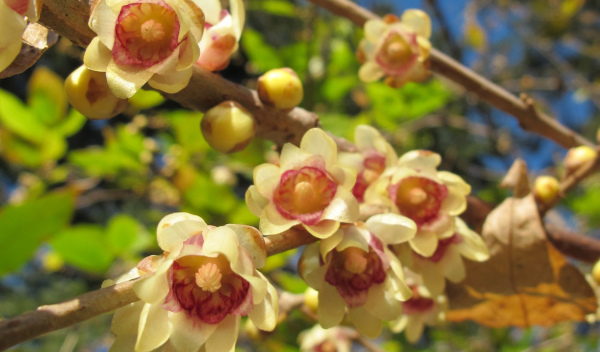
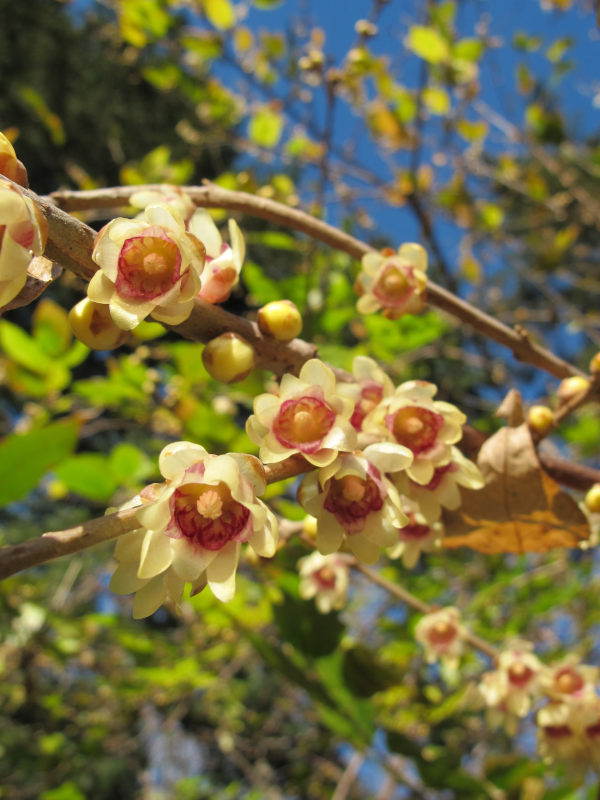
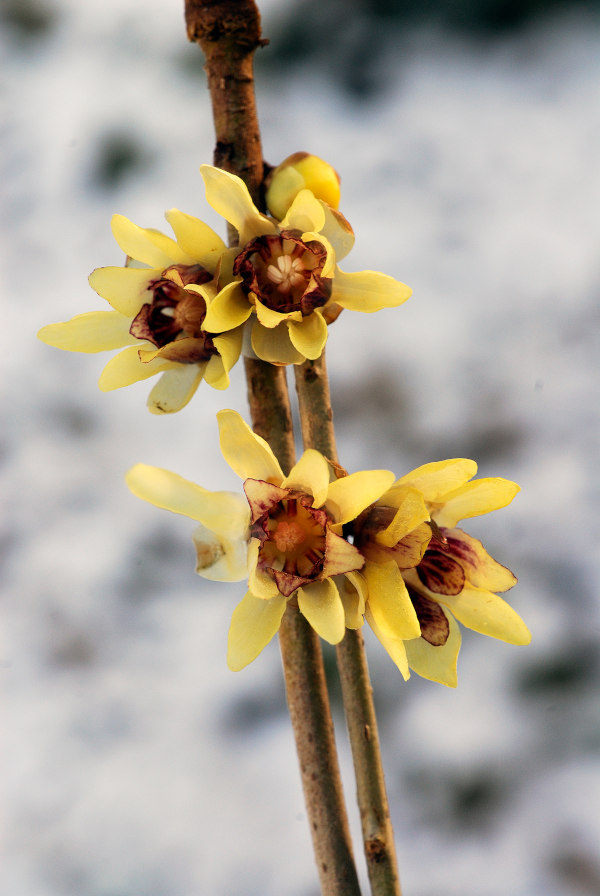
Also known as wintersweet, chimonanthus is a small genus of shrubs originating from woodland in China. One in particular, the deciduous Chinomanthus praecox, is widely cultivated as an ornamental plant, grown for its profusion of powerfully scented, waxy, translucent flowers which appear on bare branches from December to April. These can be enjoyed both in the garden and as cut stems indoors and are a popular winter choice among florists.
Key Information
Position
Soil Conditions
Hardiness

Where & when to plant Chimonanthus
Position - A sunny, warm, sheltered spot
Soil - Any fertile, well-draining soil
Flowering Period - Winter
Hardiness - Hardy. Rated H5, meaning overall it can withstand temperatures dropping to between -10°C and -15°C. That said, young, unripened wood may be damaged by frost – hence the advice to plant in a warm, sheltered location.
Chimonanthus is usually available as a pot grown plant. This means it can be planted at any time of year, though for best results, plant in autumn or spring when the soil temperature and moisture content are at optimum levels for healthy root establishment. An autumn planting can be done by those gardening in mild conditions (and broadly speaking, this is the southern half of the UK). For those liable to cold winters, it is best to wait until spring (generally the northern half of the UK). Planting can also be carried out in summer, though be prepared to water regularly.
Chimonanthus can be grown as a specimen plant, or in a shrub border. Being one of those shrubs which looks best when pruning is kept to a minimum (more on this in ‘Pruning and Deadheading’ below), the key is to ensure it has room to grow freely. An alternative approach is to train it against a sunny wall, where it is likely to grow taller and bloom slightly earlier.
When choosing a spot, aim to give your chimonanthus as much sun as possible, while also prioritising shelter from cold winds and heavy frosts. Choose a location where the winter scent will be most appreciated, such as near a doorway or frequently used path.
Chimonanthus is a slow-growing shrub. For the first few years it can live quite happily in a container, though once it reaches a certain size this naturally large shrub prefers the open ground, where it may reach up to 4m in height and 2.5m across.
How to plant Chimonanthus
- For planting into the ground, start by watering the rootball well and allowing it to drain before planting.
- If you are planting into grass, remove a circle of grass at least 1m in diameter.
- Dig the soil area over, removing any large stones and weeds and breaking up any lumps. Mix in a generous amount of organic matter such as manure or garden compost.
- Rake level and firm with your heels. Rake level again.
- Now dig the planting hole, aiming for twice the width of the rootball.
- Place the plant in the hole, ensuring the top of the rootball sits level with the surface of the soil. Too low and the stem can rot, too high and the roots can dry out.
- Backfill with soil and firm in gently with your foot.
- Soak well with water.
- Mulch around the base with well-rotted organic matter such as manure or garden compost.
- For growing against a wall, it is a good idea to install a support such as a trellis or horizontal or vertical wires prior to planting. The support should start around 30cm above ground level, and, in the case of wires, be spaced 30-45cm apart. Try to have a gap of approximately 5cm between the support and the wall to allow for optimum growth.
- Prepare the plant and soil as above.
- Dig a planting hole, aiming for a gap of about 45cm between the plant and the wall. This is both so that it has room to develop and receives adequate rainwater (rather than sit in the dry rain shadow of the wall).
- Plant as above, angling the plant at a 45° angle towards the wall.
- Water and mulch as above.
- Using garden twine, tie in growth to the supports in an evenly spaced manner. If the plant is young and doesn’t yet reach, guide it in the right direction by tying to some angled canes inserted in the soil.
- Prune out any unwanted growth, i.e., growing towards or away from the wall.
- For planting in containers, first choose an appropriately sized pot. The best practice is to start just a few centimetres larger than the root ball and go up in size gradually every year or so. Always ensure there are plenty of drainage holes in the bottom.
- Again, soak the rootball with water and allow to drain before potting.
- It can be a good idea to fill and plant your pot in situ to save yourself the trouble of moving it once full.
- Use a good quality potting compost with plenty of horticultural grit mixed in, and, if not already present in the compost (check the description on the bag) some slow-release fertiliser granules.
- Start by partially filling the pot with compost; enough so that when placed on it the top of the roots sit about 3cm lower than the top of the pot.
- Infill all the space surrounding the roots with compost, firming down with your fingers then adding a little more so the plant is held tight. Again, remember to ensure the graft union sits just above the surface of the compost.
- Pick up the pot (if you can!) and lightly tap on the potting bench or ground a few times to help further settle the compost around the plant.
- Soak well with water.
- A mulch with horticultural grit will look attractive and help to prevent a ‘cap’ or crust forming on the top of the compost (something container plants can suffer due to the artificial nature of their watering).
What to plant with Chimonanthus
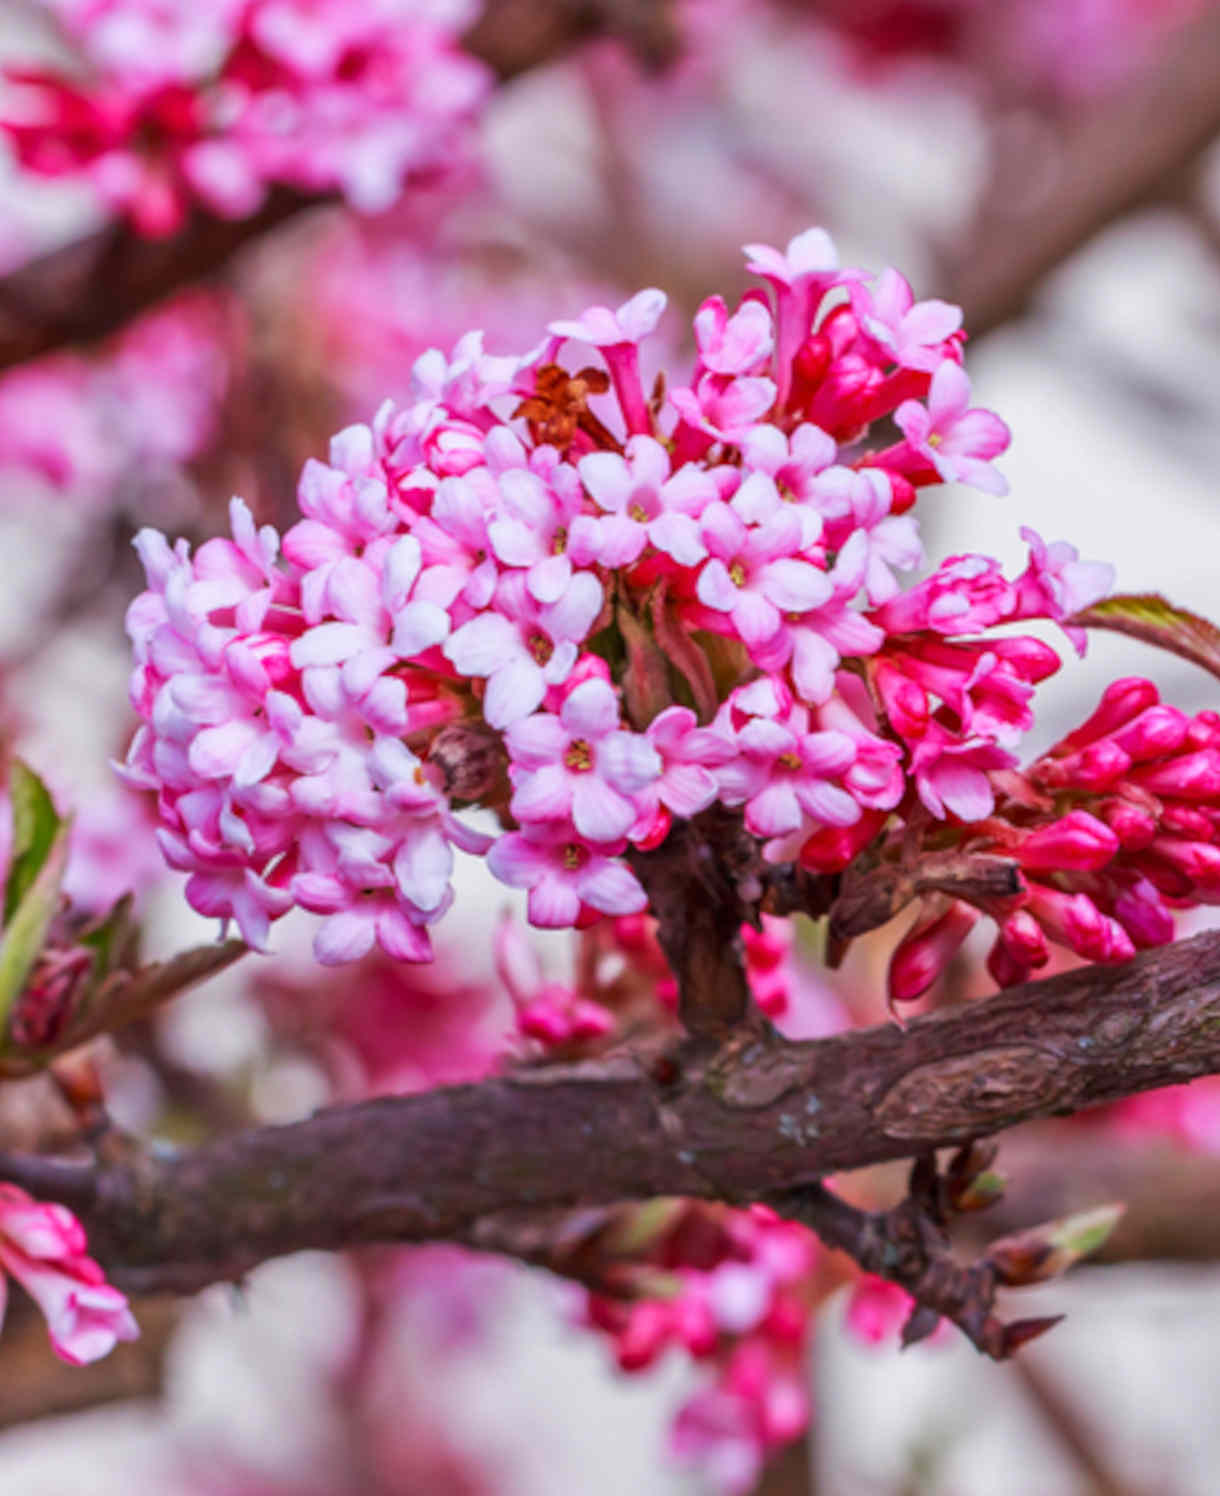
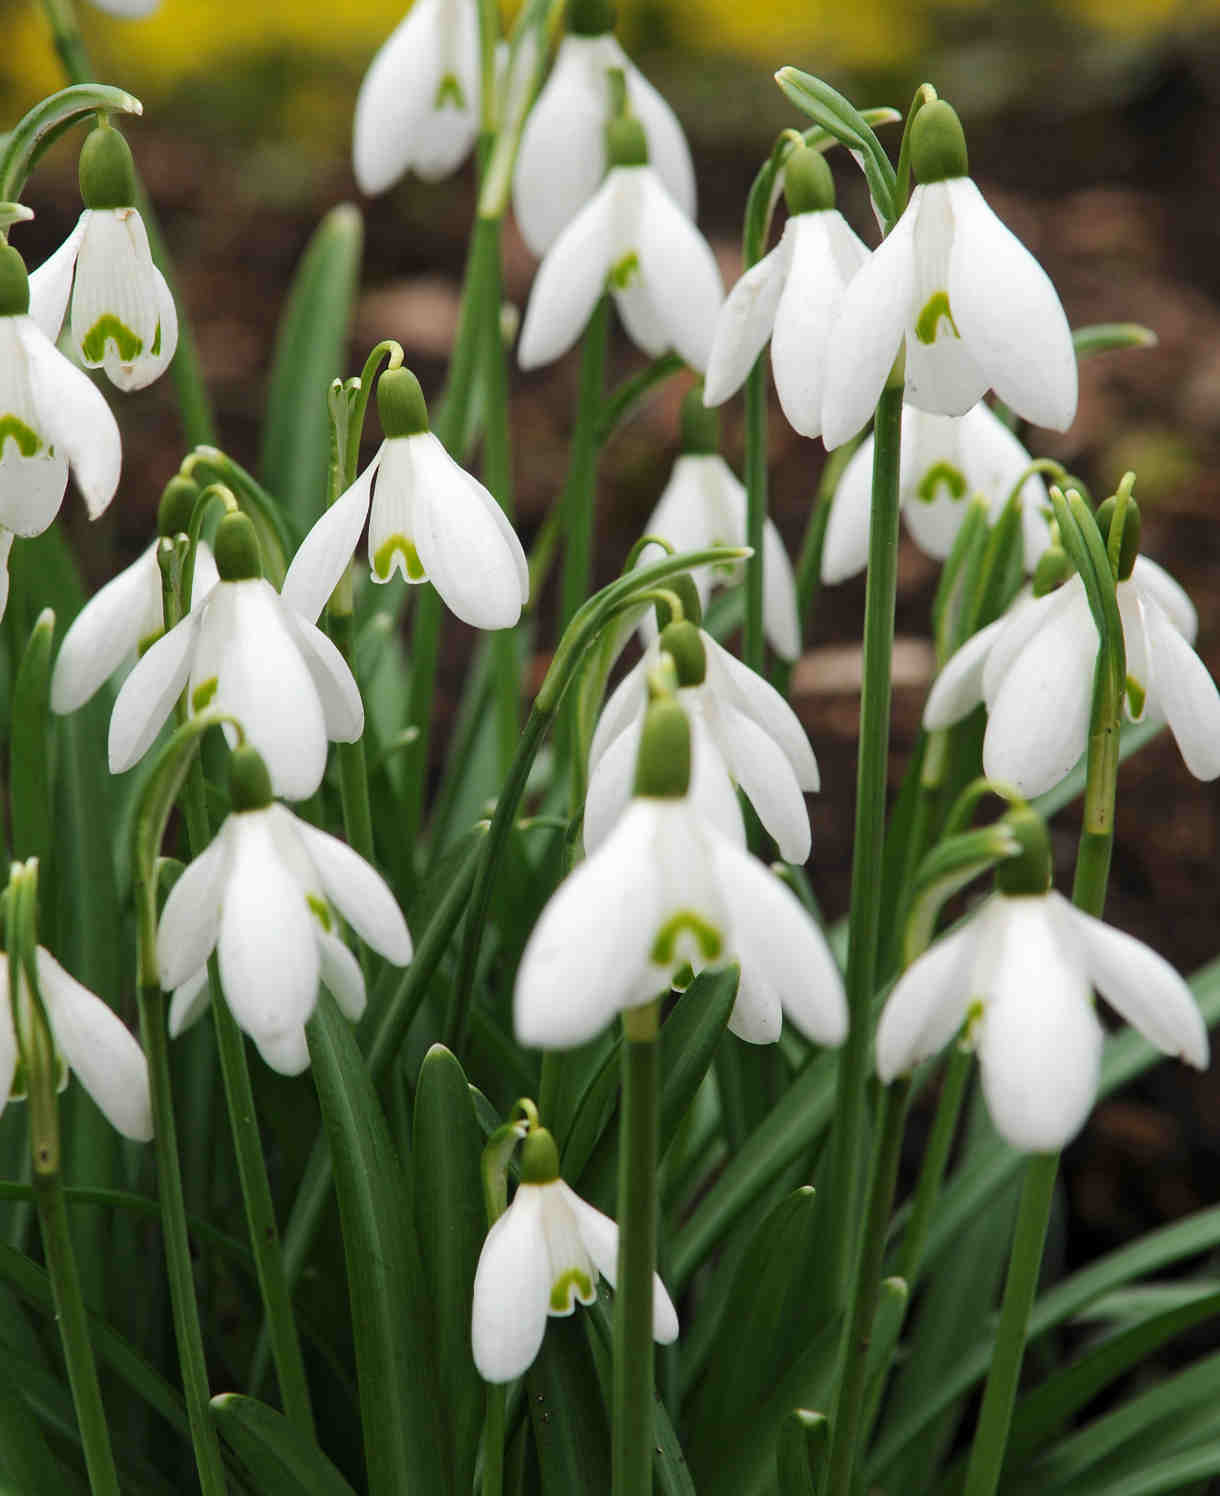
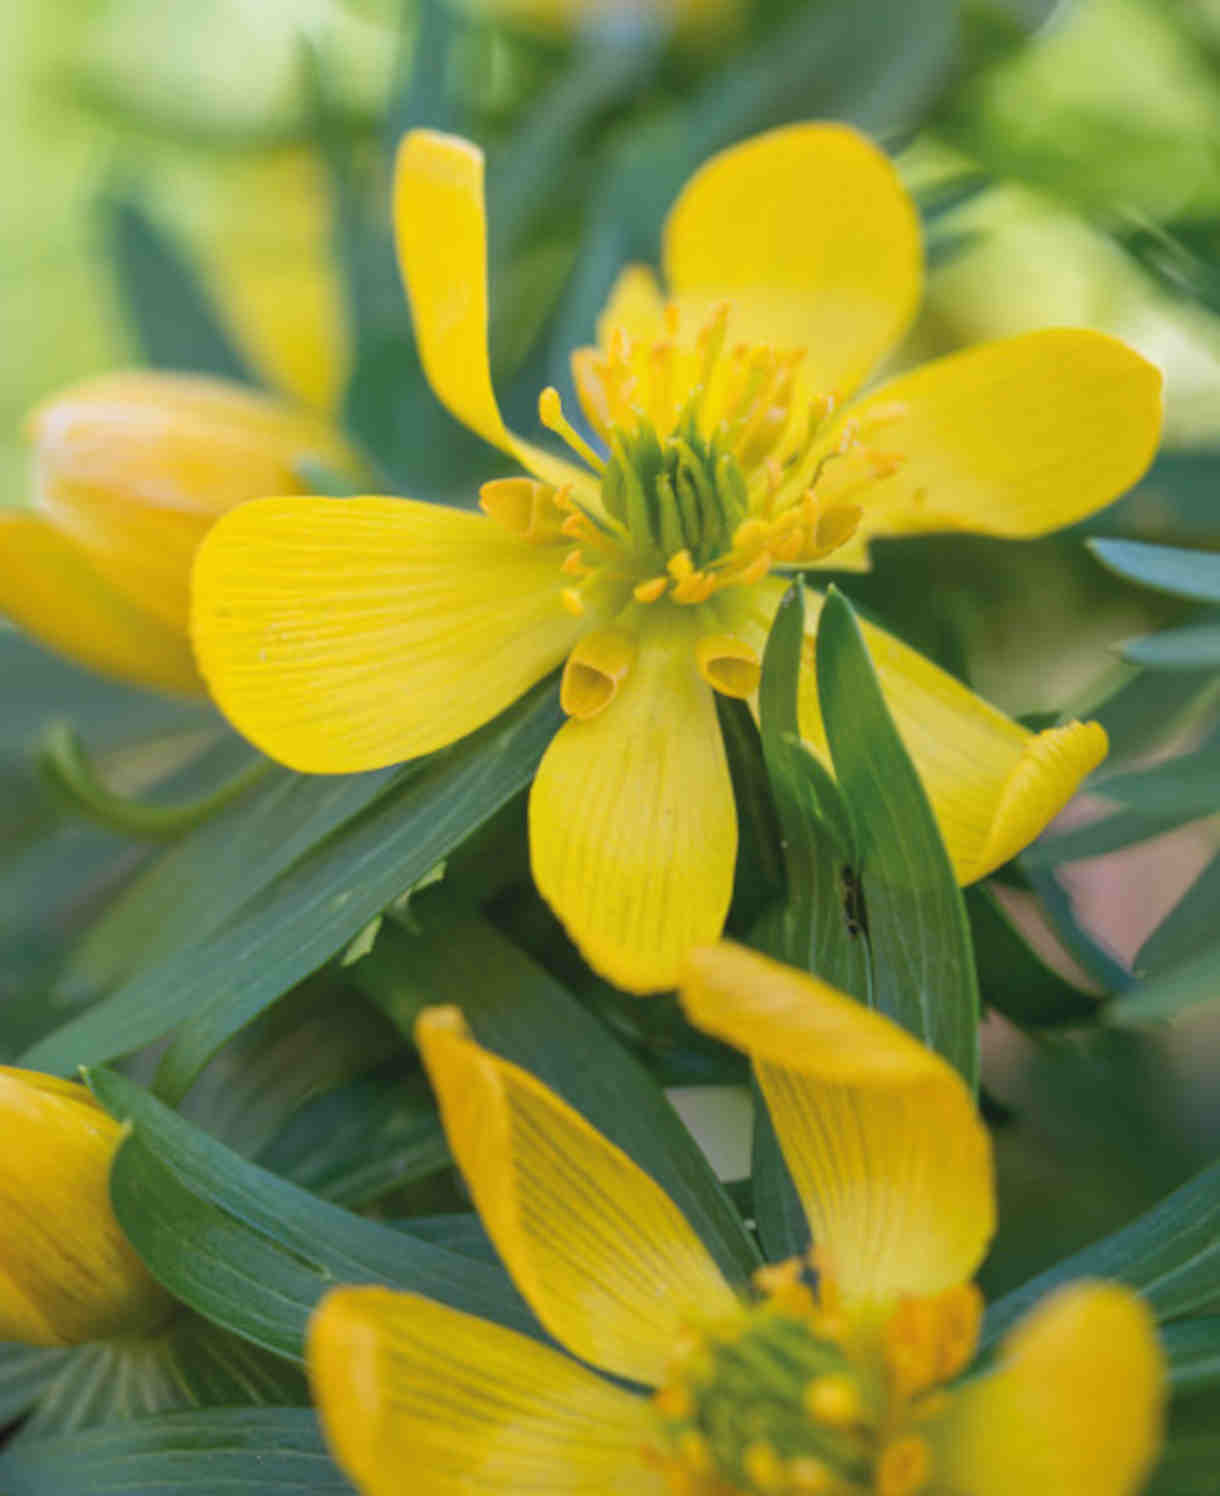
The powerful fragrance of this shrub is best enjoyed without competition, so rather than cram it in amongst other winter-scented companions (such as Viburnum x bodnantense ‘Dawn’, or sarcococca), we recommend a simple underplanting of snowdrops and winter aconite. Give the other scented shrubs their own spots elsewhere in the garden.
It’s also worth thinking beyond winter – chimonanthus has fairly unremarkable foliage, so will benefit from being planted with summer and autumn interest companions. In terms of climbers and shrubs, try clematis, hydrangea, buddleja, syringa, or philadephus. Otherwise, surround it with any manner of sun-loving summer or autumn flowering perennials.
If you would like any further planting ideas or growing advice for your chimonanthus, please contact our friendly and knowledgeable Customer Care Team - we will be more than happy to help you.
How to care for Chimonanthus
Pruning and Deadheading
Chimonanthus falls into the RHS Pruning Group 1, which means it requires little or no pruning and in fact may be spoilt by a hard prune. To keep it looking at its best, simply give it a light tidy immediately after flowering, removing any dead, diseased, or damaged stems, as well as any badly placed growth. Otherwise, leave well alone!
Wall-trained chimonanthus comes under RHS Pruning Group 13. Again, prune straight after flowering, though here you’re looking to create a permanent woody framework, distributed evenly across the wall. You can aim for a fan or espalier shape if you like, or something more informal. Once you’ve got the framework established, the annual pruning simply involves shortening any sideshoots to 2-4 buds, removing completely any that are growing either towards or away from the wall.
Watering
Like all woody plants, chimonanthus should be regularly watered during its first couple of growing seasons in the ground while its roots become established. After this, it is drought tolerant and should be largely self-sufficient, though it still pays to water in prolonged periods of hot, dry weather. An annual mulch is also useful for locking in moisture – more on this in our ‘Feeding’ section below.
Container-grown chimonanthus has less access to moisture so will need to be regularly watered throughout every growing season. Allowing the top couple of centimetres of compost to dry out between watering is a useful rule of thumb to help avoid overwatering, though be aware that during the height of summer this can happen in as little as 24 hours. A finger wiggled down into the compost is the best way to check. From mid-autumn, the British climate tends to take over watering needs, though do remember to step in in the event of an unseasonably dry spell.
Feeding
On healthy, fertile soil, an annual mulch of well-rotted organic matter (i.e., a layer of manure or garden compost applied to the soil around the plant) should provide sufficient nutrients for your chimonanthus. This has the added benefit of suppressing weeds and locking in moisture.
For an extra boost (perhaps your chimonanthus is looking stressed or you garden on poor soil), applying a balanced granular feed to the surface of the soil and lightly working in (known as a ‘top dress’) can reap benefits. Aim to do this once or twice a year if needed, firstly in spring and then again in midsummer.
Container-grown plants rely more on the gardener for nutrition. Get off to a flying start by making sure you use a good quality compost with slow release feed in it, then throughout the growing season (March to September) apply a liquid feed at regular intervals according to instructions. An annual top dress is also advisable: each spring, scrape off the top 5cm of compost and replace with fresh.
Cold Protection
Whilst established chimonanthus are, overall, hardy enough to withstand a winter in the UK, new, unripened wood may be damaged by frost. Avoid planting in frost pockets if you can, though don’t worry too much if damage does occur – it’s rarely terminal. Any blackened stems can be pruned off, simply meaning fewer flowers and a less well-balanced shape.
Like all plants, those grown in containers can be more vulnerable to the cold. In the event of very low temperatures, it can be worth wrapping pots with hessian or fleece. As well as insulating the roots this will protect the pot from cracking.
Pests and Diseases
Chimonanthus is considered trouble-free.
How to propagate Chimonanthus
Take softwood cuttings in summer, using the soft, pliable tips of new, non-flowering growth.
- Snip cuttings off the plant, if possible taking a longer piece than the ideal eventual length of around 10cm (to allow for trimming).
- Put them in a plastic bag straight away to prevent drying out.
- Fill several pots with a well-draining compost mix.
- Trim the end of the cutting to just below a node (point at which leaves grow).
- Remove lowest leaves and soft tip, leaving 2-4 leaves.
- If the remaining leaves are large, cut them in half with a sharp knife (to reduce water lost through transpiration).
- Insert the cuttings into the compost and water lightly. Several cuttings can be put in the same container if there is enough space to do this without them touching.
- Place in a greenhouse or propagating unit if you have one or covered with a plastic bag on a windowsill if not (out of direct sunlight).
- Keep the cuttings misted and occasionally watered until they root. You will know this has happened when roots emerge out of the bottom of the container.
- Gently remove rooted cuttings and pot them into individual pots. Grow on in a cool yet frost-free environment such as an unheated conservatory, greenhouse, or cold frame, until they are large enough to be planted out.
* Many plants carry Plant Breeders Rights and cannot be propagated for commercial purposes.
Common Chimonanthus questions
- Does chimonanthus have any relatives?
This genus of shrubs is the Chinese counterpart to the North American species, calycanthus – also a flowering shrub, though summer blooming. - How fast does chimonanthus grow?
This shrub has a slow to moderate rate of growth and can take around 10 years to reach full size. - What does chimonanthus smell like?
The flowers of this shrub emit a very powerful, heady, sweet aroma.


