How to grow Calibrachoa
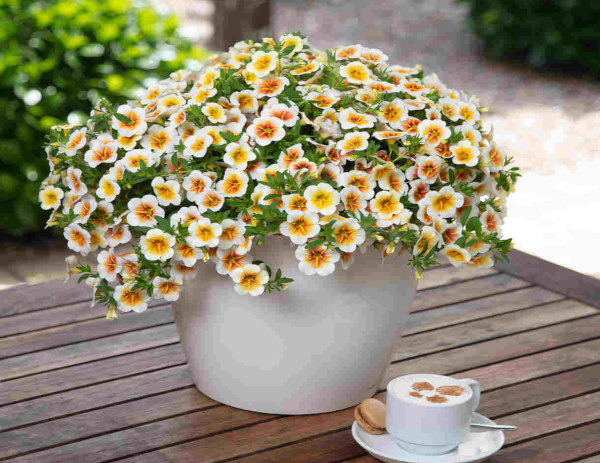
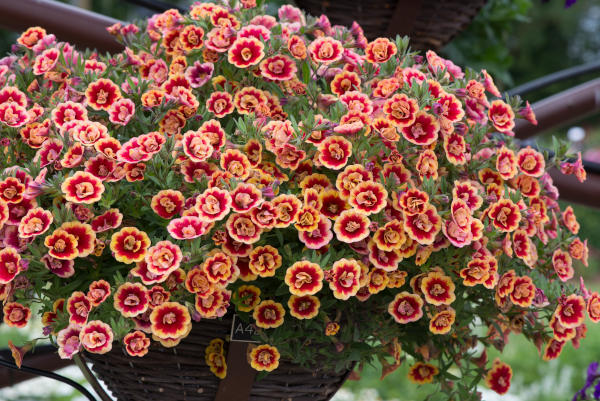
Hailing from South America, this member of the tomato family contains over 20 species of tender, low-growing, evergreen subshrub. With a trailing habit and masses of pretty bell-shape, mini-petunia-like flowers, it is popular a popular choice for tumbling over the edge of containers, hanging baskets, and window boxes. In chilly climates such as the UK, it is usually treated as an annual. There are a vast number of hybrids available offering a wide range of colours. Many have been specially bred to thrive in the more unpredictable weather patterns of places such as the UK, flowering for weeks on end regardless of the conditions.
Though related to petunia, calibrachoa can be distinguished by its woody stems and a different flower bud structure. Despite this, you may sometimes encounter it sold as petunia.
Calibrachoa is also known by the common name of million bells.
Key Information
Position
Soil Conditions
Hardiness

Where & when to plant Calibrachoa
You will receive your calibrachoa as young plants (large plugs) in spring. If they arrive before temperatures reliably remain above 5°C (this varies from region to region but is generally around late May/ early June), we recommend potting them up into 9cm pots and growing on either indoors (on a cool windowsill) or in a protected environment such as a conservatory or greenhouse.
Once you are confident it is safe to move them outside, plant into hanging baskets, containers, window boxes, or in the ground – perhaps trailing over the edge of a raised bed or wall.
How to plant Calibrachoa
- For planting in containers, first choose an appropriate pot with plenty of drainage holes. Calibrachoa has a trailing habit, so the pot should either be very deep, elevated on a pedestal or windowsill, or suspended in the air (i.e., a hanging basket).
- Prior to planting, water the plants well and allow to drain.
- Use a good quality potting compost with a generous amount of horticultural grit mixed in, and, if not already present in the compost (check the description on the bag) some slow-release fertiliser granules.
- Start by partially filling the pot with compost; enough so that when placed on it the upper surface of the root balls are about 3cm lower than the top of the pot.
- Space your calibrachoa 25-30cm apart. For an average 30cm hanging basket, three calibrachoa plants should be adequate.
- Infill all the space surrounding the root balls with compost, firming down with your fingers then adding a little more so the plants are held tight.
- Pick up the container and lightly tap on the potting bench or ground a few times to help further settle the compost around the plant.
- Soak well with water.
- A mulch with horticultural grit will look attractive and help to prevent a ‘cap’ or crust forming on the top of the compost (something container plants can suffer due to the artificial nature of their watering).
- For planting in the ground, dig the soil area removing any large stones and weeds and breaking up any lumps. Mix in some organic matter such as garden compost. If your soil is heavy clay, now is also the time to add a generous helping of horticultural grit. Rake level and firm with your heels. Rake level again.
- Prior to planting, water the plants well and allow to drain.
- A good tip is to dig a hole twice the size of the root-ball. Fill with water and allow to drain before placing in the plant.
- Place the plant in the hole, ensuring the top of the root ball sits level with the surface of the soil. Too low and the plant may rot, too high and the roots can dry out. If you are aiming for your calibrachoa to spill over the edge of a raised bed or wall, angle it very slightly in the planting hole so it grows towards the precipice.
- Backfill with soil and firm in gently with your foot.
- Soak well with water.
- Mulch around the base with well-rotted organic matter.
What to plant with Calibrachoa
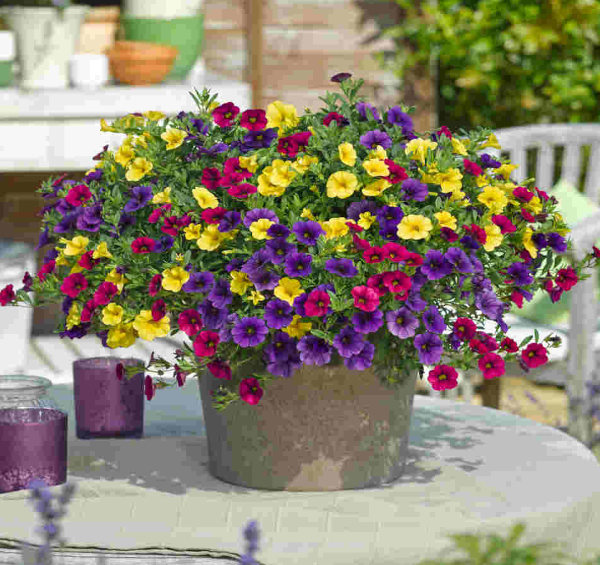
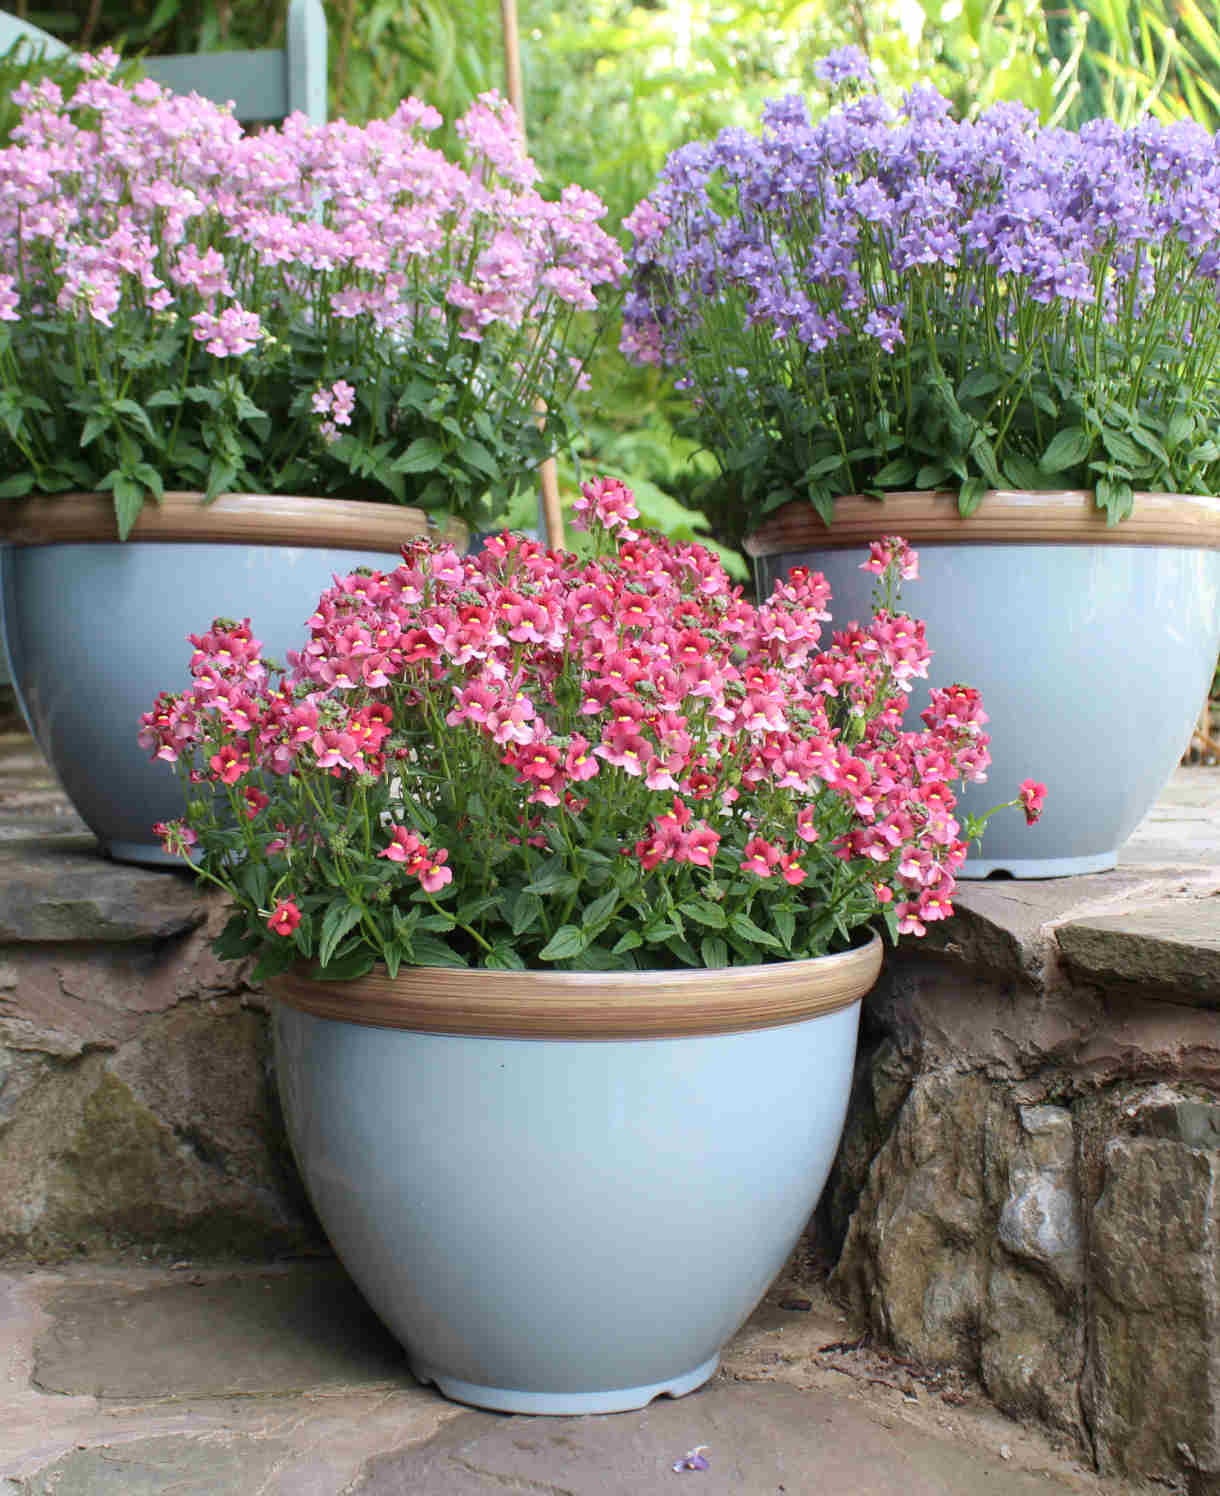
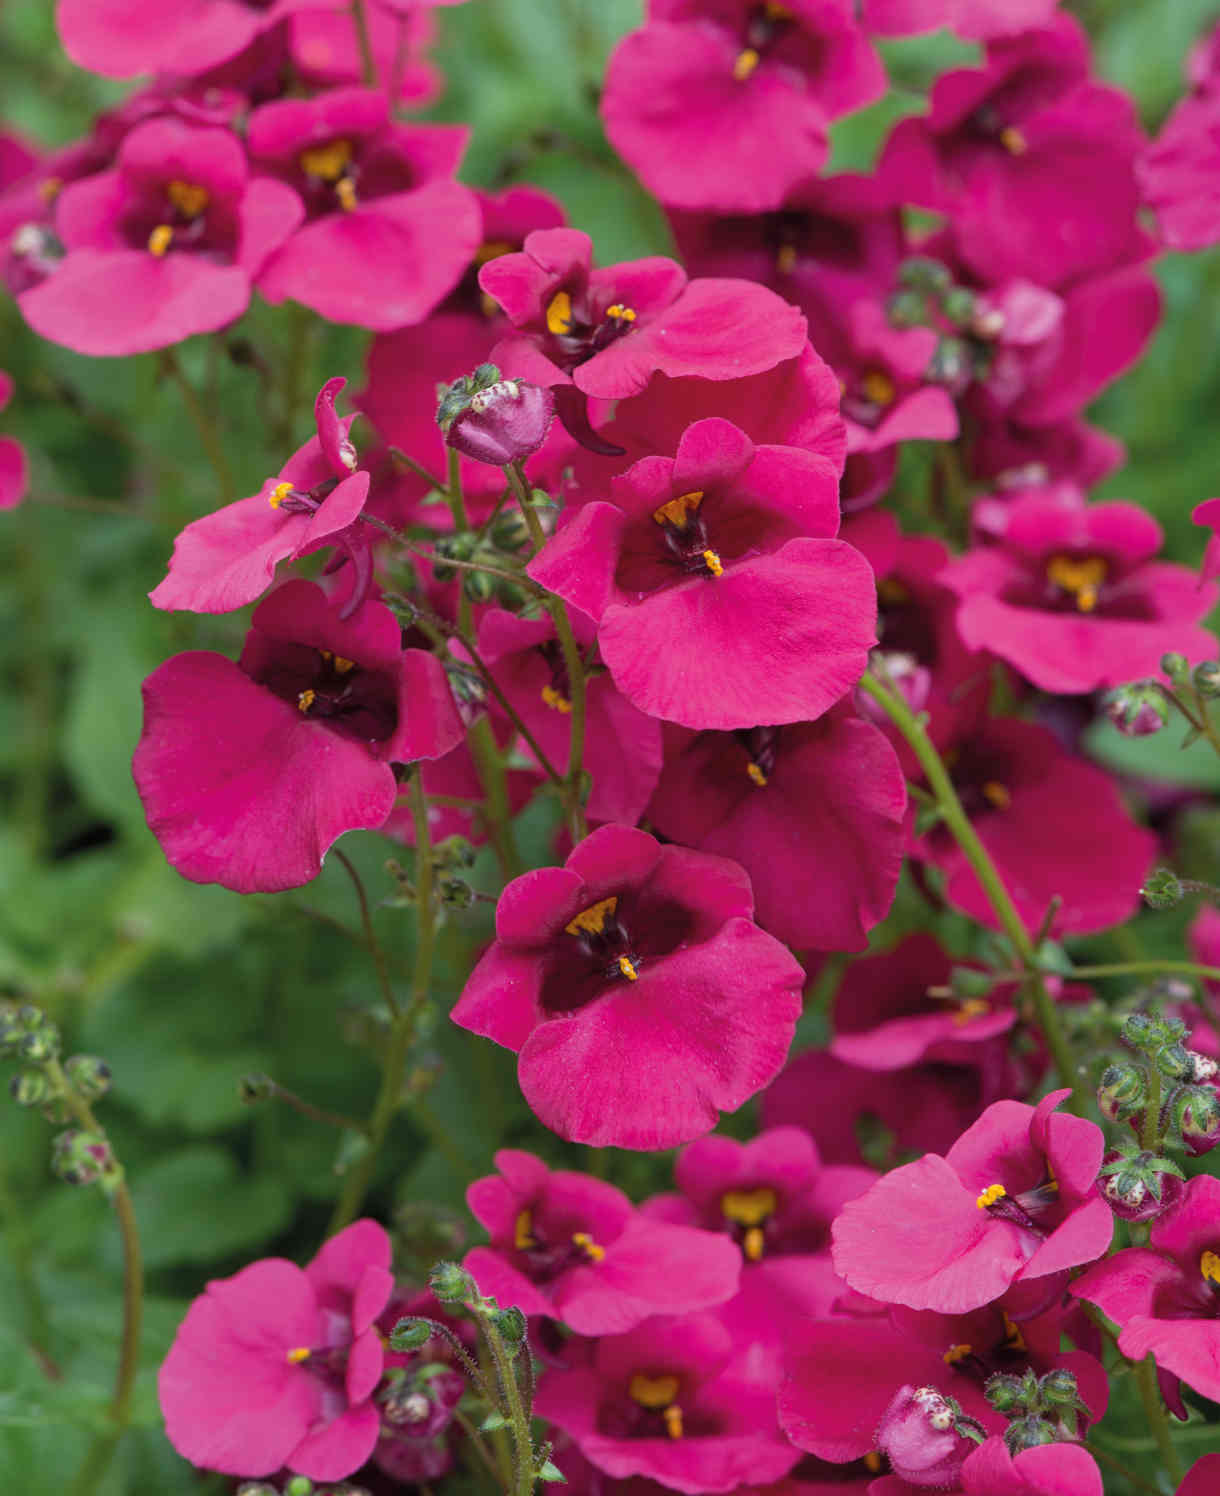
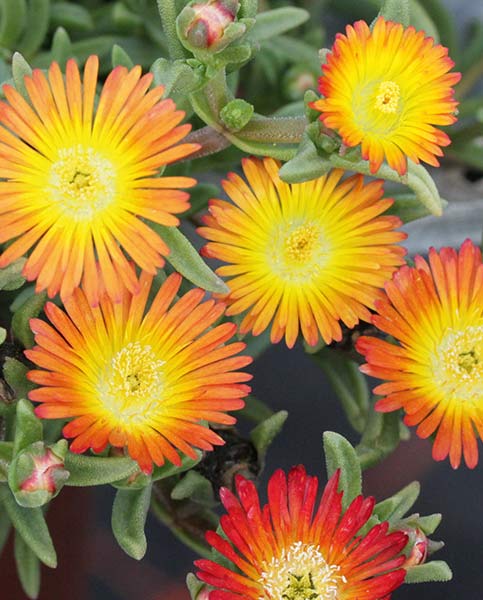
Combine with other long-flowering, container-friendly favourites for a dazzling display around windows, doorways, and patios. Think along the lines of nemesia, diascia, gerbera, and delosperma. A riot of colour awaits!
How to care for Calibrachoa
Pruning and Deadheading
Pinching back stems when young will give you bushier plants. Simply nip off the growing tip above a leaf using your fingernails or secateurs.
Calibrachoa are what’s known as ‘self-cleaning’ plants, meaning they naturally shed their spent flowers and don’t require deadheading.
As temperatures begin to dip below 5°C the plants will begin to die back. Take this as your cue to remove them to the compost heap.
Watering
While calibrachoa is known to be drought and heat tolerant, for a lush, floriferous display it is best to keep them well-watered. For those in containers, this might mean once a day during hot weather. Aim for consistently moist but not soggy soil, allowing the top few centimetres of compost to dry out between soakings. Check with your fingertips to see if it feels dry to the touch.
Feeding
To get the most out of summer bedding plants such as calibrachoa regular feeding is a must, particularly when you are growing it in a container. Get off to a head start by using a good quality compost, then throughout the growing season (March to September), apply a liquid feed at fortnightly intervals. Mix this up to the strength recommended in the manufacturer instructions.
Cold Protection
Calibrachoa is a tender subshrub usually treated as an annual in the UK. This means planting out in spring, enjoying for one growing season, then putting on the compost heap in autumn. It is possible to overwinter calibrachoa indoors, though their appearance and vigour in subsequent years rarely matches the first. Given their widespread availability and relative low cost, most gardeners opt for starting afresh each year.
Pests and Diseases
Calibrachoa tends to be relatively pest and disease free, though can sometimes find itself host to aphid populations.
Aphids are part of a balanced garden ecosystem and the best approach is to leave them to their natural predators (e.g. birds, ladybirds, and wasps). When numbers are so large, however, that their feeding starts to inhibit and disfigure growth, you may feel it necessary to take action. Regularly blasting off with a hose or wiping away with a cloth or piece of kitchen paper can help to keep numbers down without harming other members of the ecosystem.
How to propagate Calibrachoa
All our calibrachoas are hybrids and therefore do not produce seeds. While propagation by softwood cuttings is possible, as new plants are so affordable it is rarely worth going to the trouble. Should you wish to give it a try regardless, follow our step-by-step guide below.
- In the morning on a day in spring or early summer (plants are more turgid at this time and less likely to wilt during the process), take 10cm cuttings from the soft tips of new, non-flowering shoots. Snip off just above a bud using sharp, clean secateurs.
- Place in a clean plastic bag in which to transport the cuttings back to a potting bench or garden table.
- Fill a container with a compost mix which is at least 50% perlite (or if you prefer, as we do, 100% perlite).
- Trim the end of the cutting to just below a node (point at which leaves grow).
- Remove the lowest third of the leaves and pinch off the soft tip.
- Insert the cuttings into the compost and water lightly. Several cuttings can be put in the same container if there is enough space to do this without them touching.
- Place in a greenhouse or propagating unit if you have one or covered with a plastic bag on a warm windowsill if not (out of direct sunlight). If using a plastic bag, remove it a couple of times a week for around ten minutes. This will ensure the cuttings remain well-ventilated and don’t rot.
- Keep the cuttings misted and occasionally watered until they root. You will know this has happened when roots emerge out of the bottom of the container.
- Gently remove rooted cuttings and pot them into individual pots. Overwinter in a frost-free environment such as a conservatory, greenhouse, or that windowsill again, before planting out as above.
Common Calibrachoa questions
- Does calibrachoa come back every year?
Although technically perennial, calibrachoa is unable to withstand a UK winter outside, meaning it is usually treated as an annual. Most gardeners start afresh with new plants each spring. - How do you keep calibrachoa blooming?
Using a decent potting compost and feeding every two weeks with a liquid feed should mean you get the best possible flowering display from your plants. Don’t worry about deadheading, these wonderfully obliging plants take care of all that themselves by shedding any spent flowers naturally. - How do you grow calibrachoa indoors?
Calibrachoa likes lots of light, so only attempt to grow it indoors if you can offer this. Really, a conservatory or greenhouse are the only places it may conceivably thrive indoors. - Is calibrachoa a trailing plant?
All our calibrachoa have a trailing habit and are intended for tumbling over the edge of containers, hanging baskets, raised beds, or walls.


