How To Lasagne Plant Bulbs
How To Lasagne Plant Bulbs
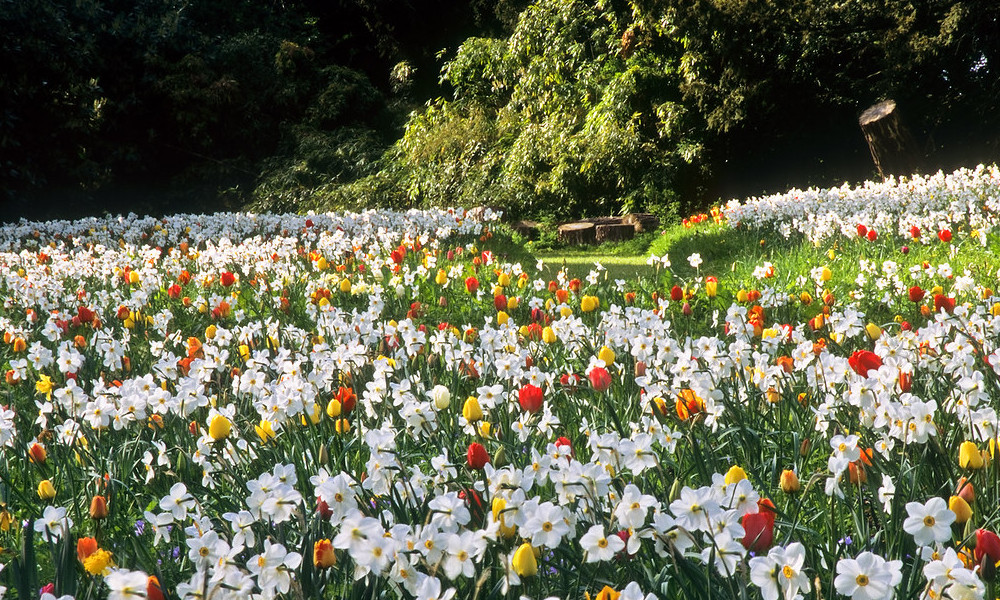
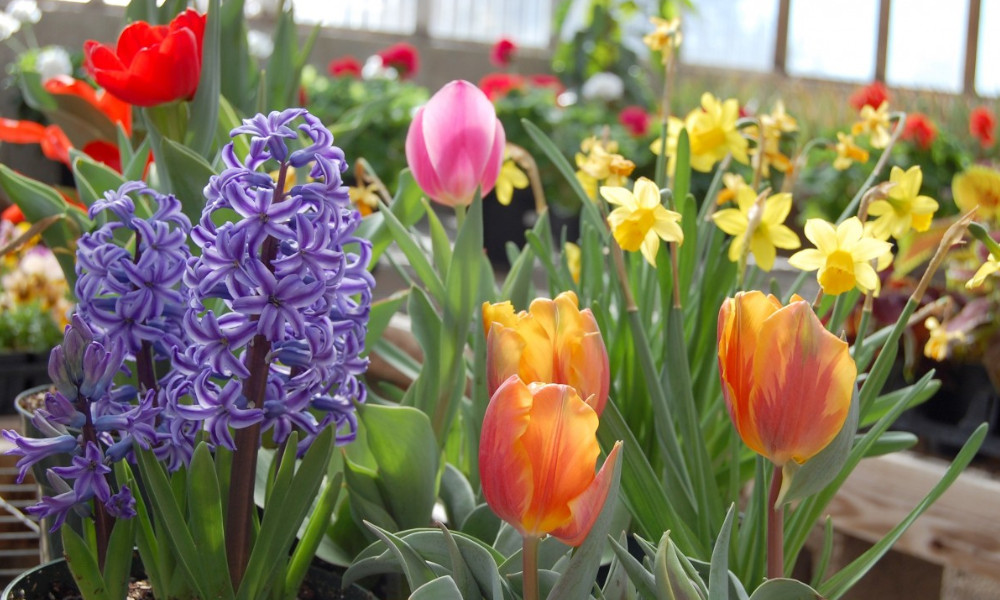
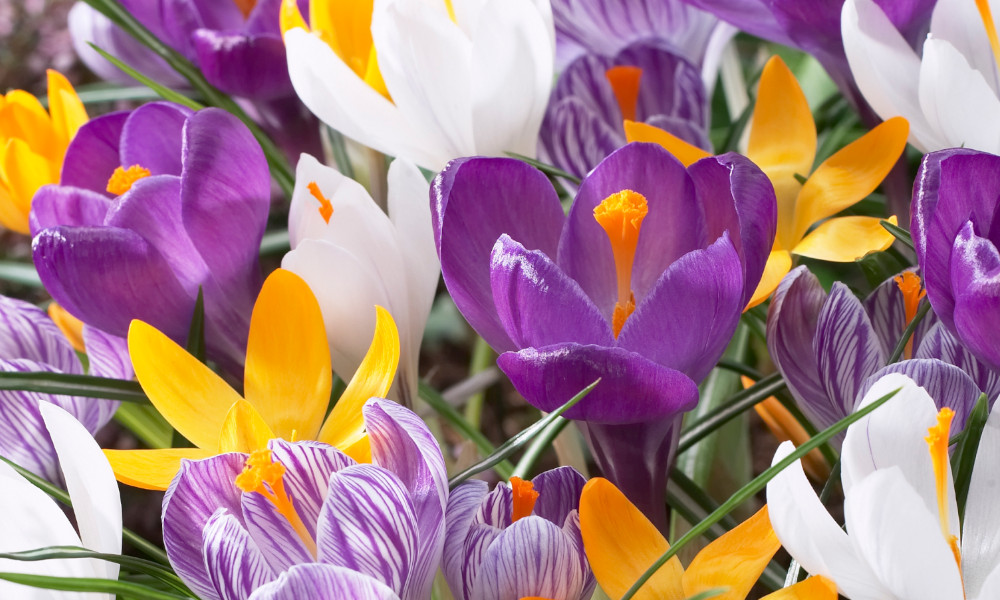
In our humble opinion here at Hayloft you can never have enough bulbs. They welcome in the growing season in Spring with snowdrops, crocus, daffodils and hyacinth. They then provide late Spring floral interest with fritillary and camassia and continue into late Spring/early Summer with bloom after bloom (tulips, alliums, iris, and freesia to name but a few). You could indeed plant a garden almost entirely with bulbs and never be lacking colour or special interest in your little haven. The only issue you may face, if you could call it that, is finding enough space to plant them all.
This is where lasagne bulb planting provides a joyous and colourful, longer-lived solution. It needs a little careful planning to ensure that the latest-flowering bulbs in your selection are planted at the bottom of the pot, with layers of earlier-flowering bulbs above them. We also recommend keeping each container to a seasonal collection. Not only will this help with lifting and re-planting, but it will mean that you do not have to overcome straggly, fading leaves as you wait for nutrients to return to the bulbs which have already flowered and wait for new blooms emerge. Once this little bit of preparation is done you will be ready to plant the bulbs in their new containers and wait to be rewarded with wave after wave of seasonal bulbs. This gives you an amazing and personally selected display for an entire tranche of the growing calendar.
In the kitchen you would have saucepans full of bolognese and bechamel sauce to juggle, as well as sheets of lasagne and blocks of cheese; making lasagne for your garden is a lot more straightforward and, of course, there is no washing up to do either.
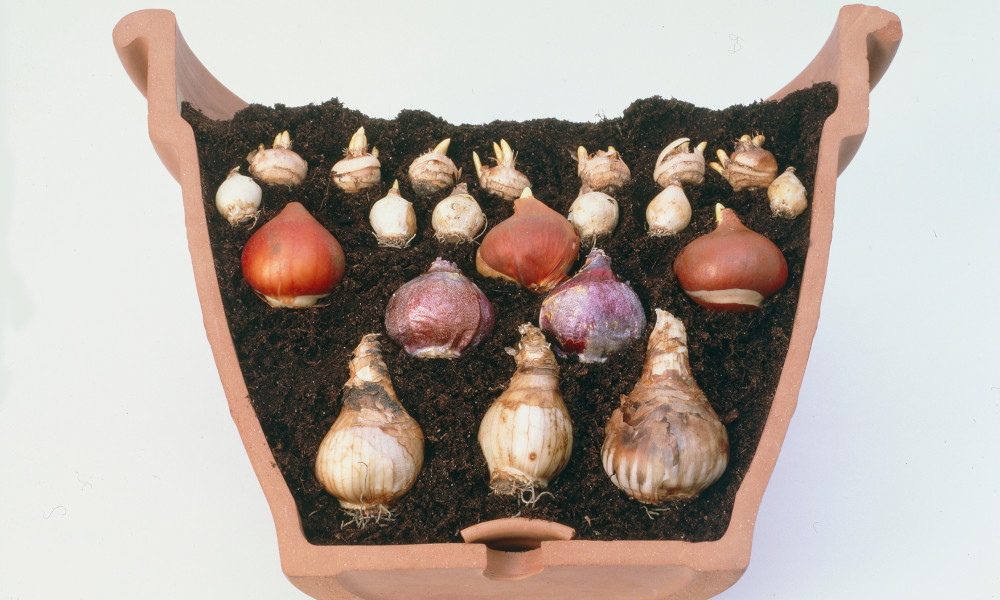
- Find yourself a suitable pot or container. As a guide, 2 layers of bulbs will need a container that is at least 15cm deep or, ideally, a little bit deeper so that the bulbs have enough space to spread their roots and grow.
- A few crocks at the bottom of the pot will help to stop the drainage holes clogging up with compost and allow any excess water to run away – most bulbs rot easily in wet, cold soil. Larger pea gravel will also do the job.
- Partially fill your chosen container with a 5cm layer of compost and put the largest, latest flowering bulb on top of this layer. Ensure that you space them apart sufficiently dependent on their size and the guidance on the packet – approximately 2-3 cm should be sufficient for most as you want your pot to be full of colour.
- Cover this first layer of bulbs with another 5cm layer of compost.
- Then you can add a 2nd layer of smaller, earlier-flowering bulbs on top of this compost, spaced about 2-3cm apart again. Remember - you need the lower layer of bulbs to be able to grow past them to the surface of the compost in order to bloom so give them a little bit more space than you would if you were potting up a single layer of bulbs.
- Cover this 2nd layer of bulbs with another layer of compost.
- If you have a deeper pot, you could, if you wished, put another layer of bulbs on top of this – the ones which will flower first in the trio – and then cover with a final layer of compost.
- A layer of grit as a top-dressing will help with appearance or, if you dislike bare pots whilst waiting for the bulbs to emerge – you could put some bedding plants on the top layer of compost whilst you wait.
- As always, water the container immediately after planting and keep them moist but be careful not to over water.
- In order to assist further with drainage, especially over winter, you can elevate the pots off the ground with pot feet.
- Once your container begins flowering remember to deadhead and neaten foliage once each layer has finished flowering but do not remove the leaves completely if you want to re-use them as this is a vital part of putting nutrients back into the bulb.
Once you have mastered this technique then you can get adventurous with the number of layers, different bulb combinations and even adding perennials and bedding to your top layer of plants.
If you are overwintering your containers of bulbs then, whilst they will tolerate a moderate amount of wet and cold, they may need wrapping up in horticultural fleece to protect them from harsher weather. This particularly applies to bulbs planted in Autumn ready for Spring flowering. Most Summer flowering varieties will be planted in Spring so are not so susceptible to waterlogging and hard frosts, but you will still need to keep a watchful eye.
As a starting point we have given you some suggestions of which bulbs to try out in the table below. We have focused on Spring blooms as you will, most likely, be preparing these in the Autumn – but there is no reason why you could not get adventurous later in the growing year and we would love to see or hear about your combinations.
Crocus (top), Tulip (middle), Allium (bottom)
Anemone (top), Muscari (middle), Hyacinth (bottom)
Snowdrop (top), Daffodil (middle), Dutch Iris (bottom)