How to grow Zantedeschia
Zantedeschia is a genus of flowering plants from the family Araceae and is native to southern Africa. With a rich history dating back to the Ancient Romans, these deciduous or semi-evergreen perennials have been used as a symbol of celebration. Zantedeschia was Named after Professor Giovanni Zantedeschia, an Italian botanist.
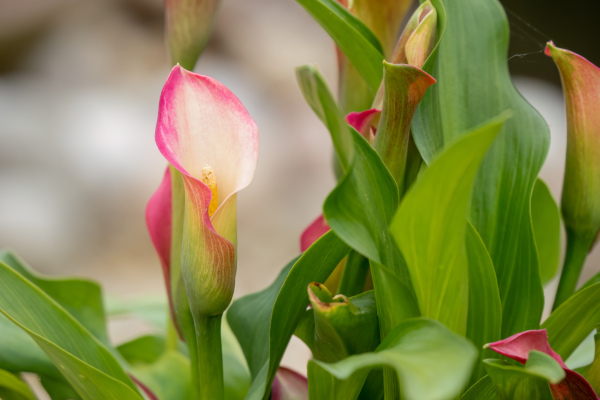
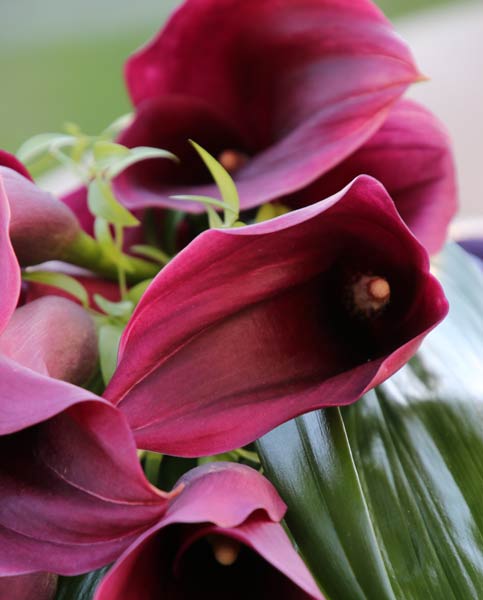
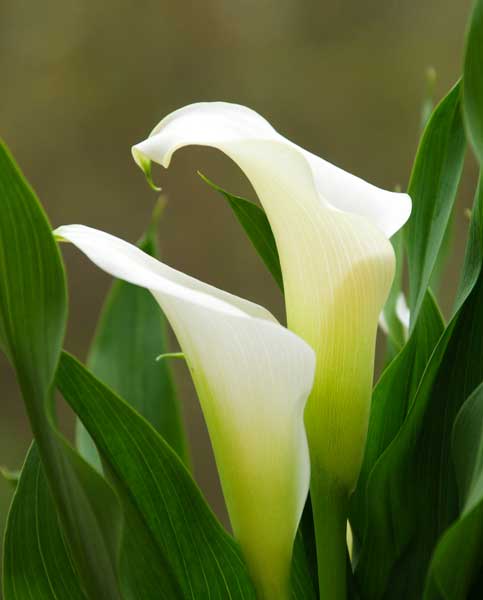
There are two main forms of Zantedeschia: hardy and tender. Hardy forms of the plant can be grown outdoors, enjoy moist soil and full sun or partially shaded conditions - these are known as Arum lilies. Tender forms of Zantedeschia prefer being grown in containers or pots and should be brought inside over the winter - these are known as Calla lilies.
With tuberous flora in all colours from whites, yellows and oranges to deep reds and purples, Zantedeschias are not to be overlooked in any garden, as long as they have sufficient sunlight to grow in.

Zantedeschia is a genus of flowering plants from the family Araceae and is native to southern Africa. With a rich history dating back to the Ancient Romans, these deciduous or semi-evergreen perennials have been used as a symbol of celebration. Zantedeschia was Named after Professor Giovanni Zantedeschia, an Italian botanist.
There are two main forms of Zantedeschia: hardy and tender. Hardy forms of the plant can be grown outdoors, enjoy moist soil and full sun or partially shaded conditions - these are known as Arum lilies. Tender forms of Zantedeschia prefer being grown in containers or pots and should be brought inside over the winter - these are known as Calla lilies.
With tuberous flora in all colours from whites, yellows and oranges to deep reds and purples, Zantedeschias are not to be overlooked in any garden, as long as they have sufficient sunlight to grow in.
Ready to learn more about growing Zantedeschia? Read on for all there is to know...
Key Information
Soil pH

Position
Hardiness

Where & when to plant Zantedeschia
Zantedeschia bulbs should be planted in spring - once the last frost has passed. The ideal place for planting depends on the variety, as hardy Zantedeschia can tolerate full sun and drier soil, whereas tender Zantedeschia needs more shade and moist soil. Plant your Zantedeschia in flower borders or, alternatively, a container if you want more flexibility and to bring your plants indoors over the winter.
How to plant Zantedeschia
Start by finding a spot in your garden that benefits from plenty of sunlight each day. You will need to make sure that your planting spot will not become waterlogged, so make sure that the soil in this area drains well.
Soak your plants in tepid water for up to 15 minutes to ‘wake them up’ from dormancy before planting.
Dig a hole that leaves a few centimetres between the top of the plant and the soil level. If you are planting multiple Zantedeschia from bulbs, leave 20cm of space between each to give them room to grow.
Add the plant to the hole and backfill with soil. Water in well to help the plant establish itself. Water regularly to keep the soil moist and check for drainage.
What to plant with Zantedeschia
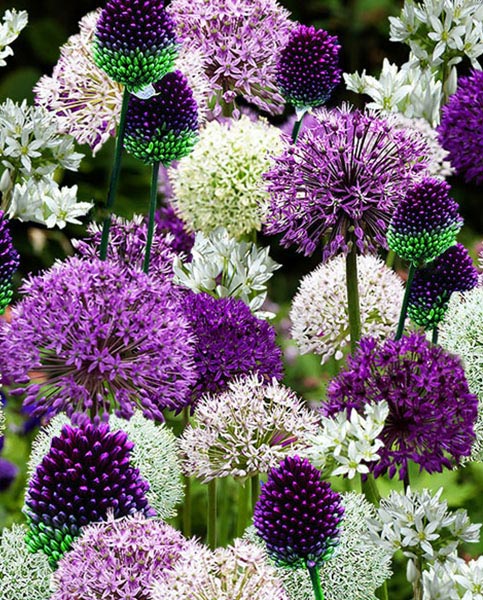
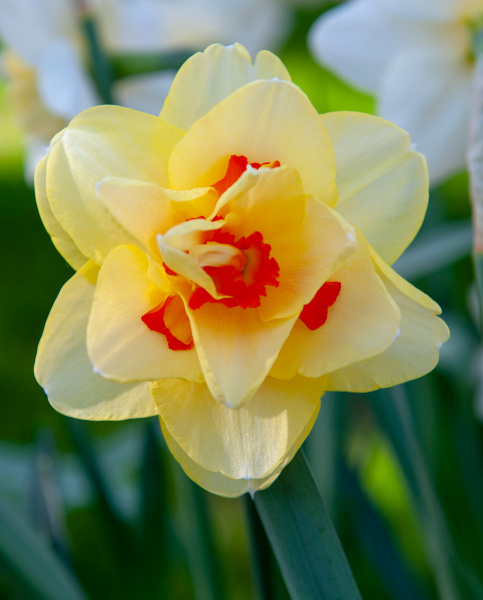
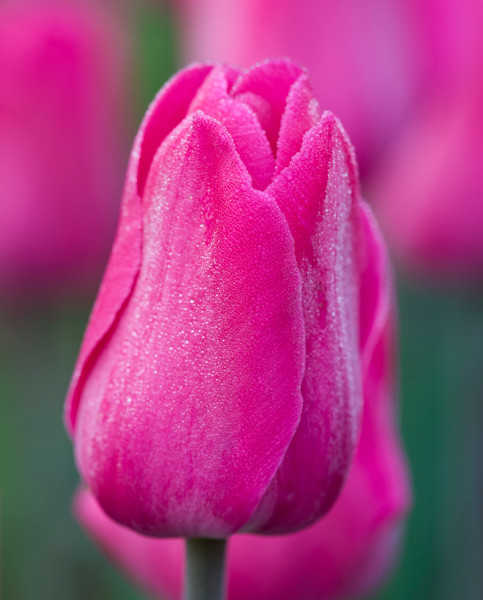
When looking at companion plants for Zantedeschia, find other spring and summer-blooming plants and bulbs. Alliums are one such choice - hardy ornamental bulbs that are drought-tolerant and blossom with clusters of blues, whites, pinks or reds. Daffodils and Tulips are other excellent choices, adding spring-flowering colour to garden beds or borders.
Please contact our excellent Customer Care Team if you would like any help or planting tips for your Zantedeschia. Below are a few ideas to help get you started.
How to care for Zantedeschia
Pruning & Deadheading
In autumn before the first frost, cut Zantedeschia back short to 10cm above soil level. As always, if you see any dead, diseased or damaged leaves, flowers or stems throughout the year, remove these to protect the rest of your plant and to keep it looking fresh.
Watering
Zantedeschia can be watered freely if hardy to keep the soil cool and moist. Tender forms of Zantedeschia need watering only when the soil is dry to the touch.
Cold Protection
Hardy varieties of Zantedeschia can remain outdoors with a thick layer of mulch applied in the autumn to protect the roots. If you have potted tender Zantedeschia, you can bring the bulbs indoors and keep them in a dark and dry spot over the winter. Then, re-plant into fresh soil in the following spring to recommence the growing cycle.
Pests & Diseases
Common diseases to look out for include root rot, leafspot, powdery mildew and botrytis. Root rot can be caused by overwatering Zantedeschia or planting in poorly draining soil which means its roots will not receive the oxygen they need. Leaf spot, powdery mildew and botrytis are all infections that will appear on the foliage of your plant - look out for dark brown spots, white clusters of ‘powdery’ looking fungus or grey mould. If you see any of these signs, treat immediately.
How to propagate Zantedeschia
When it comes to Zantedeschia, propagating by division is the best choice. The best time to divide the plant is at the start of spring before flowering
Choose a healthy parent plant to take divisions from. Remember that you are ‘cloning’ this plant, so pick the best of the best! Start the process by gently removing the parent plant from the soil. Use a clean and sharp knife to pry away a section of roots from the plant - do not take more than ⅓ of the roots away from the parent. Once you have taken your division, replant the parent plant as soon as you can.
Add potting soil to a pot that is large enough to hold the roots while not restricting room for growth and add the roots to the pot. Water in to settle and place your division pot(s) in a warm and sunny position out of direct sunlight.
Water regularly to keep the soil moist, particularly in the warm summer temperatures. Once your divisions have outgrown their pots, they can be safely planted in their final position.
How do you take care of Zantedeschia?
Zantedeschia needs well-draining soil, regular watering and at least 2-4 hours of daily sunlight. You can add liquid fertiliser to hardier species of Zantedeschia fortnightly to encourage healthy growth and tender forms will benefit from high-nitrogen fertiliser applied fortnightly during active growth - do not add fertiliser or feed when the plants are in flower.
Do Calla lilies come back every year?
Calla lilies are indoor and tender forms of the Zantedeschia genus. While they may appear dormant or dead over the winter, you can safely bring them indoors and repot with fresh soil the following spring.
Can I plant Zantedeschia outside?
Yes, you can plant hardier forms of Zantedeschia outside. If you have tender Zantedeschia, these can be grown outside although they should be grown in pots or containers so they can be brought in over the winter.