How to grow Wisteria
There can be few more showstopping sights than a mass of wisteria blooms late spring and early summer, and while this is a plant which does require a little commitment (namely bi-annual pruning and an annual feed), the breathtaking results are more achievable than you might imagine. This growing guide will take you through everything you need to know to about growing a healthy, thriving wisteria, and how to easily slip into its rhythm of maintenance.
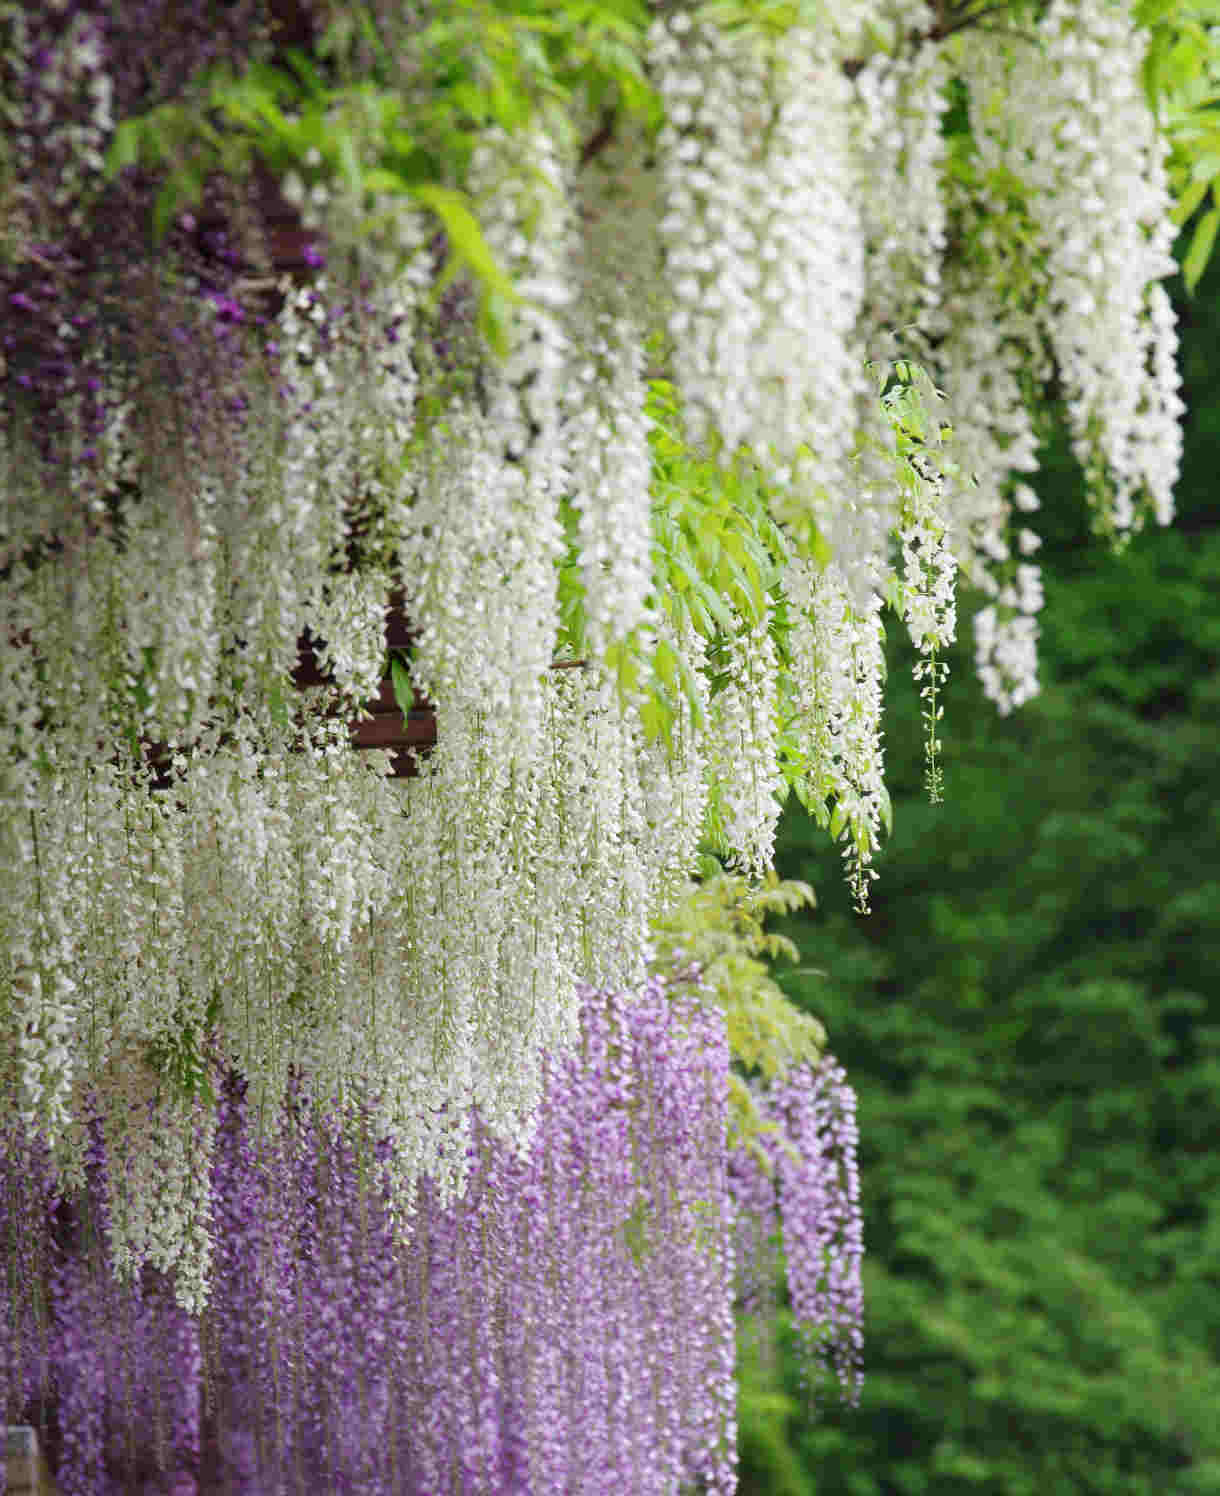
Wisteria is a twining, woody, deciduous, climbing member of the pea family. It hails mainly from China, Japan, and Korea where it grows in moist woodland and on streambanks (what a natural spectacle that must be!). While there are around 10 species, the two most commonly grown by UK gardeners are Wisteria sinensis (Chinese wisteria), and W. floribunda (Japanese wisteria). Chinese wisteria flowers on bare wood and has plump, shortish flower panicles now available in a variety of colours, from white to deep violet. It is a popular choice for house walls where it can be appreciated both from outside and within – its heady fragrance drifting in through opened windows and doors. Japanese wisteria flowers a little later, usually once young leaves have already started to appear, and bears much longer flower panicles. It is often used for large pergolas, tunnels, and walkways, where the elegant, fragrant blooms can dangle freely and be fully appreciated. Again, there are countless cultivated forms, including the hugely popular pink-flowered ‘Rosea’. If you have inherited a wisteria and are unsure of the species, a nifty trick for telling these two most likely candidates apart is to look at the direction of twining. Chinese wisteria twines clockwise, while its Japanese counterpart travels in the opposite direction.
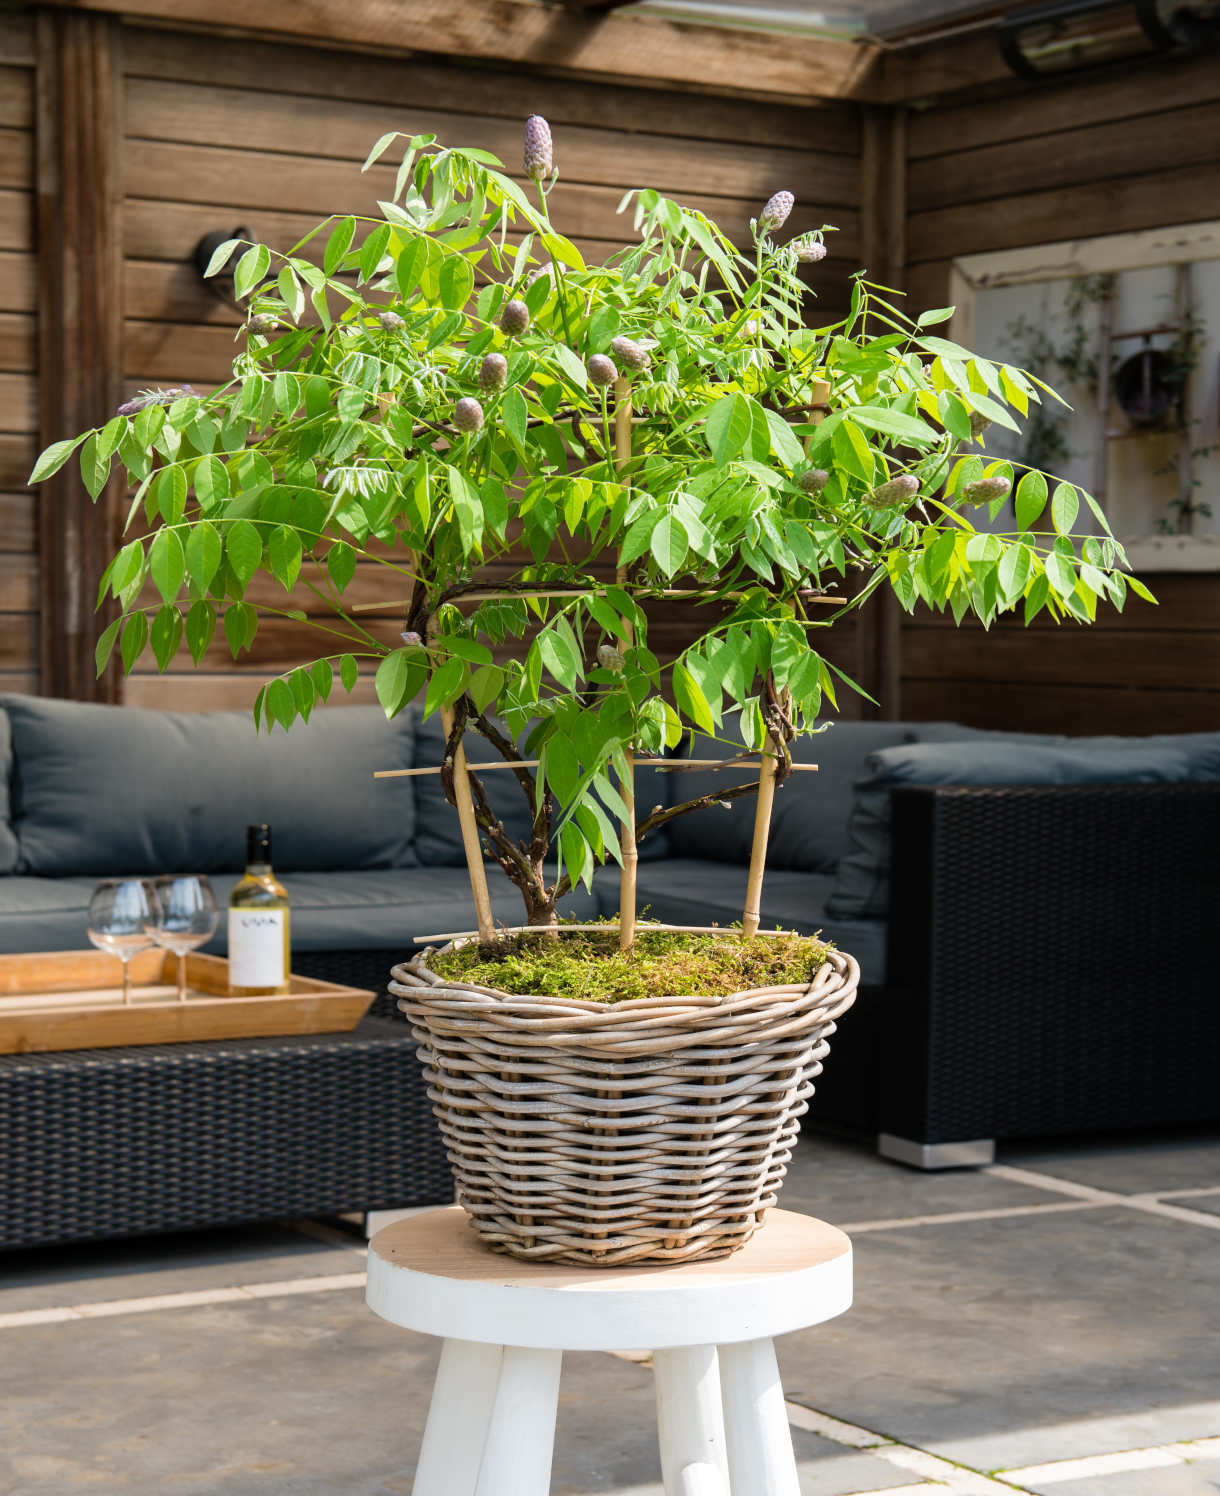
Another anticlockwise-twining possibility is the lesser-known American wisteria, W. frutescens. While its flowers are shorter and less fragrant, this is compensated for by a conveniently compact, less vigorous nature making it ideal for smaller spaces and containers. The most garden-worthy is ‘Amethyst Falls’, which offers vibrant purple summer blooms and stays a diminutive 5 metres, as opposed to the average 10 to 12 metres of the Asian species.
W. brachybotrys (silky wisteria) is a less widely grown Japanese species, also with an anticlockwise twining habit. Known for its immense vigour, this species can quickly scale great heights, often growing beyond 12 metres in height and 8 metres in width. Its flowers are exceptionally fragrant, and the seedpods have a velvety, felted coat.
From a seedling or cutting, wisteria can take up to 20 years to flower. Fortunately, most of the named cultivars available are grafted using material from two relatively mature plants and so can be expected to bloom within 3 to 5 years of planting. The larger the plant you buy, the less time you should have to wait for flowers. In this case, bigger really is better!
Another important thing to say is that all parts of wisteria can cause severe discomfort if ingested, so while the seedpods may look good enough to eat, please don’t be tempted to try.
Zantedeschia is a genus of flowering plants from the family Araceae and is native to southern Africa. With a rich history dating back to the Ancient Romans, these deciduous or semi-evergreen perennials have been used as a symbol of celebration. Zantedeschia was Named after Professor Giovanni Zantedeschia, an Italian botanist.
There are two main forms of Zantedeschia: hardy and tender. Hardy forms of the plant can be grown outdoors, enjoy moist soil and full sun or partially shaded conditions - these are known as Arum lilies. Tender forms of Zantedeschia prefer being grown in containers or pots and should be brought inside over the winter - these are known as Calla lilies.
With tuberous flora in all colours from whites, yellows and oranges to deep reds and purples, Zantedeschias are not to be overlooked in any garden, as long as they have sufficient sunlight to grow in.
Ready to learn more about growing Zantedeschia? Read on for all there is to know...

Key Information
Soil pH

Position
Hardiness


Where & when to plant Wisteria
Position - Wisteria is happiest basking in a sunny, sheltered spot. While it can grow in some partial shade, this is likely to result in fewer flowers.
Soil - Fertile, moist, and wall draining. Avoid heavy, waterlogged soil.
Flowering Period - Late spring to early summer, occasionally with a second flush in late summer.
Hardiness - Hardy, rated H5 (-10 to -15°C) or H6 (-15 to -20°C). Having said this, it is worth noting that while the overall plant is hardy, young flowers can be damaged by a late frost (hence the need for a sheltered spot).
Wisteria is typically sold as a container plant and can, in theory, be planted at any time of year. Best results however come from doing so during dormancy, i.e., from October to April.
Whether you choose to grow your wisteria up a wall or over a pergola, arch, or tunnel, know that over time it will develop strong, woody stems much like tree trunks and will need extremely sturdy, robust support. Don’t waste your time with anything dainty or flimsy – galvanised wires screwed into a wall or a solid, well-constructed supporting structure is what’s called for here.
Alternative approaches include growing wisteria up a tree or training it to be a self-supporting standard. For growing up a tree, make sure you choose a large, mature tree that is not in danger of becoming overpowered, and expect fewer flowers due to the shading effects of the tree canopy. The upside to this method it lets you off the hook with pruning – simply leave the wisteria to its own devices and be prepared to accept a more natural, sparse display of flowers.
Training wisteria as a self-supporting standard is a way of dramatically restricting its size and makes growing it in a border or freestanding container a possibility.
The downside to growing wisteria in a container is the upkeep. This is a hungry, thirsty, vigorous plant which demands a lot of attention when confined to a pot – expect to feed weekly through the growing season and water as often as once a day.
How to plant Wisteria
Prior to planting, you will need to ensure there is support installed.
- For planting in the open ground, first dig the soil area over, removing any large stones and weeds and breaking up any lumps. Mix in a generous amount of organic matter such as manure or garden compost (this is especially needed at the base of walls, where the soil can be dry and poor).
- Rake level and firm with your heels. Rake level again.
- Now dig a hole twice the width of the rootball. If you are planting against a wall, leave a gap of around 30 centimetres between the wall and planting hole. For planting against a large tree, choose the sunny side of the tree and position the planting hole 1 metre away from the trunk.
- Place the plant in the hole at the same level as it was in the pot. Planting too high can cause the roots to dry out, while planting too low can cause stem rot and failure of the graft union.
- Backfill with soil and firm in gently.
- Tie in any strong, healthy shoots to the support, removing any weak, thin growth completely. Unlike, say with fruit training, there are no rules when it comes to positioning shoots on the wall or structure. Simply aim to fill all available space, and if this means some loop-di-loops and crossing stems, all the better. An informal, scrambling look is the aim, rather than straight lines and even spacing (impossible to achieve with this plant anyway).
- Soak well with water.
- Mulch around the base with well-rotted organic matter such as manure or garden compost.
- For planting in containers (remember, this is really only suitable for self-supporting standards, or compact forms such as W. frutescens ‘Amethyst Falls’), first choose a good sized pot. Standards can be repotted every few years, so for these you can start with a fairly small pot (just a few centimetres larger than the rootball) and gradually increase in size as the plant grows. Repotting is much tricker for climbers attached to walls and is likely to cause damage, so with these it’s best to go straight for a large pot, at least 45 centimetres across. In all cases, ensure there are plenty of drainage holes in the bottom.
- It can be a good idea to fill and plant large pots in situ to save yourself the trouble of moving it once full.
- Use a good quality, loam based potting compost designed for mature, woody plants, such as John Innes No. 3. Mix a little horticultural grit in, and, if not already present in the compost (check the description on the bag) some slow-release fertiliser granules.
- Start by partially filling the pot with compost; enough so that when placed on it the top of the roots sits about 3 centimetres lower than the top of the pot.
- Infill all the space surrounding the roots with compost, firming down with your fingers then adding a little more so the plant is held tight. Again, aim to have it at the same level it was in the plastic pot – the graft union should not be in contact with the compost.
- Pick up the pot (if you can!) and lightly tap on the potting bench or ground a few times to help further settle the compost around the plant.
- Soak well with water.
- A mulch with horticultural grit will look attractive and help to prevent a ‘cap’ or crust forming on the top of the compost (something container plants can suffer due to the artificial nature of their watering).

What to plant with Wisteria
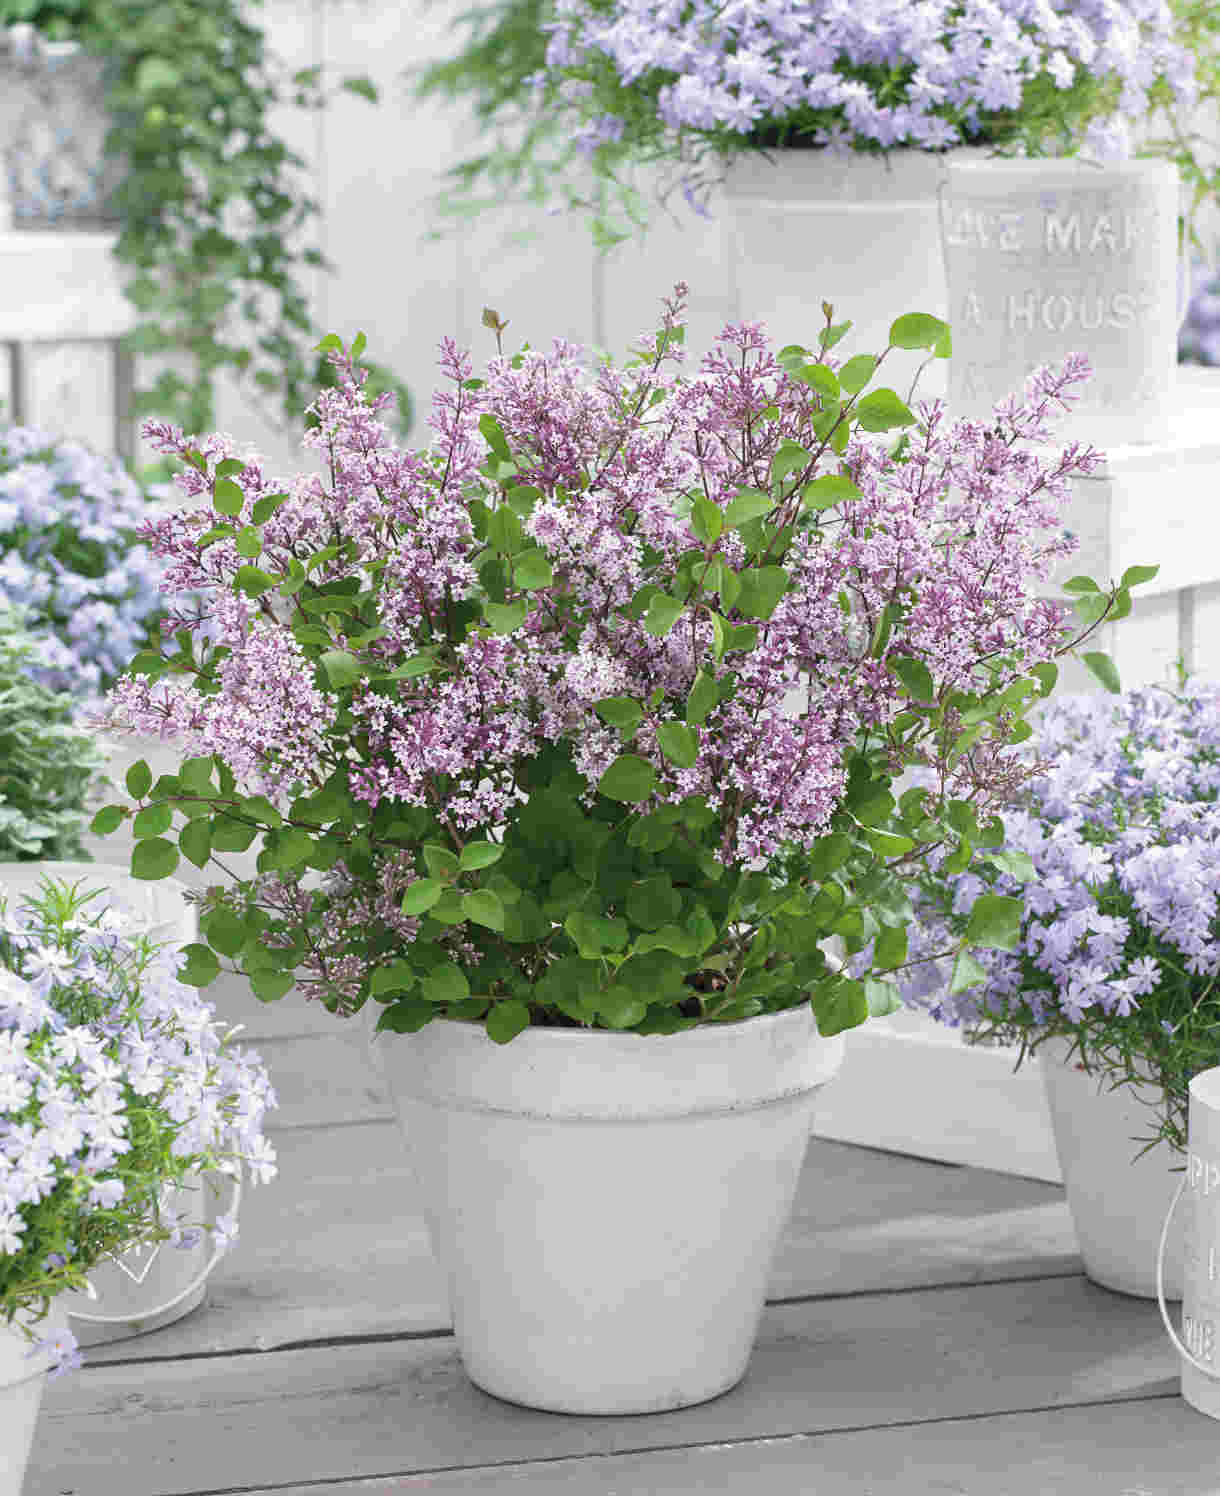
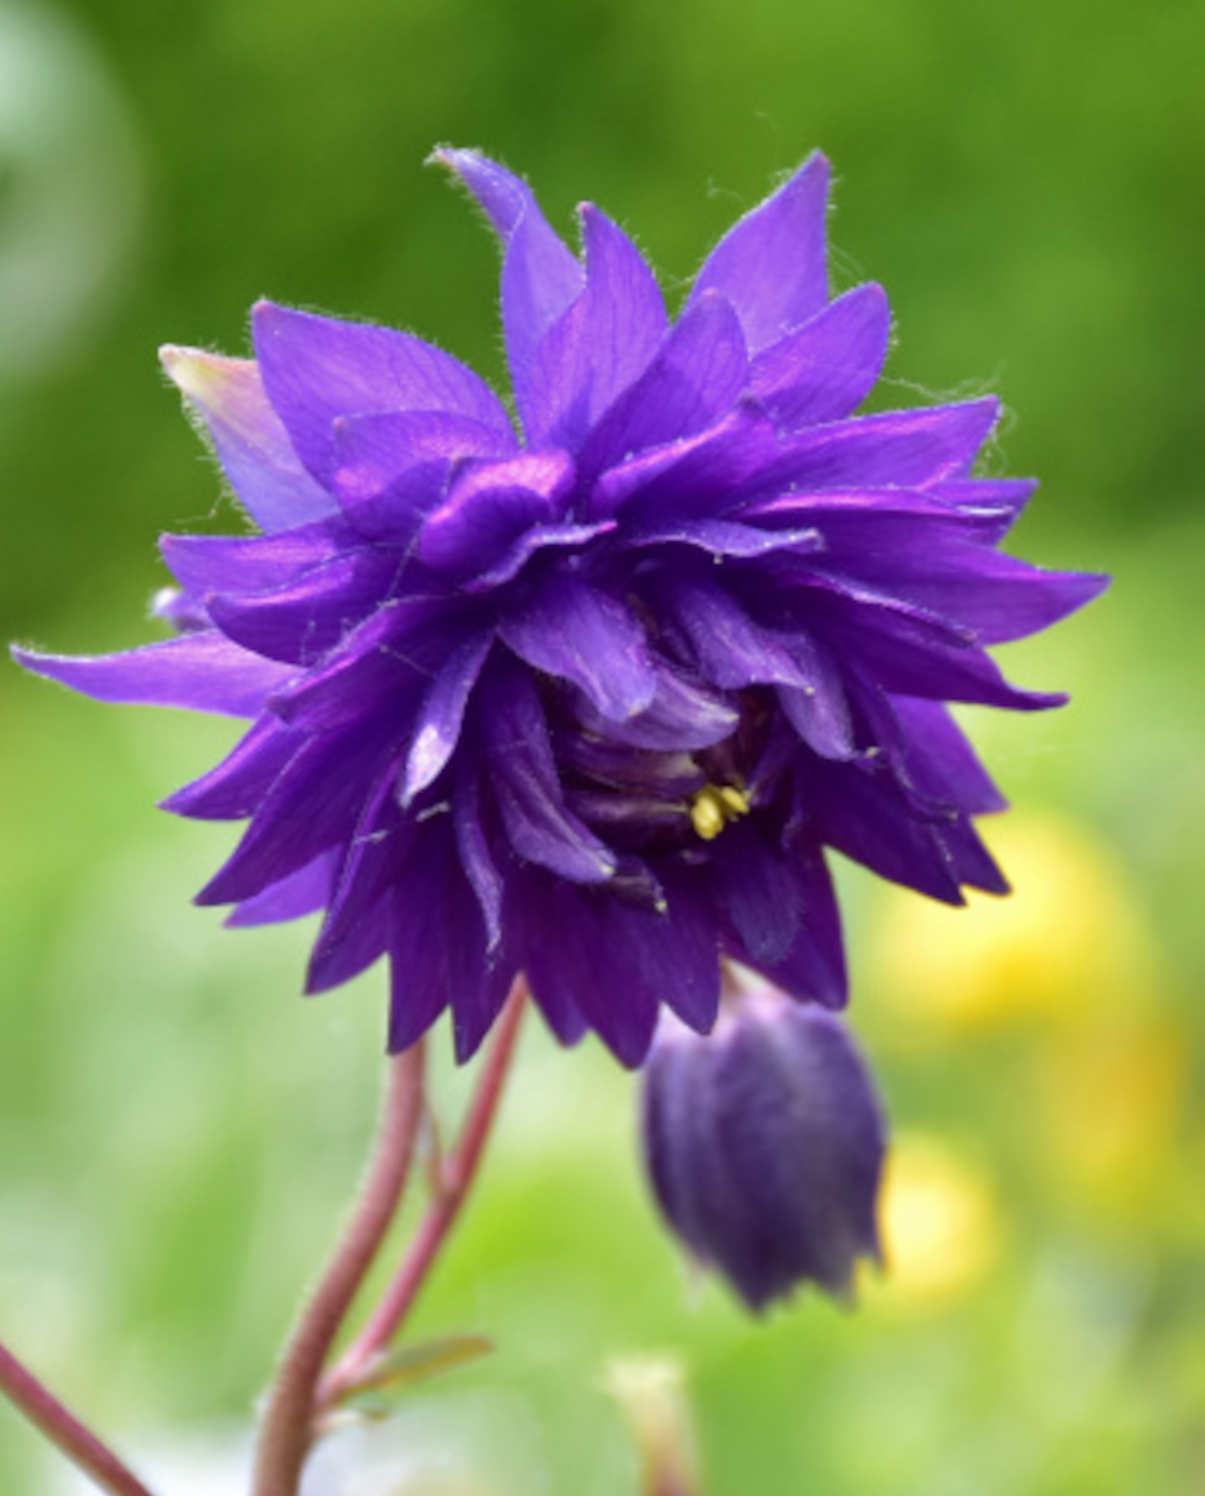
For maximum impact, we love to see wisteria grown with other early flowering companions in a similar pinky-purple colour palette. Our top picks include syringa, allium, nepeta, aquilegia, and erysimum.
Once your wisteria is of a good size, you may also wish to consider planting a late flowering clematis to mingle though its branches and extend the season of interest. ‘Etoile Violette’ is an ideal choice.
How to care for Wisteria
Pruning and Training
Wisteria is one of those plants whose reputation precedes it when it comes to pruning. It’s not as tricky as you might think, however, being a question only of adopting a simple, twice-a-year routine:
· In August, the first step is to consider which stems you’d like to keep for increasing the coverage of the wisteria and tie these into the support. This stage is most applicable to younger plants; older specimens will need little or no retaining of new growth. Next, move on to pruning, taking back all the remaining long, new stems to about five buds. While you’re at it, you can also remove the current year’s tatty, spent flower stalks if you like. The purpose of this prune is to tidy the plant up ready for winter, control overall size, and direct energy into next year’s flower buds.
· Revisit your wisteria in February, shortening cut stems further to just two or three buds to encourage the formation of lots of stubby, flowering spurs. This is also a good moment to check the plant over for any ties becoming too tight as the stems mature and thicken. Remove and replace where necessary.
A neat ‘aide memoire’ we use for wisteria pruning is to think of pruning back to 7 inches in the seventh month, and 2 inches in the second month.
Of course, wisteria isn’t subject to a pruning regime in the wild. If you have the space or are growing yours up a large tree, you may leave it to ramble freely with no ill effects. Pruning is simply a way of managing size and concentrating energy into a denser flowering display.
All of the pruning and training advice above is assuming the wisteria is being grown as a climber. To grow as a self-supporting standard, the method is slightly different:
· Start with a young, single stemmed plant and tie to a sturdy, vertical support 1.2 to 1.5 metres tall. Encourage it to grow straight up rather than twining as this makes for a stronger plant.
· Allow the leader to grow unchecked until it reaches the top of the support, then nip off its tip the following February to generate the sideshoots which will go on to form the lollipop ‘head’ of the plant.
· The following winter, shorten these sideshoots to 15-30 centimetres. Repeat over the next few winters to gradually build up a head. Remove any weak or misplaced growth at the same time.
· Once the head is established, it’s time to adopt a twice-a-year routine as above. In August, any shoot not needed to improve or increase the shape of the head can be taken back to 5-7 buds.
· Take these back to a couple of buds in February.
Watering
Wisteria is a thirsty plant which needs consistent access to water to grow well. Water regularly during its first couple of growing seasons in the ground while the root system become established, then in any prolonged periods of hot, dry weather after this. The late summer period (July to September) is especially crucial, as drought at this time can affect flower bud formation for the following year. Pay particularly close attention if you garden on sandy soil as wisteria can dry out alarmingly quickly in these conditions. A regular mulch (see below) can be a great help in locking moisture into the soil.
Water container-grown wisteria frequently throughout every growing season (as often as once a day in very hot, dry weather), and place a saucer underneath the pot to maximise water retention. From mid-autumn, the British climate tends to take over watering needs, though do remember to step in in the event of an unseasonably dry spell.
Feeding
It takes plenty of nutrients to power the impressive growth wisteria is known for, therefore it pays to give things a helping hand once a year. Each spring, feed with a general-purpose granular feed or blood, fish and bone, applied to the surface of the soil and lightly worked in. Follow with a soaking of water and a generous mulch of well-rotted organic matter, i.e., a layer of manure or garden compost applied to the soil around the plant. As well as improving the soil structure and nutrient content, mulch also suppresses weeds and locks in moisture. If you garden on free-draining, sandy soil, it can be worth repeating the mulching process several times throughout the growing season. Each time, soak the soil deeply with water then ‘seal’ the moisture in with a topping of mulch.
Wisteria in a container will thank you for plenty of feed. Apply a high potash, liquid feed (tomato food is ideal), weekly throughout the growing season.
Cold Protection
Wisteria is hardy enough to withstand a UK winter without the need for additional protection. However, it is worth noting that the flowers can be damaged if exposed to a late, hard frost, so do try to grow it in as sheltered a spot as possible.
Pests and Diseases
Issues to look out for on wisteria include leaf spot, aphids, and brown scale. As always, we recommend the best line of defence to be growing healthy plants following the care advice above, and creating a balanced garden ecosystem. This means encouraging as many species of insects and mammals into the garden as possible, by growing a wide range of pollinator-friendly plants, not using chemicals, and providing a variety of habitats.
Honey fungus can also be a problem, though is mercifully rare unless you are near a heavily wooded area. Unfortunately, little can be done other than removing the affected specimen and replacing with a known resistant alternative.
How to propagate Wisteria
Before we go any further, we should reiterate that wisteria can take up to 20 years to flower from a cutting, a fact which leads most gardeners to buy a grafted plant instead (these can usually be relied on to flower within 3-5 years). However, if you do fancy a long-term project, layering is the most effective method. This involves pegging a wounded stem to the ground to develop roots while still attached to the parent plant. It requires far less input than most other methods of propagation, as the plant is largely left to do the work.
· Choose a few flexible shoots that can easily be bent down to the surface of the soil.
· Make a 5 centimetres long incision where the stem will touch the ground, ensuring you slice through a leaf bud.
· Insert a matchstick to wedge the incision open slightly.
· Dig a small, shallow trench where the shoot will touch the ground (adding a little grit if the soil is heavy).
· Peg the shoot into the trench using thick wire or a strong forked twig.
· Fill with soil, firm in, and water.
· Mark the spot with a cane. Roots can take 12 months to form, making it easy to forget what you have done and where...!
· When a good root system has formed, sever from the parent plant and either replant elsewhere or put in a pot for growing on.
* Many plants carry Plant Breeders Rights and cannot be propagated for commercial purposes.
Common Wisteria Questions
Can wisteria damage the foundations of a building?
As a climbing plant, wisteria is supported by the wall or structure it is growing against and therefore doesn’t need to send out the deep, spreading, anchoring roots often seen with a freestanding tree. By contrast, its roots are relatively small, shallow, and unlikely to cause structural damage.
It looks like my formerly thriving wisteria has suddenly died. What’s happened?
Thankfully this is a rare occurrence, though can happen due to the failure of the graft union. Often the rootstock will send out a replacement shoot, though this is likely to be of the straight species W. sinensis rather than your chosen cultivar. Sadly, it is best to remove the whole thing and start afresh with a new, grafted plant.
My young wisteria plant has reached flowering maturity, though the display is a little underwhelming. Am I doing something wrong?
It’s likely you have been keeping a considerable amount of the long, new stems to tie in and create your permanent framework, which means the plant has been putting energy into these at the expense of producing flower buds. Once your framework is established and you can prune back more of the new growth, you’ll find the density of flowers increases each year.