How to grow Weigela
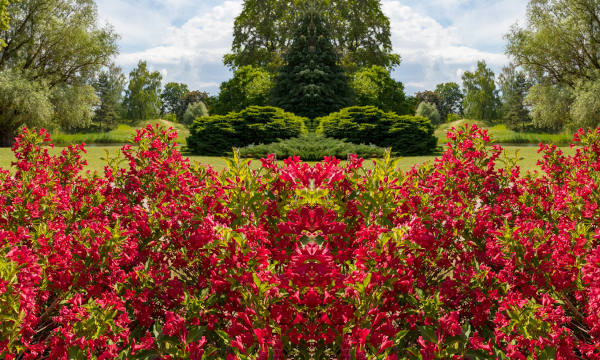
Weigela is a genus of around 30 deciduous shrubs in the Caprifoliaceae family. Native to eastern Asia, weigelas are a deciduous garden shrub with a versatile nature and plenty of choice when it comes to colour.
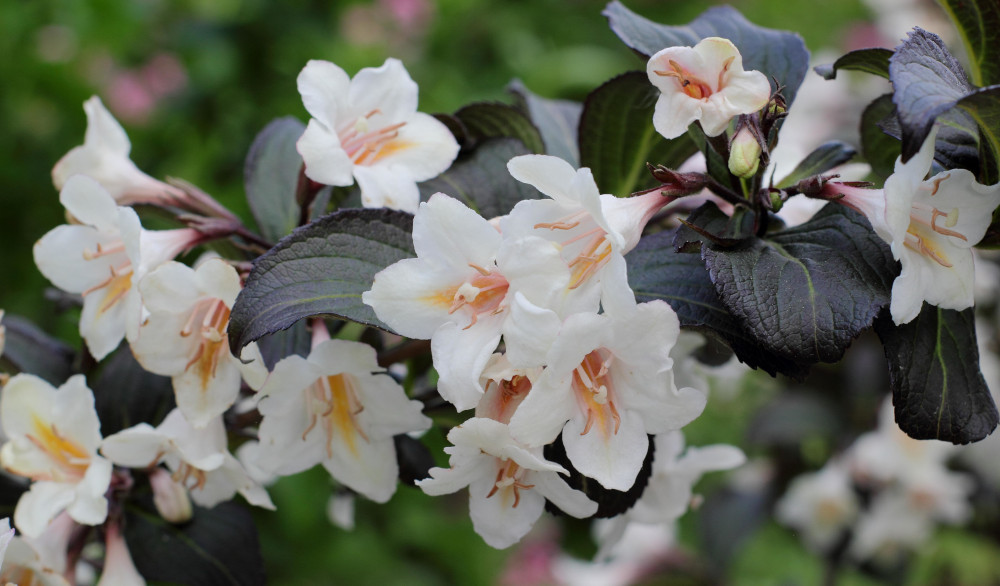
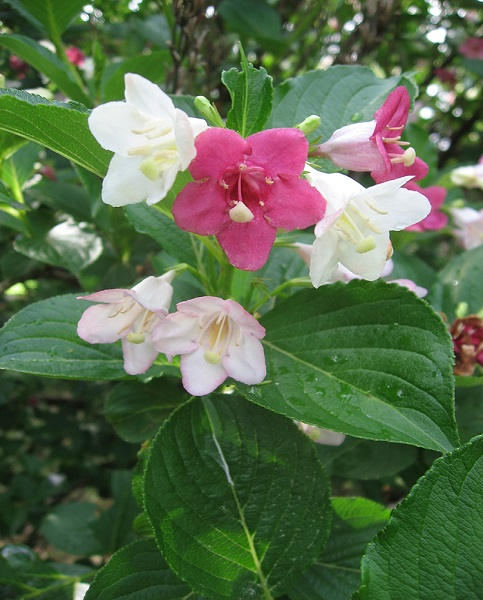
Growing to 2.5m in height and spread, weigela was named after Christian Ehrenfried Weigel, a German scientist. Weigela’s leaves grow up to 15cm in length and come in colours ranging from green and gold to burgundy and purple. Weigela’s tubular flowers are five-lobed in a range of whites, pinks and reds and attract pollinators to the garden such as bees, butterflies and birds.
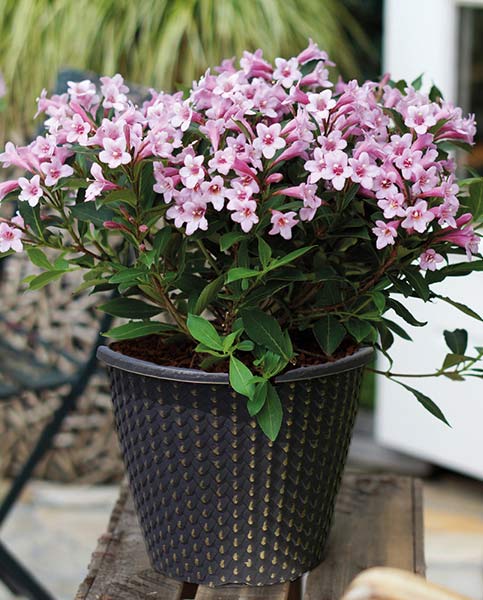
The compact nature of weigela as a shrub makes it easy to add to flower beds and other garden spaces. Ideal for growing under UK conditions, the Royal Horticultural Society (RHS) has given its Award of Garden Merit to several cultivars: florida 'Alexandra', florida Variegata and praecox Variegata.
Key Information
Soil pH

Position

Hardiness

Where & when to plant Weigela
You can plant weigela either in the spring or autumn when the soil is warmer. Weigela enjoys a range of conditions from full sun to partial shade – it will not, however, grow in full shade. Find a position in your flower bed or a container with well-draining soil and at least 4 hours of sunlight daily.
How to plant Weigela
Start by choosing a position in your garden that benefits from sun at least 4 hours a day
Prepare the soil in your desired position and make sure it is well-draining - add grit or sharp sand to the soil to aid this. Dig a hole that is twice the width and the same depth as the root ball
Add your plant to the soil, backfill and water in. If you are planting multiple weigela, leave a space of at least 60cm between each to give each plant the room to grow
Water weigela once a week while establishing - less so if it has been raining - let the soil dry before watering again
What to plant with Weigela
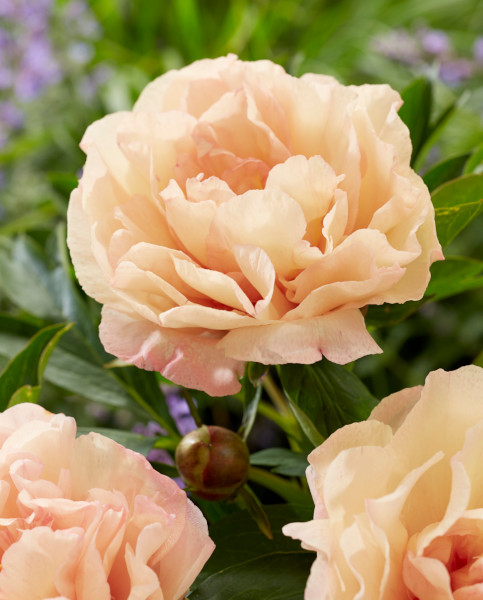
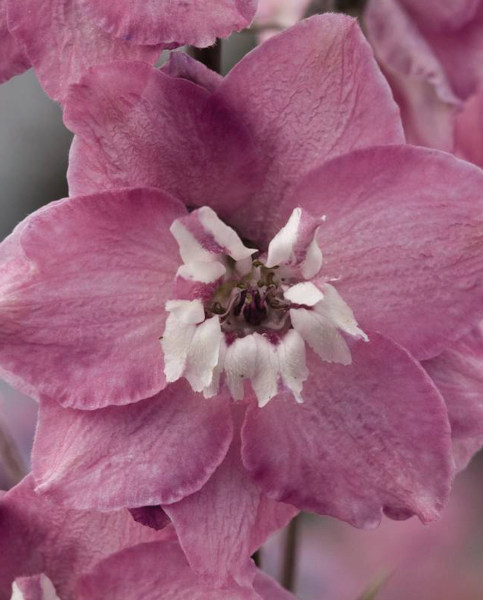
When selecting companion plants for your weigela, choose other perennials with lower growth habits - that way, weigelas can be grown at the back of a border or flower bed with shorter plants in front. Peonies are one such choice, growing up to 80cm in height and bringing blooms of pink from late spring to early summer. Hydrangeas are another good choice, as they are so similar to weigelas - preferring semi-shaded positions and moist soil. Choose an hydrangea cultivar with complementary colours such as yellows, pinks and reds. Finally, delphiniums add a contrasting and eye-catching blue to your space.
Please contact our excellent Customer Care Team if you would like any help or planting tips for your weigela. Below are a few ideas to help get you started.

How to care for Weigela
Pruning & Deadheading
You can lightly prune for shape and remove dead, diseased and damaged weigela throughout the year. In late winter, remove old branches. Do not prune or deadhead too aggressively, as weigela flowers grow from the wood of the previous year. If you cut your weigela back too far, you will have to wait a couple of years for regrowth.
Watering
Weigela’s watering demands are minimal. Water once or twice a week, and do not overwater if it rains.
Cold Protection
Hardy down to temperatures of -15°C, weigela does not need much in the way of cold protection. However, you can insulate the roots in late autumn by adding mulch to the soil annually.
Pests & Diseases
When it comes to weigela, there are a few pests and diseases to look out for. Root rot can be caused by overwatering the plant and leaving it standing in water - this prevents oxygen from reaching the roots. Another disease to look out for is powdery mildew - a fungal disease that will cover your leaves in a white ‘powdery’ looking fungus.
How to propagate Weigela
The best way to propagate Weigela is by taking hardwood cuttings - take hardwood cuttings after flowering season for the best results
Using clean and sterilised sharp tools, take pencil-width cuttings that are free of pests, diseases or damage. Cut lengths of around 60cm, cutting from just above a leaf joint and remove any growing tips horizontally. Add each cutting to water once taken to reduce moisture loss
Trim your 60cm long piece into several shorter 15cm stems with at least two sets of leaves on each and mark the bottom side of the cutting to ensure you re-pot the right way up! Create slanted cuts on the bottom of each to support water absorption.
Add each cutting to a pot of cuttings compost and add each to its own hole - you can use a pencil to create small, deep holes - leaving 2-3 buds from each cutting above the soil line. Firm the compost around the cutting and water in. Place a plastic or polythene bag over each cutting pot to create humidity and water once a week until each cutting is ready for potting out.
Common Weigela questions
Do you cut back Weigela?
Weigela blooms on the growth from the previous period, so be careful not to cut back or prune heavily before this point as you may lose out on flowers. You will only need to cut back the plant entirely if your shrub is in poor shape; in this scenario, remove all branches and cut back to 10cm above the soil line.
Is Weigela fast-growing?
Yes. With ultimate heights of 2.5m, weigela can grow between 30-60cm per year until reaching full maturity.
Does Weigela lose its leaves in winter?
Yes. Weigela is deciduous which means it will shed or lose its leaves annually. This means weigela will look best in the spring and summer months.