


How to grow Viola Palustris
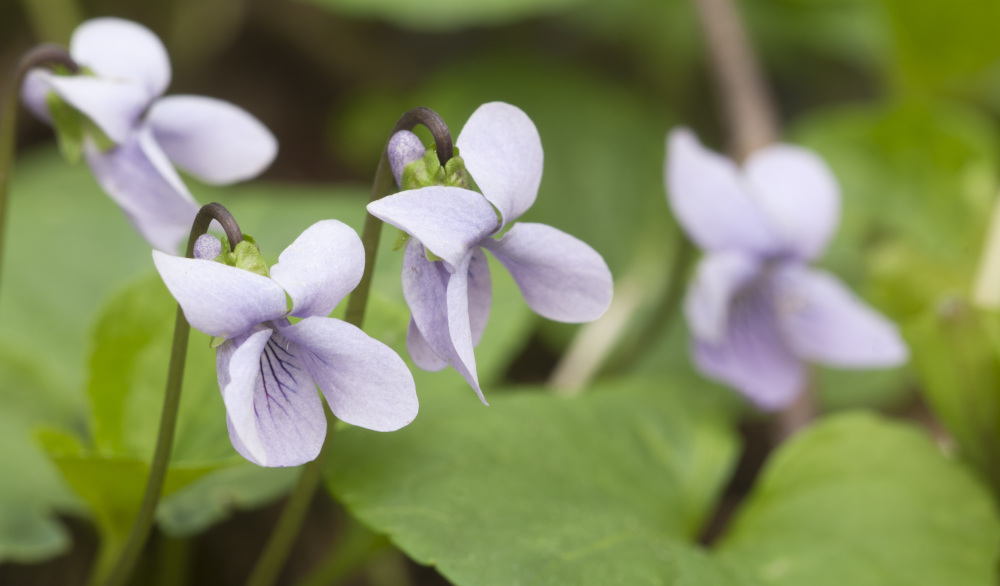
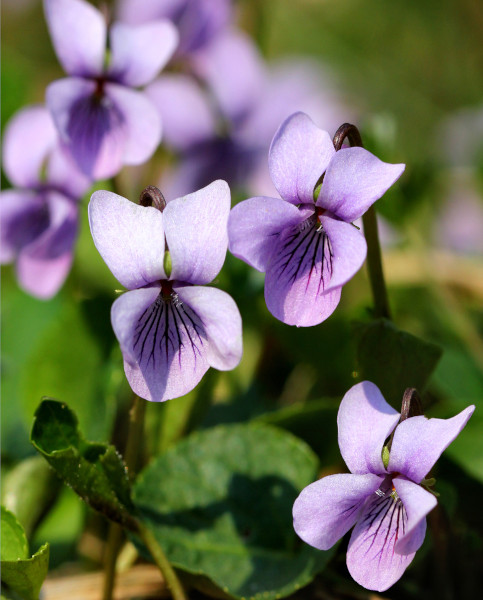
Viola palustris is a low growing, spreading and perennial form of the Viola genus. Also known as Marsh Violet - palustris means ‘of the marsh’ - Viola palustris brings its charming, 5-petalled, pale lavender flowers to the garden in the mid-late spring.
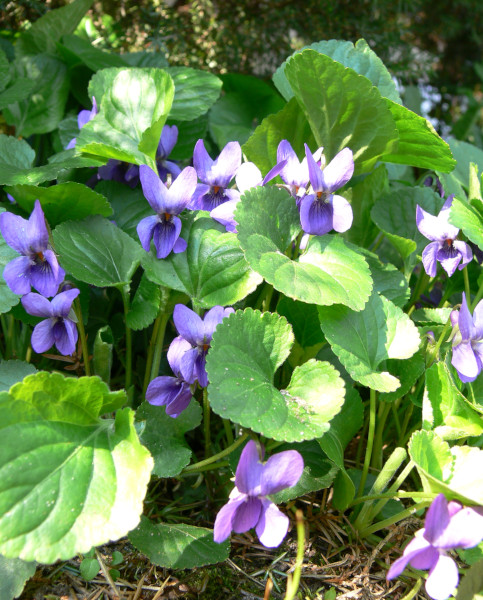
Viola palustris is often found in woodlands, meadows and marshes and can be grown successfully in UK gardens as the UK is one of its native habitats. The pale flowers of Viola palustris have deeper purple veins and their blossoms attract pollinators such as bees, butterflies and birds. Viola palustris’ green leaves are kidney-shaped and heavily veined, growing from the base of the plant.
With a short stature and maximum height and spread of 20cm, Viola palustris spreads naturally through creeping runners, self-seeding and underground rhizomes. Viola palustris thrives in partial sun and partial sunlight and well-draining soil.
Ready to discover all there is to know about the perennial palustris? Read on to find out more...
Key Information
Soil pH

Position
Hardiness

Where & when to plant Viola Palustris
Due to its short stature, Viola palustris should be grown at the front of a bed or border in well-draining soil in a position with at least 2-4 hours of sunlight per day. Ideally, keep Viola palustris away from the midday sun when it is at its strongest. Shelter can be provided by nearby walls or fences to support this. Unlike other Viola, Viola palustris will not be able to thrive in full sun or extended hot temperatures.
How to plant Viola Palustris
Find a position in your garden that benefits from partial sun and partial shade - no more than 4 hours a day of sunlight. Ideally, this position will benefit from some shelter from the midday sun
Check the soil in situ to see if it is well-draining. If not, add a mixture of sand and gravel to create drainage or build a raised bed to help the soil drain well. It is important that Viola palustris is not left in standing water
Dig a hole in the soil that is 2-3x as wide as the roots and is deep enough to cover the roots. If you are planting multiple Viola, leave a gap of 20cm between each and Add your root to the soil and backfill with the soil removed to create the hole
Gently pat the soil around the plant and water in to settle. Water up to three times a week while establishing and do not let the soil dry out.
What to plant with Viola Palustris
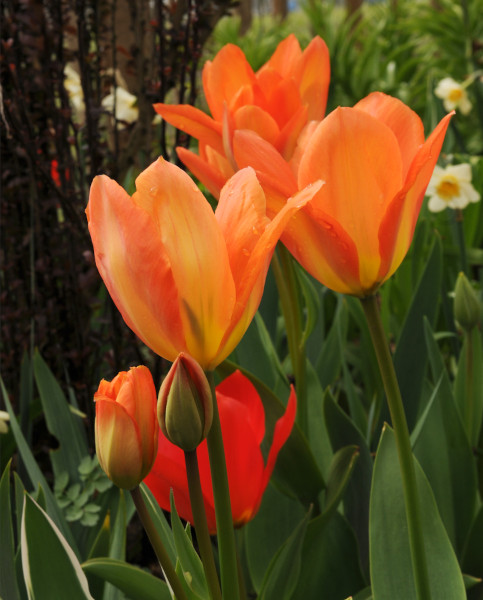
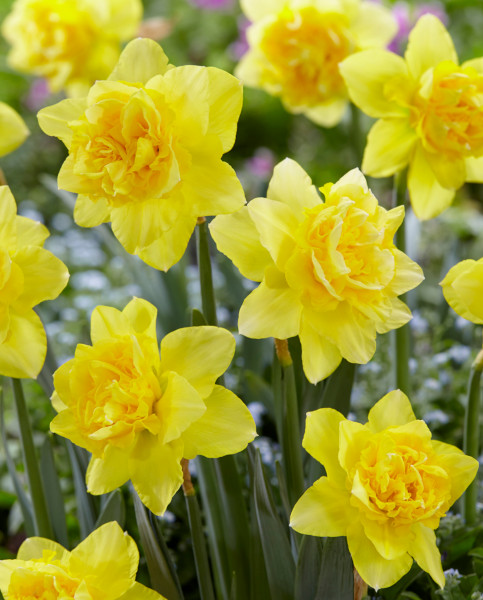
You can plant your Viola palustris as groundcover and at the front in flower beds and borders to support your other flowers. Spring-flowering bulbs such as Tulips and Daffodils are a great starting point, as Viola palustris will add colour for a longer period once the bulbs start to fade. You can also plant Viola palustris with taller shade-loving plants, such as Geranium phaeum which is hardy, grows to 60cm and flowers with white blooms in the summer.
How to care for Viola Palustris
Pruning & Deadheading
You can deadhead your Viola palustris during the flowering season to encourage a longer-lasting bloom. As always, remove any dead, diseased or damaged stems and flowers as you see them. Cut back Viola palustris in autumn to 10cm to keep it neat.
Watering
As they are so often grown in marshland or near ponds, Viola palustris enjoys wet soil. However, make sure the soil is well-draining to avoid root rot and wilting. Water Viola palustris two or three times a week to keep the soil moist while establishing and water once or twice a week once established.
Cold Protection
A fully hardy perennial, Viola palustris does not cold protection. Winter rain may cause issues although you can avoid this by planting your Viola palustris in a sheltered position in a raised bed or well-draining soil.
Pests & Diseases
Viola palustris does not have any specific pests or diseases. However, look out for silvery trails and irregularly shaped holes in leaves - this may be indicative of a slug or snail problem. Similarly, make sure the soil is well-draining to avoid your Viola palustris being left in standing water, as this can lead to root rot.
How to propagate Viola Palustris
The best way to propagate Viola palustris is through cuttings. Take cuttings once the flowering season has ended and select healthy, non-flowering shoots
Using clean scissors or secateurs, take cuttings of 5-6cm in length and try to cut below a leaf joint. Once cut, add each cutting to water to reduce moisture loss
Remove the leaves from the lower half of the stem by pinching them off. If you decide to cut off these leaves, leave a small amount of leaf joint intact to encourage new growth. Add each cutting to a pot of cuttings compost, burying each to the base of the remaining leaves. Position them at the corners of each pot to keep them upright - you can plant four in the corners of each pot
Cover your cuttings pot with a polythene bag or cloche to create humidity and place it in a warm position out of direct sunlight. Water regularly and separate each plant out into individual pots once they have established roots (check this after a few weeks by gently pulling on the cutting).
Common Viola Palustris Questions
Is Viola palustris edible?
Yes! You can eat the leaves of Viola palustris raw or cooked. Commonly, Viola palustris is used on wedding cakes or desserts. Viola palustris’ leaves and flower buds are sometimes used to thicken a soup or to make tea.
Does Viola palustris come back every year?
Yes. Viola palustris is grown as a perennial plant, so it will die back over winter and re-emerge the following spring
Is Viola palustris poisonous?
No. Viola palustris is not poisonous and can be eaten safely. However, eating large quantities of violets may cause stomach upset and side effects. Research so far has shown no signs of toxicity to dogs or cats.