


How to grow Viola
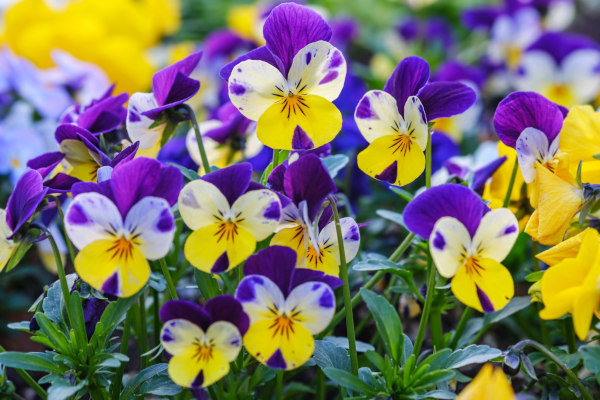
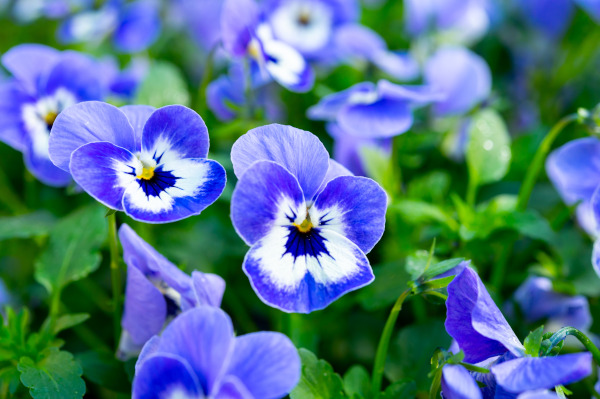
From the violet family Violaceae. Viola is a genus of flowering plants with between 525-600 species. The genus varies with some perennials and shrubs while other cultivars are better suited to growing as annuals. Because the genus is so large, there is plenty of choice when it comes to finding the right Viola – colours include yellows, blues, rubies and golds!
You may have spotted Violas in woodland areas – surprisingly, they are also commonly used on wedding cakes, salad and dessert plates as an edible flower. It is no wonder Violas are so popular - they are easy-going, relatively low-maintenance and have a long blooming period. This makes them the perfect addition to any colourful flower bed, garden border or container.
Due to their spectacular look, pollinators love Violas - expect plenty of bees, butterflies and birds in your garden when Violas are in bloom. With a height of 20cm and a similar spread, Violas also come with fragrant flora with reported scents of honey, citrus or vanilla custard.
Ready to add some vibrant Violas to your garden? Read on to discover everything there is to know...
Key Information
Soil pH

Position
Hardiness

Where & when to plant Viola
Violas enjoy moist, well-draining soil. While Viola can tolerate full sun, they should be planted in a position with shelter from the midday sun and strong summer heat as they will wilt. Violas can be grown in flower beds and borders and are well-suited to a ‘front of border’ or groundcover position which allows for their short stature and low-growing habit. Violas can also be grown in containers. Plant in the spring or early autumn, when the soil is warm, for best results.
How to plant Viola
Start by choosing a border, pot or container in a position with full sun to partial shade and shelter, which can be provided by a neighbouring wall or fence
Once you have found the right position for your Viola, make sure that the soil drains well. If your soil does not, you can add sand or gravel to create drainage, or utilise a raised bed for Viola
Dig a hole that is 2-3 times as wide as the roots and deep enough to cover them. Add your root to the soil and backfill the hole. Tamp the soil around the plant and water well to settle
If you are planting multiple Viola, give 20cm of space between each plant

What to plant with Viola
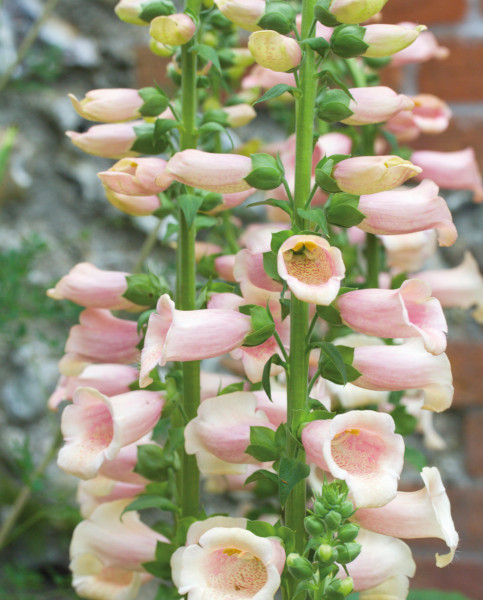
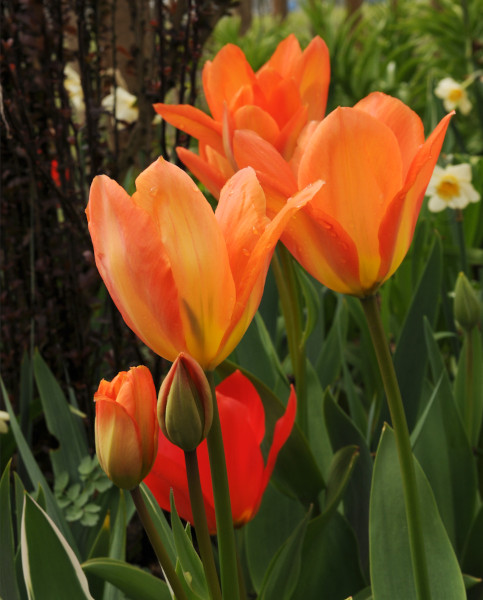
As low-growing plants, Violas can be grown with taller shade-loving companions such as purple Bellflowers and bell-shaped Foxgloves. Do not forget to grow Violas at the front of a flower border or bed, or between other plants. You can also grow your Violas with spring-flowering bulbs such as Tulips and Daffodils for extended displays of eye-catching colour.

How to care for Viola
Pruning & Deadheading
Deadhead flowers once they have bloomed to encourage additional blooms. You should always remove any dead or diseased flowers and stems. If you have overgrown or unsightly stems, cut these back once the flowering season is over to keep Viola neat. You can also prune back your Violas at this point to 8-10cm in height.
Watering
Violas need moist, well-draining soil to survive. Water Violas regularly while establishing to keep their soil moist. In periods of dry or hot weather, water more frequently. Once established, you can water Violas once or twice a week.
Cold Protection
Violas are hardy until -5°C. If you are growing Viola as an annual, you can plant again in the following spring. Look out for winter rain which may waterlog your Violas. Although your Violas may droop during a frost, perennial Violas should survive and re-bloom in the next flowering period.
Pests & Diseases
There are no well-known pests or diseases that affect Violas. However, make sure the soil is well-draining and that you do not overwater your Viola plants, otherwise they could be susceptible to root rot if left in standing water. Irregularly shaped holes in leaves and silvery trails could be indicative of a slug and snail problem, so look out for this and treat accordingly.
How to propagate Viola
The most successful way to propagate Viola is by taking cuttings. Take cuttings in the summer for best results - choose healthy, non-flowering shoots to trim
With a pair of clean scissors or secateurs, take cuttings of 5-6cm in length and try to cut below a leaf joint. During this process, add each cutting to a small container or pot of water to reduce moisture loss
Remove the leaves from the lower half of the stem by pinching them off. If cutting off the leaves, leave a small amount of leaf joint to encourage new growth. Add your cuttings to a pot of cuttings compost, burying each to the base of the remaining leaves. Position each at the corners of each pot to keep them upright
Cover with a plastic or polythene bag or cloche to create humidity. Place your cuttings pots in a warm position out of direct sunlight. Water regularly and pot each plant out once they have rooted - you can check this after a few weeks by gently pulling on the cutting.
Common Viola Questions
Do Violas come back every year?
Some cultivars of Viola can be grown as perennial plants which means they will come back every year. Other cultivars are better suited to being grown as annuals, in which case you can grow the plant each year.
How often should you water Violas?
When establishing, keep Violas well-watered and their soil moist. Once established, water up to twice a week.
Do Violas like sun or shade?
Violas are tolerant of most positions and can be grown in full sun, partial sun and partial shade. However, keep your Viola plants sheltered from the midday heat as they may struggle in extended periods of warm sun. Similarly, Violas will not thrive in full shade.
