How to grow Rudbeckia
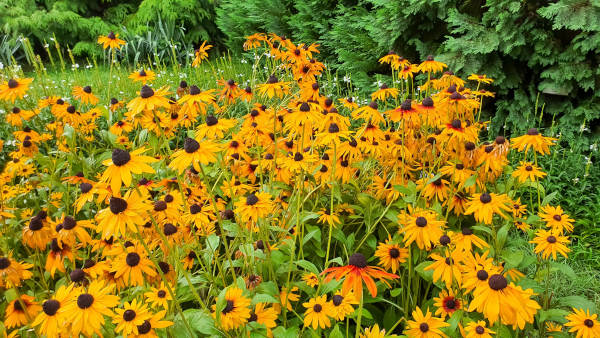
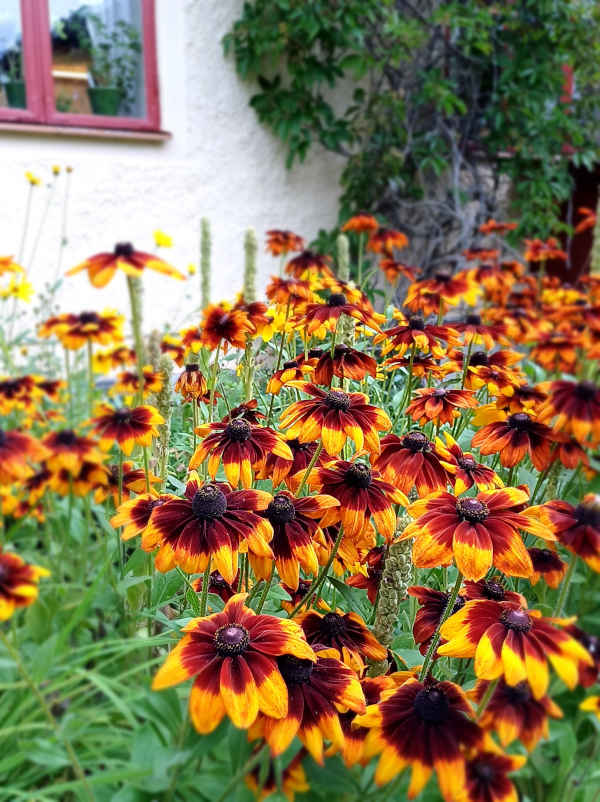
Also known by the common names of coneflower, brown-eyed susan, or black-eyed susan (depending on the species), rudbeckia is a hugely popular flowering plant originating from moist meadows and prairies across North America. The member of the daisy family is grown largely for its late season interest; the bold, bright blooms bursting into life just as midsummer flowers begin to fade. Perhaps best known are the hardy perennial species which are mostly yellow, though can also be found in other colours. Half-hardy annual species offer shades of orange, red, and brown. All tend to share the same open, sometimes reflexed petals, and prominent central cone in black, brown, or green.
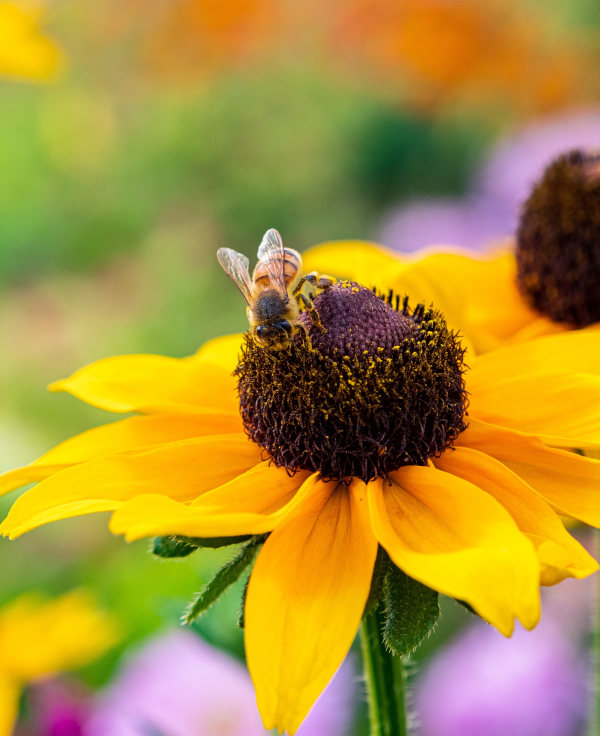
The popularity of rudbeckia can be put down to its reliable nature, ease of growth, long flowering period, and ability to fit into a wide range of planting styles. Super accessible, nectar-rich flowers also make it a big hit with pollinators. Most rudbeckia form well-behaved clumps, apart from Rudbeckia laciniata which is rhizomatous and spreading.
Zantedeschia is a genus of flowering plants from the family Araceae and is native to southern Africa. With a rich history dating back to the Ancient Romans, these deciduous or semi-evergreen perennials have been used as a symbol of celebration. Zantedeschia was Named after Professor Giovanni Zantedeschia, an Italian botanist.
There are two main forms of Zantedeschia: hardy and tender. Hardy forms of the plant can be grown outdoors, enjoy moist soil and full sun or partially shaded conditions - these are known as Arum lilies. Tender forms of Zantedeschia prefer being grown in containers or pots and should be brought inside over the winter - these are known as Calla lilies.
With tuberous flora in all colours from whites, yellows and oranges to deep reds and purples, Zantedeschias are not to be overlooked in any garden, as long as they have sufficient sunlight to grow in.
Ready to learn more about growing Zantedeschia? Read on for all there is to know...

Key Information
Soil pH

Position
Hardiness

Horticultural Divisions-
Species | Common name | Lifespan | Hardiness |
Rudbeckia fulgida | Black-eyed susan | Perennial | Hardy H6 (-15°C to -20°C) |
Rudbeckia triloba | Brown-eyed susan | Short-lived perennial | Hardy H6 (-15°C to -20°C) |
Rudbeckia hirta | Black-eyed susan | Grown as annual | Half-hardy H3 (1°C to -5°C) |
Rudbeckia maxima | Great coneflower | Perennial | Hardy H6 (-15°C to -20°C) |
Rudbeckia subtomentosa | Sweet coneflower | Perennial | Hardy H5 (-10°C to -15°) |
Where & when to plant Rudbeckia
Position - Thrives in sun. Partial shade is tolerated though likely to result in a less impressive overall plant.
Rudbeckia will tolerate an exposed, windy site, though taller species may need staking to remain upright.
Soil - Moderately fertile, moisture-retentive yet well-draining soil. Rudbeckia strongly resents drying out, so either avoid anywhere prone to drought or be prepared to water accordingly. Waterlogging is also best avoided, particularly during winter.
Rudbeckia hirta and R. fulgida var. deamii are the most tolerant of dry conditions, while R. subtomentosa and R. maxima are the best for withstanding winter wet.
Flowering Period - Late summer to mid autumn
Half-hardy rudbeckias grown as annual bedding (and this includes any cultivars of R. hirta, along with the Sunbeckia Series and Summerdaisy Collection) should be planted out after all risk of frost has passed in your area. This varies from region to region, though tends to be around late May. These typically arrive as young plug plants and are often sent out from mid spring. If yours arrive before it is safe to plant them out, the best approach is to pot them into 9cm pots and grown on in a light, frost-free environment. A conservatory, greenhouse, or sunny porch or windowsill are all ideal.
These plants will need hardening off before you plant them out, which means acclimatising them to the outside conditions over the course of a week or two. A coldframe is perfect, allowing you to gradually increase the time the lid remains open until eventually leaving it open all night. Alternatively, you can take the following steps:
- First few days: move your plants outside, just during the day at first
- Next few days: leave out all the time, with a fleece covering at night
- Final few days: leave out completely uncovered
After this they are ready to plant out as summer to autumn bedding in pots, window boxes, and hanging baskets, or as quick and easy gap fillers in the garden.
For best results plant hardy perennial rudbeckias when the ground is at its moistest in spring (March to May), though you can also plant them out during the rest of the year. Simply avoid frozen or waterlogged conditions, and, if planting in the summer, be prepared to water frequently.
Taller species do well towards the back of a border, while shorter versions can be used to edge the front. They can also be used in informal, natural settings such as a meadow or wildlife garden. You can try these in a container (go for a compact variety such as R. ‘Little Henry’ or the Flamenco Series), though they grow best in the open ground.
How to plant Rudbeckia
- For planting in the garden, dig the soil area removing any large stones and weeds and breaking up any lumps. Mix in some organic matter such as manure or garden compost. Rake level and firm with your heels. Rake level again.
- Water plants well and allow to drain before planting.
- A good tip is to dig a hole twice the size of the root-ball. Fill with water and allow to drain before placing in the plant.
- Place the plant in the hole, ensuring the top of the root ball sits level with the surface of the soil. Too low and the plant may rot, too high and the roots can dry out.
- Backfill with soil and firm in gently with your foot.
- Soak well with water.
- Mulch around the base with well-rotted organic matter.
- Now can be a good time to add staking support for taller varieties, particularly if grown in a windy spot. A network of branches inserted into the ground surrounding the plant and twisted or woven together works well, as do metal link stakes.
- For planting in containers (remember – we recommend using compact varieties or annuals for this; taller perennials will struggle), first choose an appropriately sized pot. You may wish to grow your rudbeckia on its own in a pot just a few centimetres larger than the rootball, or as part of a larger, mixed container display. Either way, ensure there are plenty of drainage holes in the bottom.
- If you are using a large or heavy pot, it can be a good idea to fill and plant it in situ to save yourself the trouble of moving once full.
- Use a good quality potting compost with plenty of horticultural grit mixed in, and, if not already present in the compost (check the description on the bag) some slow-release fertiliser granules.
- Start by partially filling the pot with compost; enough so that when placed on it the upper surface of the root ball is about 3cm lower than the top of the pot.
- Infill all the space surrounding the root ball with compost, firming down with your fingers then adding a little more so the plant is held tight.
- Pick up the container and lightly tap on the potting bench or ground a few times to help further settle the compost around the plant.
- Soak well with water.
- A mulch with horticultural grit will look attractive and help to prevent a ‘cap’ or crust forming on the top of the compost (something container plants can suffer due to the artificial nature of their watering).
What to plant with Rudbeckia
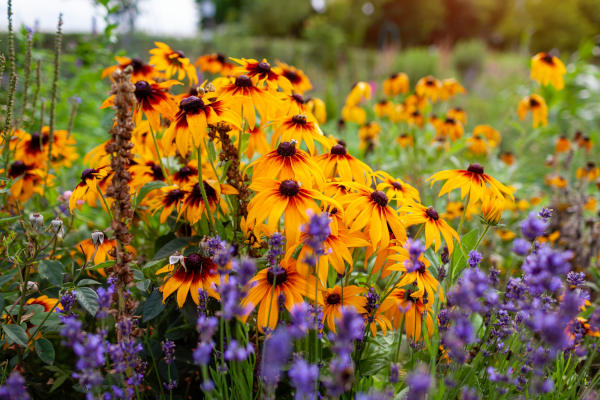
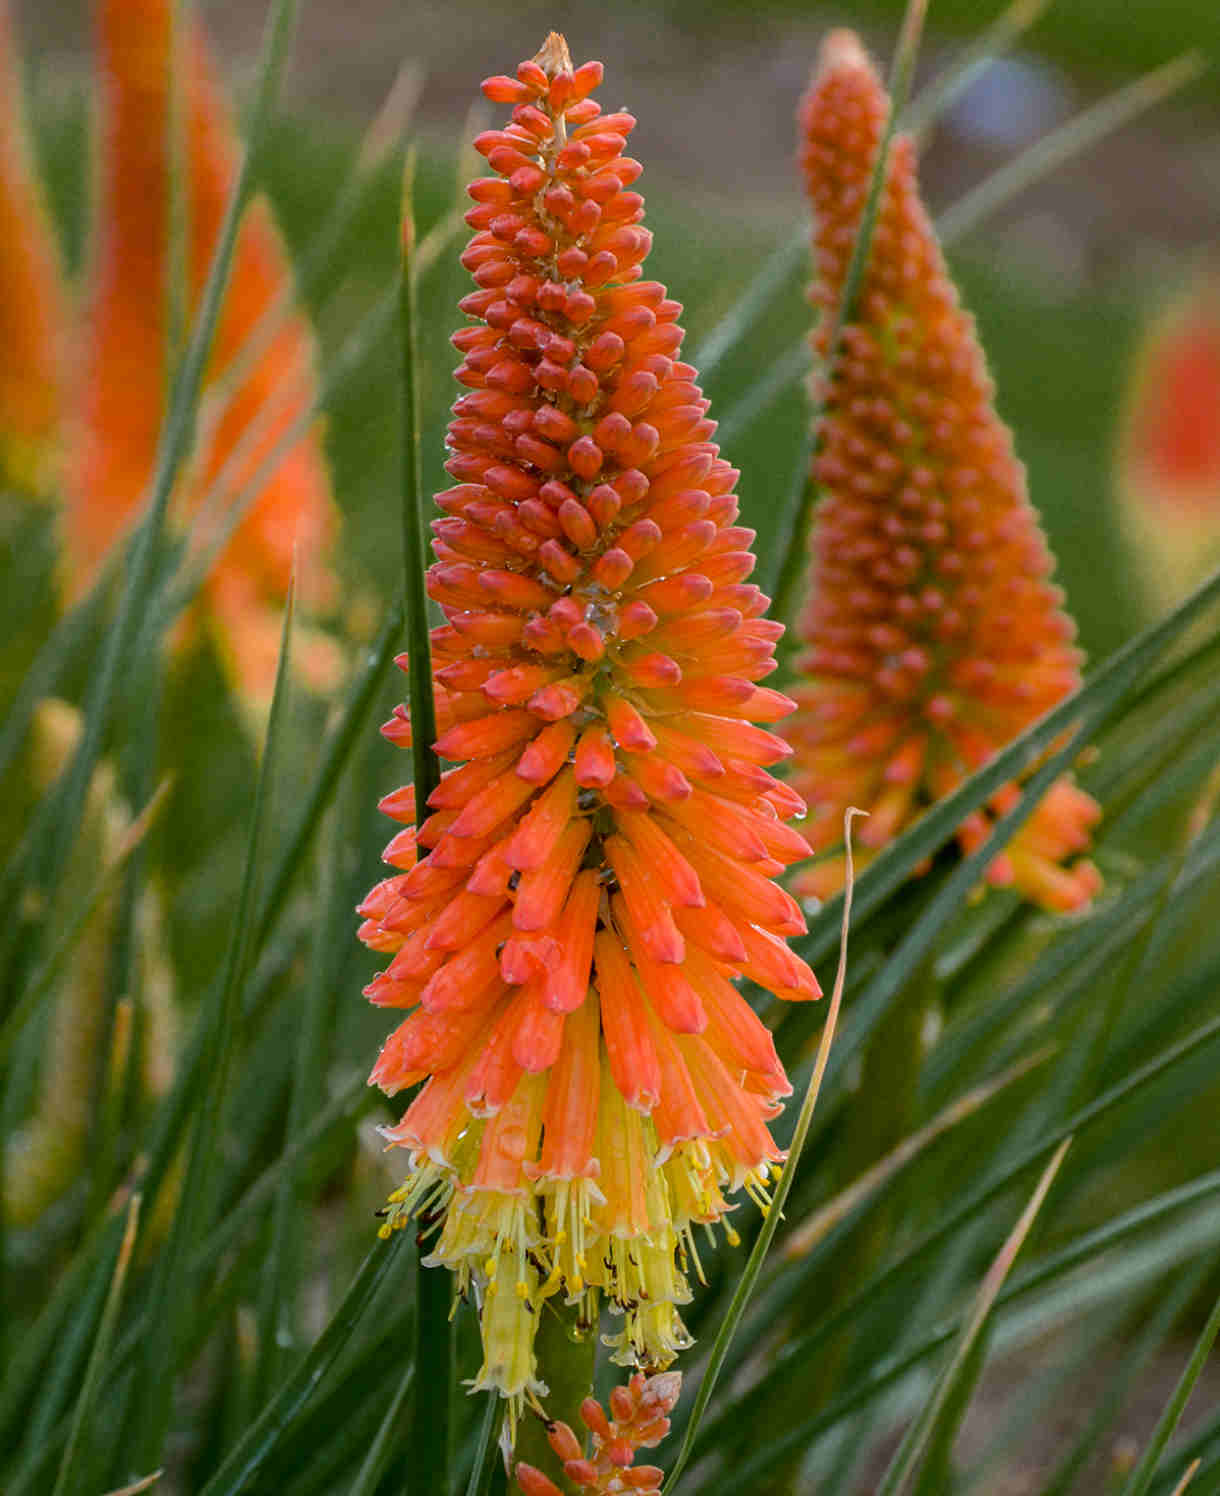
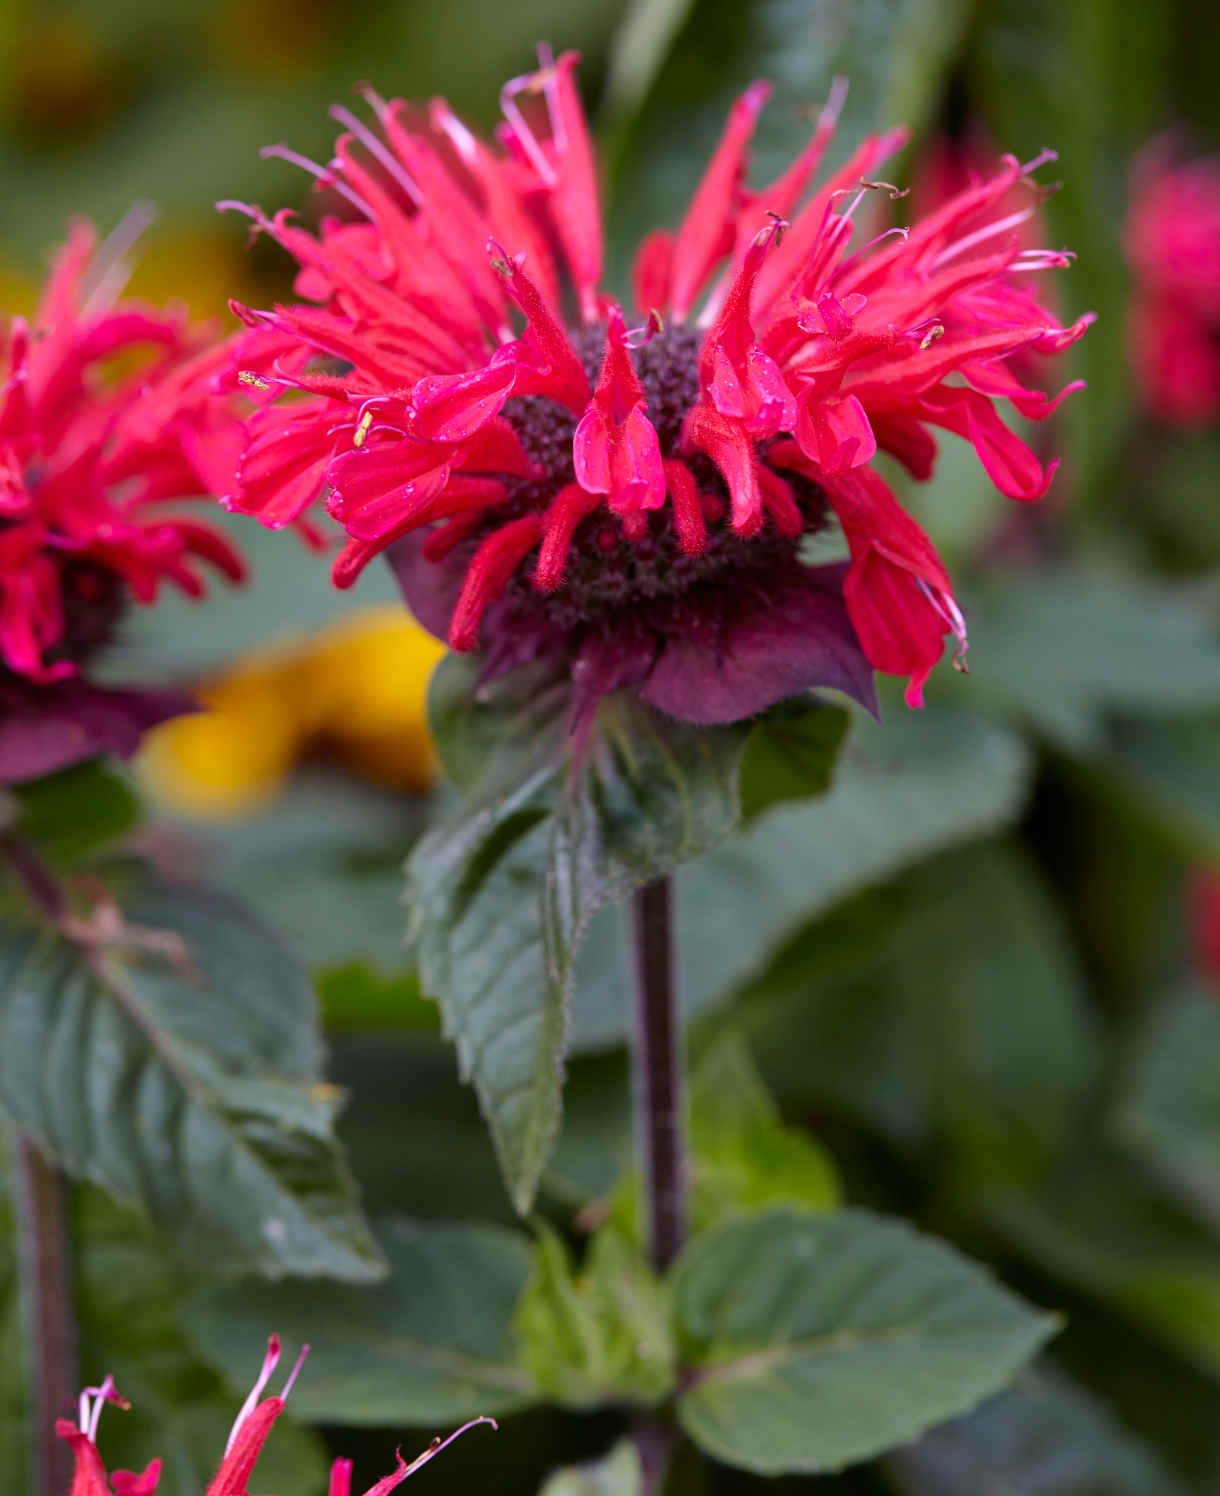
Perennial rudbeckia goes particularly well in a prairie-style design with companions such as ornamental grasses and other late-flowering perennials such as aster, echinacea, helenium, coreopsis, kniphofia, monarda, and veronica.
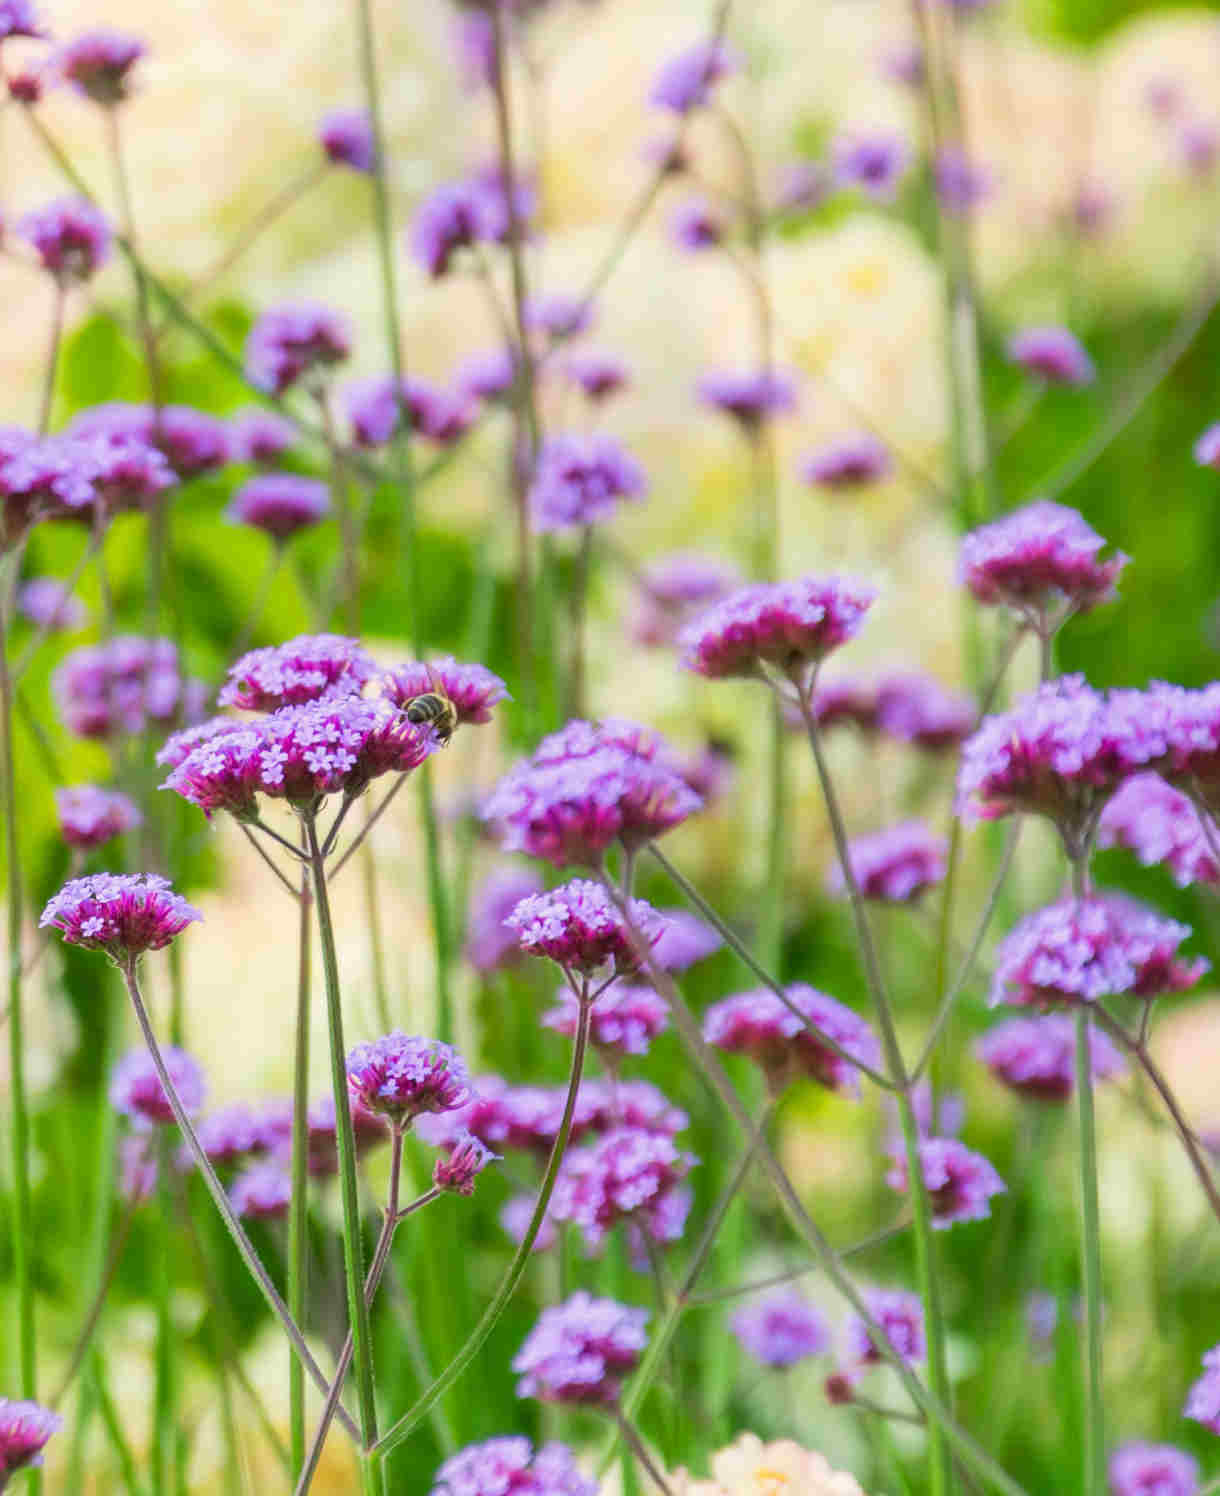
Annual rudbeckia is perfect for creating bright and cheerful pots and summer bedding displays. One of our favourite combinations for a large mixed container is annual rudbeckia paired with bidens, thunbergia, Verbena rigida, artemisia and petunia. A stylish riot of summer-flowers and foliage awaits!
How to care for Rudbeckia
Pruning and Deadheading
Taller species of perennial rudbeckia are good candidates for the ‘Chelsea chop’, which involves cutting the stems back by up to half in late May both to create a denser, stockier plant (doing away with the need for staking) and delay flowering by 3-4 weeks. You can either treat the whole plant in this way or just a few stems per plant.
All types of rudbeckia benefit from regular deadheading to keep plants looking neat and encourage further flowering.
Annual species can be simply removed to the compost at the end of the growing season.
Perennials should be cut back to just above ground level. While this can be done in autumn or winter, there are a few benefits to leaving the job until early spring. Leaving the stems intact provides insulation and protection against the worst of the winter weather, as well as a habitat for overwintering insects. The dried seedheads also make an attractive feature throughout the colder months and provide food for birds.
Perennial species require lifting and dividing every three to five years to reinvigorate tiring clumps and reduce congestion. You will often spot them start to die out in the middle, leaving a ‘donut’ of growth which you should take as your cue to act. See our ‘How to propagate rudbeckia’ section below for more information.
Watering
New plantings require more watering than established plants. During the first growing season in the ground, a good soaking every couple of weeks should ensure long-term success (aiming for consistently moist, but not soggy soil). After this, the watering needs of rudbeckia depends on your soil type. It is important that rudbeckia is not allowed to dry out in summer, so if you have free-draining soil you may need to be watering frequently during hot, dry weather. If you have heavier, clay soil the need will be less, though it is still important to keep an eye out. An annual mulch will help lock moisture into the soil (see ‘Feeding’ section below).
Container-grown rudbeckia needs to be watered regularly throughout every growing season. Allowing the top couple of centimetres of compost to dry out between generous soakings is a useful rule of thumb to help avoid overwatering. Wiggle your finger down into the compost to check this, and be aware that in very hot, dry weather watering can be needed every day, particularly for smaller containers which can dry out very quickly. From mid-autumn, the British climate tends to take over watering needs, though do remember to step in in the event of an unseasonably dry spell.
Feeding
On healthy, fertile soil, an annual mulch of well-rotted organic matter (i.e., a layer of manure or garden compost applied to the soil around the plant) should provide sufficient nutrients for perennial species in the open ground. This has the added benefit of suppressing weeds and locking in moisture, and can be done in autumn or spring. If your plant looks in need of an extra boost or you garden on poor soil, applying a general purpose granular feed to the surface of the soil and lightly working in (known as a ‘top dress’) can reap benefits. Aim to do this in spring.
To get the most out of hungry annual species, regular feeding is a must. In the open ground, mulch newly planted rudbeckia with well-rotted organic matter as above. After this, a weekly or fortnightly application of high potassium liquid feed, such as tomato feed, will boost performance significantly.
Container-grown plants rely more on the gardener for nutrition. Get off to a flying start by making sure you use a good quality compost, then throughout the growing season (March to September) apply a liquid feed mixed according to the manufacturer instructions. Perennial species can be fed every two to three weeks, while annual displays benefit from a weekly feed.
Cold Protection
Perennial rudbeckia are usually fully hardy and, when grown in the right conditions, should withstand an average UK winter without any additional protection. Having said this, there are different degrees of hardiness, and some cultivars are slightly less robust than others.
Those with a hardiness rating of H5 can withstand between -10°C and -15°C and should be fine in all but the most exposed spots. Protect those grown in containers with a wrapping of fleece, hessian, or bubblewrap around the pot.
Those rated H6 and H7 can be relied upon to get through winter without concern. You may wish to protect container-grown H6 rudbeckia in very cold, exposed areas. Otherwise, leave them to it!
Annual rudbeckia species tend to be half-hardy, meaning they will be killed off by a frost. Simply remove these to the compost heap at the end of the growing season. Some of what we refer to as annuals are actually short-lived perennials (such as R. hirta) and can be overwintered in a frost-free environment to enjoy for a second, sometimes even third year. Give a light trim after flowering then move to a greenhouse, conservatory, sunny porch, or windowsill, and keep barely moist over winter. Cut back in spring, water and feed, and move back outside once all risk of frost has passed.
Pests and Diseases
Rudbeckia are robust and easy to grow plants which rarely succumb to pests and diseases. Slugs are the only nuisance we’ve encountered, particularly when plants are young. Encouraging natural predators into your garden, such as birds, frogs, toads, and hedgehogs, will make a big difference. Torchlight searches after dark (when slugs and snails are at their most active) are also effective, allowing you to collect the offending molluscs in a bucket and dispose of as you see fit. Relocating to a nearby woods or bagging up and putting in your freezer before popping them in the bin are said to be the most humane approaches.
How to propagate Rudbeckia
The quickest and easiest way to propagate perennial rudbeckia species is by lifting and dividing established clumps in spring. As well as providing new plants, this is recommended as a routine maintenance practice, done every three to five years to maintain the vigour of existing clumps.
- Choose a day when the soil is not frozen or waterlogged.
- Dig the plant out of the ground.
- Shake off any excess soil.
- Separate the plant into sections using either swift, cutting blows with a sharp spade, or two forks inserted back-to-back with tines touching, handles then pushed together to prise the plant apart.
- Discard old, damaged, or surplus pieces, keeping healthy, vigorous material.
- Replant decent-sized pieces where desired, and any smaller bits can be potted up.
- Water well until fully established.
When it comes to annual species, only straight species will come true from seed. As many of the specimens we grow in our gardens are named cultivars, this means it is best to buy new plants or seeds each year.
* Many plants carry Plant Breeders Rights and cannot be propagated for commercial purposes.
Common Rudbeckia questions
My annual rudbeckia is looking scrawny, what’s the problem?
This is likely to be insufficient moisture. Keep well-watered throughout the growing season, aiming for occasional soaks rather than little and often. See our ‘Watering’ section above for more information.
Does rudbeckia come back every year?
This depends on what type you are growing. Perennial species can be expected to come back every spring, while annual species (or those grown as annuals) will not survive a winter and need to be replaced each year.
Does rudbeckia spread?
Most rudbeckia are very well-behaved, clump forming plants. The exception to this is laciniata which spreads via rhizomes and can become invasive if not kept in check.
Does rudbeckia need full sun?
While rudbeckia will grow in partial shade, best results are found in full sun.
How far apart do I plant rudbeckia?
Again, this depends on which one you are growing. Recommended spacing can range from 35cm for the dinky Flamenco Series, to 90cm for the statuesque ‘Henry Eilers’. Check individual descriptions for details.