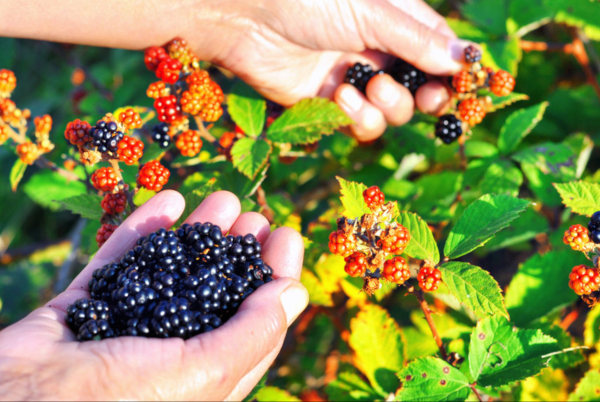
How to grow Rubus (Blackberry)
This member of the rose family contains many different species. These can be shrubs or climbers, prickly or smooth, deciduous, or evergreen. Many produce edible fruits, such as Rubus fruticosus (cultivated blackberry), R. ideaus (raspberry), R. caesius (dewberry), and R. phoenicolasius (wineberry). The hybridising of various blackberry and raspberry species with one another has resulted in popular new additions to this group such as loganberry and tayberry. The original, super vigorous wild blackberry species (R. fruticosus agg), also known as bramble, is the parent to all cultivated forms. These have been bred to make more civilised and productive garden plants than their notoriously invasive forebear.
Other species of rubus are grown mainly for ornamental reasons, such as the deciduous R. cockburnianus and R. biflorus, both of which boast colourful stems in winter. The low-growing R. tricolor offers attractive evergreen groundcover, though does also produce a few edible, raspberry-like fruits.
Most rubus are vigorous plants which need plenty of space along with annual pruning to prevent them growing out of control, though there are smaller, compact forms available for containers.
This growing guide will focus on all but R. ideaus (raspberry), which has its own separate growing guide due to its distinct growing requirements.
Zantedeschia is a genus of flowering plants from the family Araceae and is native to southern Africa. With a rich history dating back to the Ancient Romans, these deciduous or semi-evergreen perennials have been used as a symbol of celebration. Zantedeschia was Named after Professor Giovanni Zantedeschia, an Italian botanist.
There are two main forms of Zantedeschia: hardy and tender. Hardy forms of the plant can be grown outdoors, enjoy moist soil and full sun or partially shaded conditions - these are known as Arum lilies. Tender forms of Zantedeschia prefer being grown in containers or pots and should be brought inside over the winter - these are known as Calla lilies.
With tuberous flora in all colours from whites, yellows and oranges to deep reds and purples, Zantedeschias are not to be overlooked in any garden, as long as they have sufficient sunlight to grow in.
Ready to learn more about growing Zantedeschia? Read on for all there is to know...

Soil pH

Position
Hardiness

Where & when to plant Rubus
Position - Rubus grown for edible fruit or ornamental stems do best in full sun, though will tolerate light shade. Low-growing ground-cover species will thrive in sun or partial shade.
Soil - Moderately fertile and well-drained. Can be an acid, alkaline, or neutral pH.
Flowering Period - Mainly early summer
Hardiness - Hardy, rated from H5 (-10°C to -15°C) to H7 (-20°C and below), depending on the species or cultivar.
Rubus can be bought in two forms, bare root and container grown.
Bare root rubus are available during their dormant period, usually from October to March. These should be planted straight away, though it is important to avoid frozen or waterlogged conditions. If necessary, they can be ‘heeled in’ (temporarily planted in the soil to keep the roots from drying out) or soaked in a bucket of water for a few days.
In theory, container-grown rubus can be planted at any time of year, though for best results go for autumn or spring. An autumn planting can be done by those gardening in mild conditions (and broadly speaking, this is the southern half of the UK). For those liable to cold winters, it is best to wait until spring (generally the northern half of the UK). Planting can also be carried out in summer, though be prepared to water regularly.
Edible species are best trained along horizontal wires fixed to posts, walls, or fences. Dwarf cultivars are well suited to containers, and many will have a bushy habit which doesn’t require extra support.
Rubus grown for their ornamental stems are suitable for shrub borders, and low-growing, evergreen groundcover species are most at home in a wild or woodland garden.
How to plant Rubus
Water container-grown plants well and allow to drain before planting. Soak the roots of bare root plants in a bucket of water for a few hours prior to planting. For climbing edibles, it is best to install the support wires prior to planting. Aim to have them 45cm apart, with the lowest one 30cm above soil level. Then:
- Dig the soil area over, removing any large stones and weeds and breaking up any lumps. Mix in plenty of organic matter such as manure or garden compost. If your soil is heavy clay, now is also the time to add a generous helping of horticultural grit.
- Rake level and firm with your heels. Rake level again.
- A good tip is to dig a hole twice the size of the roots. Fill with water and allow to drain.
- Place the plant in the hole, ensuring the top of the root ball sits level with the surface of the soil. To high and the roots can dry out, too low and the stem can rot.
- Backfill with soil and firm in gently with your foot.
- For climbers, insert an angled cane at this stage to encourage the plant to grow towards the support. Tie stems to the cane and/ or support using garden twine.
- Soak well with water.
- Mulch around the base with well-rotted organic matter such as manure or garden compost.
- For planting in containers (best for compact varieties only), first choose an appropriately sized pot at least 45cm across. Always ensure there are plenty of drainage holes in the bottom.
- If you are using a large or heavy pot, it can be a good idea to fill and plant it in situ to save yourself the trouble of moving once full.
- Use a good quality potting compost with plenty of horticultural grit mixed in, and, if not already present in the compost (check the description on the bag) some slow-release fertiliser granules.
- Start by partially filling the pot with compost; enough so that when placed on it the top of the roots sit about 3cm lower than the top of the pot.
- Infill all the space surrounding the roots with compost, firming down with your fingers then adding a little more so the plant is held tight.
- Pick up the pot (if you can!) and lightly tap on the potting bench or ground a few times to help further settle the compost around the plant.
- Soak well with water.
- A mulch with horticultural grit will look attractive and help to prevent a ‘cap’ or crust forming on the top of the compost (something container plants can suffer due to the artificial nature of their watering).
What to plant with Rubus
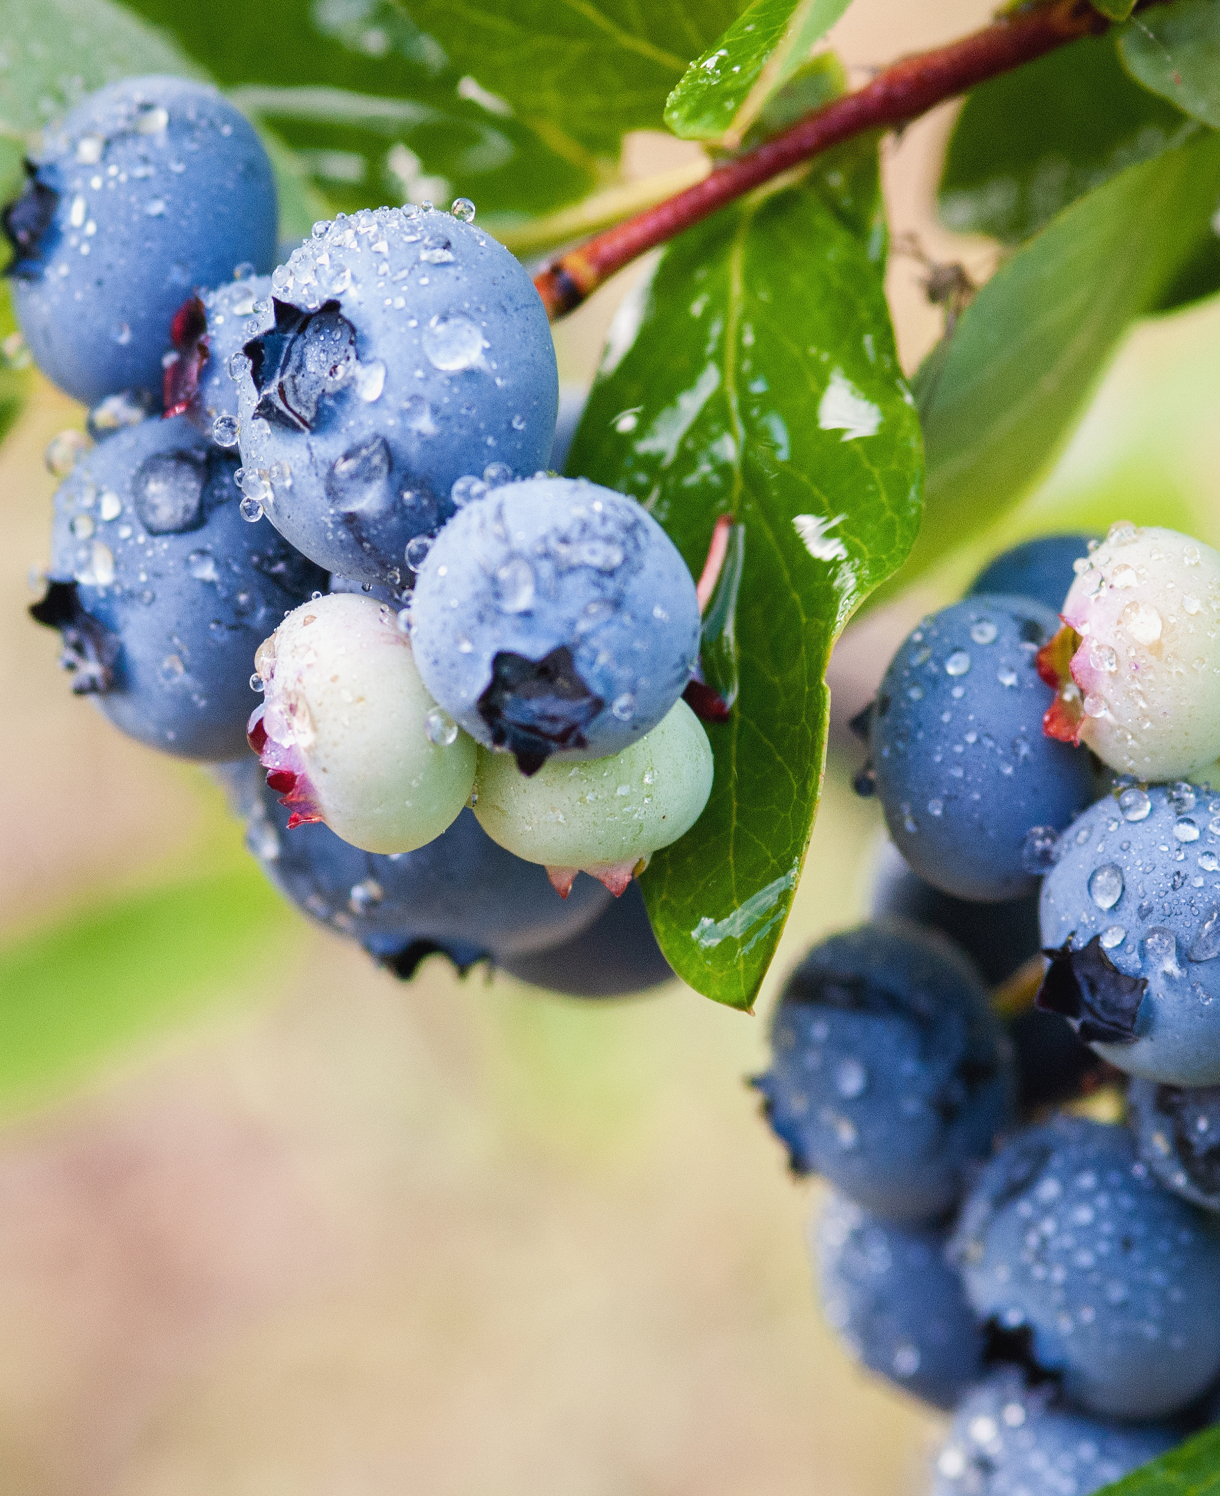
Most full-size species of edible rubus need plenty of space, so take care not to cram them to closely to other plants. For other perennial edibles to grow in the vicinity try rhubarb, asparagus, and blueberry.
Much like edible species, many ornamental rubus need a lot of elbow room. Most are at their peak interest during winter, so fit most naturally among other plants that also ‘do their thing’ during the cooler months. Think mahonia, sarcococca, cornus, hamamelis, and callicarpa, with a smattering of early-flowering bulbs at ground level such as winter aconites and snowdrops.
Dwarf edible cultivars such as R. fruticosus ‘Tiny Black’ or ‘Dwarf Purple Opal’ can be grown in conjunction with other patio varieties of fruit and vegetables bred especially for container growing. Our Plentiful Patio Fruits Collection, Patio Tomato Collection, Mini Patio Fruit Orchard Collection, Prunus japonica ‘Black Amber’, and Prunus avium ‘Sylvia’ will transform your balcony or patio into a kitchen garden bursting with produce.
How to care for Rubus
Pruning and Deadheading
Most edible rubus species and hybrids fruit on stems that grew the previous year.
Pruning is wonderfully simple: after fruiting, simply cut out any stems that have fruited down to ground level (these should be the ones currently tied to the wires) and tie in the new stems. Remove any weak, thin, whippy growth.
It is important to do this every year to avoid plants growing into a tangled, unproductive thicket. Though often grown as ornamental groundcover, R. tricolor also falls into this category of pruning.
Ornamental rubus species come under the RHS pruning group 7, which means they should be cut back to the ground each spring. It’s important to note this should be left until they’ve had a chance to become well-established, so no pruning until their second or third spring in the ground.
Watering
Rubus should be regularly watered during their first growing season in the ground (in dry spells this can be needed as often as once a week). After this they are known to be relatively drought tolerant, needing watering only during exceptionally hot, dry weather.
Container-grown rubus have less access to moisture so need regularly watering throughout every growing season. Allowing the top couple of centimetres of compost to dry out between watering is a useful rule of thumb to help avoid overwatering. Use your finger inserted into the compost to check this, being aware that in the height of summer watering can be needed every day. From mid-autumn, the British climate tends to take over watering needs, though do remember to step in in the event of an unseasonably dry spell.
Feeding
Outdoors, in healthy, fertile soil, a spring application of general purpose granular feed covered with a mulch of well-rotted organic matter (i.e., a layer of manure or garden compost applied to the soil around the plant) should give your rubus all the nutrients it needs for the year. The mulch has the added benefit of suppressing weeds and locking in moisture. Rubus grown for its edible fruits can also benefit from a weekly or fortnightly dose of high potash liquid feed – tomato food is ideal – throughout the flowering and fruiting period. This is particularly beneficial if your soil is on the poor side.
Container-grown plants rely more on the gardener for their nutritional needs. Get off to a flying start by making sure you use a good quality compost, then start feeding weekly with a general purpose liquid feed when growth commences, usually around March. For fruiting species and hybrids, switch to a high potash feed such as liquid tomato feed as soon as flower buds start to appear.
Cold Protection
Rubus are hardy and, if grown in the right conditions, should withstand an average UK winter without any additional protection. Having said this, there are different degrees of hardiness, and some cultivars are slightly less robust than others.
Those with a hardiness rating of H5 can withstand between -10°C and -15°C and should be fine in all but the most exposed spots. Protect those grown in containers with a wrapping of fleece, hessian, or bubblewrap around the pot.
Those rated H6 and H7 can be relied upon to get through winter without concern. You may wish to protect container-grown H6 rubus in very cold, exposed areas. Otherwise, leave them to it!
Pests and Diseases
Rubus are usually problem-free other than their occasional succumbing to grey mould, or botrytis (as with many soft fruits). This fuzzy fungal growth can appear on decaying buds, flowers, fruit, or leaves, though can also sometimes kill stems without the grey mould being visually evident.
This fungus thrives in humid, crowded conditions and loves dead or dying plant material. Maintaining good garden hygiene is therefore the best way to avoid problems, and by this we mean removing decaying bits of plants straight away and ensuring good ventilation by giving plants plenty of growing space.
How to propagate Rubus
Rubus are spectacularly easy to propagate due to a very strong natural inclination to root. You can do this either by layering, taking cuttings in summer, or hardwood cuttings in early winter.
Layering (mid to late spring)
- Choose a few flexible outer shoots that can easily be bent down to the surface of the soil.
- Make a 5cm long incision along the stem where it will touch the ground, ensuring you slice through a leaf bud.
- Insert a matchstick to wedge the incision open slightly.
- Dig a small, shallow trench where the shoot will touch the ground (adding a little grit if the soil is heavy).
- Peg the shoot into the trench using thick wire or a strong forked twig.
- Fill with soil, firm in, and water.
- Mark the spot with a cane. Roots can take 12 months to form, making it easy to forget what you have done and where...!
- When a good root system has formed, sever from the parent plant and either replant elsewhere or put in a pot for growing on.
Softwood or semi-ripe cuttings (summer)
- Snip cuttings off the plant, taking a longer piece than the ideal eventual length of around 10cm (to allow for trimming).
- Put them in a plastic bag straight away to prevent drying out.
- Fill a pot (or several, if you have a lot of cuttings) with a perlite-heavy compost mix (at least 50% perlite).
- Trim the end of the cutting to just below a node (point at which leaves grow).
- Remove lowest leaves and soft tip, leaving 2-4 leaves.
- If the remaining leaves are large, cut them in half with a sharp knife (to reduce water lost through transpiration).
- Insert the cuttings into the compost and water lightly. Several cuttings can be put in the same container if there is enough space to do this without them touching.
- Place in a greenhouse or propagating unit if you have one or covered with a plastic bag on a windowsill if not (out of direct sunlight).
- Keep the cuttings misted and occasionally watered until they root. You will know this has happened when roots emerge out of the bottom of the container.
- Gently remove rooted cuttings and pot them into individual pots. Grow on in a cool yet frost-free environment such as an unheated conservatory, greenhouse, or cold frame, until they are large enough to be planted out.
Hardwood cuttings (early winter)
- Select shoots of fully ripe, current year growth (which by now will be bare and leafless), cutting at ground level.
- Select a healthy and firm section of the stem and trim to 15-20cm, with the top cut just above a pair of buds, and the bottom cut just below a pair of buds. It is good practice to make the top cut a sloping one, both to aid water runoff, and to remind you which end is which! Upside down cuttings have zero chance of rooting.
- Spacing approximately 10-15cm apart, firm into a trench in a prepared bed outside (with well-rotted organic matter and grit dug in), the top 3-5cm of the cutting showing above soil level. Alternatively insert into containers filled with a gritty compost mix.
- Water in lightly. Place containers in a cold frame or unheated greenhouse.
- Check and re-firm trench cuttings after a frost (which can lift them out of the ground).
- Leave cuttings in place until the following autumn ensuring they do not dry out during the summer. By this point they should have rooted and can be lifted and either potted or planted out as required.
* Many plants carry Plant Breeders Rights and cannot be propagated for commercial purposes.
Common Rubus questions
How long does it take for rubus to bear fruit/ will I get blackberries in the first year?
Rubus typically fruit from their second summer onwards.
Are blackberries easy to grow?
Very! These are unfussy plants which can be expected to romp away happily as long as they have sunshine and an annual feed and mulch. Just remember to keep on top of pruning to avoid a tangled mess, and make sure you provide support for climbing species.
Do blackberry bushes spread?
Cultivated species and cultivars are much better behaved than wild brambles and tend not to pose problems in the garden provided they are pruned annually.