How to grow Roses (Rosa)
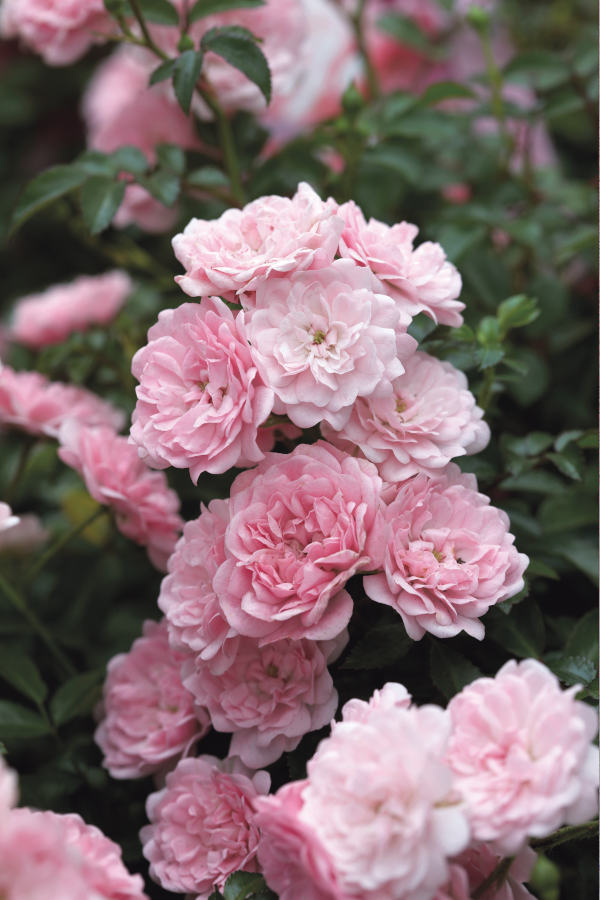
It is hard to think of a more popular garden plant than the rose. Loved for its colour, fragrance, and versatile nature, the many thousands of options available range from ground cover and container plants to shrubs, climbers, and ramblers. An enormous variation in flowering periods and habits means it is possible to have a rose in bloom almost every day of the year, often followed by hips which can be equally as attractive. The shape, size, and style of flowers also varies hugely, meaning whether you’re into big, showstopping frills or simple, pared back beauty, there will be a rose to suit your taste.
The diversity of this genus coupled with its popularity means there is a somewhat daunting amount of written advice on the subject. This growing guide aims to reduce the information down to its simplest form, and it may surprise you to discover just how easy roses are to grow.

Zantedeschia is a genus of flowering plants from the family Araceae and is native to southern Africa. With a rich history dating back to the Ancient Romans, these deciduous or semi-evergreen perennials have been used as a symbol of celebration. Zantedeschia was Named after Professor Giovanni Zantedeschia, an Italian botanist.
There are two main forms of Zantedeschia: hardy and tender. Hardy forms of the plant can be grown outdoors, enjoy moist soil and full sun or partially shaded conditions - these are known as Arum lilies. Tender forms of Zantedeschia prefer being grown in containers or pots and should be brought inside over the winter - these are known as Calla lilies.
With tuberous flora in all colours from whites, yellows and oranges to deep reds and purples, Zantedeschias are not to be overlooked in any garden, as long as they have sufficient sunlight to grow in.
Ready to learn more about growing Zantedeschia? Read on for all there is to know...

Key Information
Soil pH

Position
Hardiness

Where & when to plant Roses
Position - All roses enjoy full sun. While none relish partial shade some will tolerate it better than others, though even these need at least 4 hours of sun per day. Check individual descriptions for shade tolerance. Avoid very exposed, windy sites.
Soil - Rich, moist, well-draining. Soil where roses have recently been grown is best avoided due to the buildup of harmful organisms. Can be any pH.
Flowering Period - Depending on the species or cultivar this can be spring, summer, autumn, or even winter in mild, frost-free conditions.
Hardiness - Hardy enough to withstand the average UK winter. Can range from H5 rated ( -10°C to -15°C) to H7 (-20°C and below) depending on the species or cultivar.
Roses can be bought in two forms, bare root and container grown.
Bare root roses are available during their dormant period, usually from October to March. These should be planted straight away, though it is important to avoid frozen or waterlogged conditions. If necessary, they can be ‘heeled in’ (temporarily planted in the soil to keep the roots from drying out) or soaked in a bucket of water for a few days.
In theory, container-grown roses can be planted at any time of year, though for best results go for autumn or spring. An autumn planting can be done by those gardening in mild conditions (and broadly speaking, this is the southern half of the UK). For those liable to cold winters, it is best to wait until spring (generally the northern half of the UK). Planting can also be carried out in summer, though be prepared to water regularly.
Different types of roses suit different spots:
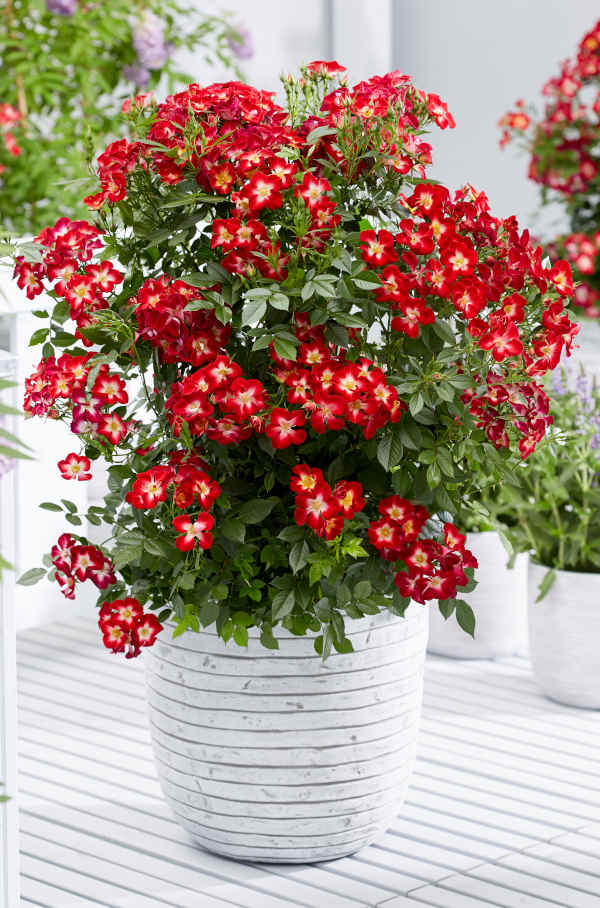
Ground cover roses, such as Rosa ‘Smarty’, or any from the Drift or Flower Carpet series, are ideal for containers, the front of a border, or sprawling over a bank.
Patio roses, such as R. ‘Dwarf Fairy’ or R. ‘Little Sunset’, stay as neat little plants meaning they’re perfect for pots, though you can also grow them in borders. It’s worth noting they tend to be shorter lived than other rose types.
Bushy roses are divided into several categories (more on this in our ‘Pruning and Deadheading’ section), but for now we’ll group together anything bigger than a patio rose which isn’t a climber or rambler. Most of these are best grown in a border, large container, or rose garden, while some, such as R. ‘Buff Beauty’ or R. ‘Canary Bird’, can also be grown as a flowering hedge.
Climbing roses are suitable for small, contained vertical spaces such as house walls, fences, pergolas, and obelisks. Examples include R. ‘Aloha’ and R. ‘Dublin Bay’. These are not self-clinging and need to be tied into supports such as wires or a trellis.
Rambling roses tend to be more vigorous and can be let loose up a large tree or used to quickly cover an unsightly building. They will also need some form of support to get them going. Some favourites are R. ‘Wedding Day’ and R. ‘Rambling Rector’.
How to plant Roses
Water container-grown plants well and allow to drain before planting. Soak the roots of bare root plants in a bucket of water for a few hours prior to planting.
- When planting in the ground, try to avoid a location where roses have been recently grown, for the reasons explained above. If this is unavoidable, excavate the soil to a depth and width of about 50cm and replace with soil from elsewhere in the garden.
- Dig the soil area over, removing any large stones and weeds and breaking up any lumps. Mix in plenty of organic matter such as manure or garden compost – roses are hungry plants, so the more you can do to increase the nutrient content of the soil, the better. If your soil is heavy clay, now is also the time to add a generous helping of horticultural grit.
- Rake level and firm with your heels. Rake level again.
- A good tip is to dig a hole twice the size of the roots. Fill with water and allow to drain.
- Place the plant in the hole, ensuring the graft union (a bulbous part of the stem just above the roots) sits at soil level. Most roses are grafted onto the rootstock of a wild rose which can send up vigorous suckers if planted too deep. Submerging the graft union is also thought in increase the risk of rose dieback.
- Backfill with soil and firm in gently with your foot.
- Soak well with water.
- Mulch around the base with well-rotted organic matter such as manure or garden compost.
- For planting in containers, first choose an appropriately sized pot. The best practice is to start just a few centimetres larger than the rootball and increase in size every year or two. Always ensure there are plenty of drainage holes in the bottom.
- If you are using a large or heavy pot, it can be a good idea to fill and plant it in situ to save yourself the trouble of moving once full.
- Use a good quality potting compost with plenty of horticultural grit mixed in, and, if not already present in the compost (check the description on the bag) some slow-release fertiliser granules.
- Start by partially filling the pot with compost; enough so that when placed on it the top of the roots sit about 3cm lower than the top of the pot.
- Infill all the space surrounding the roots with compost, firming down with your fingers then adding a little more so the plant is held tight. Again, take care not to bury the graft union (see above).
- Pick up the pot (if you can!) and lightly tap on the potting bench or ground a few times to help further settle the compost around the plant.
- Soak well with water.
- A mulch with horticultural grit will look attractive and help to prevent a ‘cap’ or crust forming on the top of the compost (something container plants can suffer due to the artificial nature of their watering).
What to plant with Roses
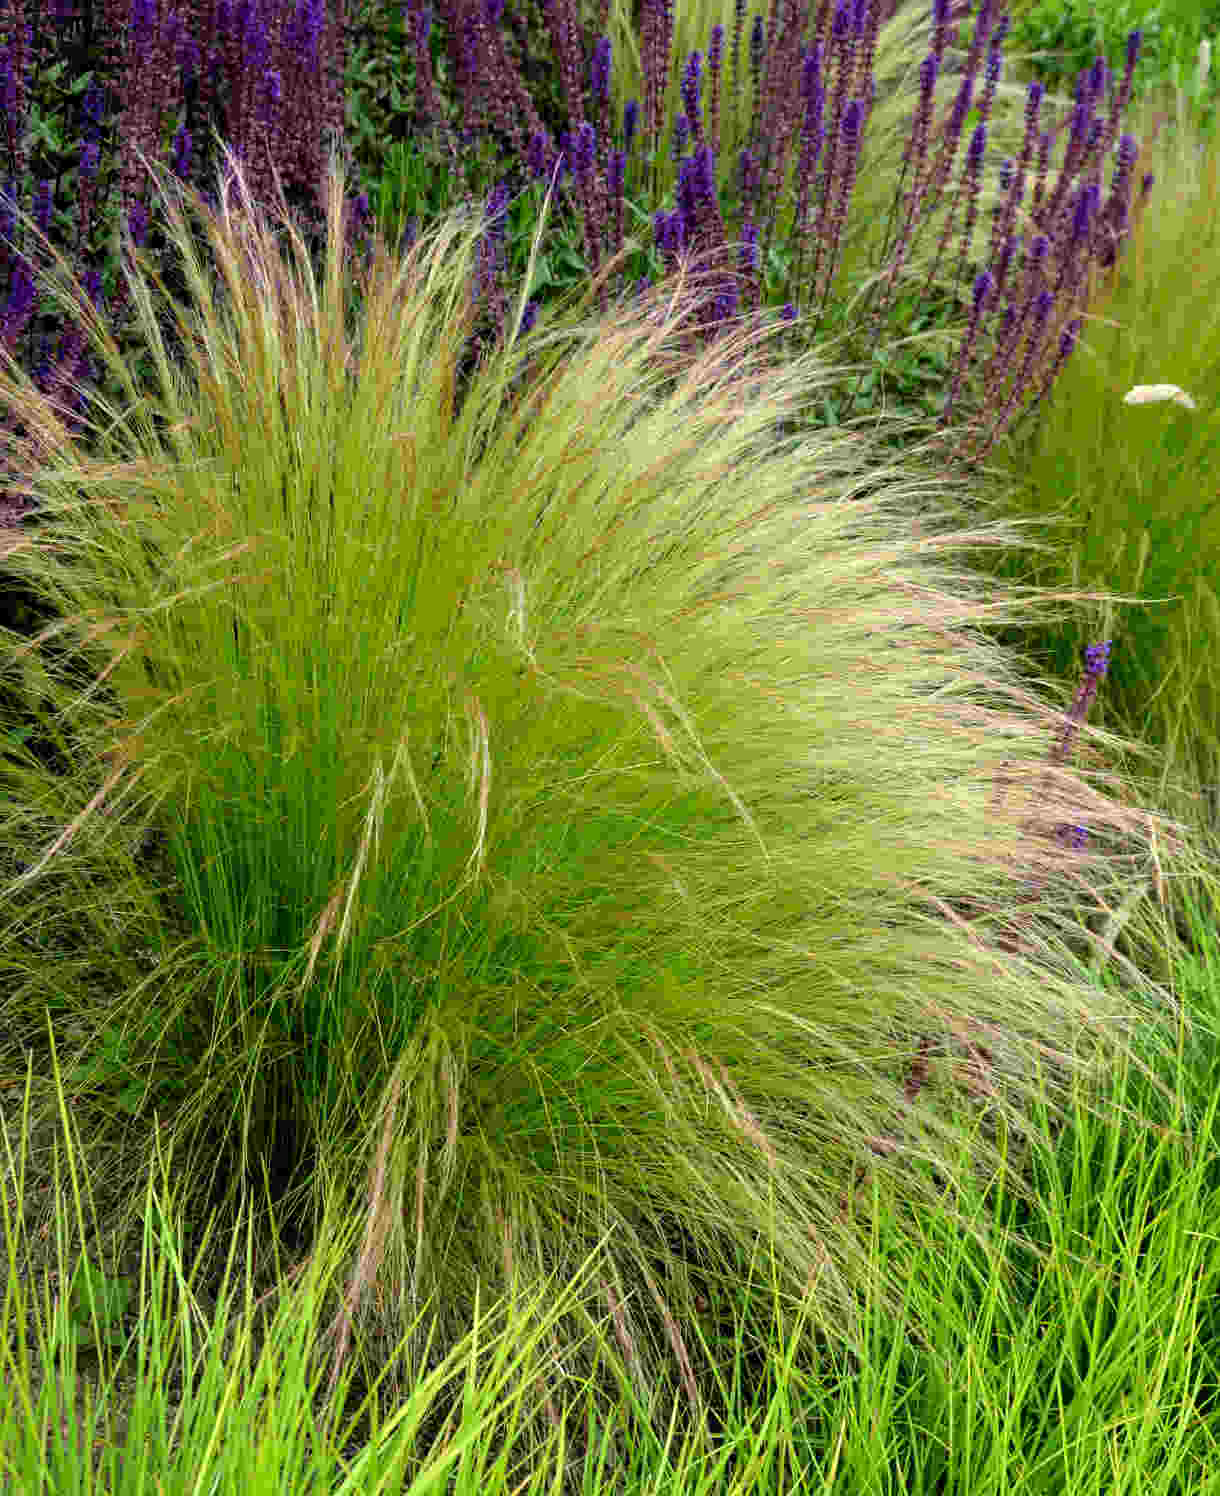
Roses are wonderfully easy to place in a variety of different planting styles. Wild or ‘species’ roses, e.g., Rosa canina, Rosa glauca, and Rosa arvensis, fit well in a naturalistic or wildlife garden, alongside ornamental grasses and wildflowers.
Roses with unusually coloured flowers, such as Rosa ‘Purple Tiger’ and Rosa ‘Veilchenblau’ are most at home in a cottage garden style scheme, crammed with other fun curiosities and variegated forms. Have a look at Miscanthus sinensis ‘Boucle’, Scabiosa ‘Scoop Raspberry’, and Caryopteris ‘White Surprise’ to get you started.
The traditional partnership of climbing roses and clematis is one which has stood the test of time. Choose complementary flowering periods and colours, such as in one of our favourite pairings – the velvety purple Clematis viticella ‘Etoile Violette’ contrasted against the peachy tones of Rosa ‘Buff Beauty’.
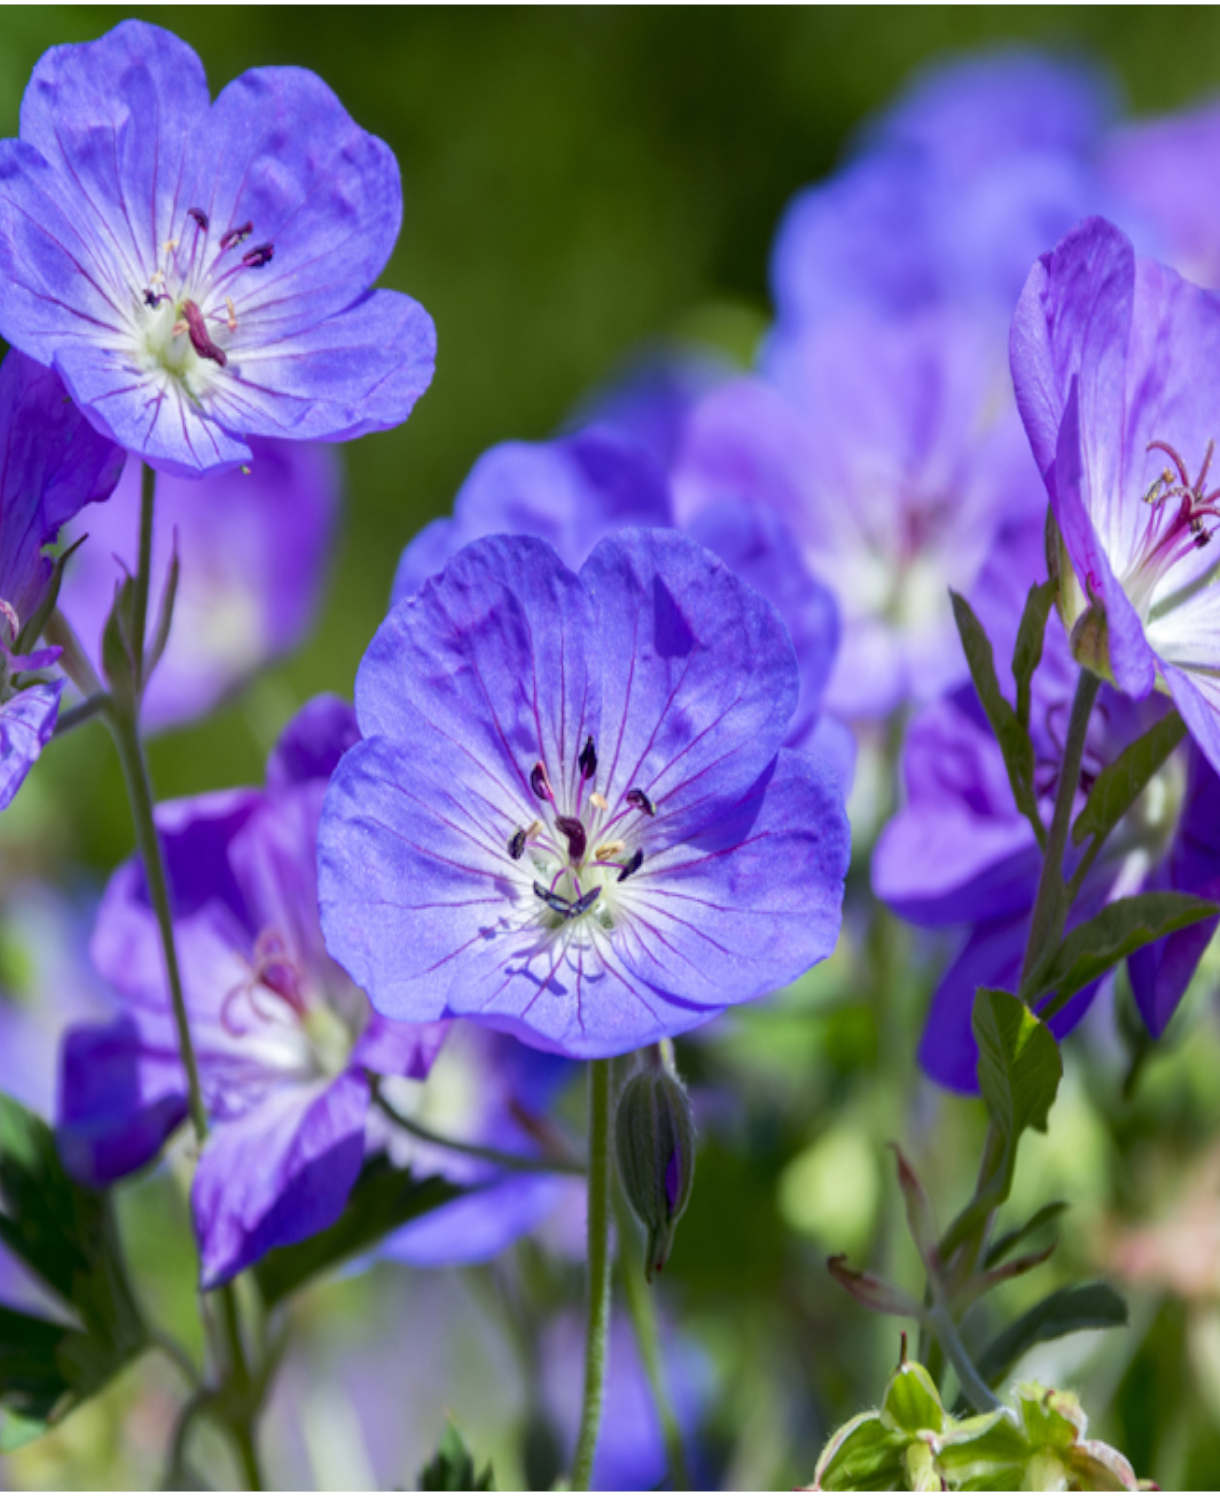
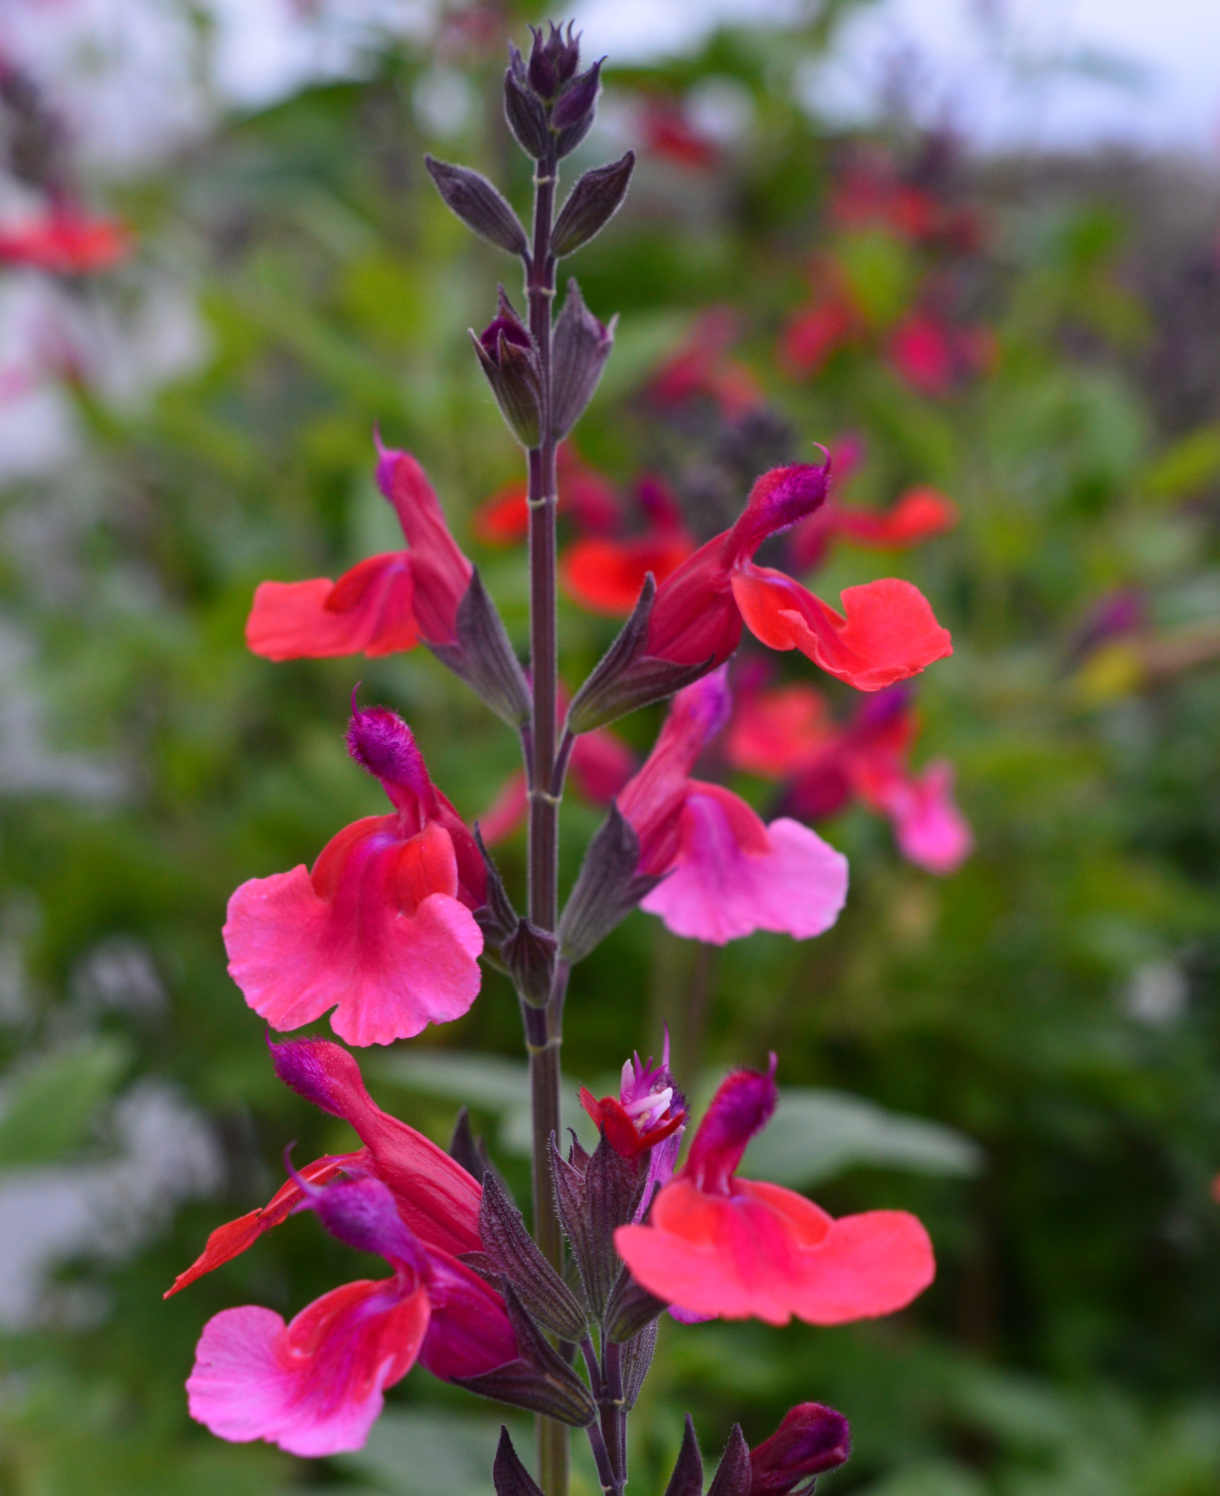
Rose gardens where many shrubby roses are planted together en masse can be greatly elevated with underplanting, and by this we mean low-growing annuals and perennials covering the soil beneath the roses. Prime candidates include Erigeron karvinskianus, hardy geraniums, salvias, nepeta, Alchemilla mollis, and lavender.
How to care for Roses
Pruning and Deadheading
Deadheading is an effective way of encouraging repeat-flowering roses to continue blooming. It is not necessary for those such as rambling roses which flower in one big flush, and in fact would prevent the formation of the often very attractive and wildlife-friendly hips. Stop deadheading repeat-flowerers from midsummer onwards for this same reason.
Now on to pruning. This is the part which often puts beginners off, and, while it’s true that different types of rose have different pruning techniques, this is not as terrifying as it may at first seem. Remember that pruning is optional and is simply designed to control the shape, size, and flowering of a rose. Many groundcover and rambling roses can be left completely untouched without any adverse effects at all.
The first stop is to work out what type of rose you have. Groundcover and patio roses are easy enough to identify, though things can get a little murky when you enter the bushy, shrubby realm, and sometimes the vertical growers. If you know the name of your rose it takes only a quick internet search to find out what category it falls into. If, however, you have inherited a garden and are unsure of what you have, the following may help with identification:
BUSHY
Hybrid Tea – medium size, thorny stems, large flowers produced in three distinct flushes from summer to late autumn.
Floribunda – medium size, prickly stems, smaller, clustered flowers produced continuously from summer to late autumn.
Shrub – larger size, thorny stems, flowers mostly semi-double to double borne in clusters, usually repeatedly from summer to autumn.
VERTICAL
Climber – smaller and less vigorous than a rambler, often with stiff stems and large, singly held flowers, produced in a measured flushes throughout summer.
Rambler – large, vigorous, and scrambling, with smaller, clustered flowers produced in one big plant-smothering flush, usually in June.
Regardless of the type of rose, there are a couple of basic techniques at the core of all rose pruning:
- Tidying: start all pruning sessions with the removal of dead, diseased, damaged, and badly placed stems, then cut off any thin, whippy growth.
- Always prune to an outward facing bud.
Beyond this, the different rose types diverge. We’ll start with the smallest and work our way up.
Groundcover roses (RHS pruning group 19)
When to prune: late winter (February or March)
These can be left to their own devices and tend only to need pruning if they have outgrown their allotted space. Simply cut back to the desired size, taking the opportunity to tidy any unproductive growth as above.
If they are horribly overgrown and congested, you can renovate by cutting back to about 10cm.
Patio roses (RHS pruning group 22)
When to prune: late winter (February or March)
These will often produce a mass of whippy, twiggy growth. Remove this, then shorten the remaining branches by about a third.
Bush roses (Hybrid Tea and Floribunda)
When to prune: if grown in a windy spot, give these a light trim in autumn to reduce wind rock. Prune properly in late winter (February or March) as below.
These flower on new growth, so the pruning aim is to encourage as much fresh, vigorous growth as possible each year and avoid an excess of older, unproductive wood.
- Hybrid Tea roses (RHS pruning group 15)
Having started with a tidy as above (remember – removing those dead, diseased, damaged, badly placed stems along with any thin, whippy growth), go on to shorten the strongest remaining stems to 10-15cm above ground, aiming to leave four to six buds. Less vigorous stems can be taken down even lower to 5-10cm above ground. Cut out completely any three-year-old stems, leaving only the freshest and most vigorous growth. - Floribunda roses (RHS pruning group 16)
Go slightly easier on these after tidying, taking the strongest stems down to 25-30cm and the less vigorous stems a little lower still. More mature stems can be pruned to around 5cm above ground when they begin to look gnarly and old.
Shrub roses
When to prune: if grown in a windy spot, give these a light trim in autumn to reduce wind rock. Prune properly in late winter (February or March) as below.
Unlike bush roses, these flower on older wood so are best left to develop naturally with just a light tidy each year. The aim is to maintain an established framework with a good amount of air flow in the middle. Tidy as above, then remove one or two older stems from the centre. If plants have become bare at the base, cutting out couple more older stems (no more than this) can generate new growth which will eventually provide flowers lower down.
Climbing roses (RHS pruning group 17)
When to prune: if grown in a windy spot, give these a light trim in autumn to reduce wind rock. Prune properly in winter (December to February) as below.
Tidy as above, then tie in any new shoots needed to cover the desired area. Prune flowered shoots back by two thirds of their length. Any very old branches can be removed at the base if the plant is starting to look congested.
Neglected, overgrown climbers can be renovated between late autumn and late winter. Cut older stems down to the ground, leaving no more than six vigorous young stems. It can then be easiest to then untie these from the support. Shorten them by up to half, reduce any side shoots, and tie back on in an evenly spaced arrangement. A little TLC will aid recovery from this treatment; in spring give renovated plants a top dress of either general purpose granular feed or a specialist rose food, followed by a good mulch (see our ‘Feeding’ section for more details).
Rambling roses (RHS pruning group 18)
When to prune: late summer, after their show of flowers and hips.
Tidy as above. Once ramblers have covered the desired area, keep them in check by removing one in three of the older stems each year. Shorten any side shoots within reach by two thirds. If these get wildly out of control and you wish to take drastic action, renovation can be carried out as for climbers above.
Watering
Like most woody plants, roses should be regularly watered during their first year or two in the ground. After this they are known to be deep rooting and therefore relatively drought tolerant, needing watering only during exceptionally hot, dry weather. Try to direct water to the soil rather than getting the foliage wet, to reduce the likelihood of fungal disease.
Container-grown roses have less access to moisture so need regularly watering throughout every growing season. Allowing the top couple of centimetres of compost to dry out between watering is a useful rule of thumb to help avoid overwatering. Use your finger inserted into the compost to check this, being aware that in the height of summer watering can be needed every day. From mid-autumn, the British climate tends to take over watering needs, though do remember to step in in the event of an unseasonably dry spell.
Feeding
Roses are hungry by nature, and the secret to growing thriving and problem free plants is to keep on top of their feeding needs.
Roses in the open ground will need feeding twice a year, first in early spring then again in midsummer after the first flush of flowers. Each time, sprinkle either general purpose granular feed or a specialist rose food around the base of the plant, followed by a mulch with well-rotted organic matter (i.e., a good layer of manure or garden compost applied to the soil around the plant). The mulch has the added benefit of suppressing weeds and locking in moisture.
Container-grown roses rely even more on the gardener for nutrition. Get off to a flying start by making sure you use a good quality potting compost, then from March until buds form apply a fortnightly dose of balanced liquid feed. Once flowering starts, switch to a high potash alternative such as liquid tomato feed.
Cold Protection
Roses are hardy and, if grown in the right conditions, should withstand an average UK winter without any additional protection. Having said this, there are different degrees of hardiness, and some cultivars are slightly less robust than others.
Those with a hardiness rating of H5 can withstand between -10°C and -15°C and should be fine in all but the most exposed spots. Protect those grown in containers with a wrapping of fleece, hessian, or bubblewrap around the pot.
Those rated H6 and H7 can be relied upon to get through winter without concern. You may wish to protect container-grown H6 roses in very cold, exposed areas. Otherwise, leave them to it!
Pests and Diseases
Roses have a reputation for being beset with pests and diseases such as black spot, powdery mildew, aphids, and sawfly. However, as we alluded to above, rather than reaching for the chemicals, by far the best way to grow healthy roses is to nurture the soil in which they are grown, feed the plants regularly, and keep an eye on watering. Selecting disease resistant cultivars is another good idea.
How to propagate Roses
While it is possible to propagate roses by both softwood and hardwood cuttings as below, it is worth noting that many are grafted onto the rootstock of another rose to control size and vigour, therefore the results may not behave in the same way as the parent plant.
Take softwood cuttings in summer, using the soft, pliable tips of new, non-flowering growth.
- Snip cuttings off the plant, if possible taking a longer piece than the ideal eventual length of around 10cm (to allow for trimming).
- Put them in a plastic bag straight away to prevent drying out.
- Fill a pot (or several, if you have a lot of cuttings) with a perlite-heavy compost mix (at least 50% perlite).
- Trim the end of the cutting to just below a node (point at which leaves grow).
- Remove lowest leaves and soft tip, leaving 2-4 leaves.
- If the remaining leaves are large, cut them in half with a sharp knife (to reduce water lost through transpiration).
- Insert the cuttings into the compost and water lightly. Several cuttings can be put in the same container if there is enough space to do this without them touching.
- Place in a greenhouse or propagating unit if you have one or covered with a plastic bag on a windowsill if not (out of direct sunlight).
- Keep the cuttings misted and occasionally watered until they root. You will know this has happened when roots emerge out of the bottom of the container.
- Gently remove rooted cuttings and pot them into individual pots. Grow on in a cool yet frost-free environment such as an unheated conservatory, greenhouse, or cold frame, until they are large enough to be planted out.
Alternatively, hardwood cuttings in autumn or winter are an equally successful method, though can be much slower to root.
- Select shoots of fully ripe, current year growth (which by now will be bare and leafless), cutting at the join with last year’s growth.
- Trim to 15-20cm, with the top cut just above a pair of buds, and the bottom cut just below a pair of buds. It is good practice to make the top cut a sloping one, both to aid water runoff, and to remind you which end is the top.
- Spacing approximately 10-15cm apart, firm into a trench in a prepared bed (with well-rotted organic matter and grit dug in), the top 3-5cm of the cutting showing above soil level. Alternatively insert into containers filled with a gritty compost mix.
- Water in lightly. Place containers in a cold frame.
- Check and re-firm trench cuttings after a frost (which can lift them out of the ground).
- Leave cuttings in place until the following autumn ensuring they do not dry out during the summer. By this point they should have rooted and can be lifted and either potted or planted out as required.
* Many plants carry Plant Breeders Rights and cannot be propagated for commercial purposes.
Common Rose questions
Are roses difficult to grow?
These did not get to be one of the world’s favourite plants for centuries by being tricky! Roses are wonderfully easy to grow and can be kept looking at their best with some very simple pruning techniques.
How do I keep roses blooming?
Deadheading can help repeat and continuous bloomers to flower for as long as possible, and regular feeding will almost certainly boost the flowering performance of all roses.
Do roses like lots of water?
Like most plants, they need regular watering while they are establishing, though after this they tend to be self-sufficient. The exception to this are container-grown roses which need to be kept well-watered at all times. Follow our advice in the ‘Watering’ section above to avoid overwatering, which can be as damaging to plants as underwatering.