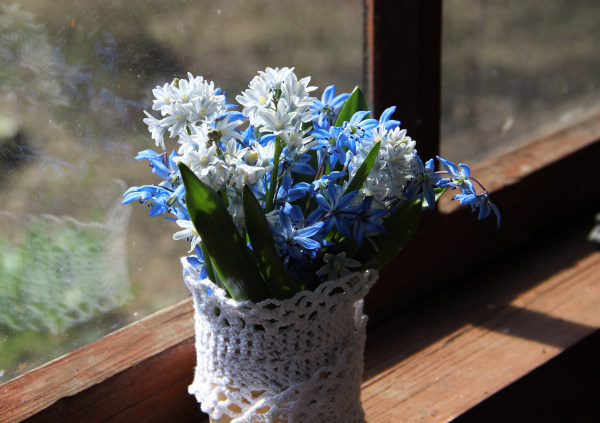
How to grow Puschkinia
An unusual relative of the Hyacinth, more commonly known as Stiped Squill, and unfamiliar to many gardeners.
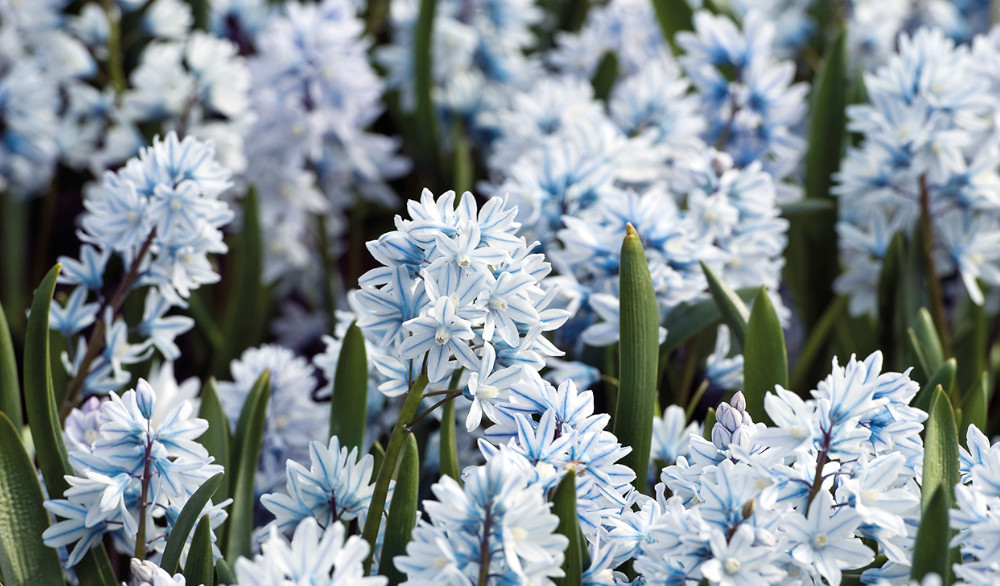
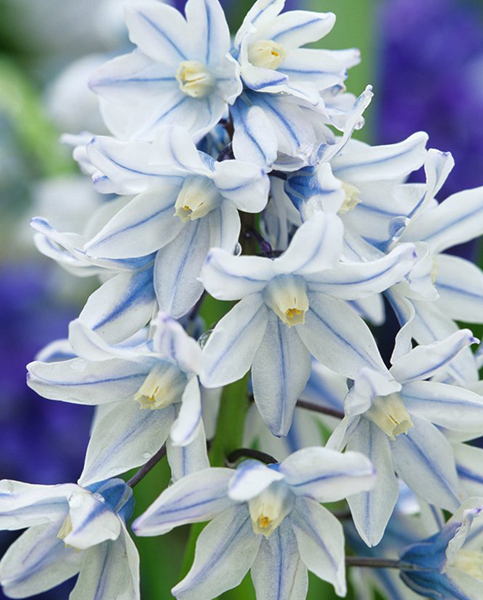
A genus of just one species, puschkinia is a small, blue, spring-flowering bulbous perennial, similar in appearance to close relatives scilla and chionodoxa. It originates in the Middle East, where its natural habitat is damp spots in grassland where snow has recently melted. It is grown for its small, delicate, silvery blue, starry bell-shaped flowers each with a distinct darker blue stripe. These have the charming habit of opening almost as soon as the flower spike noses through the ground. Each bulb has two semi-erect basal leaves.
Puschkinia is also known by the common names Russian snowdrop, striped squill, starch hyacinth, and Lebanon squill.
Key Information
Soil pH
Position
Hardiness


Where & when to plant Puschkinia
Puschkinia bulbs should be planted in the autumn, into moist but well-drained soil. If you are not ready to plant your Leucojum bulbs when you receive them, store in a cool, dry, well-ventilated place in temperatures between 4-20°C for a short while but be careful they do not dry out too much. Alternatively, you could plant them in compost in a seed tray and keep them moist, until you are ready.
Choose an area in either full sun or partial shade. Doing well when planted under deciduous trees and shrubs, so long as there is some sunlight, they prefer an area of full sun or part shade.
If your soil is not well-drained, you may need to add some compost and some horticultural grit or sand to aid with drainage. Bulbs do not like to sit in a waterlogged environment, and they could rot.
How to plant Puschkinia
In the ground
- Clear the chosen area of weeds.
- For a naturalistic drift, scatter bulbs onto the ground and plant wherever they land.
- Dig a small planting hole deep enough that the top of the bulb sits 5-10cm deep beneath the surface of the soil.
- Place the bulb in the hole (pointy side up).
- Backfill with soil and firm in gently.
- Soak well with water.
In a container
- Choose an appropriate container, ensuring there are plenty of drainage holes in the bottom.
- If you are using a large pot, it can be a good idea to fill and plant it in situ to save yourself the trouble of moving once full.
- Use a good quality potting compost with a generous amount of horticultural grit mixed in, and, if not already present in the compost (check the description on the bag) some slow-release fertiliser granules.
- Plant the bulbs 5-10cm deep and a similar distance apart.
- Pick up the container and lightly tap on the potting bench or ground a few times to help settle the compost around the bulbs.
- Soak well with water.
- A mulch with horticultural grit will look attractive and help to prevent a ‘cap’ or crust forming on the top of the compost (something container plants can suffer due to the artificial nature of their watering).
What to plant with Puschkinia
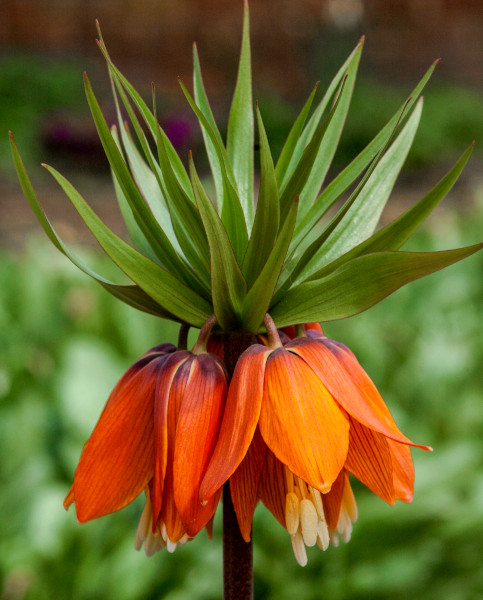
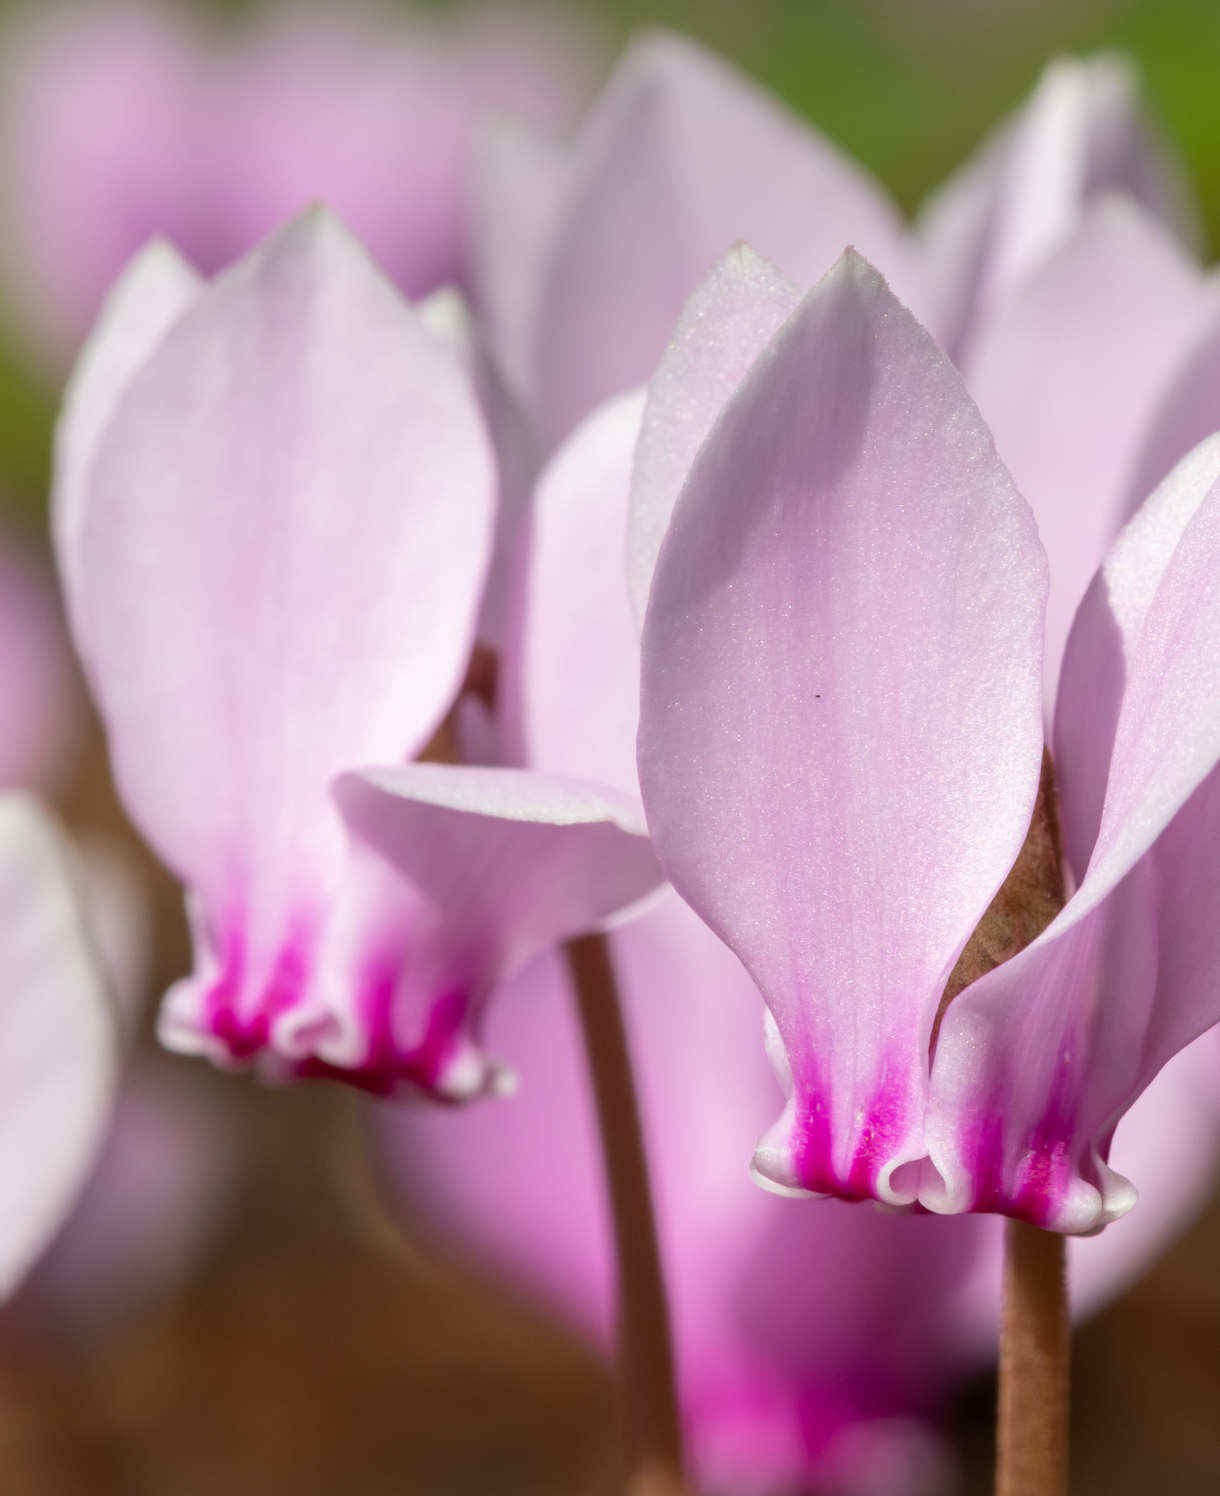
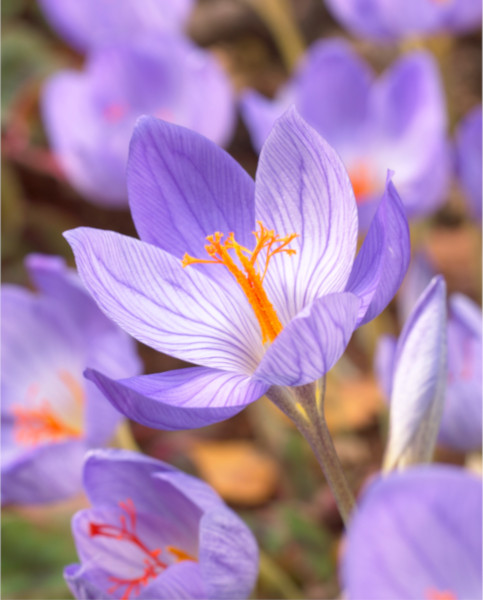
Puschkinia compliment most spring flowering bulbs, but ideal companions are Fritillaria meleagris, Cyclamen and Crocus King of the Striped. Visit our website hayloft.co.uk for more ideas and inspiration.
How to care for Puschkinia
Pruning and Deadheading
None required – like all bulbs, the foliage of puschkinia should be allowed to die back naturally. This is an essential part of boosting energy reserves in the bulb to ensure healthy growth the following year.
Watering
Water after planting, after which puschkinia will take care of itself. The exception to this is if there is an unseasonably dry spring, in which case watering will be required.
Container grown puschkinia should be watered regularly throughout the growing season.
Cold Protection
Puschkinia is fully hardy and able to withstand a UK winter without the need for additional protection.
Pests and Diseases
Puschknia tends to be fairly trouble-free, though can occasionally succumb to a virus which presents as discolouration of the leaves. While unsightly, this rarely kills the plant and can be tolerated without the need for action.
How to propagate Puschkinia
Left to its own devices, puschkinia will spread naturally both through setting seed and producing offsets (baby bulbs which form on the ‘mother’ bulb). To propagate manually (perhaps you wish to introduce it to a different part of the garden, or give some away to friends and family), the quickest and most effective method is to separate these offsets. This should be done in summer once the leaves have died down and the bulbs entered dormancy.
- Once you are certain your puschkinia is dormant (indicated by withered, yellow foliage), carefully use a fork to lift a clump out of the ground.
- Shake and rub off any soil.
- Gently tease away any offsets which have formed around the main bulb.
- Place the offsets in a cool, dry place for a few weeks to allow them to fully dry out.
- Pack in a pot, tray, or box with dry compost, vermiculite, or newspaper.
- Store somewhere cool and dry such as a shed, garage, or unheated greenhouse, until ready to pot up or plant the following spring (as above in the ‘How to plant puschkinia’ section).
Common Puschkinia questions
- Is puschkinia invasive?
Puschkinia is not considered invasive. Given the right conditions it will spread gently, though this is very easy to control if necessary. - Can puschkinia be poisonous to pets?
Puschkinia has no toxic effects reported. - Is puschkinia a good plant for wildlife?
Puschkinia is known to be a useful source of nectar for early flying pollinators. - How do I tell puschkinia apart from scilla?
While the two do look very similar, puschkinia can be distinguished by a small ‘cup’ or corolla at the centre of its flowers.
