How to grow Picea
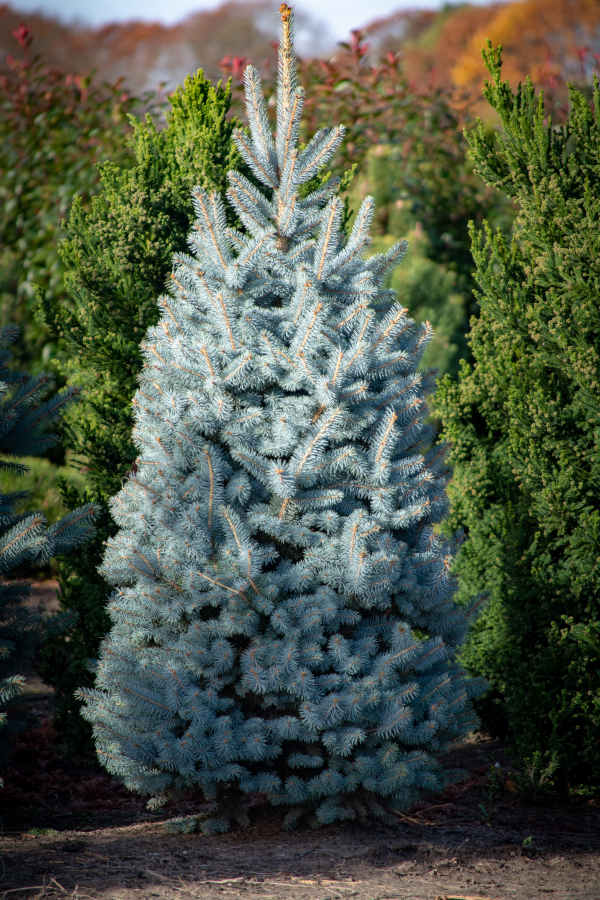
Commonly known as spruce, many of us will have encountered this genus of evergreen conifer in the form of a Christmas tree. Picea abies, or the Norway spruce, has traditionally been the festive tree of choice, rivalled only in recent years by the Nordmann fir (Abies nordmanniana), which offers less spiky and drop-prone needles, though lacks the classic scent.
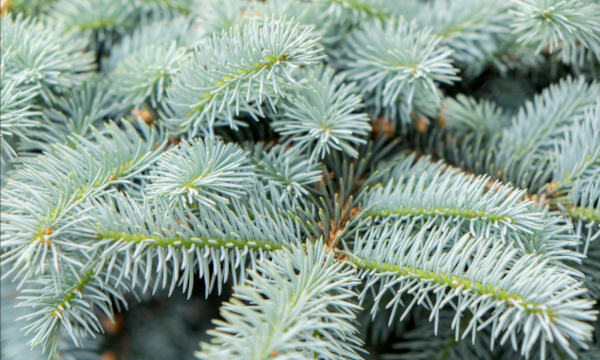
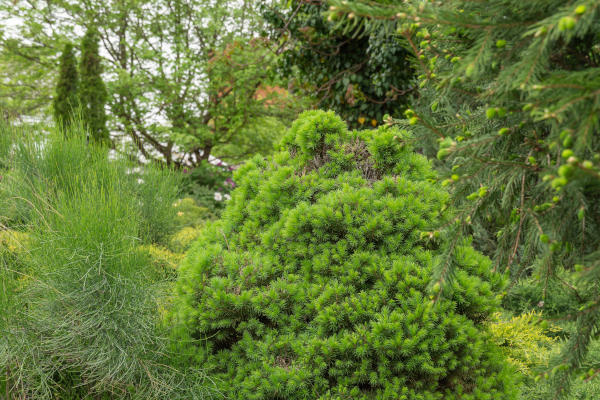
In fact, there are many other species of picea, which originate from the forests of North America and Asia. They vary hugely in habit and colour, though most share a classic, cone-shaped form. Added to this variety is a propensity for trees to produce odd branch sports, which when grown on individually can bear little resemblance to the parent plant. The result is an enormous range of variations, from dwarf to weeping, greenish black to icy blue, bushy to narrow. Often these sports have greater garden value than their straight species parents, and can be spotted as named cultivars, forms, or variations. Some of the best-known examples include AGM-winners P. glauca var. albertiana ‘Conica’, a neat, bushy, bluish-green, dwarf white spruce; and P. pungens ‘Hoopsii’, a silvery version of the blue spruce. The tiny P. glauca ‘Perfecta’ is another popular example, its diminutive size ideal for containers.
Zantedeschia is a genus of flowering plants from the family Araceae and is native to southern Africa. With a rich history dating back to the Ancient Romans, these deciduous or semi-evergreen perennials have been used as a symbol of celebration. Zantedeschia was Named after Professor Giovanni Zantedeschia, an Italian botanist.
There are two main forms of Zantedeschia: hardy and tender. Hardy forms of the plant can be grown outdoors, enjoy moist soil and full sun or partially shaded conditions - these are known as Arum lilies. Tender forms of Zantedeschia prefer being grown in containers or pots and should be brought inside over the winter - these are known as Calla lilies.
With tuberous flora in all colours from whites, yellows and oranges to deep reds and purples, Zantedeschias are not to be overlooked in any garden, as long as they have sufficient sunlight to grow in.
Ready to learn more about growing Zantedeschia? Read on for all there is to know...

Key Information
Soil pH

Position
Hardiness

Where & when to plant Picea
Position - As sunny as possible
Soil - Deep, moist, well-draining soil. Ideally neutral to acid
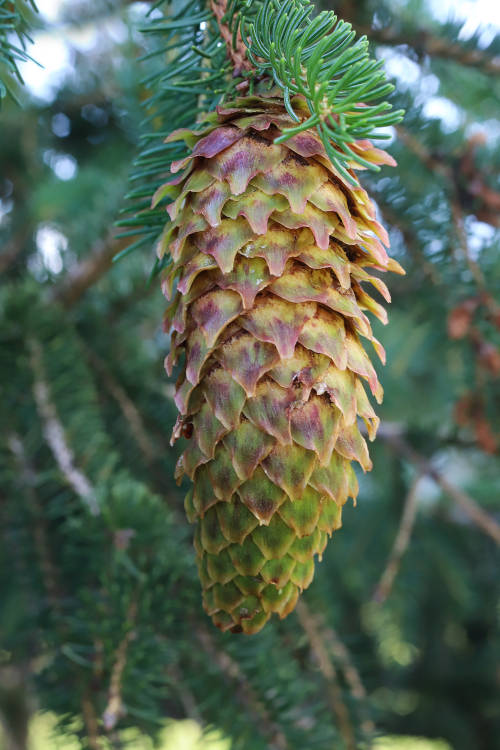
Flowering Period - Spring, although insignificant. Cones are borne in spring on the previous year’s shoots
Hardiness - Fully hardy. Rated either H6 (-15°C to -20°C) or H7 (-20°C and below).
In theory, container-grown trees can be planted at any time of year, though for best results plant them in autumn, winter, or early spring. It is important to choose the right day – frozen or waterlogged conditions should be avoided. If you are planting at other times of year, be prepared to water regularly.
Some of our picea are also available in bare root form from late autumn and throughout winter. These should be planted straight away, though if this is not possible, they can be ‘heeled in’ (temporarily planted in the soil to keep the roots from drying out) or soaked in a bucket of water for a few days.
The taller forms of picea can be useful as shelter planting, while the dwarf versions make excellent specimen plants. Container-grown picea can be brought indoors temporarily for Christmas, though aim to keep them inside for no more than 12 days.
How to plant Picea
Please note: if you have bought a potted P. abies as a Christmas tree and now wish to plant it into the garden, it is important to gradually acclimatise it so the leap from centrally heated home to cold, January garden is not too much of a shock. You can do this by standing it in a cool yet protected environment for a few days, such as an unheated greenhouse or porch. Alternatively, move it outside during the day then back in at night, then permanently outside but with a fleece covering or similar overnight. After a couple of nights like this you should be safe to plant your tree into the ground.
- For planting in the ground, dig the soil area removing any large stones and weeds and breaking up any lumps. Mix in some organic matter such as manure or garden compost. If your soil is heavy, now is also the time to add a generous helping of horticultural grit. Rake level and firm with your heels. Rake level again.
- Water plants well and allow to drain before planting.
- A good tip is to dig a hole twice the size of the root-ball. Fill with water and allow to drain before placing in the plant.
- Place the plant in the hole, ensuring the top of the root ball sits level with the surface of the soil. To high and the roots can dry out, too low and the trunk can rot.
- Backfill with soil and firm in gently with your foot.
- Soak well with water.
- Mulch around the base with well-rotted organic matter such as manure, garden compost, or composted pine needles if you have some.
- For planting in containers, first choose an appropriately sized pot. The best practice is to start just a few centimetres larger than the rootball and increase in size every year or two. Always ensure there are plenty of drainage holes in the bottom.
- If you are using a large or heavy pot, it can be a good idea to fill and plant it in situ to save yourself the trouble of moving once full.
- Use a good quality potting compost with plenty of horticultural grit mixed in, and, if not already present in the compost (check the description on the bag) some slow-release fertiliser granules.
- Start by partially filling the pot with compost; enough so that when placed on it the upper surface of the root ball is about 3cm lower than the top of the pot.
- Infill all the space surrounding the root ball with compost, firming down with your fingers then adding a little more so the plant is held tight.
- Pick up the pot (if you can!) and lightly tap on the potting bench or ground a few times to help further settle the compost around the plant.
- Soak well with water.
- A mulch with horticultural grit will look attractive and help to prevent a ‘cap’ or crust forming on the top of the compost (something container plants can suffer due to the artificial nature of their watering).
What to plant with Picea
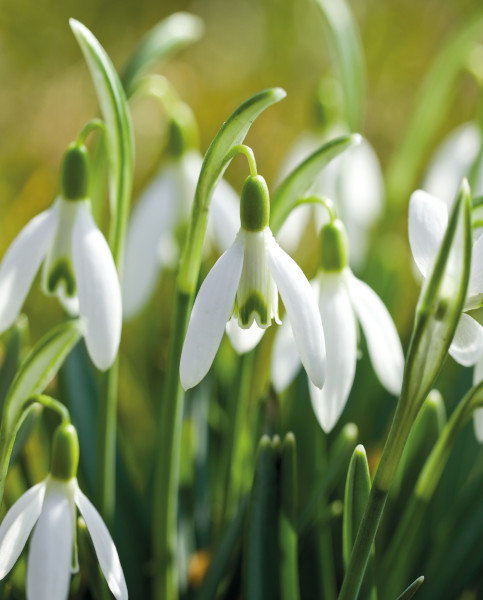
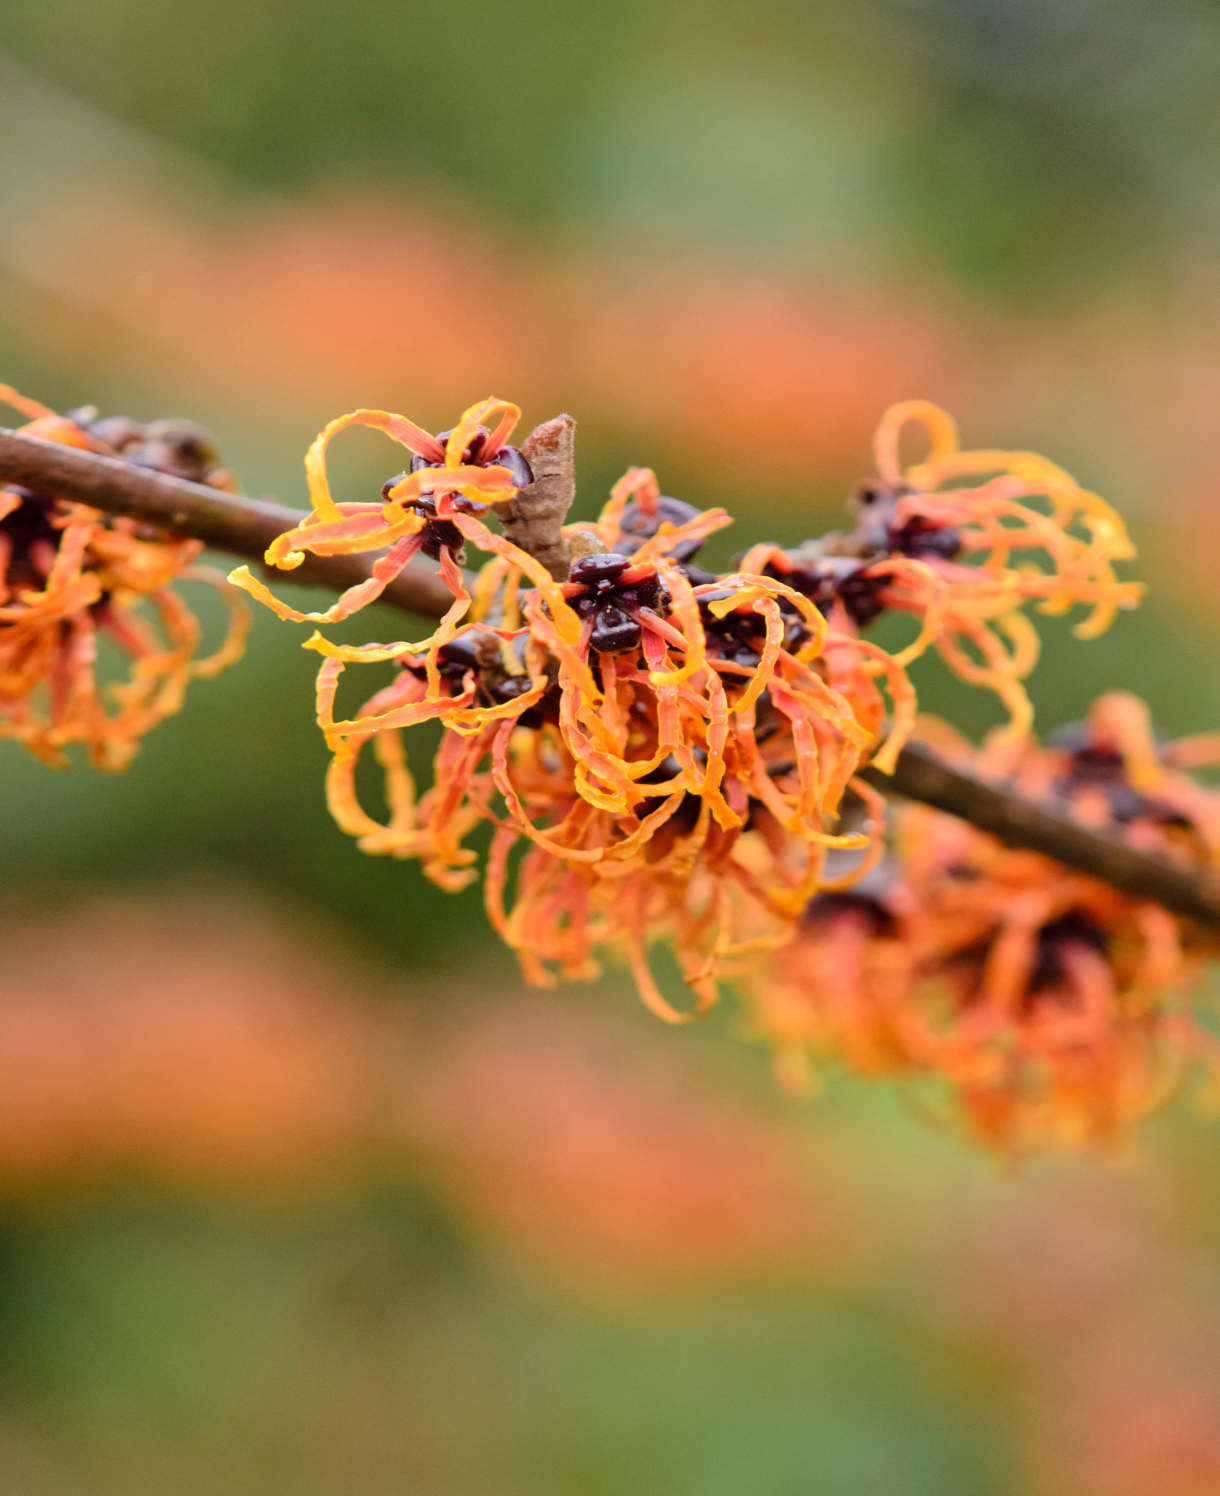
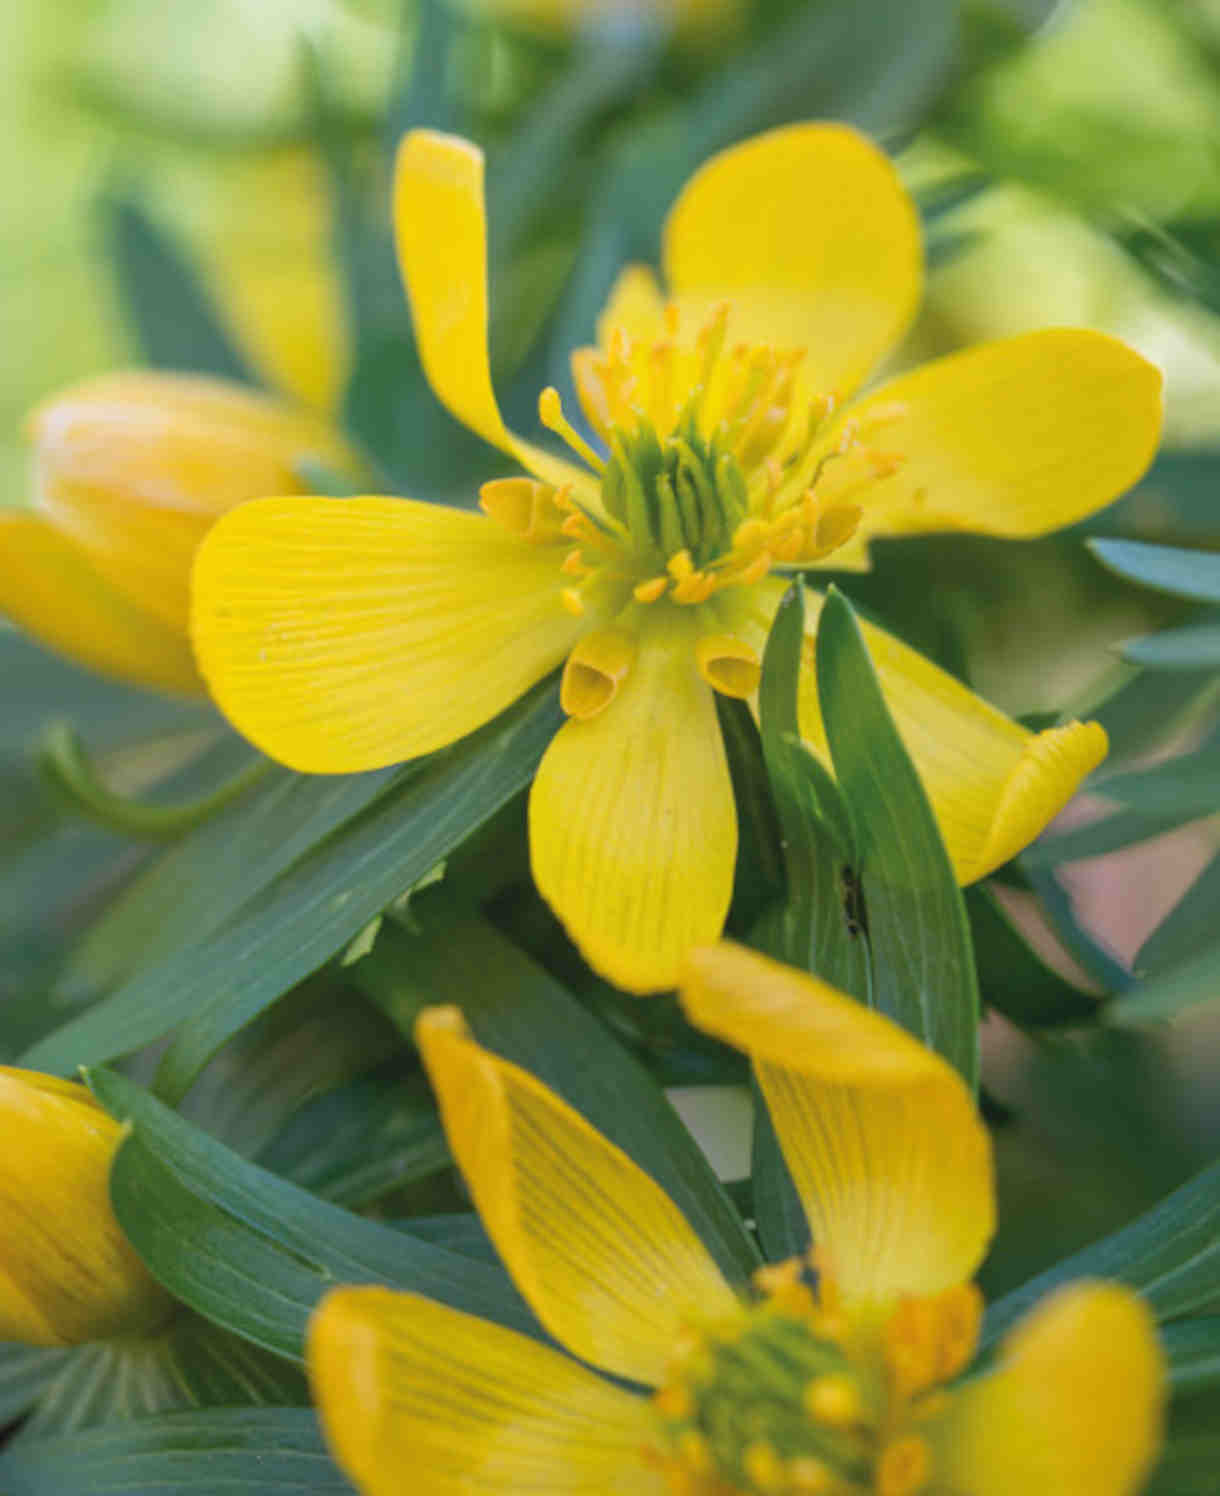
Picea is particularly at home among other winter-interest plants such as mahonia, sarcococca, cornus, hamamelis, and callicarpa. A smattering of early-flowering bulbs at ground level completes the picture. Think winter aconites and snowdrops.
How to care for Picea
Pruning and Deadheading
Picea requires no pruning. If needed, you can remove any unsightly dead, diseased, or damaged branches in spring, otherwise these trees are best left alone.
Watering
Like most trees, picea should be regularly watered during their first year or two in the ground, after which they are known to be drought tolerant and should be largely self-sufficient.
Container-grown picea have less access to moisture so need regularly watering throughout every growing season. Allowing the top couple of centimetres of compost to dry out between watering is a useful rule of thumb to help avoid overwatering. Use your finger inserted into the compost to check this. From mid-autumn, the British climate tends to take over watering needs, though do remember to step in in the event of an unseasonably dry spell.
Feeding
To give them the best possible start, feed picea for their first few years in the ground with a general purpose granular feed applied to the surface of the soil and lightly worked in (known as a ‘top dress’). This is best done in late winter, followed by a mulch of well-rotted organic matter, i.e., a layer of manure, garden compost, or composted pine needles applied to the soil around the plant. This has the added benefit of suppressing weeds and locking in moisture.
Once your picea is well established, an annual mulch should provide sufficient nutrients, however, apply a top dress as above if ever you feel an extra boost is needed.
Container-grown plants rely even more on the gardener for nutrition. Get off to a flying start by making sure you use a good quality compost, then from March to September apply a liquid feed at regular intervals according to its instructions. An annual top dress is also advisable. Each spring, scrape off the top 5cm of compost and replace with fresh compost containing a little general purpose granular feed.
Cold Protection
While picea is fully hardy, some species and cultivars can be damaged by a late frost when still young plants. To be on the safe side, we advise covering these with a fleece jacket overnight if temperatures are forecast to dip much below 0°C after March.
Pests and Diseases
Picea are usually problem-free though can fall victim to honey fungus, made more likely when planted near a heavily wooded area. This can be identified by dieback and sparse foliage, and unfortunately little can be done other than removing the affected specimen and replacing with a known resistant alternative.
Aphid can be a nuisance and cause needles to drop prematurely. As always, our advice is to tolerate this if possible. Aphids are part of a balanced garden ecosystem, and the best approach is to leave them to their natural predators (e.g. birds, ladybirds, wasps, frogs). When numbers are so large, however, that they start to seriously inhibit and disfigure growth, you may feel it necessary to take action. Regularly blasting off with a hose or wiping away with a cloth or piece of kitchen paper can help to keep numbers down without harming other members of the ecosystem.
How to propagate Picea
Only straight species of picea can be expected to come true from seed. As many of the specimens we grow in our gardens are named cultivars, this means cuttings or layering are the best methods of propagation.
Take semi-ripe cuttings in late summer using the current year’s growth. This should be firm and woody at the base, while still soft and pliable at the tip. Do note, however, that an element of patience will be required. Conifer cuttings can take up to a year to root and are unlikely to be ready for potting up until the following autumn.
- Choose non-flowering stems which meet the description above and snip off the plant, aiming to take a longer piece than the ideal eventual length of around 10cm (to allow for trimming).
- Put in a plastic bag straight away to prevent drying out.
- Fill a pot (or several, if you have a lot of cuttings) with a perlite-heavy compost mix (at least 50% perlite).
- Trim the end of the cutting to just below a node (point at which leaves grow).
- Remove lowest needles and soft tip, leaving 2-4 leaves.
- Insert the cuttings into the compost and water lightly. Several cuttings can be put in the same container if there is enough space to do this without them touching.
- Place in a greenhouse or propagating unit if you have one or covered with a plastic bag on a windowsill if not (out of direct sunlight).
- Keep the cuttings misted and occasionally watered until they root (this can take up to a year). You will know this has happened when roots emerge out of the bottom of the container.
- Gently remove rooted cuttings and pot them into individual pots. Grow on in a cool yet frost-free environment such as an unheated conservatory, greenhouse, or cold frame, until they are large enough to be planted out following out ‘How to plant picea’ guidance above.
* Many plants carry Plant Breeders Rights and cannot be propagated for commercial purposes.
Common Picea questions
How fast does a picea grow?
This varies. Some species are vigorous and fast-growing, such as P. sitchensis (Sitka spruce) which can put on 1m per year. Others are very slow, such as some dwarf forms of P. pungens which may only grow 2-3cm in a year. Most are somewhere between, albeit usually at the slow to moderate end. Research your individual variety for more information.
Does picea grow in full sun?
Yes, this tree is a sun-lover, enjoying as much light as possible.
Where does picea grow?
Some species hail from the forests of North America, namely Sitka, Brewer’s, blue, white, red, and black spruce. Others originate from Asia (mostly China), including oriental, and Himalayan weeping. A small number grow wild in Europe, most notably the Norway and Serbian spruce.