How to grow Physocarpus
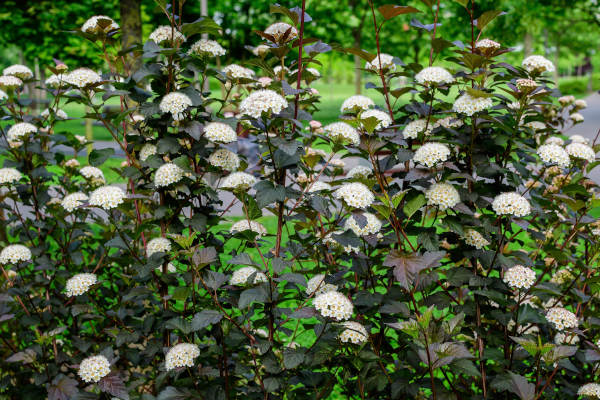
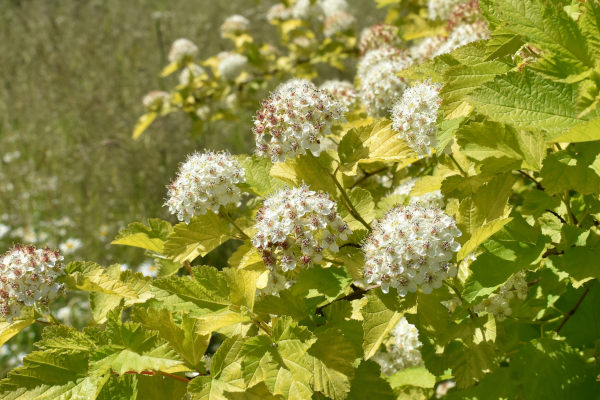
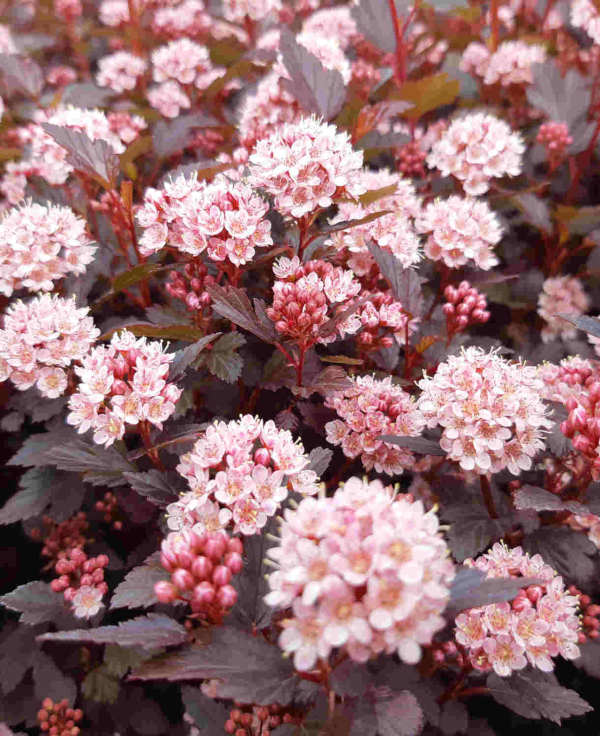
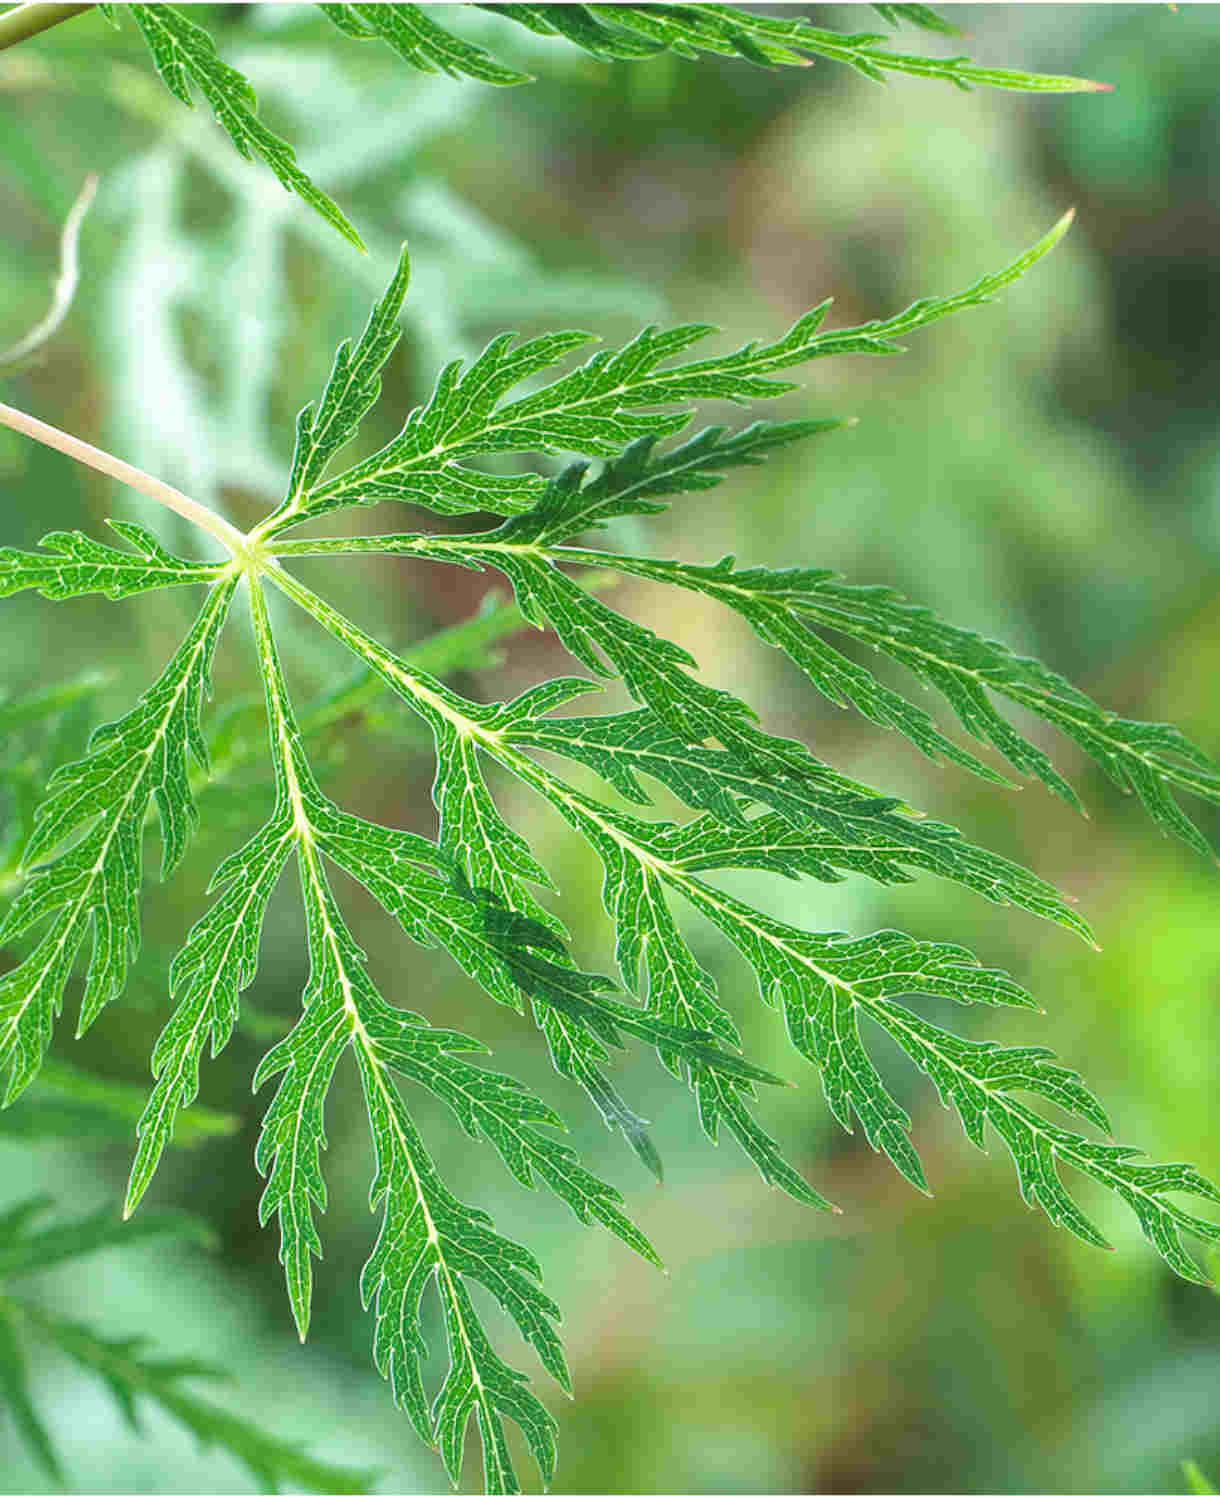
Originating from thickets and rocky slopes throughout East Asia and North America, physocarpus is a genus of around ten species of deciduous, suckering shrubs, of which one in particular (Physocarpus opulifolius) is considered to have great ornamental value. Its handsome foliage (now available in tones of yellow, purple, bronze, or green) often changes colour several times throughout the year, and from late spring to early summer it bears dense clusters of small white flowers.
This attractive shrub is not only decorative, but also extremely tough, hardy, and reliable. As with most members of the rose family, its flowers provide a rich source of nectar to bees and pollinators.
Physocarpus is also known by the common name of ninebark. This is in reference to its distinctive peeling bark which curls off in narrow strips, often forming a number 9 in the process.
Zantedeschia is a genus of flowering plants from the family Araceae and is native to southern Africa. With a rich history dating back to the Ancient Romans, these deciduous or semi-evergreen perennials have been used as a symbol of celebration. Zantedeschia was Named after Professor Giovanni Zantedeschia, an Italian botanist.
There are two main forms of Zantedeschia: hardy and tender. Hardy forms of the plant can be grown outdoors, enjoy moist soil and full sun or partially shaded conditions - these are known as Arum lilies. Tender forms of Zantedeschia prefer being grown in containers or pots and should be brought inside over the winter - these are known as Calla lilies.
With tuberous flora in all colours from whites, yellows and oranges to deep reds and purples, Zantedeschias are not to be overlooked in any garden, as long as they have sufficient sunlight to grow in.
Ready to learn more about growing Zantedeschia? Read on for all there is to know...

Key Information
Soil pH

Position
Hardiness


Where & when to plant Physocarpus
Position - Full sun to partial shade
Soil - Moist, well-drained, and preferably acidic
Flowering Period - Spring to summer
Hardiness - Hardy
For best results, plant pot grown physocarpus in autumn or spring. An autumn planting is suitable for those gardening in mild conditions (broadly speaking, the southern half of the UK). For those liable to very cold winters or waterlogged ground, it is best to wait until spring (generally the northern half of the UK, or anyone gardening on heavy, clay soil).
Planting can be done at other times throughout the year providing a watchful approach to watering is taken until plants are established.
Physocarpus is ideal for livening up a shrub border or providing structure amongst herbaceous planting. The smaller, dwarf varieties can also be grown in a large container.
How to plant Physocarpus
In the ground
- Clear the chosen area of weeds.
- Dig a planting hole several times larger than the root ball. If you are gardening on soil that is poor, dry, or stony it is a good idea to mix in plenty of well-rotted organic matter at this stage.
- Place the plant in the hole, ensuring the top of the root ball sits level with the surface of the soil. Too low and the plant may rot, too high and the roots can dry out.
- Backfill with soil and firm in gently.
- Soak well with water.
- Mulch with well-rotted organic matter.
In a container (dwarf varieties only)
- Choose an appropriate container, ensuring there are plenty of drainage holes in the bottom.
- Use a good quality potting compost with plenty of horticultural grit mixed in, and, if not already present in the compost (check the description on the bag) some slow-release fertiliser granules.
- Start by partially filling the pot with compost; enough so that when placed on it the upper surface of the root ball is about 3cm lower than the top of the pot.
- Infill all the space surrounding the root ball with compost, firming down with your fingers then adding a little more so the plant is held tight.
- Pick up the pot (if you can!) and lightly tap on the potting bench or ground a few times to help further settle the compost around the plant.
- Soak well with water.
- A mulch with horticultural grit will look attractive and help to prevent a ‘cap’ or crust forming on the top of the compost (something container plants can suffer due to the artificial nature of their watering).
What to plant with Physocarpus
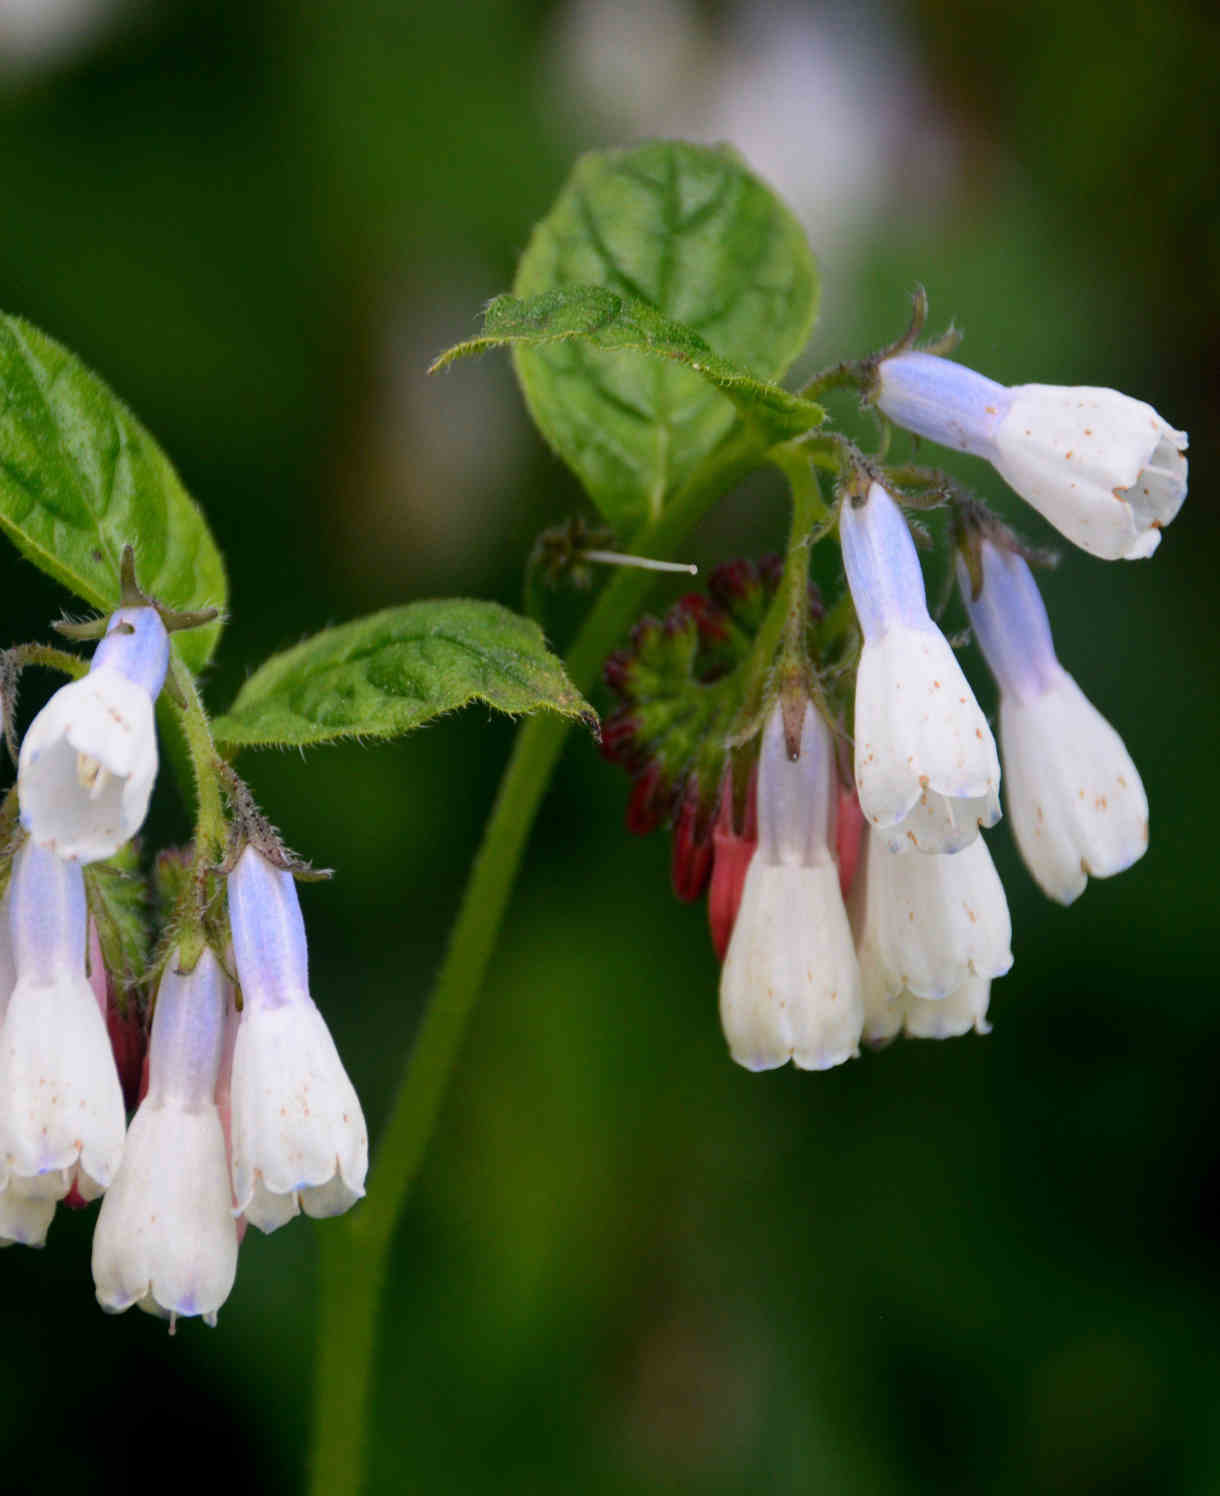
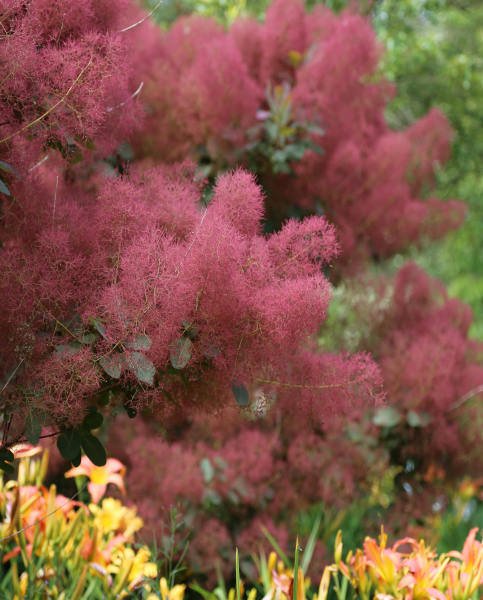
Try mixing physocarpus with other richly coloured trees and shrubs, such as acer, cotinus, euonymus, berberis and spirea. Woodlanders such as heuchera, symphytum and gillenia nestled at ground level complete the picture.
How to care for Physocarpus
Pruning and Deadheading
This undemanding shrub requires little pruning other than the occasional removing of dead, diseased, damaged, or badly placed stems. You may also wish to control its spread by removing any unwanted suckers in winter or early spring.
Tired or overgrown physocarpus will respond well to coppicing (cutting back to just above ground level) during the dormant winter months, triggering the shrub to respond with vigorous, straight, upright growth.
Watering
Water your physocarpus until established, after which it tends to take care of itself. Wilting leaves will let you know if irrigation is required.
Cold Protection
This shrub is as hardy as it gets, usually to -20C and beyond. It will overwinter easily in the UK with no need for additional protection.
Pests and Diseases
Physocarpus is trouble free.
How to propagate Physocarpus
Take softwood cuttings in early summer, using the soft, pliable tips of new, non-flowering growth.
- Snip cuttings off the plant, if possible taking a longer piece than the ideal eventual length of around 10cm (to allow for trimming).
- Put them in a plastic bag straight away to prevent drying out.
- with a perlite-heavy compost mix (at least 50% perlite).
- Trim the end of the cutting to just below a node (point at which leaves grow).
- Remove lowest leaves and soft tip, leaving 2-4 leaves.
- If the remaining leaves are large, cut them in half with a sharp knife (to reduce water lost through transpiration).
- Insert the cuttings into the compost and water lightly. Several cuttings can be put in the same container if there is enough space to do this without them touching.
- Place in a greenhouse or propagating unit if you have one or covered with a plastic bag on a windowsill if not (out of direct sunlight).
- Keep the cuttings misted and occasionally watered until they root. You will know this has happened when roots emerge out of the bottom of the container.
- Gently remove rooted cuttings and pot them into individual pots. Grow on in a cool yet frost-free environment such as an unheated conservatory, greenhouse, or cold frame, until they are large enough to be planted out.
Common Physocarpus questions
- How high does physocarpus grow?
Our dwarf variety remains a compact 50cm tall, whereas full sized types tend to reach between 1.3m and 2.5m. Check individual descriptions for details. - Is physocarpus an evergreen/ is physocarpus perennial?
All species of physocarpus are deciduous shrubs, meaning they lose their leaves in autumn and come back into leaf the following spring. They have a permanent woody framework which remains throughout winter.
- Can you hard prune physocarpus?
If your physocarpus has grown too large or misshapen, coppicing it can offer a fresh start. See ‘Pruning and Deadheading’ section above.