How to grow Phlomis
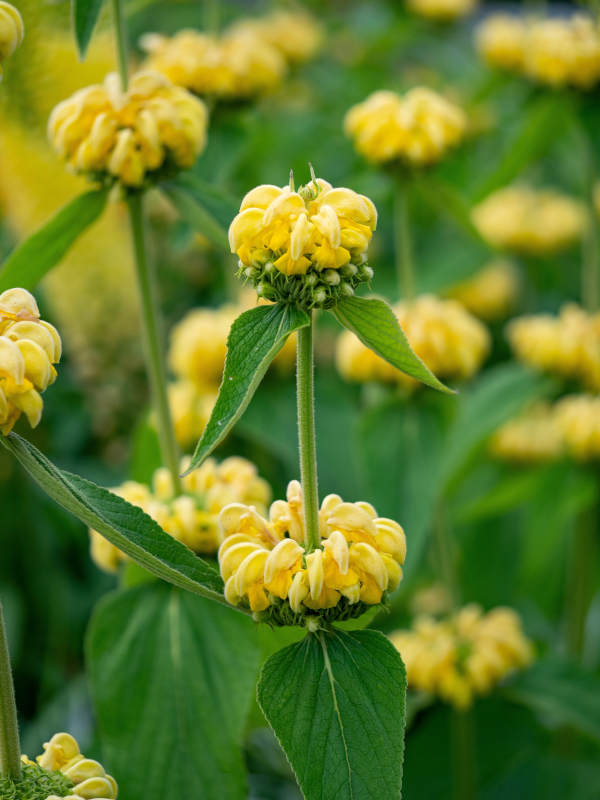
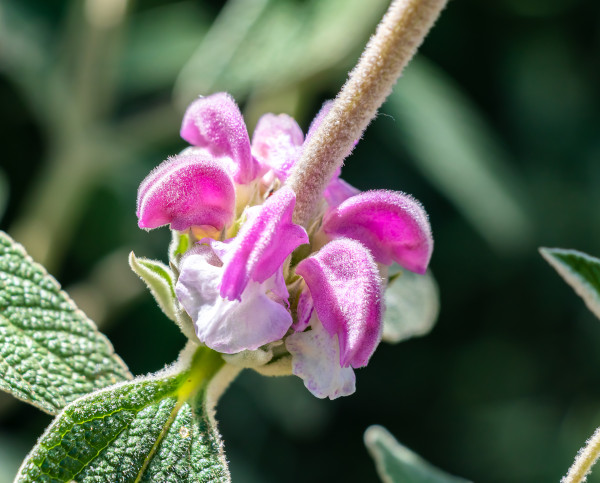
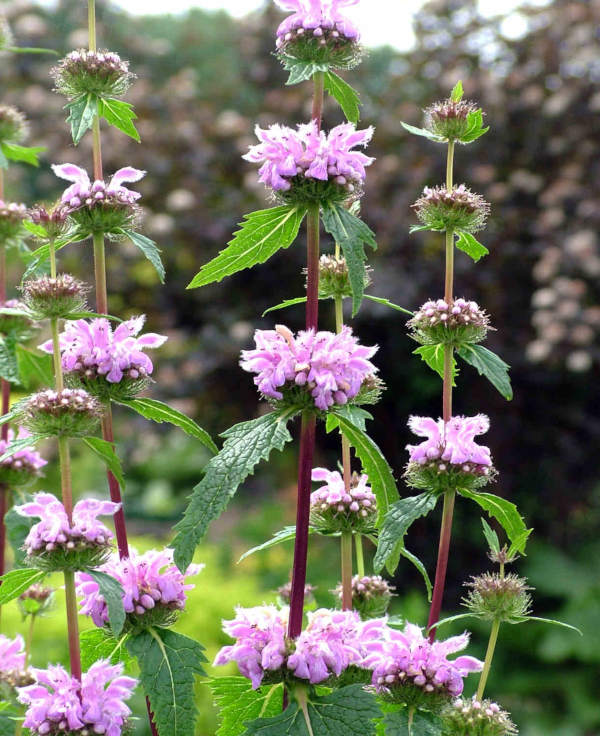
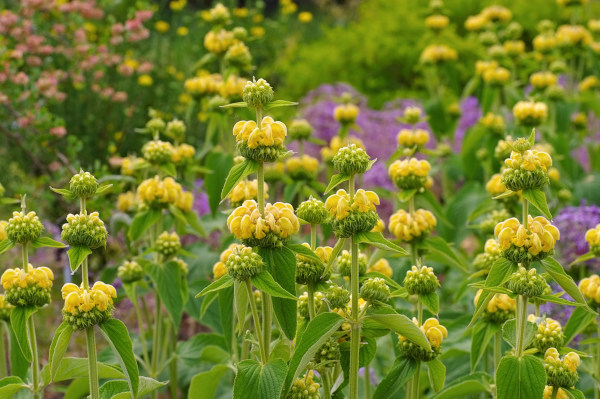
Hailing from rocky sites throughout the Mediterranean, phlomis is a member of the mint family grown for its handsome foliage and whorls of showy, hooded flowers. While its leaves are similar looking to sage, they have no scent, or culinary or medicinal use. Though an entirely separate genus, the resemblance has resulted in common names such as Jerusalem sage, Turkish sage, and sage-leaf mullein.
Phlomis can be shrubby and evergreen, or herbaceous and deciduous. All make tough, low maintenance, drought tolerant members of the garden and offer a rich source of nectar for bees and other pollinators.
Zantedeschia is a genus of flowering plants from the family Araceae and is native to southern Africa. With a rich history dating back to the Ancient Romans, these deciduous or semi-evergreen perennials have been used as a symbol of celebration. Zantedeschia was Named after Professor Giovanni Zantedeschia, an Italian botanist.
There are two main forms of Zantedeschia: hardy and tender. Hardy forms of the plant can be grown outdoors, enjoy moist soil and full sun or partially shaded conditions - these are known as Arum lilies. Tender forms of Zantedeschia prefer being grown in containers or pots and should be brought inside over the winter - these are known as Calla lilies.
With tuberous flora in all colours from whites, yellows and oranges to deep reds and purples, Zantedeschias are not to be overlooked in any garden, as long as they have sufficient sunlight to grow in.
Ready to learn more about growing Zantedeschia? Read on for all there is to know...

Key Information
Soil pH

Position
Hardiness

Where & when to plant Phlomis
Position - Full sun (though Phlomis russeliana will tolerate some shade)
Soil - Well-draining
Flowering Period - Late spring to early autumn
Hardiness - The species stocked by Hayloft are hardy to between -10°C and -20°C
For best results, plant in autumn or spring. An autumn planting is suitable for those gardening in mild conditions (broadly speaking, the southern half of the UK). For those liable to very cold winters it is best to wait until spring (generally the northern half of the UK). Planting can be carried out during summer, though a watchful approach to watering is required.
These gently spready perennials make a striking addition to a border or can be used as effective ground cover in a stony, sun-baked spot. They are particularly successful at supressing weeds due to being allelopathic, which means they release chemicals to limit the growth of competitors.
For best results, try to offer as close an imitation of their stony, Mediterranean origins as possible.
How to plant Phlomis
In the ground
- Clear the chosen area of weeds.
- Dig a planting hole several times larger than the root ball. If you are gardening on anything other than well-draining, stony soil add a good helping of horticultural grit and mix thoroughly. Avoid heavy clay soil if possible.
- Place the plant in the hole, ensuring the top of the root ball sits level with the surface of the soil. Too low and the plant may rot, too high and the roots can dry out.
- Backfill with soil and firm in gently.
- Soak well with water.
What to plant with Phlomis
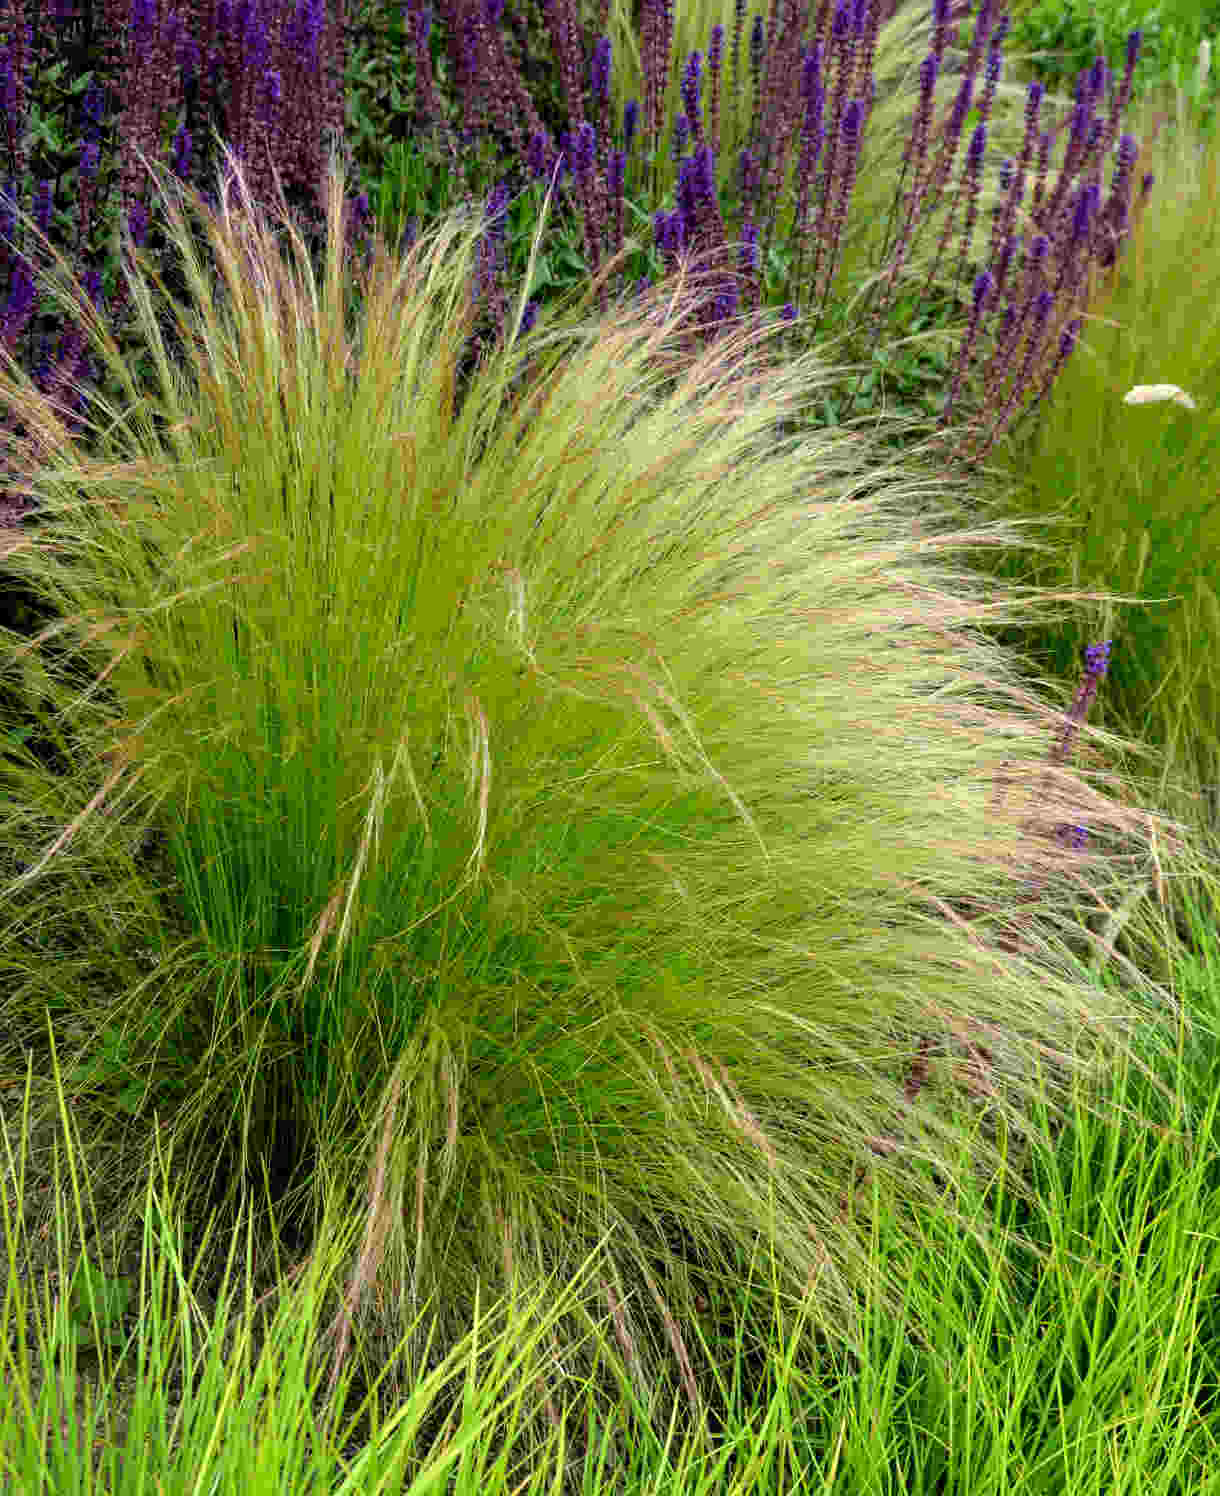
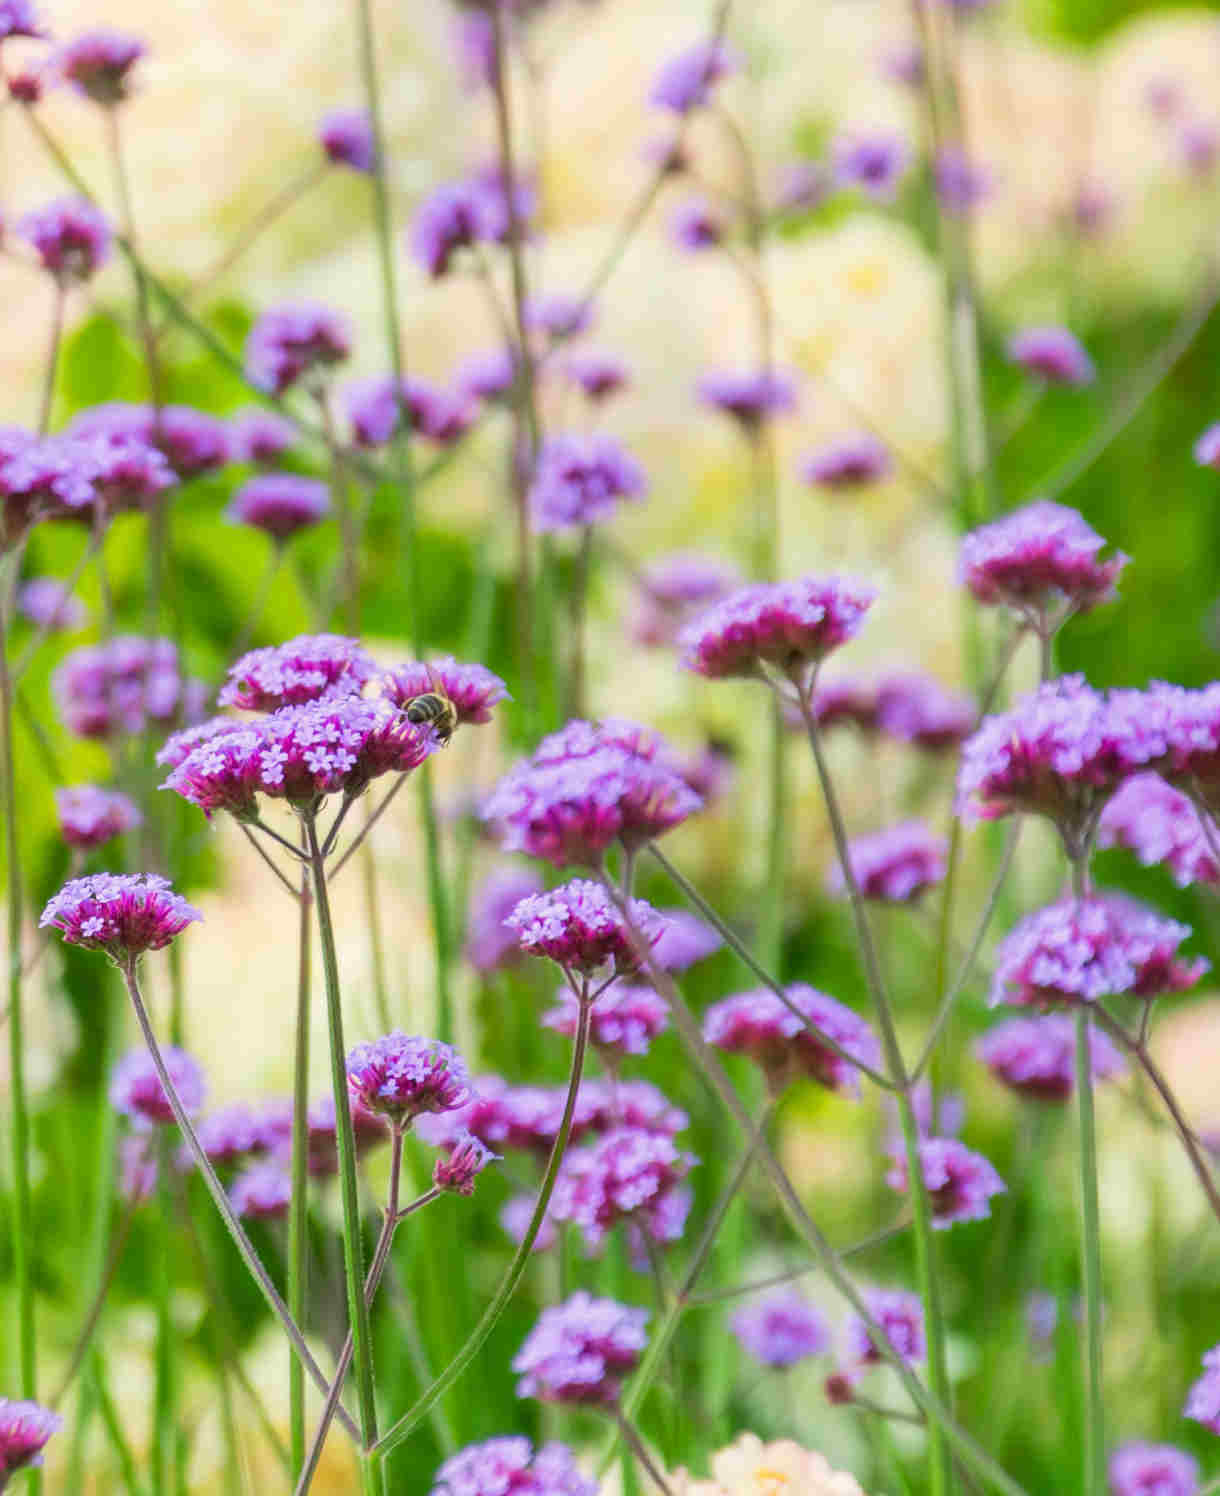
Phlomis fits easily into a range of planting styles, from a bustling cottage garden to a neat, formal border. We particularly enjoy using it with other drought tolerant plants for a future-proof, low water scheme. Think echinops, verbena, eryngium, verbascum, agapanthus, lavender and agastache. A dry garden needn’t mean a drab garden!

How to care for Phlomis
Pruning and Deadheading
These herbaceous perennials will naturally die back over winter, returning to growth the following spring. To keep things tidy you may wish to remove the leaves, though we would recommend leaving seedheads intact over winter for their striking, architectural interest. Cut back in early spring.
Watering
Water your phlomis until established, after which it tends to take care of itself. Wilting leaves will let you know if irrigation is required.
Cold Protection
The phlomis we offer are hardy to between -10°C and -20°C, and so should overwinter in most of the UK with no need for additional protection.
Like all Mediterranean plants, hardiness can be impaired by heavy wet soil.
Pests and Diseases
Phlomis is generally trouble-free. You may notice some pale mottling on leaves caused by sap-sucking leafhoppers, though this tends to be purely aesthetic rather a sign of real harm.
How to propagate Phlomis
If you have an established clump, lifting and dividing is the quickest and easiest route to several new, good-sized plants. This is best done in spring, and every four to five years is ideal. As well as enabling you to distribute phlomis though your garden, dividing also maintains the health and vigour of existing specimens.
- Choose a day when the soil is not frozen or waterlogged.
- Dig the plant out of the ground.
- Shake off any excess soil.
- Separate the plant into sections using either swift, cutting blows with a sharp spade, or two forks inserted back-to-back with tines touching, handles then pushed together to prise the plant apart.
- Discard old, damaged, or surplus pieces, keeping healthy, vigorous material.
- Replant selected pieces where desired.
- Water well until fully established.
Cuttings are also an option. These can be taken in summer:
- Find non-flowering shoots 5-10cm long and snip off the plant.
- Put them in a plastic bag straight away to prevent drying out.
- Fill a container with a compost mix which is at least 50% perlite (or if you prefer, as we do, 100% perlite).
- Trim the end of the cutting to just below a node (point at which leaves grow).
- Remove the lowest third of leaves.
- If the remaining leaves are large, cut them in half with a sharp knife (to reduce water lost through transpiration).
- Insert the cuttings into the compost and water lightly. Several cuttings can be put in the same container if there is enough space to do this without them touching.
- Place in a greenhouse or propagating unit if you have one or covered with a plastic bag on a windowsill if not (out of direct sunlight).
- Keep the cuttings misted and occasionally watered until they root. You will know this has happened when roots emerge out of the bottom of the container.
- Gently remove rooted cuttings and pot them into individual pots. Overwinter in a cool yet frost-free environment such as an unheated conservatory, greenhouse, or cold frame, before planting out in late spring.
Common Phlomis questions
Do you cut back phlomis?
Some species of phlomis are evergreen shrubs and require only a light trim in spring. Others (such as the ones we offer) are herbaceous perennials which will naturally die back to the ground in winter. See the ‘Pruning and Deadheading’ section above for our advice on how to approach these.
Is phlomis poisonous?
Phlomis is not known to have any toxic effects on humans or animals.
Is phlomis hardy?
There are over 100 species of phlomis, ranging in hardiness. Those offered by Hayloft are hardy to between -10° and -20°C and should therefore overwinter successfully in most of the UK.