How to grow Persicaria
This (thankfully benevolent) member of the knotweed family contains up to 80 species of annuals, perennials, and subshrubs. They can be deciduous or evergreen and are grown for their easy-going nature and abundant spikes of pink flowers.
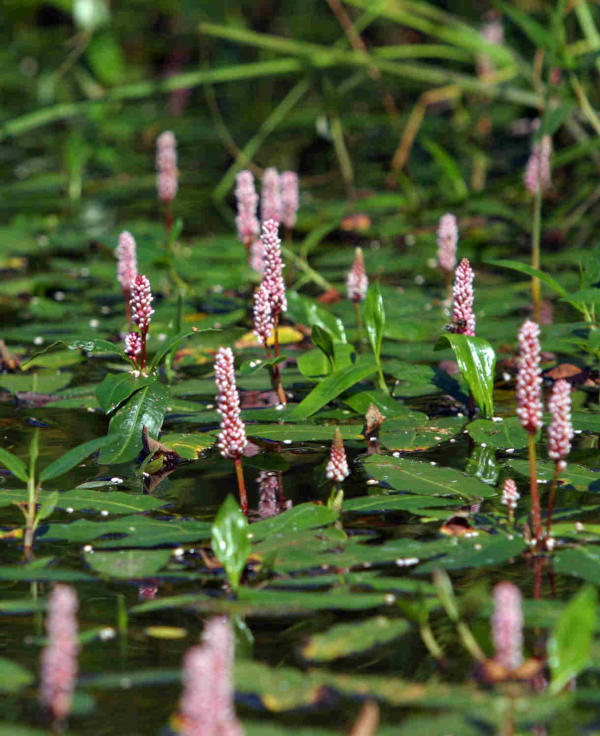
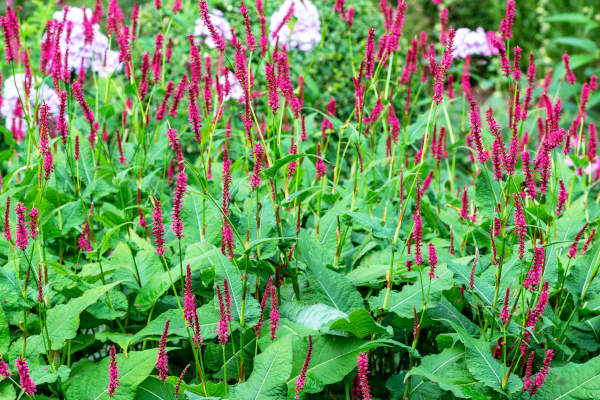
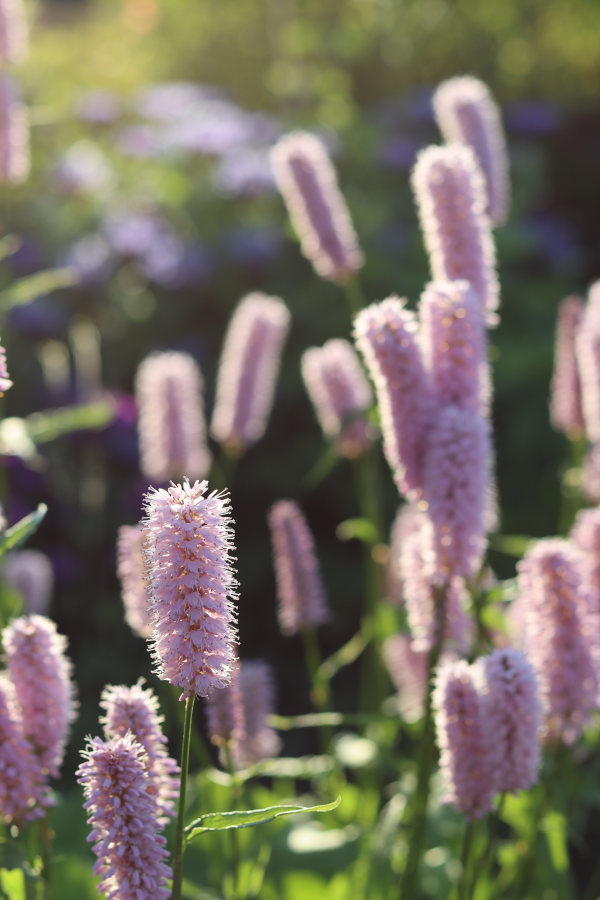
At Hayloft, we offer a broad variety ranging from the aquatic Persicaria amphibia, to the colourful and slender-flowered Persicaria amplexicaulis, and the more bottlebrush-like and drought-tolerant Persicaria bistorta.
All share a robust approach to life and a naturally spreading habit.
Zantedeschia is a genus of flowering plants from the family Araceae and is native to southern Africa. With a rich history dating back to the Ancient Romans, these deciduous or semi-evergreen perennials have been used as a symbol of celebration. Zantedeschia was Named after Professor Giovanni Zantedeschia, an Italian botanist.
There are two main forms of Zantedeschia: hardy and tender. Hardy forms of the plant can be grown outdoors, enjoy moist soil and full sun or partially shaded conditions - these are known as Arum lilies. Tender forms of Zantedeschia prefer being grown in containers or pots and should be brought inside over the winter - these are known as Calla lilies.
With tuberous flora in all colours from whites, yellows and oranges to deep reds and purples, Zantedeschias are not to be overlooked in any garden, as long as they have sufficient sunlight to grow in.
Ready to learn more about growing Zantedeschia? Read on for all there is to know...

Key Information
Soil pH

Position
Hardiness

Where & when to plant Persicaria
Position - Full sun to partial shade
Soil - Varies depending on the variety;
Persicaria amphibia needs wet conditions;
Persicaria amplexicaulis prefers a moist, well-draining soil;
Persicaria bistorta also enjoys moist and well-draining, though will tolerate drier soil.
Flowering Period - Summer and occasionally into autumn
Hardiness - Hardy
Terrestrial species (e.g., P. amplexicaulis and P. bistorta)
For best results, plant in autumn or spring. An autumn planting can be done by those gardening in mild conditions (and broadly speaking, this is the southern half of the UK). For those liable to cold winters, it is best to wait until spring (generally the northern half of the UK). Planting can also be carried out in summer, though be prepared to water regularly.
Use persicaria as an undemanding border plant, effective groundcover, or naturalised in a meadow. It may also be grown in a container, though a natural tendency to spread will mean it needs dividing every year or two to maintain vigour.
Aquatic/ marginal species (e.g., P. amphibia)
We recommend all aquatic plants to be planted in late spring as the water begins to warm up.
Use this type of persicaria to form floating, flowering mats on the surface of ponds and lakes, or to spread around their margins. It can also be grown in any soil which remains consistently moist throughout the year, such as a swamp, bog, or permanently damp border.
How to plant Persicaria
Terrestrial species (e.g., P. amplexicaulis and P. bistorta)
In the ground
- Clear the chosen area of weeds.
- Dig a planting hole several times larger than the root ball. Now is the time to give your soil a boost by adding well-rotted organic matter to the planting hole and mixing thoroughly. If your soil is heavy clay, also apply a generous amount of horticultural grit.
- Place the plant in the hole, ensuring the top of the root ball sits level with the surface of the soil. Too low and the plant may rot, too high and the roots can dry out.
- Backfill with soil and firm in gently.
- Soak well with water.
- Mulch around the base with well-rotted organic matter.
In a container
- Choose an appropriate container, ensuring there are plenty of drainage holes.
- It can be worth potting up large containers in situ to save yourself the trouble of moving once full.
- Use a good quality potting compost with plenty of horticultural grit mixed in, and, if not already present in the compost (check the description on the bag) some slow-release plant food.
- Start by partially filling the pot with compost; enough so that when placed on it the upper surface of the root ball is about 3cm lower than the top of the pot.
- Infill all the space surrounding the root ball with compost, firming down with your fingers then adding a little more so the plant is held tight.
- Pick up the pot (if you can!) and lightly tap on the potting bench or ground a few times to help further settle the compost around the plant.
- Soak well with water.
- A mulch with horticultural grit will look attractive and help to prevent a ‘cap’ or crust forming on the top of the compost (something container plants can suffer due to the artificial nature of their watering).
Aquatic/ marginal species (e.g., P. amphibia)
Into water (using an aquatic planting basket)
- Choose an appropriately sized basket. Unless it has very fine mesh, line with hessian or polypropylene fabric to prevent the compost from washing out.
- Part fill with a specialist aquatic compost. Resist the temptation to use normal potting compost, as this contains fertilisers which will leach out into the water and cause harm to the aquatic ecosystem.
- Position the veronica in the basket so it sits at the same depth as in the original container.
- Infill around it with more of the aquatic compost, firming in as you go.
- Mulch with grit or fine gravel to prevent the surface of the compost becoming stirred up into the water.
- Submerge into the water, ensuring the top of the basket remains no more than 80cm beneath the surface of the water. You may need to weigh down with rocks until the compost becomes fully saturated, after which it should remain in place.
Into wet soil (i.e., swamp, bog, or damp border)
- Clear the area of weeds.
- Dig a planting hole several times larger than the root ball.
- Place the plant in the hole, ensuring the top of the root ball sits level with the surface of the soil.
- Backfill with soil and firm in gently.
- Mulch with well-rotted organic matter.
What to plant with Persicaria
Terrestrial species (e.g., P. amplexicaulis and P. bistorta)
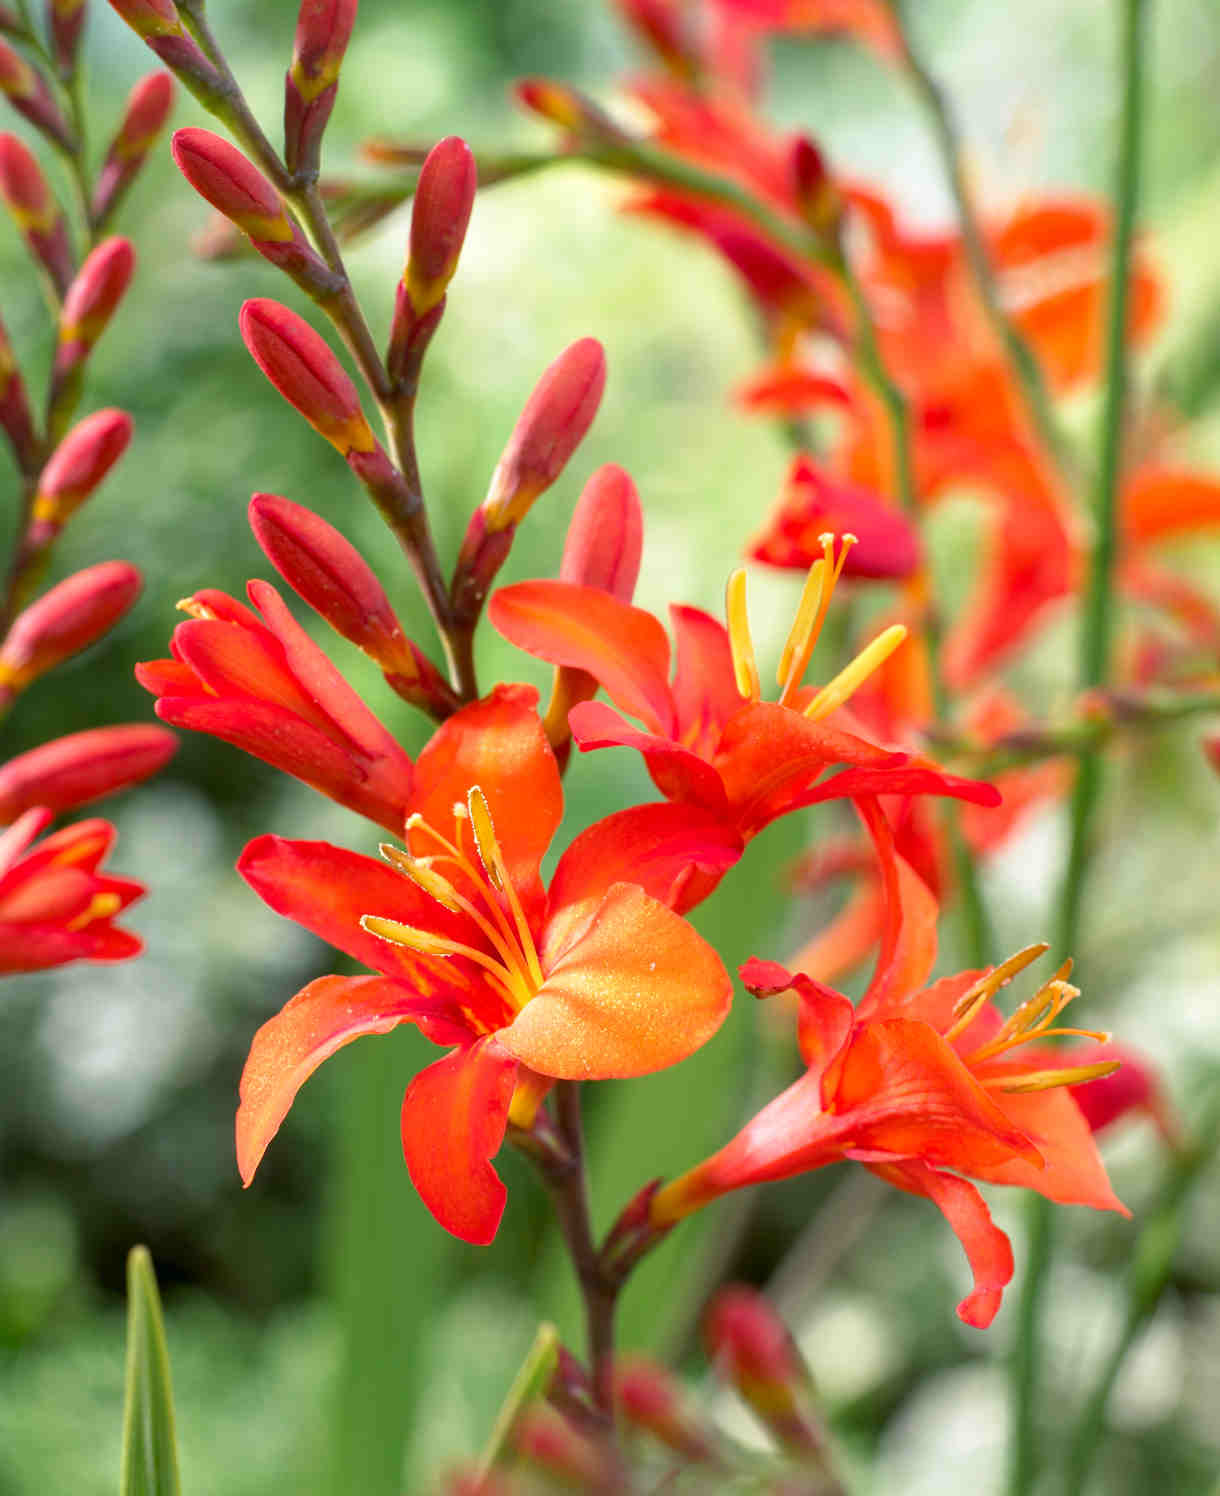
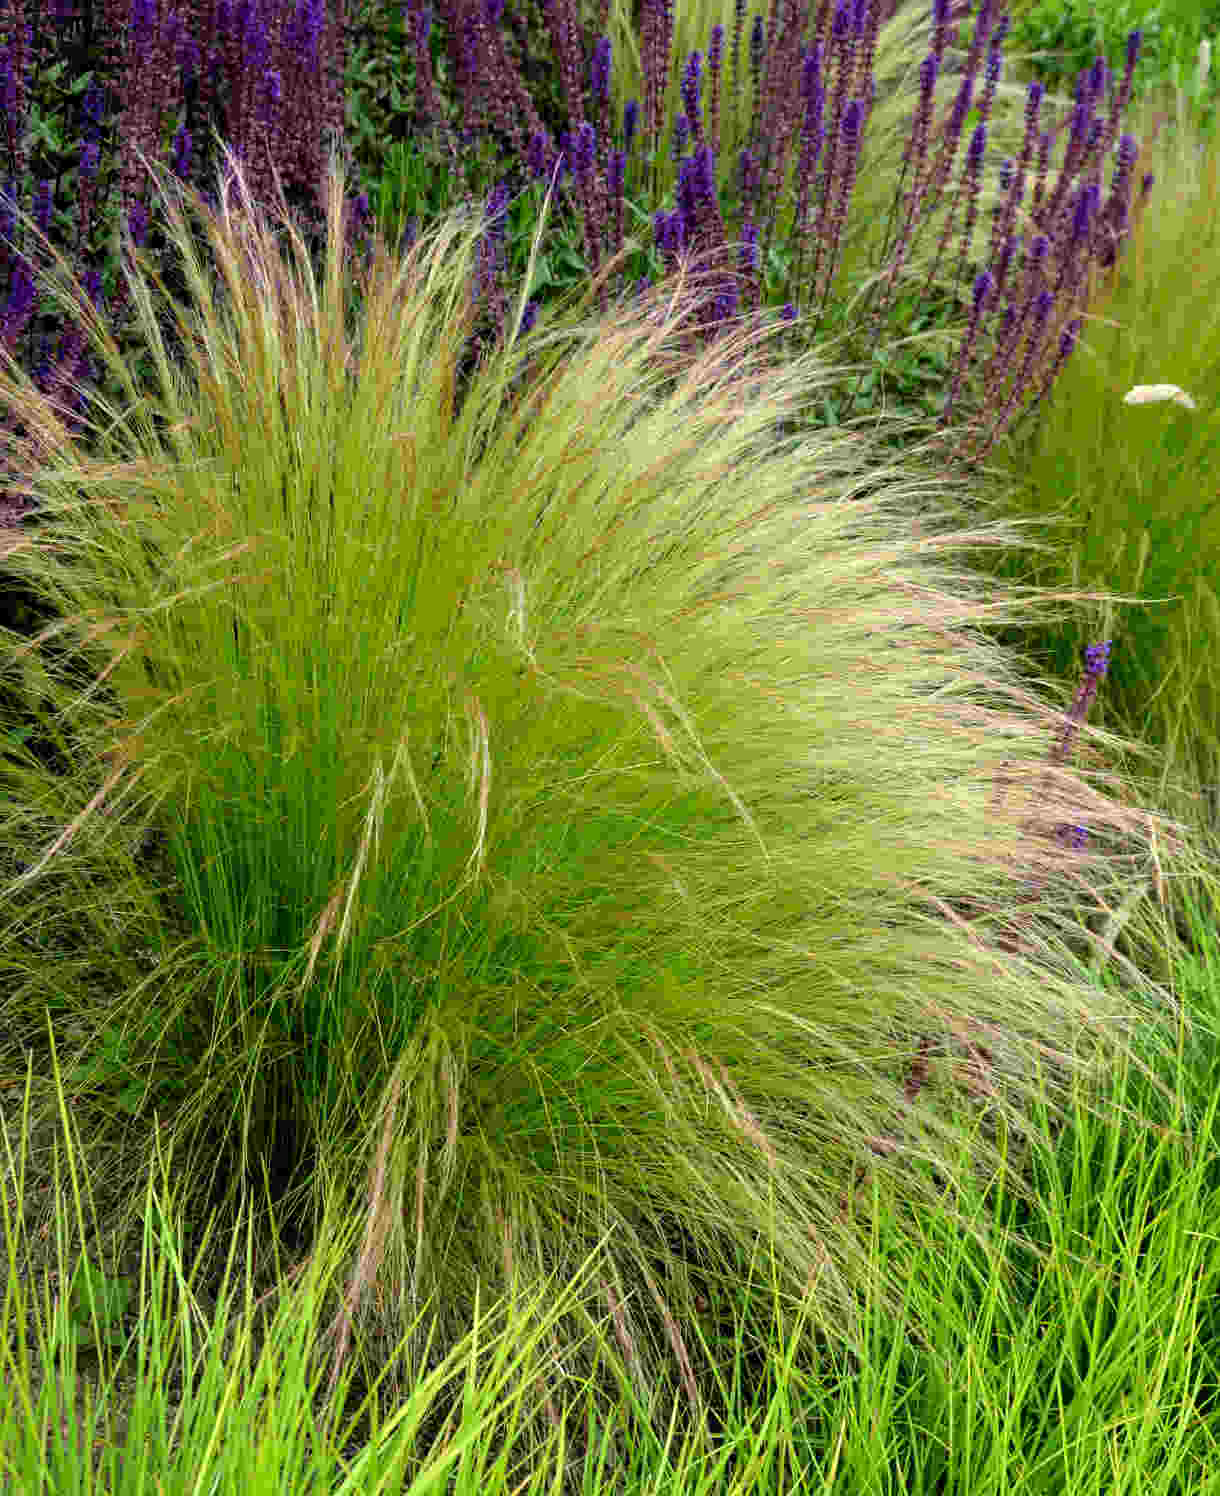
This type of persicaria will readily form a big, chunky clump, for which the best neighbours are those with similar levels of vigour and enthusiasm. This may include border titans such as eupatorium, aster, rudbeckia, crocosmia, and Japanese anemone, along with a few of the beefier ornamental grasses such as miscanthus and panicum.
Aquatic/ marginal species (e.g., P. amphibia)
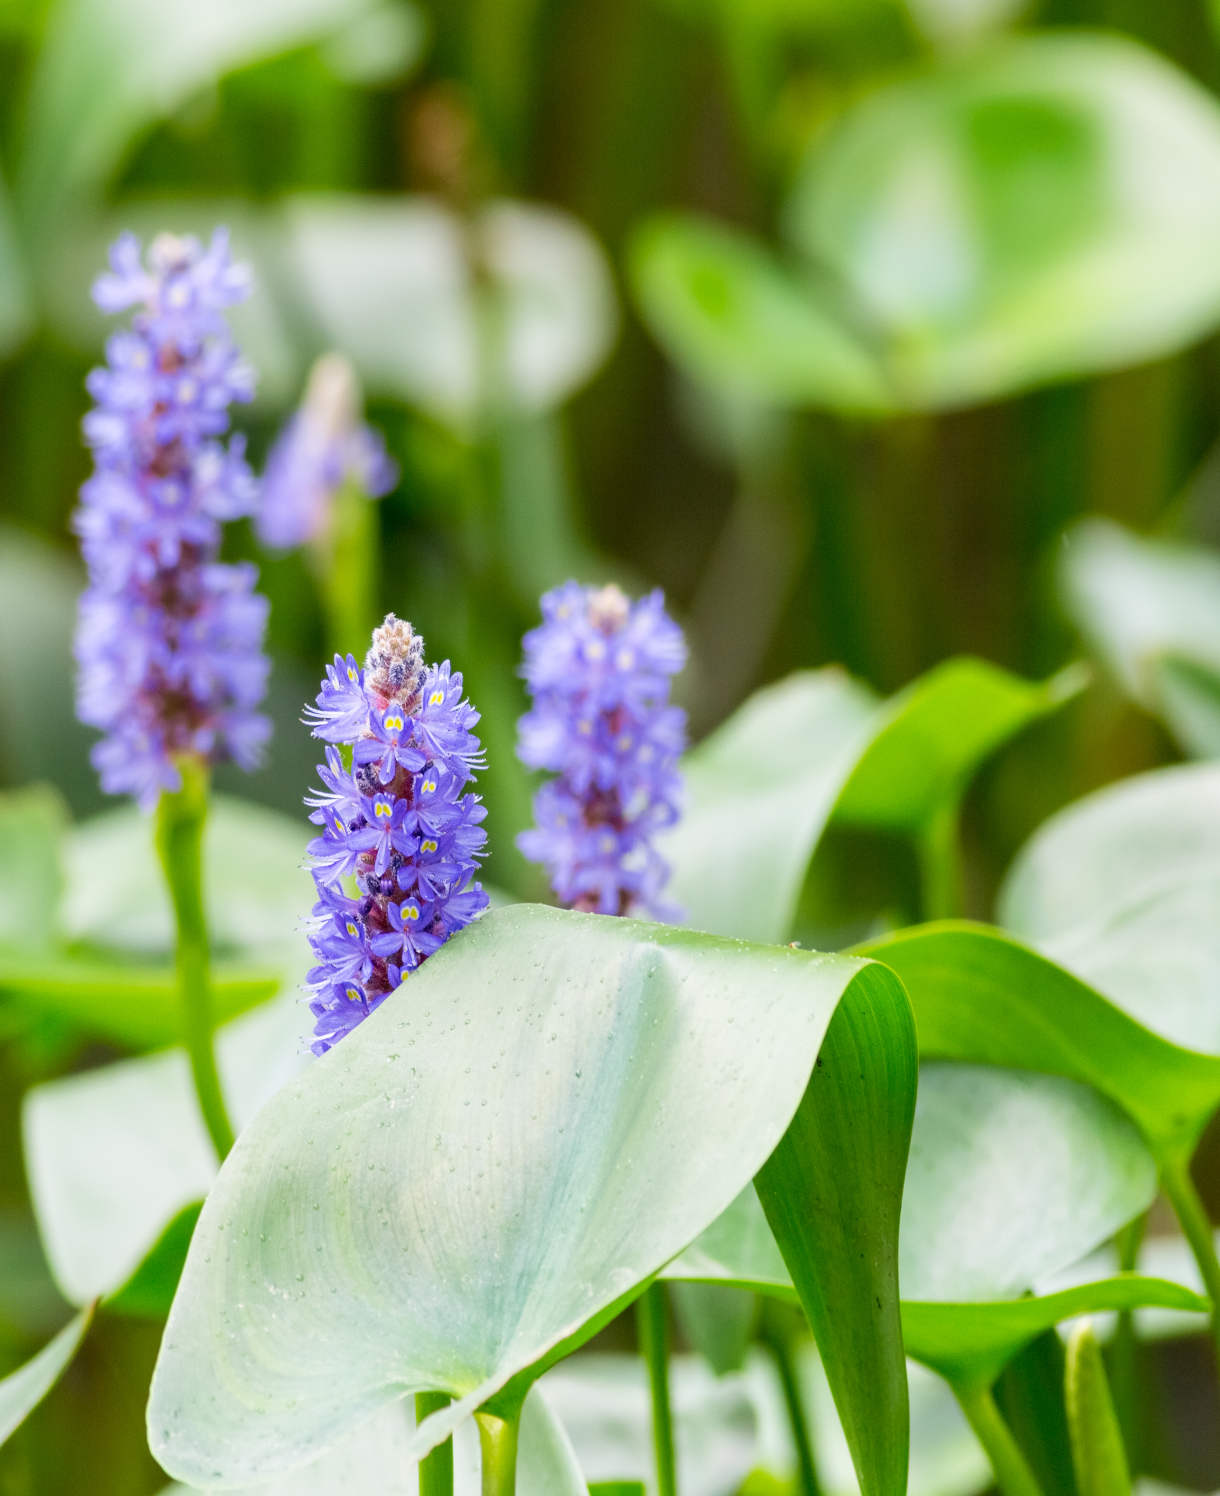
This type of persicaria can be combined with a range of flowering aquatics and marginals for a rich, colourful, and varied display. We love Myosotis scorpiodes, Pontederia cordata, Veronica beccabunga, and Ranunculus acris.
How to care for Persicaria
Pruning and Deadheading
All our persicaria are herbaceous perennials and can be cut back in autumn or spring. Try to avoid doing this too early in autumn, or you may miss out on what can be a vibrant display of late colour from the foliage.
Watering
Terrestrial species (e.g., P. amplexicaulis and P. bistorta)
Water until established (this usually means throughout the first growing season) and then in very dry spells thereafter. P. bistorta will cope with some drought.
Aquatic/ marginal species (e.g., P. amphibia)
Keep consistently moist at all times.
Cold Protection
All our persicaria are hardy and will withstand a UK winter without the need for additional protection.
Pests and Diseases
Persicaria tends to be problem-free. Slugs and snails may feed on its leaves, particularly when these are young, though plants are rarely impacted by this.
How to propagate Persicaria
Persicaria can be propagated by the division of established clumps in spring or autumn (every three or so years). As well as providing new plants, this also maintains the health and vigour of existing clumps and restricts their spread.
- Choose a day when the soil is not frozen or waterlogged.
- Dig the plant out of the ground.
- Shake off any excess soil.
- Separate the plant into sections using either swift, cutting blows with a sharp spade, or two forks inserted back-to-back with tines touching, handles then pushed together to prise the plant apart.
- Discard old, damaged, or surplus pieces, keeping healthy, vigorous material.
- Replant selected pieces where desired.
- Water well until fully established.
Common Persicaria questions
Is persicaria invasive?
Though it can be a zealous spreader, persicaria is not classified as invasive as it is very easily controlled through lifting and dividing every few years (see our ‘How to propagate persicaria’ section above).
Is persicaria hardy?
All the persicaria sold by Hayloft are fully hardy. See ‘Cold Protection’ section above.
Does persicaria grow in shade?
Persicaria is able to grow well with little light and can make a good choice for woodland planting or beneath shrubs.
Can you grow persicaria in pots?
Yes, though it can be thirsty and will need to be lifted and divided every year or so to maintain health and vigour.
Is persicaria the same as knotweed?
Thankfully not! Though belonging to the same plant family as Japanese knotweed, persicaria is far more well behaved and a popular garden plant.