How to grow Pelargonium
Pelargoniums are easy to grow and provide a long season of bright, bountiful colour. Ideal for growing outside in sunny, sheltered conditions as well as indoors in the conservatory or greenhouse, plants are drought tolerant and happy in borders or containers and even hanging baskets. Native to South Africa and reminiscent of hot, Mediterranean climes, plants will survive outside over winter only in warmer regions. We recommend either growing them as annuals or planting them in containers, so you can move them indoors when the colder weather arrives in autumn.
Sometimes confused with hardy geraniums, particularly as they are often referred to as a florist geranium, these plants come as several subspecies outlined below:
Angel pelargoniums* resemble miniature Regal pelargoniums with small round, pansy like leaves. Ideal for pots and baskets.
Decorative pelargoniums - a wide and varied group, some of which date back to Victorian times and some of which are modern cultivars. Particularly good as specimen plants for a patio or conservatory.
Fancy leaf pelargoniums with variegated or coloured leaves, often in shades of yellow, gold and dark green.
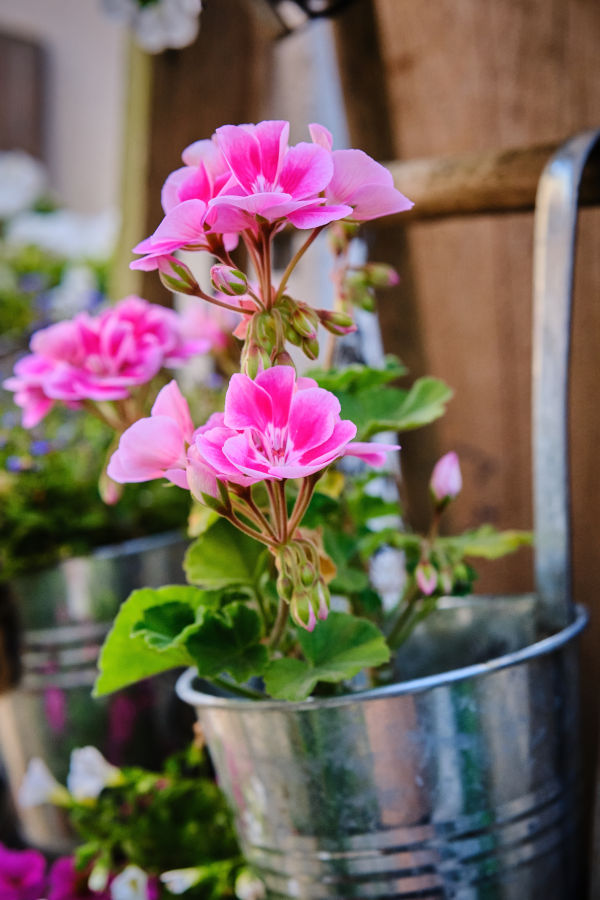
Ivy-leaved pelargoniums have smooth, shiny leaves and long stems of blooms. Well-suited to hanging baskets and raised planters with a tendency to lean over as they grow.
Regal pelargoniums* have coarsely toothed or serrated leaves which often have a pleasant scent. Large, patterned flowers are borne in small clusters.
Scented-leaf pelargoniums have strikingly scented foliage with perfume akin to rose, citrus, mint and pineapple.
Stellar pelargoniums were first bred in Australia during the 1970s. Flowers are star shaped and delicate looking yet still tough enough to cope with scorching sun.
Unique pelargoniums are similar to scented-leaf pelargoniums with more showy flowers. Many of this variety are well established and date back to the early 19th century.
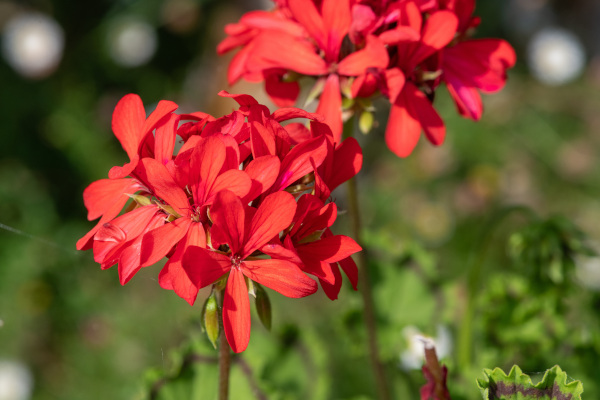
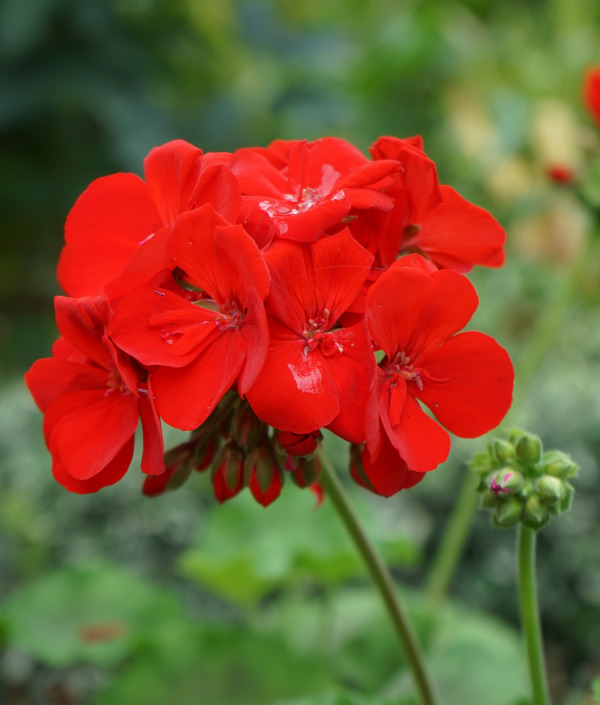
Zonal pelargoniums* are the variety most often seen at garden centres. Rounded leaves, often with darker central markings and clusters of flowers borne on long stalks.
*three main types of Pelargonium
Pelargoniums are extremely tolerant of drought and do not need regular watering. They do, however, benefit from a high potash feed every one or two weeks in summer and need regular deadheading to ensure a continuance of blooms.
Zantedeschia is a genus of flowering plants from the family Araceae and is native to southern Africa. With a rich history dating back to the Ancient Romans, these deciduous or semi-evergreen perennials have been used as a symbol of celebration. Zantedeschia was Named after Professor Giovanni Zantedeschia, an Italian botanist.
There are two main forms of Zantedeschia: hardy and tender. Hardy forms of the plant can be grown outdoors, enjoy moist soil and full sun or partially shaded conditions - these are known as Arum lilies. Tender forms of Zantedeschia prefer being grown in containers or pots and should be brought inside over the winter - these are known as Calla lilies.
With tuberous flora in all colours from whites, yellows and oranges to deep reds and purples, Zantedeschias are not to be overlooked in any garden, as long as they have sufficient sunlight to grow in.
Ready to learn more about growing Zantedeschia? Read on for all there is to know...

Key Information
Soil pH

Position
Hardiness

Where & when to plant Pelargonium
Position - Full sun with some protection (Regal cultivars prefer partial shade and Zonal cultivars will tolerate some shade)
Soil - Fertile, well-drained, light soil of any kind except heavy clay. Dislike soil with an acid pH.
Flowering Period - Mainly summer, though can be earlier or later depending on the species/ cultivar
Hardiness - Mostly tender or half-hardy, though a select few may be slightly hardier than this. Check individual descriptions for details.
Most frequently supplied as young plants in spring or in pots during summer. Pelargoniums are happy in borders, containers, baskets and open ground – best planted in fertile neutral to alkaline soil. Wait until any risk of frost has passed before planting out and ensure that plants are hardened off over a couple of weeks in order to acclimatise them to living outdoors.
Young plants are best potted up into cells or individual pots and kept in a bright, warm spot indoors or in a greenhouse where temperatures will not fall below 7°C until late May when the risk of frost has passed.
When growing in containers, either indoors or out, use peat-free multipurpose compost or soil-based compost such as John Innes No. 2. The lighter-weight multipurpose is ideal for hanging baskets.
Position your indoor, conservatory or greenhouse pelargonium in full light but shade them from scorching midday sun.
How to plant Pelargonium
- For outdoor pelargoniums, harden plants off for a week or so once all risk of frost has passed, before permanently moving them outside. A cold frame is perfect, allowing you to gradually increase the time the lid remains open until eventually leaving it open all night. Alternatively, you can take the following steps:
- First few days: move your plants outside, just during the day at first
- Next few days: leave out all the time, with a fleece covering at night
- Final few days: leave out completely uncovered
- For planting in containers (whether for indoors or out), first choose an appropriately sized pot. You may wish to grow your pelargoniums on their own in a pot, or as part of a larger, mixed container display. Either way, ensure there are plenty of drainage holes in the bottom.
- If you are using a large or heavy pot, it can be a good idea to fill and plant it in situ to save yourself the trouble of moving once full.
- Use a good quality potting compost with some horticultural grit mixed in and, if not already present (check the labelling on the bag) some slow-release fertiliser granules.
- Start by partially filling the pot with compost; enough so that when placed on it the upper surface of the root balls are about 3cm lower than the top of the pot.
- Fill around the plants with compost, firming down with your fingers then adding a little more so they are held tight.
- Pick up the container and lightly tap on the potting bench or ground a few times to help further settle the compost around the plant.
- Soak well with water.
- A mulch with horticultural grit will look attractive and help to prevent a ‘cap’ or crust forming on the top of the compost (something container plants can suffer due to the artificial nature of their watering).
- For planting in the garden, dig the soil area removing any large stones and weeds and breaking up any lumps. Mix in some organic matter such as manure or garden compost. If your soil is on the heavy side, now is also the time to add a generous helping of horticultural grit. Rake level and firm with your heels. Rake level again.
- Water plants well and allow to drain before planting.
- A good tip is to dig a hole twice the size of the root-ball. Fill with water and allow to drain before placing in the plant.
- Place the plant in the hole, ensuring the top of the root ball sits level with the surface of the soil. Too low and the plant may rot, too high and the roots can dry out.
- Backfill with soil and firm in gently with your foot.
- Soak well with water.
- Mulch around the base with well-rotted organic matter.
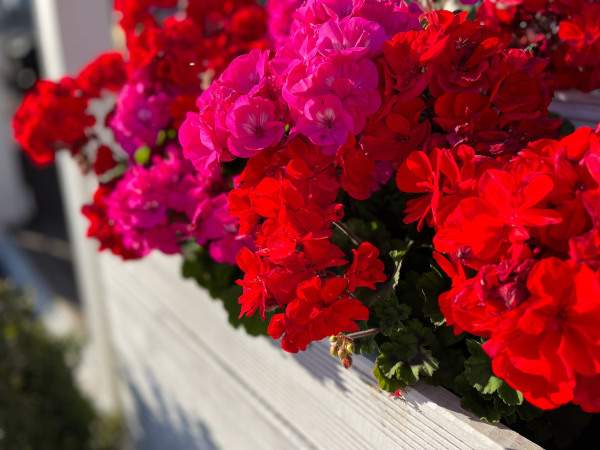
What to plant with Pelargonium
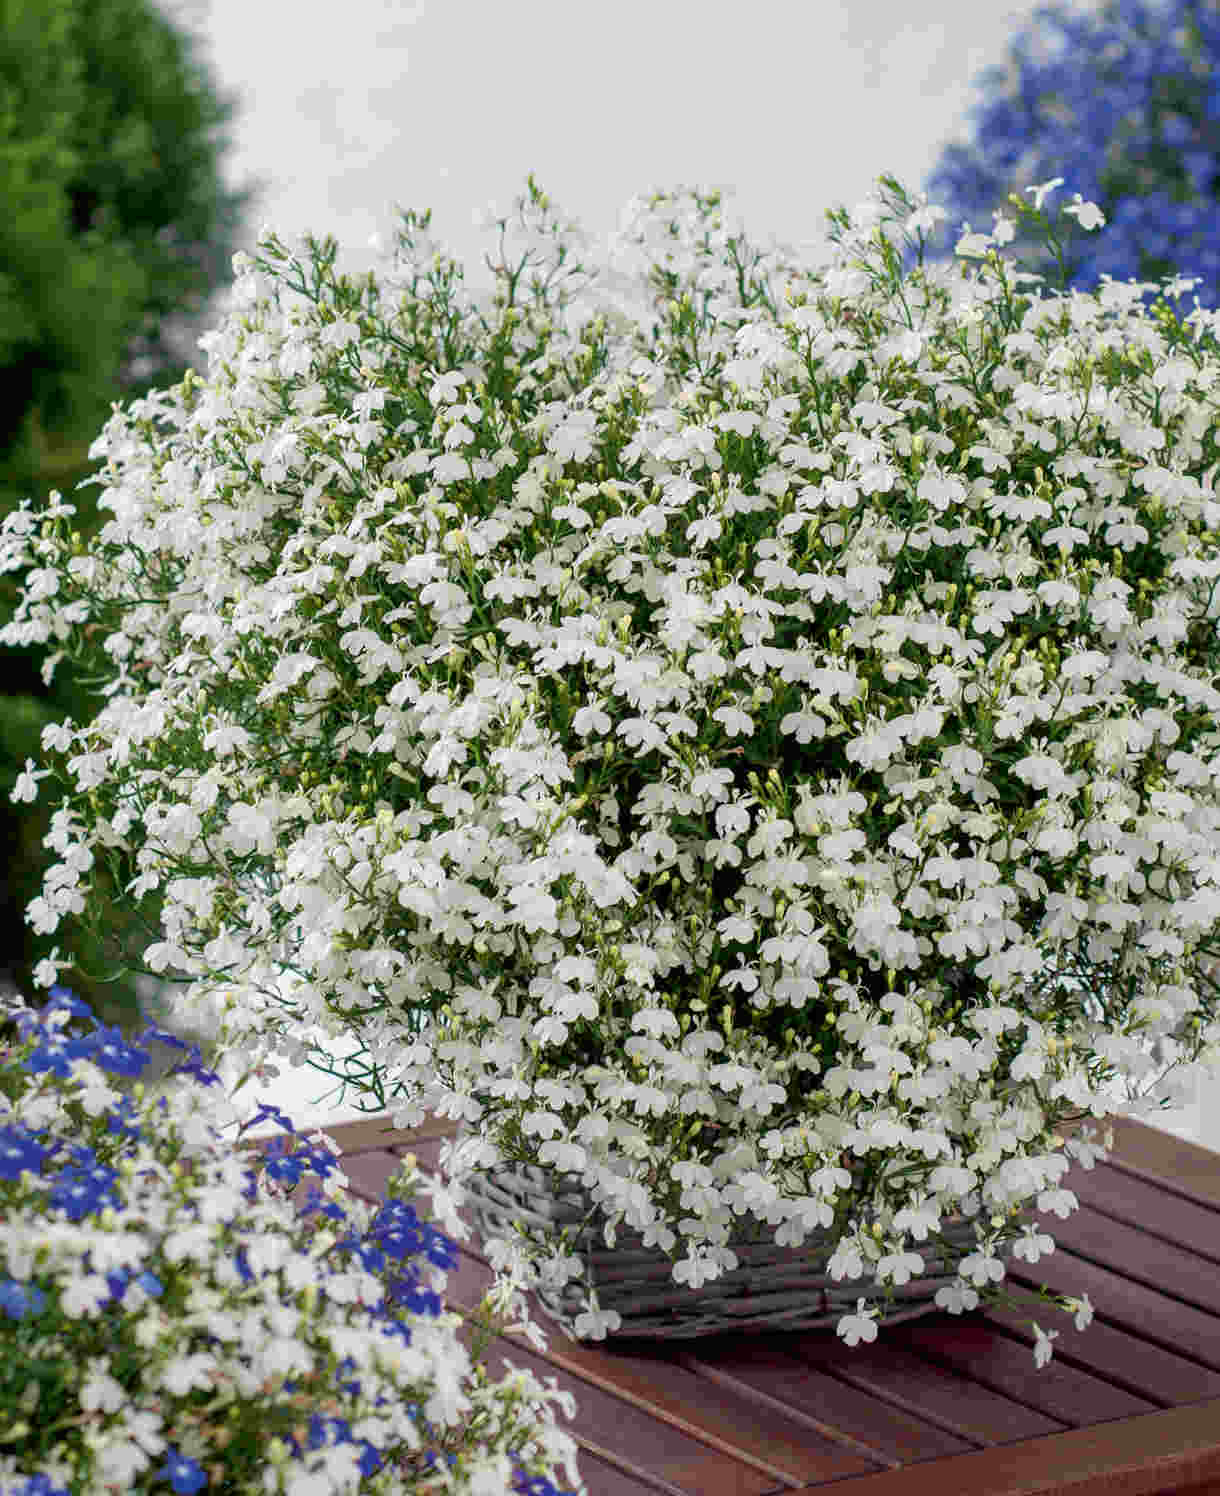
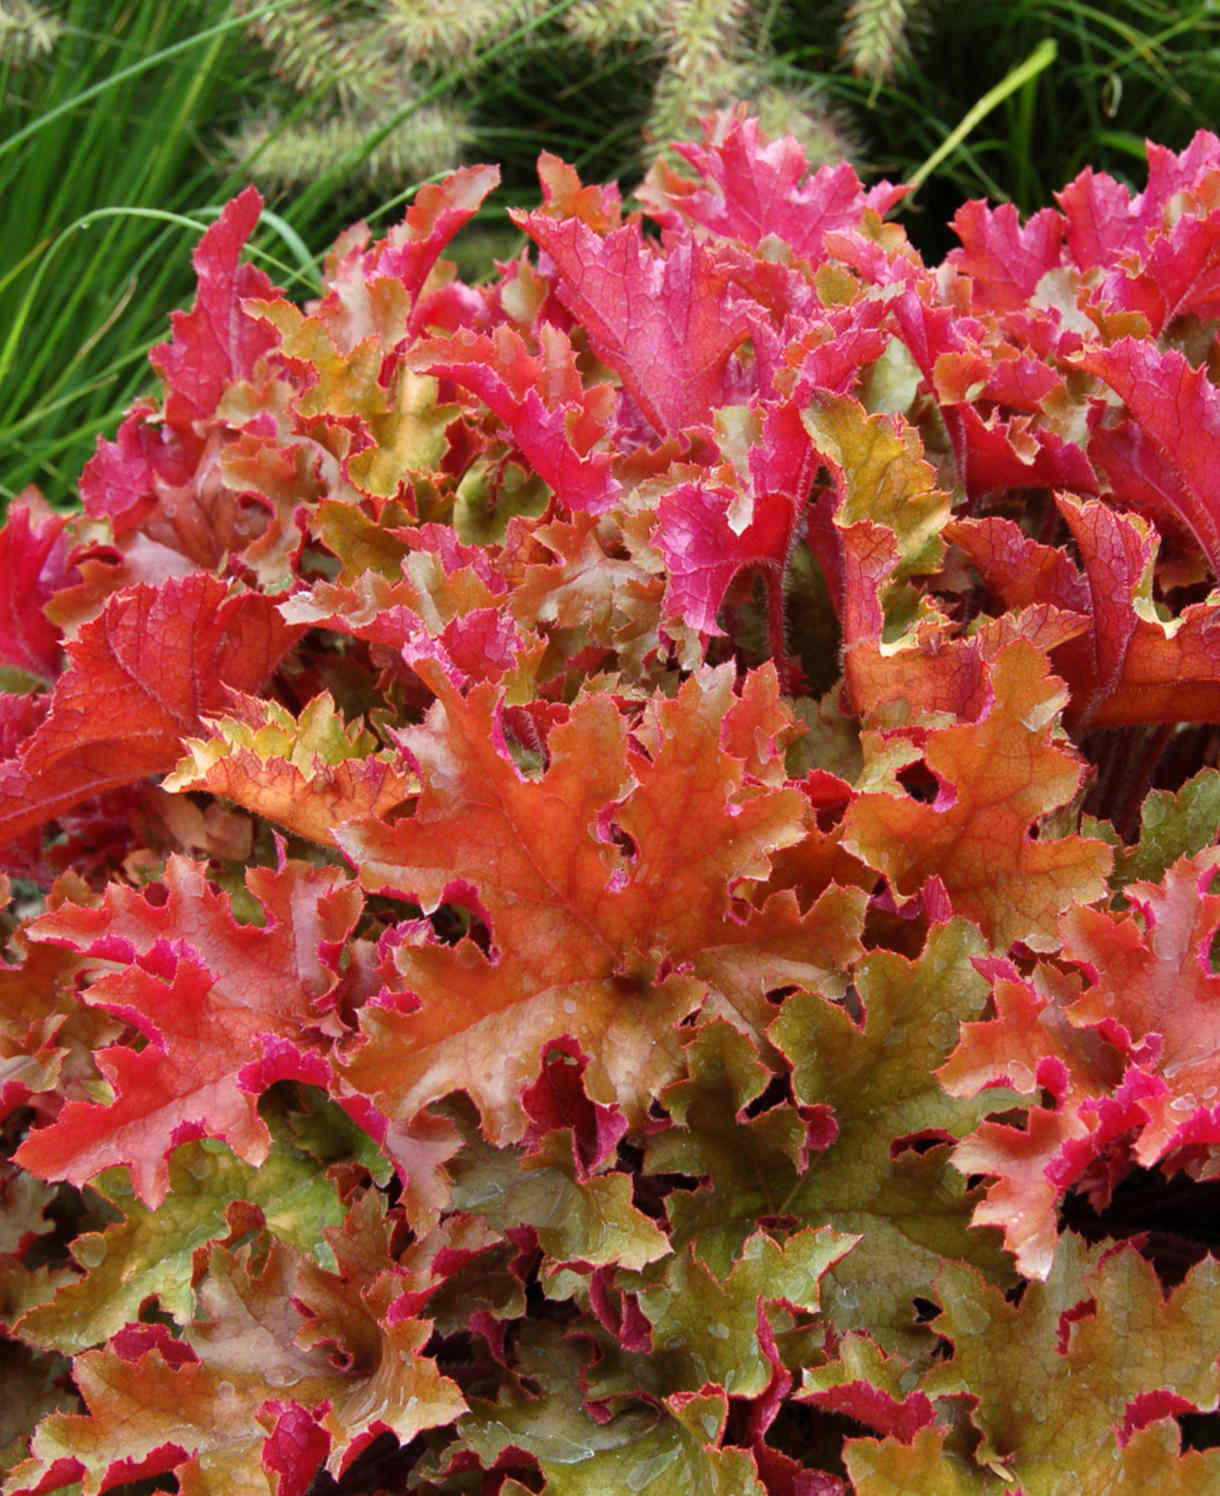
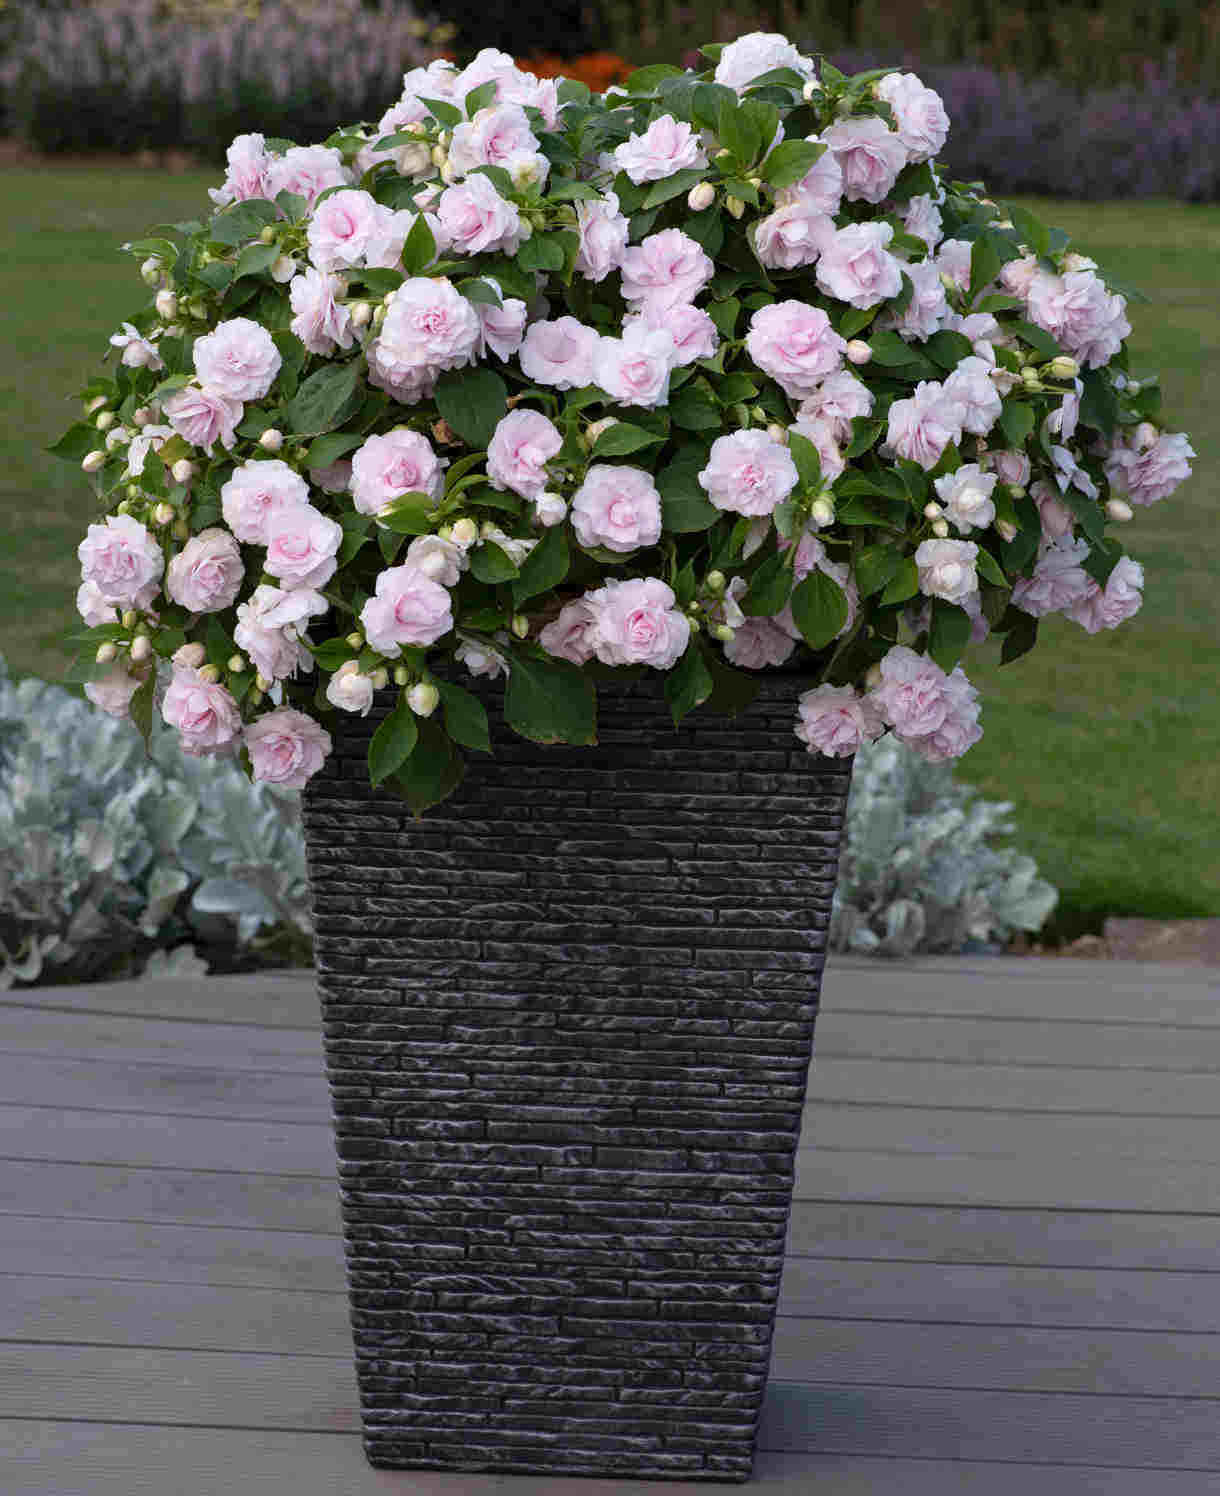
To create a dazzling summer container display Pelargoniums look great on their own or collated with bedding plants such as lobelia, impatiens, bacopa, and fuchsia. For that all important foliage element, try heuchera or hedera.
How to care for Pelargonium
Pruning and Deadheading
Most pelargoniums have a naturally bushy habit, this can be further encouraged by pinching back the tops of shoots in early spring or summer to encourage more branching on your plants.
Deadheading your pelargoniums throughout the growing season will keep plants looking neat and encourage further blooming.
If you are over wintering your pelargoniums indoors the either cut them back hard in autumn or, if you wish to keep them growing throughout the autumn and winter, hard prune then in spring ready for a new season of growth.
Watering
The drought tolerant nature of Pelargoniums means that they are not particularly thirsty. Water moderately from spring to summer and ensure plants do not become waterlogged.
Feeding
Pelargoniums respond well to feeding so apply a balanced liquid fertiliser according to the instructions on the packet, every 10-14 days in spring. Once flowers start to form, switch to a high potassium fertiliser such as tomato feed, feeding fortnightly throughout the rest of summer. Many will continue flowering if kept at 7-10°C in a greenhouse or conservatory however, we recommend that you reduce feeding to once a month in autumn and winter.
Cold Protection
Many people grow pelargoniums as annuals, composting them down at the end of the season and replenishing stocks the following spring. They are, however, tender perennials which can be saved for another year. This is particularly useful if you have found a variety which you like and would like more of next year.
You can overwinter current stocks by pruning back any leggy or woody growth, potting up if they have been lifted from the ground, and keeping indoors or in a light, frost-free environment such as a heated greenhouse.
Remember to keep the soil moist and keep the area well-ventilated to prevent plants from rotting off. Then simply restart the hardening off and potting on process in spring as above.
Pests and Diseases
Pelargoniums are easy to grow, but there are a few things worth watching out for:
- Poor air circulation and damp conditions can encourage grey mould and rust
- Pelargoniums can suffer from viruses transmitted by sap sucking insects such as thrips or carried on pruning or propagating tools including knives or secateurs.
- Roots of container grown plants are prone to vine weevil larvae damage.
- They can also suffer from leafhopper, root mealybug and whitefly.
- Dense clusters of distorted leafy shoots, often close to ground level, are leafy gall
Where infestations do take hold, try introducing biological controls (often sachets or tubes containing miniscule natural predators), or in the worst cases, remove the affected plant/s altogether.
How to propagate Pelargonium
The best way to make more of the same plant is to take softwood cuttings in late summer (these can actually be taken any time from spring to autumn but work best from late summer). This way you have more, new plants ready for the following season and can get rid of the woody stemmed plants at the end of the season.
Choose healthy material that is free of pests and diseases and remove it with sharp, clean tools. It is best to take cuttings in the morning to avoid wilting.
- Select the cuttings from this season’s growth and remove them using sharp secateurs.
- Place the cuttings in a plastic bag straight away. Keep the bag in the shade or, in hot weather, the fridge until you are ready to prepare the cuttings. However, aim to pot the cuttings within 12 hours.
- Prepare the cuttings by trimming them to around 10cm in length, cutting just below a leaf node. Next, remove the lowest leaves. There will usually be about four leaves remaining.
- Dip the bottom of the cutting in fresh hormone rooting powder, ensuring that the cut is well covered. Tap gently to remove the excess.
- Insert the cuttings into suitably-sized containers filled with cuttings compost – use 50 per cent free-draining potting compost mixed with 50 per cent sharp sand or perlite. Water well and allow to drain.
- Place the container of cuttings in a greenhouse. Alternatively, cover pots with a plastic bag and put in a warm, light position, out of direct sunlight. Remember to remove excess moisture yet keep compost damp.
* Many plants carry Plant Breeders Rights and cannot be propagated for commercial purposes.
Common Pelargonium questions
Can pelargoniums grow in shade?
Most pelargoniums prefer full sun. However, Regal cultivars prefer a degree of shade and Zonal varieties will tolerate some shade.
Are pelargoniums annuals or perennials?
Pelargoniums are tender perennials which need protection from frost over winter.
How do you get pelargoniums to flower?
If your pelargonium is not flowering, it is most likely to not be getting enough sunlight. As a rule of thumb plants need at least 4-6 hours of sunlight a day – more if the light is filtered. Pelargoniums also need well-drained soil, and a single spring application of slow release fertiliser in spring. Feeding with a high potassium fertiliser, such as tomato feed, once a fortnight throughout summer should encourage more flowers but be careful not to overfeed!