How to grow Passiflora
Passiflora is a huge genus of around 600 species, some of which will bring a touch of the exotic to your planting. They are mostly tendril bearing vines which they use to grasp as they climb up through trellis, trees and almost any support. Most varieties are found throughout the neotropical regions of the Americas. Some are grown as ornamentals whilst others are cultivated for their edible fruits. Flowers are produced freely during the summer months and some plants will thrive in the garden border, whilst others need the warmth of a heated greenhouse or conservatory. Take care to choose a variety which is hardy enough for your needs as they range from warm, temperate plants (H1c) to resilient enough to cope with an average UK winter (H4). For example, the well-known passion fruit which is often seen in supermarkets is produced by the tropical edible species Passiflora edulis that can only cope with temperatures above 10°C.
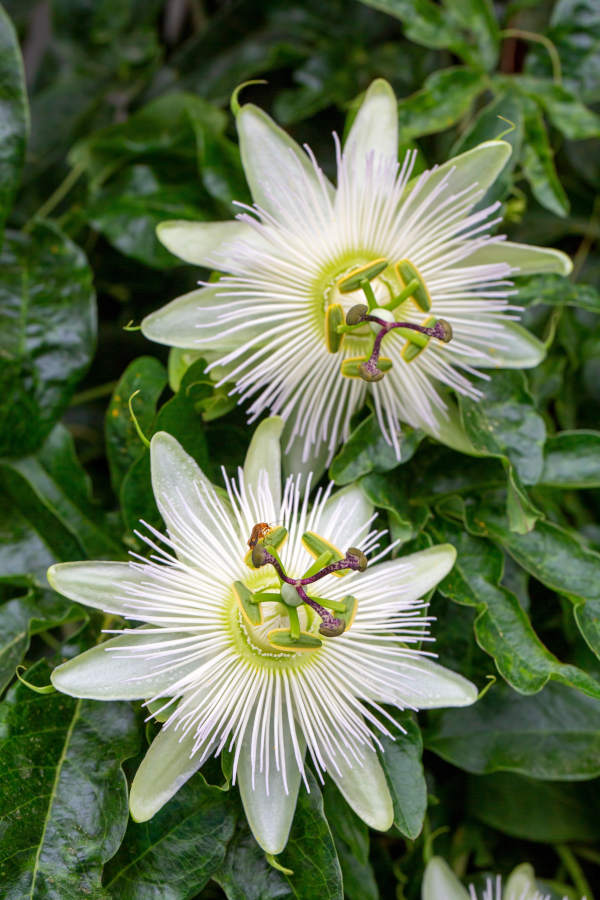
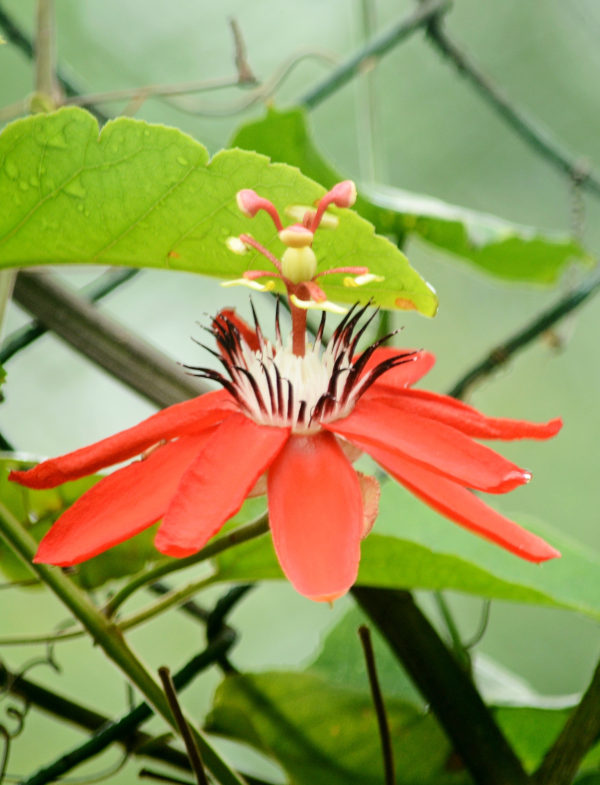
Imbued with much symbolism, the most well-known being that of the events in the last hours of Jesus from which these plants derive their common name – the Passionflower. The corona represents the crown of thorns, the styles represent the nails used in the Crucifixion, the stamens represent the five wounds, and the five sepals and five petals represent 10 of the Apostles—all but Judas, who betrayed Jesus, and St. Peter, who denied Jesus three times on the night of his trial.

Zantedeschia is a genus of flowering plants from the family Araceae and is native to southern Africa. With a rich history dating back to the Ancient Romans, these deciduous or semi-evergreen perennials have been used as a symbol of celebration. Zantedeschia was Named after Professor Giovanni Zantedeschia, an Italian botanist.
There are two main forms of Zantedeschia: hardy and tender. Hardy forms of the plant can be grown outdoors, enjoy moist soil and full sun or partially shaded conditions - these are known as Arum lilies. Tender forms of Zantedeschia prefer being grown in containers or pots and should be brought inside over the winter - these are known as Calla lilies.
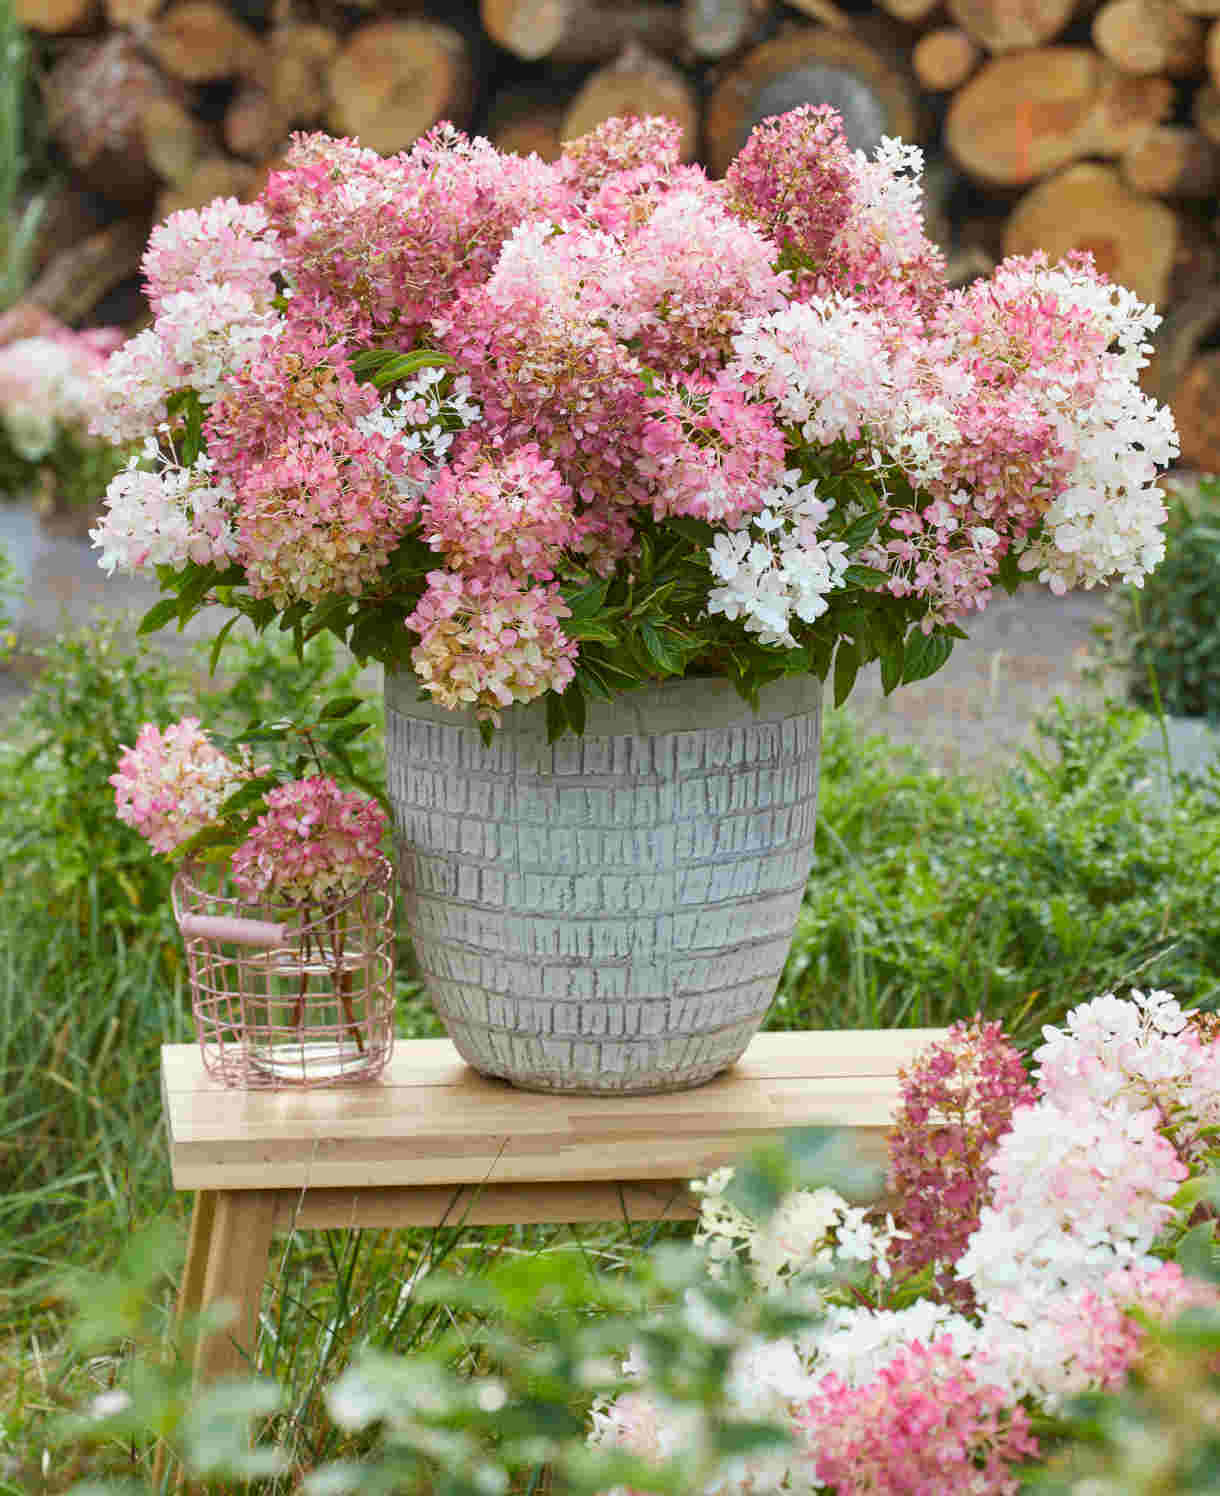
With tuberous flora in all colours from whites, yellows and oranges to deep reds and purples, Zantedeschias are not to be overlooked in any garden, as long as they have sufficient sunlight to grow in.
Ready to learn more about growing Zantedeschia? Read on for all there is to know...

Key Information
Soil pH

Position
Hardiness

Where & when to plant Passiflora
Position - A sunny, sheltered spot which offers some kind of support for your vine to clamber up.
Soil - Moist, well-drained, fertile soil of any kind except heavy clay
Flowering Period - Spring, summer and into autumn, depending upon variety
Hardiness - Hardy to between -1°C and -10°C (see below)
Best planted in late spring when the risk of frost has passed so your Passiflora has an opportunity acclimatise and ‘harden off’ as it settles in over the summer months. If your plant arrives early, we advise keeping in a cool, frost-free environment such as an unheated conservatory or greenhouse until the last risk of frost has passed in your area (generally around mid to late May). Plants will be vulnerable to frosts when young and newly planted.
Passiflora is perfect for giving an exotic look to a sunny wall or pergola and can be planted either in the ground or in a (large) container. It will require support such as wires or a trellis and new shoots should be teased through to encourage the tendrils to anchor themselves.
Some of the varieties we supply:
‘Avalanche’ H3 half-hardy (-1 to -5°C)
caerulea ‘Constance Elliot’ H4 hardy (-5 to -10°C)
caerulea H4 hardy (-5 to -10°C)
edulis ‘Frederick’ H3 half-hardy (-1 to -5°C)
‘Incense’ H4 hardy (-5 to -10°C)
x violacea ‘Victoria’ H4 hardy (-5 to -10°C)
How to plant Passiflora
In the ground
- Choose a spot against a sunny wall or pergola, and, if not there already, install some form of support such as wires or a trellis. A south or west facing aspect is ideal.
- Clear the area of weeds.
- Dig a planting hole several times larger than the root ball. If you are gardening on soil that is poor, dry, or stony it is a good idea to mix in plenty of well-rotted organic matter at this stage.
- Place the plant in the hole, angling it very slightly towards the supporting structure. Ensure no part of the rootball is above the surface of the soil, otherwise it is likely to dry out.
- Backfill with soil and firm in gently.
- Soak well with water.
- Mulch with well-rotted organic matter.
In a container
- Choose a spot against a sunny wall or pergola, and, if not there already, install some form of support such as wires or a trellis. A south or west facing aspect is ideal.
- If planting in a conservatory, provide your plant with some light shade to stop the foliage from becoming scorched during hot weather.
- Choose an appropriate container (the bigger the better), ensuring there are plenty of drainage holes in the bottom.
- Use a good quality potting compost with plenty of horticultural grit mixed in, and, if not already present in the compost (check the description on the bag) some slow-release fertiliser granules.
- Start by partially filling the pot with compost; enough so that when placed on it the upper surface of the root ball is about 3cm lower than the top of the pot. Angle the plant it very slightly so it can be positioned to grow towards the supporting structure.
- Infill all the space surrounding the root ball with compost, firming down with your fingers then adding a little more so the plant is held tight. Ensure no part of the rootball is above the surface, otherwise it is likely to dry out.
- Pick up the pot (if you can!) and lightly tap on the potting bench or ground a few times to help further settle the compost around the plant.
- Soak well with water.
- A mulch with horticultural grit will look attractive and help to prevent a ‘cap’ or crust forming on the top of the compost (something container plants can suffer due to the artificial nature of their watering).
What to plant with Passiflora
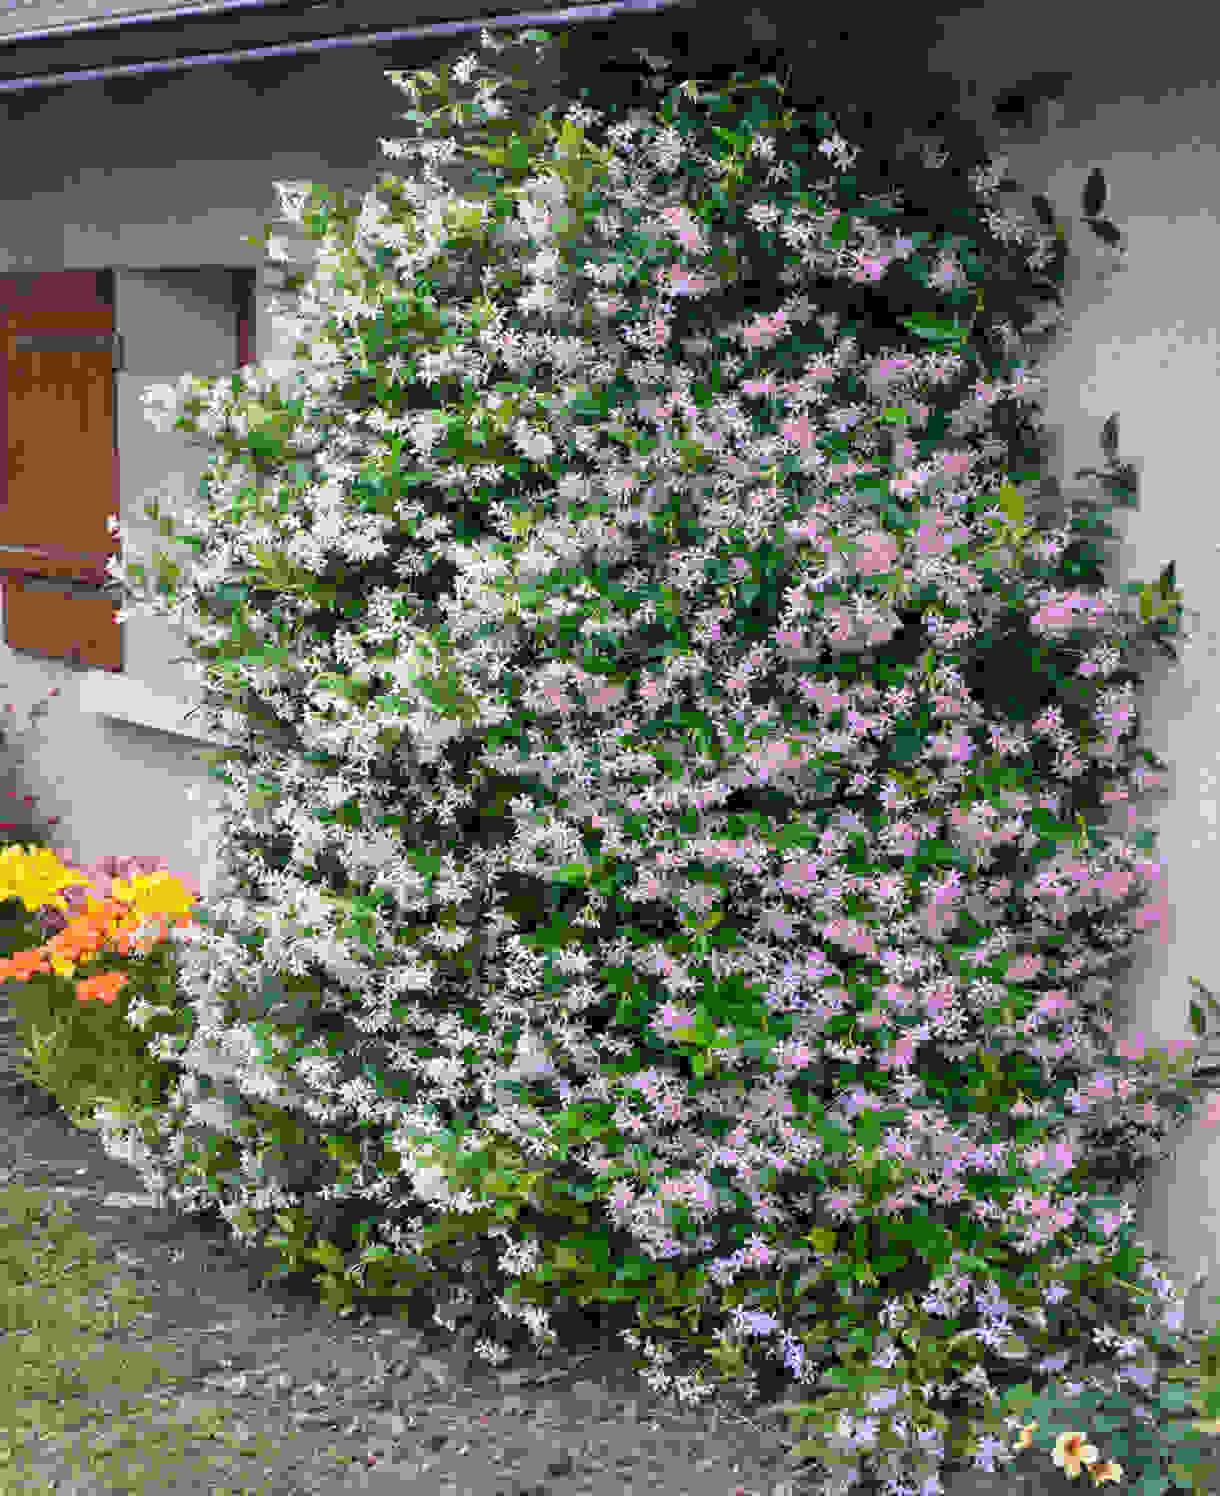
This delicate, exotic beauty can form an attractive backdrop to all manner of planting styles. To combine with other climbers, try the powerfully fragrant, creamy yellow Trachelospermum jasminoides ‘Star of Jasmine’, or the similarly vigorous, white-flowered Polygonum aubertii.
For underplanting, keep it simple with layers of green and creamy white. Think Hydrangea arborescens ‘Annabelle’, clipped balls of Euonymus japonicus ‘Green Spire’, and ground-level clouds of Erigeron karvinskianus.

How to care for Passiflora
Pruning and Deadheading
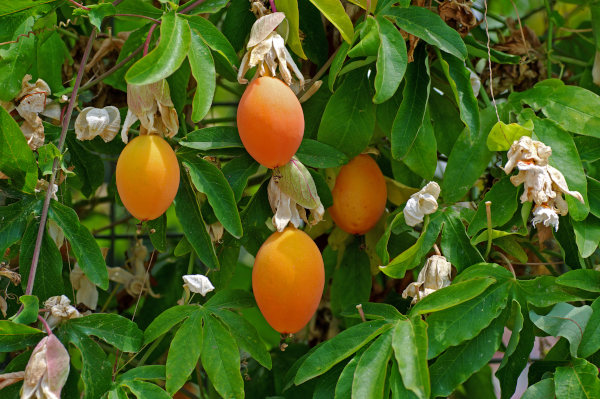
Deadheading should not be necessary as spent flowers will drop naturally whilst those which have been fertilised may turn into decorative fruits (all are edible though not necessarily tasty).
Prune your Passiflora once a year in early spring if necessary. Flowers are produced on the new growth, so pruning entails removing the old stems and ensuring you retain a framework of strong, healthy stems. Pruning helps to keep the plant tidy and within bounds.
Renovate overgrown plants, by cutting back the stems to 30-60cm (1-2ft) from the base. Renovation should only be done every few years as it will weaken the plant if performed too often. Reduce excessive numbers of new shoots that may appear, retaining only the strongest. Be aware that flowering is often delayed for a year or two after renovation.
Watering
Water your Passiflora grown in the ground weekly throughout the growing season if the weather has been dry. Flower buds may drop if your plant is allowed to dry out too much
Those grown in containers will need regular watering throughout the growing season. Allow the top few centimetres of compost to dry out between soakings as too much water may cause root rot.
Cold Protection
The types of Passiflora stocked by Hayloft are hardy or half-hardy. As said previously, ensure you plant in an appropriate location for where you are located in the UK.
Hardy (H4) varieties are suitable for milder regions of the UK, in colder areas protect the stems by wrapping with insulating fleece. Half-hardy (H3) will need insulating as soon as frost is likely – if in containers they can be moved into a greenhouse or conservatory. Alternatively wrap in fleece and/or hessian to protect. A sunny wall will offer some extra protection too.
Pests and Diseases
In the garden: pests such as aphids can be a nuisance on young growth. Plant viruses such as cucumber mosaic virus can be troublesome.
Under glass: Passiflora is vulnerable to a range of pests indoors including Glasshouse red spider mite, Glasshouse whitefly, scale insects and mealybug
How to propagate Passiflora
You can make new plants from your passion flowers from cuttings, layering or seed.
Layering
Layering is the easiest method of propagating passion flowers and flowering sized plants can be obtained almost immediately. The method enables rooting of the layered stem while it is still connected to the mother plant. This means it is almost always successful.
Softwood cuttings
Softwood cuttings are also possible and are made by taking cuttings of the soft and flexible young shoot tips in spring and summer. These root readily when planted in a multi-purpose compost and kept in a heated propagator or enclosed plastic bag to retain humidity.
Semi-ripe cuttings
Semi-ripe cuttings are an easy way to propagate Passiflora. These are taken using stems that are soft at the tip but which have hardened at the base. They will root quickly when taken in summer.
Snip cuttings off the plant, if possible taking a longer piece than the ideal eventual length of around 10cm (to allow for trimming).
Put them in a plastic bag straight away to prevent drying out.
with a perlite-heavy compost mix (at least 50% perlite).
Trim the end of the cutting to just below a node (point at which leaves grow).
Remove lowest leaves and soft tip, leaving 2-4 leaves.
If the remaining leaves are large, cut them in half with a sharp knife (to reduce water lost through transpiration).
Insert the cuttings into the compost and water lightly. Several cuttings can be put in the same container if there is enough space to do this without them touching.
Place in a greenhouse or propagating unit if you have one or covered with a plastic bag on a windowsill if not (out of direct sunlight).
Keep the cuttings misted and occasionally watered until they root. You will know this has happened when roots emerge out of the bottom of the container.
Gently remove rooted cuttings and pot them into individual pots. Overwinter in a cool yet frost-free environment such as an unheated conservatory, greenhouse, or cold frame, until they are large enough to be planted out in spring.
Common Passiflora questions
Is Passiflora evergreen?
We supply evergreen and semi-evergreen varieties. However, even evergreen varieties may become semi-evergreen in cooler temperatures.
How do you encourage Passiflora to flower?
By planting in the right place, with the right soil and sufficient levels of light and sun. As your Passiflora matures over 5-10 years the number of flowers will increase, particularly if you make sure not to over prune your plant.
Is Passiflora invasive?
Left to its own devices in a frost-free climate, Passiflora can quickly cover over 10 metres or more. Fortunately, this rampant nature tends to be kept in check by our colder winters. This, along with regular pruning, will keep it under control.