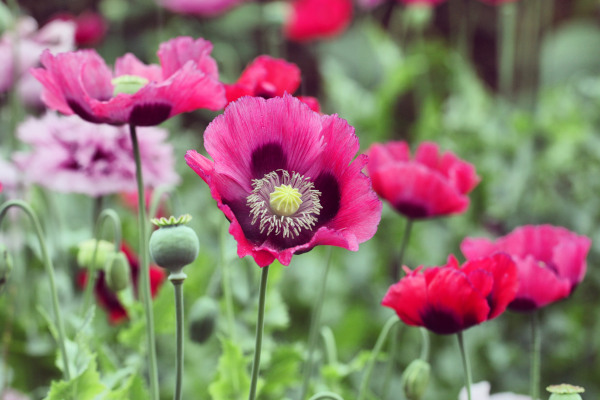
How to grow Papaver
Better known as poppy, papaver is a genus of around 70 species of annuals, biennials, and perennials occurring in a wide range of habitats throughout the world. These produce brightly coloured, short-lived flowers followed by distinctive pepper-pot seed pods.
The larger species are some of the most spectacular flowering plants seen in the garden, while smaller varieties are suitable for rock gardens, and UK native species are used widely in wildflower mixes. See our handy at-a-glance guide to the most widely grown papaver species below.
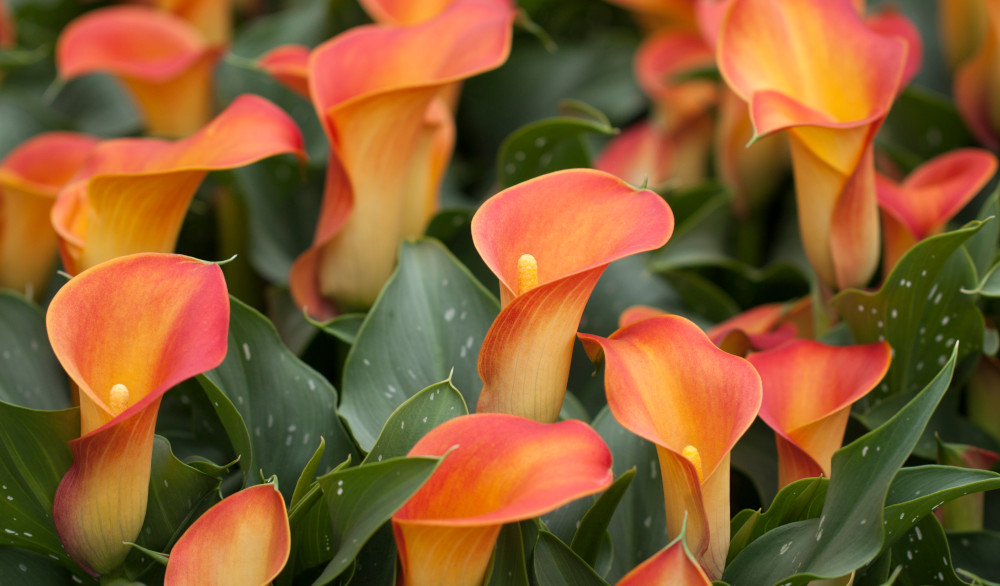
Zantedeschia is a genus of flowering plants from the family Araceae and is native to southern Africa. With a rich history dating back to the Ancient Romans, these deciduous or semi-evergreen perennials have been used as a symbol of celebration. Zantedeschia was Named after Professor Giovanni Zantedeschia, an Italian botanist.
There are two main forms of Zantedeschia: hardy and tender. Hardy forms of the plant can be grown outdoors, enjoy moist soil and full sun or partially shaded conditions - these are known as Arum lilies. Tender forms of Zantedeschia prefer being grown in containers or pots and should be brought inside over the winter - these are known as Calla lilies.
With tuberous flora in all colours from whites, yellows and oranges to deep reds and purples, Zantedeschias are not to be overlooked in any garden, as long as they have sufficient sunlight to grow in.
Ready to learn more about growing Zantedeschia? Read on for all there is to know...
Key Information
Soil pH
Position
Hardiness

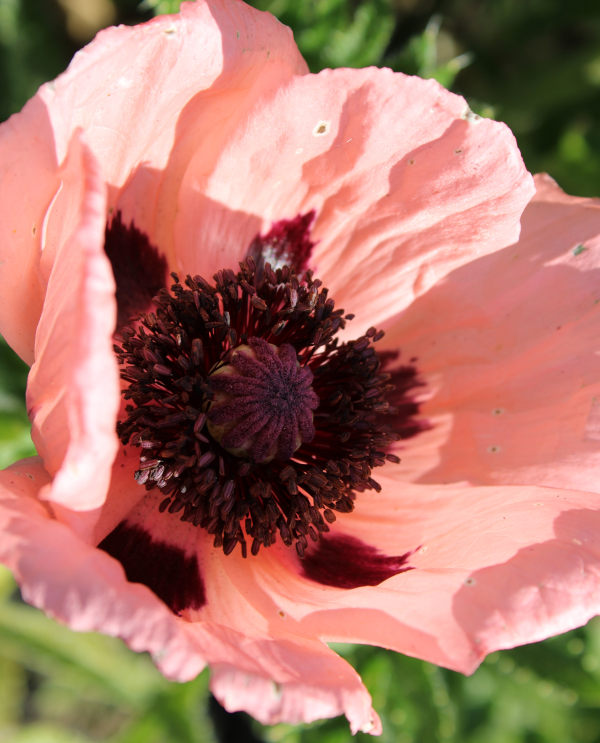
Papaver species at a glance
Oriental poppy (P. orientale)
The most widely grown poppy. A tall, clump-forming perennial with bristly stems and leaves and large, crumpled, papery blooms often with dark basal spots. Early to bloom, coming into flower in late spring. The whole thing (foliage and all) is finished by midsummer.
Opium poppy (P. somniferum)
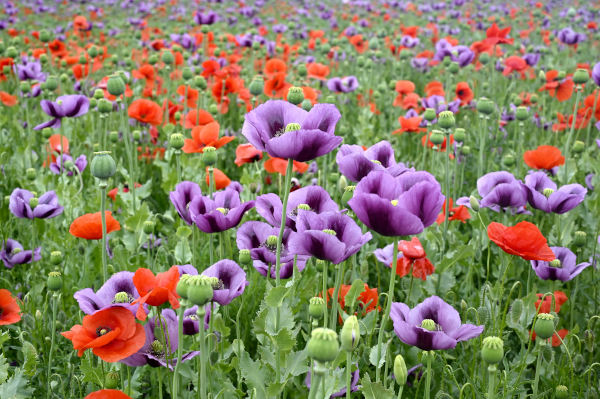
Where edible poppy seeds come from. A tall annual species with smooth, strongly glaucous leaves and blowsy, extravagant flowers in summer. Some cultivated double forms are so packed with petals they resemble peonies. Can self-seed profusely if not deadheaded.
Field or common poppy (P. rhoeas)
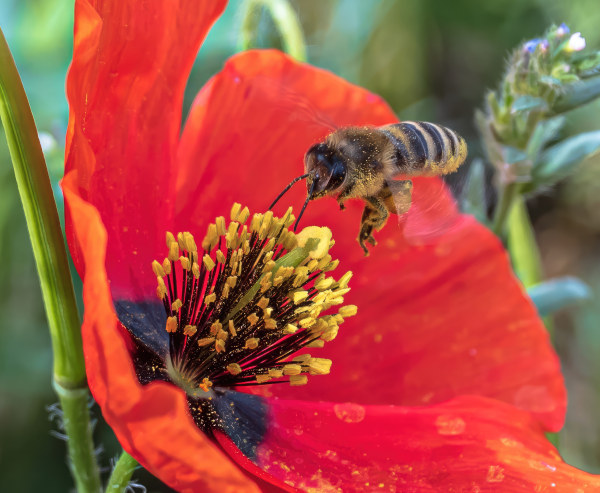
The symbol of remembrance and one of the most familiar of all UK wildflowers. An annual species with delicate scarlet flowers in summer, it was once considered a weed of cornfields though changes in farming practices mean it is now less widespread. Seeds may lay dormant in the soil for decades. Popular in wildflower meadow mixes.
Spanish poppy (P. rupifragum)
A small perennial species with papery orange flowers in summer. Good for naturalising – self-seeds freely.
Welsh poppy (P. cambricum)
A yellow or orange flowered poppy which favours damp, shady places. This tap-rooted perennial is native to SW England and Wales, though is now widespread in other parts of the UK as a garden escapee. Summer flowering.
Not to be confused with the Californian poppy (Eschscholzia californica) – also in the poppy family but a separate genus. This too is orange-flowered, but has more funnel-shaped blooms, much finer foliage, and a preference for hot, dry conditions.
Ladybird poppy (P. commutatum)
A small annual species with a branching habit and, in summer, delicate red flowers with a black spot at the base of each petal. Native to Greece, Turkey, Caucasus, and Iran.
Iceland poppy (P. nudicaule)
A small, hairy, glaucous biennial species usually with yellow or white tissue-thin flowers. Its delicate looks deceive; native to subarctic regions, this poppy is as hardy as it gets.
Where & when to plant Papaver
Poppies are often sold in pot-grown form, though it is also possible to buy some perennial species as bare roots during dormancy.
For best results, plant pot-grown poppies in autumn or spring. An autumn planting can be done by those gardening in mild conditions (and broadly speaking, this is the southern half of the UK). For those liable to cold, wet winters, it is best to wait until spring (generally the northern half of the UK, or those with very heavy soil). Planting can also be carried out in summer, though be prepared to water regularly.
For best results, we recommend bare root poppies be potted up as soon as they arrive, kept somewhere protected yet not too warm (a cool greenhouse, cold frame, or against a sheltered south-facing wall are all good places), then planted out in spring once they’ve put on a little growth. You can plant them directly into the open ground as soon as they arrive, but in this naked, unestablished form, even hardy plants can be vulnerable to the damaging extremes of winter weather. Much safer to get them started in a protected environment.
When it comes to choosing a planting spot, start by looking into the eventual height of your chosen species of poppy along with how much sunlight it prefers. Tall forms are ideal for wowing at the middle to back of a border, while shorter varieties are useful as informal edging or for weaving colour through a rock garden. You may have short term success with container growing, though poppies grow best in the open ground.
How to plant Papaver
- For planting in the garden, dig the soil area removing any large stones and weeds and breaking up any lumps. Mix in plenty of organic matter such as manure or garden compost. Rake level and firm with your heels. Rake level again.
- Water plants well and allow to drain before planting.
- Dig a hole twice the size of the root-ball.
- Place the plant in the hole, ensuring the top of the root ball sits level with the surface of the soil. Too low and the plant may rot, too high and the roots can dry out.
- Backfill with soil and firm in gently with your foot.
- Soak well with water.
- Mulch around the base with well-rotted organic matter.
- For planting in a container, first choose an appropriately sized pot just a few centimetres larger than the rootball and with plenty of drainage holes in the bottom.
- If you are using a heavy pot, it can be a good idea to fill and plant it in situ to save yourself the trouble of moving once full.
- Use a good quality potting compost with plenty of horticultural grit mixed in, and, if not already present in the compost (check the description on the bag) some slow-release fertiliser granules.
- Start by partially filling the pot with compost; enough so that when placed on it the upper surface of the root ball is about 3cm lower than the top of the pot.
- Infill all the space surrounding the root ball with compost, firming down with your fingers then adding a little more so the plant is held tight.
- Pick up the container and lightly tap on the potting bench or ground a few times to help further settle the compost around the plant.
- Soak well with water.
- A mulch with horticultural grit will look attractive and help to prevent a ‘cap’ or crust forming on the top of the compost (something container plants can suffer due to the artificial nature of their watering).
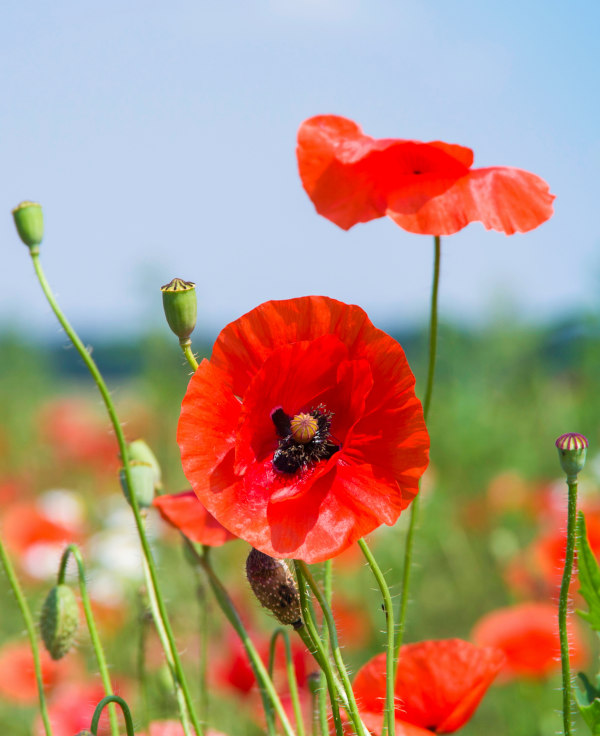
What to plant with Papaver
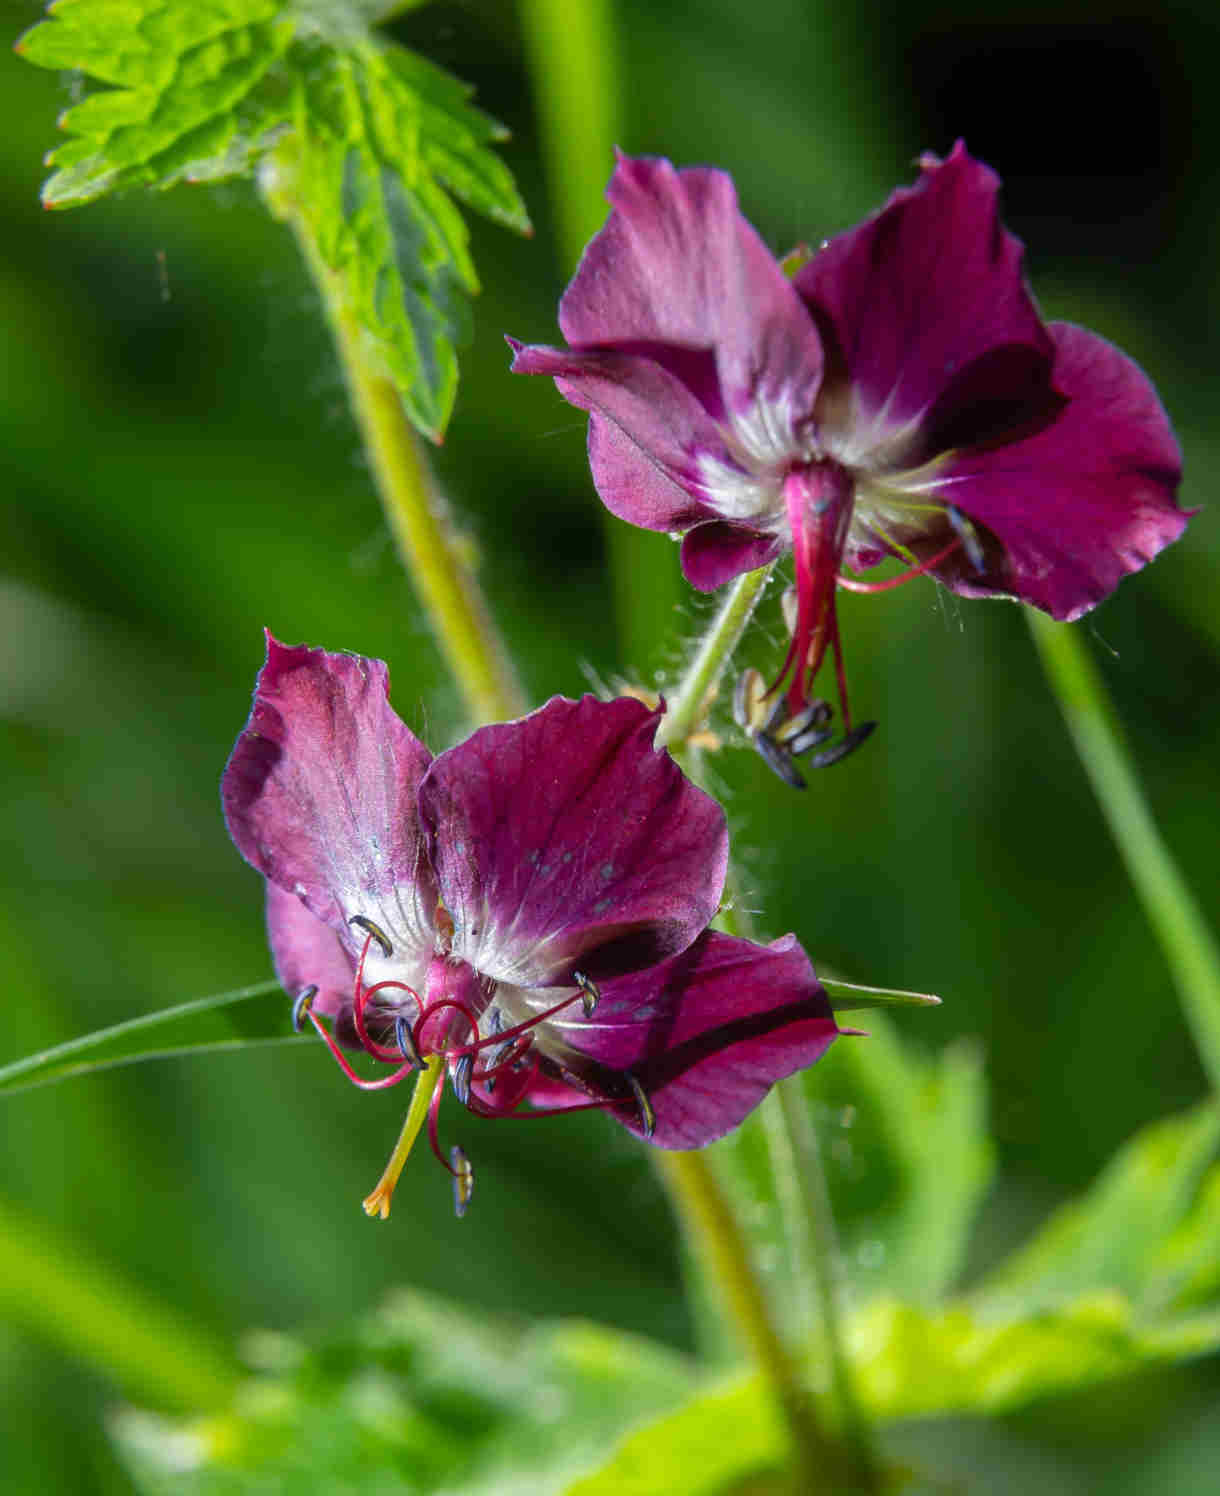
When it comes to oriental poppies (the most widely grown kind of papaver), we recommend these be planted with low-growing perennials such as hardy geranium, astrantia, nepeta, sedum, salvia, or calamintha. The idea is that these slightly later companions will fill out just as the poppies die back in midsummer, perfectly taking their place.
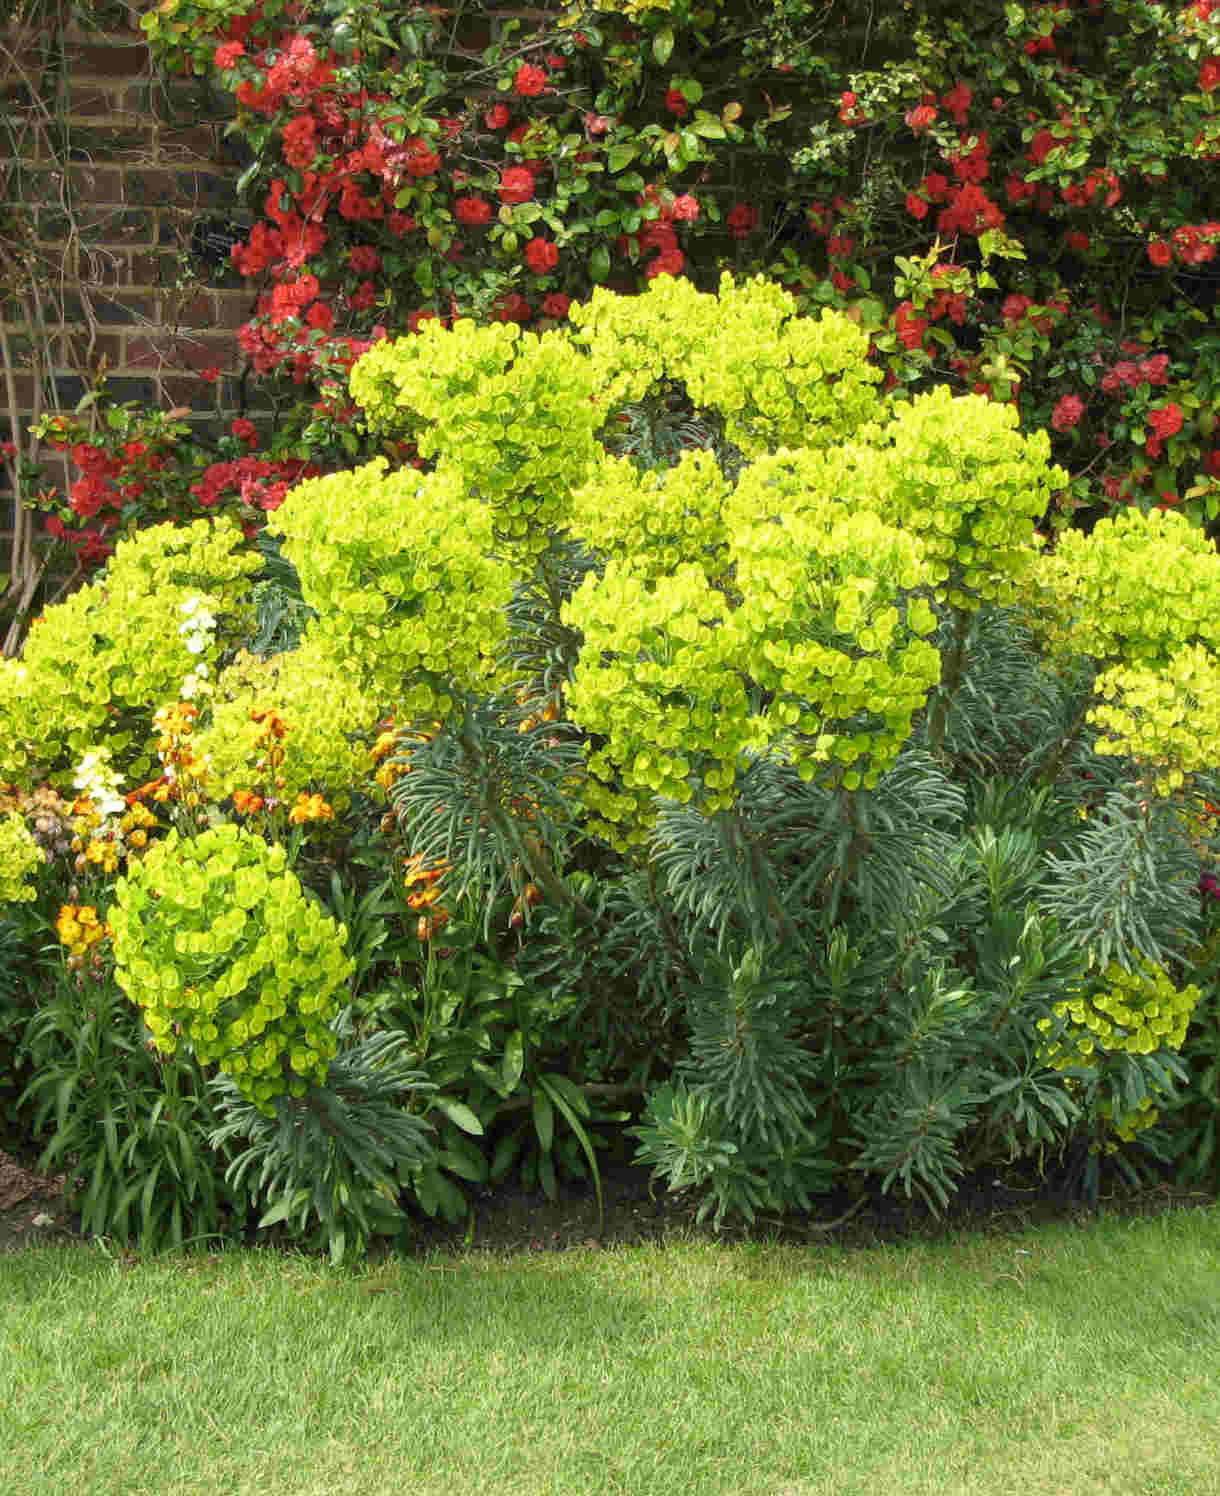
Of course, you’ll need other ‘early birds’ whose flowering period coincides with oriental poppies, bridging spring and summer. Allium, digitalis, bearded iris, lychnis, euphorbia, and cirsium are all fine candidates.
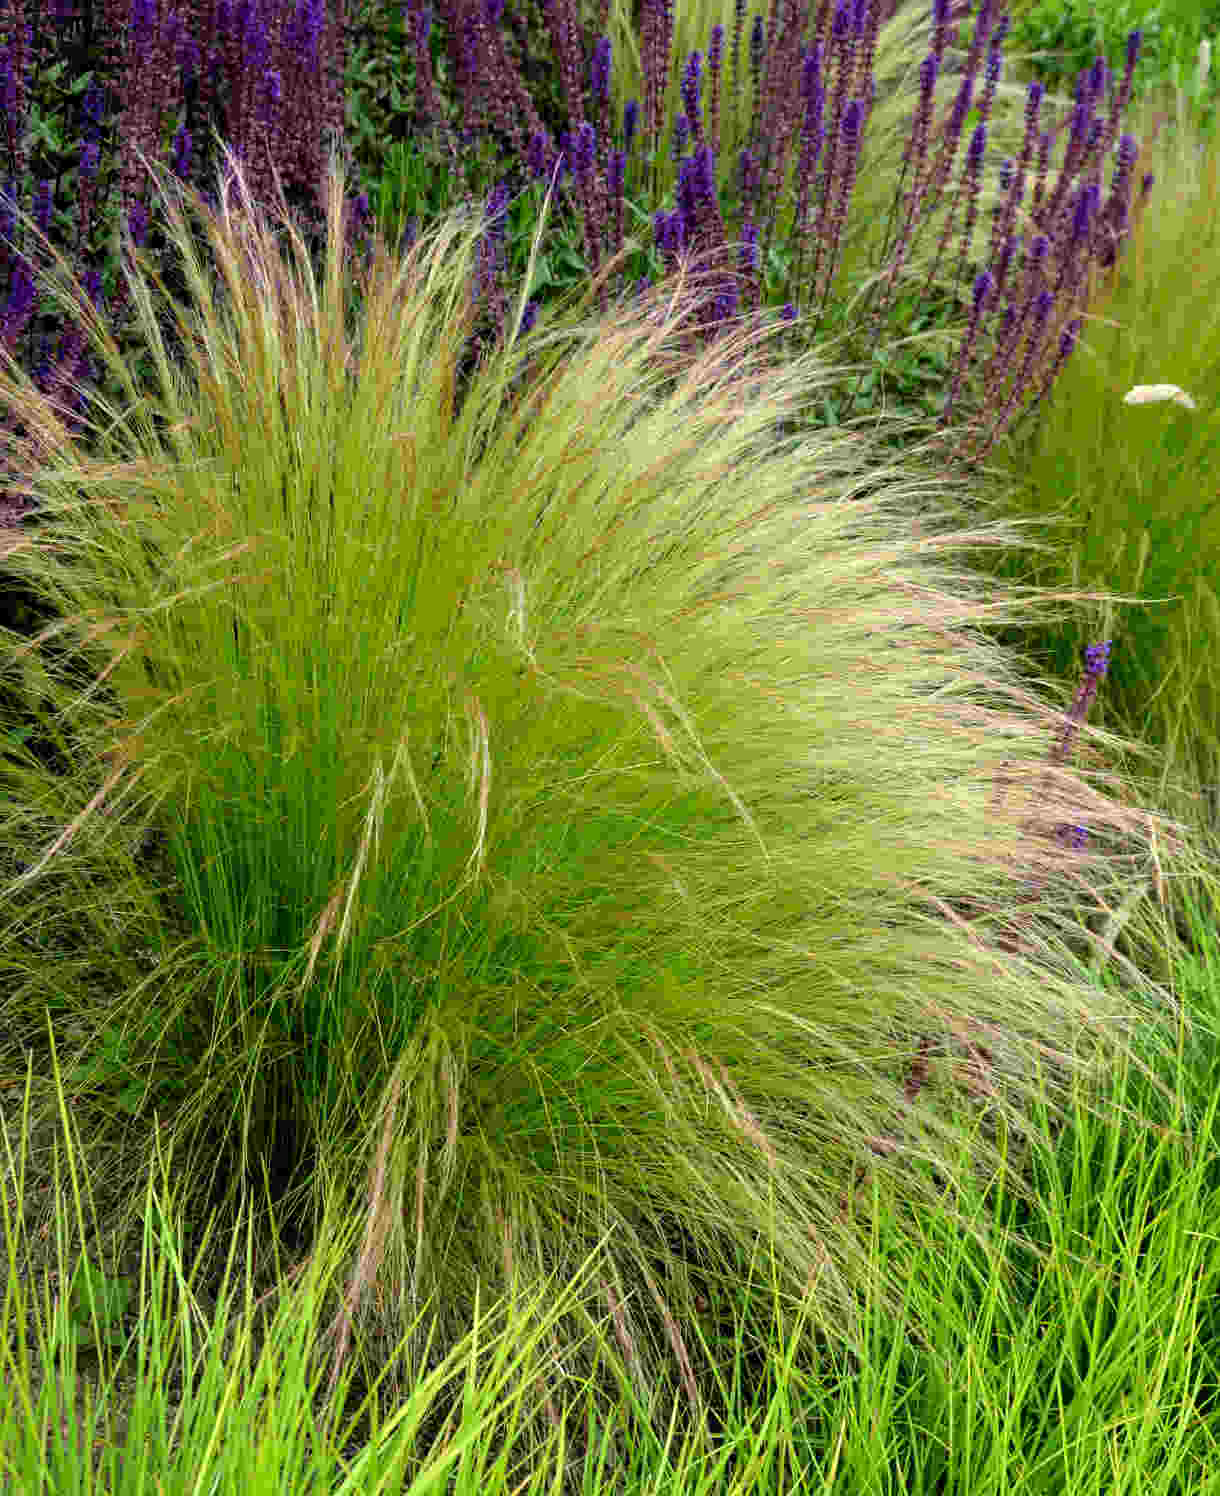
Other species may be planted for their naturalising tendencies, such as opium or Spanish poppies. Use these in conjunction with other enthusiastic self-seeders for a low maintenance, self-perpetuating planting scheme. Think Verbena bonariensis, Erigeron karvinskianus, Alchemilla mollis, aquilegia, digitalis, and Stipa tenuisssima.
How to care for Papaver
Pruning and Deadheading
The flowering of most poppy species may be prolonged with deadheading.
A recommended maintenance practice for newly planted oriental poppies is to remove any seedheads for the first few years. This directs as much energy as possible to the roots, meaning healthy, long-lived plants.
The leaves of oriental poppies die back shortly after flowering and are likely to require a tidy up before autumn. Cutting the whole lot back straight away usually results in a second flush of leaves in late summer.
The seedheads of poppies are attractive features in their own right, and many gardeners leave them intact for as long as possible. However, if self-seeding is unwanted, it is worth removing these before the seeds ripen (particularly for rampant self-seeders such as Spanish and opium poppies).
Cut back perennial poppies any time between autumn and spring. Annual species can simply be removed to the compost heap.
Watering
Soak newly planted poppies with water a handful of times during their first couple of months in the ground. After this, drought tolerant species such as opium and field poppies should be self-sufficient. Thirstier species such as oriental and Welsh poppies may need watering during prolonged periods of hot, dry weather.
If you are growing poppies in a container, remember they have less access to moisture so will need regular watering throughout the growing season. Allowing the top couple of centimetres of compost to dry out in between is a useful rule of thumb to avoid overdoing it. From mid-autumn, the British climate tends to take over watering needs, though do remember to step in in the event of an unseasonably dry spell.
Feeding
On healthy, fertile soil, a mulch of well-rotted organic matter (i.e., a layer of leaf mould, manure, or garden compost applied to the soil around the plant) should provide enough nutrients for perennial poppies. This has the added benefit of suppressing weeds and locking in moisture. Mulch when planting, and then again each spring.
If you garden on poor soil or your poppy looks in need of a boost, applying a general-purpose granular feed to the surface of the soil and lightly working in can reap benefits. This is known as a top dress and should be done to coincide with mulching in spring – first apply the feed, then cover with the mulch.
Container-grown plants are different as they rely solely on the gardener for nutrition. Get off to a flying start by making sure you use a good quality compost with slow-release granules mixed in. These generally provide nutrients for around 6 to 8 weeks, after which you’ll need to apply a balanced liquid feed every 2-3 weeks until the end of the growing season.
Annual and biennial species tolerate poorer soil conditions and tend not to require feeding at all.
Cold Protection
Poppies are usually hardy enough to withstand a UK winter without the need for additional protection.
Pests and Diseases
Poppies can be susceptible to mildew, particularly if grown in damp conditions. Remove and dispose of any affected plant material as soon as possible, and, if necessary, thin out surrounding plants to improve air flow. Avoid watering in the evening so that water is not sitting on the foliage all night; early in the morning is better so that excess moisture dries away quickly.
Another potential issue is aphids. As always, our advice is that these are part of a balanced garden ecosystem and the best approach is to leave them to their natural predators (e.g. birds, ladybirds, and wasps). When numbers are so large, however, that their feeding starts to inhibit and disfigure growth, you may feel it necessary to act. Regularly blasting off with a hose or wiping away with a cloth or piece of kitchen paper can help to keep numbers down without harming other insects.
How to propagate Papaver
Perennial poppy species can be propagated either by division in spring or root cuttings in late autumn/ early winter. You may also collect and sow seeds, though it is worth noting that most oriental poppies are hybrids and won’t come true from seed.
Division (spring)
- Choose a day when the soil is not frozen or waterlogged.
- Dig the plant out of the ground.
- Shake off any excess soil.
- Separate the plant into sections using either swift, cutting blows with a sharp spade, or two forks inserted back-to-back with tines touching, handles then pushed together to prise the plant apart.
- Discard old, damaged, or surplus pieces, keeping healthy, vigorous material.
- Replant decent-sized pieces where desired, and any smaller bits can be potted up.
- Water well until fully established.
Root cuttings (late autumn/ early winter)
- Dig up a healthy, vigorous clump and wash the roots in water.
- Select pencil thick roots, severing close to the crown with a sharp knife or secateurs.
- Remove no more than a third of the roots and replant the clump as soon as possible.
- Trim off the thin end of each root, along with any fibrous side roots.
- Cut into 5cm lengths, using an angled cut at the bottom so you know which way is up.
- Fill a container with a grit or perlite-heavy compost mix.
- Insert the root cuttings, angled side down, pushing them down so that the horizontal top end sits just below the surface of the compost.
- Cover with about 1cm of horticultural grit.
- Place in a coldframe, unheated greenhouse, or on a cool windowsill and water in lightly.
- Expect to see signs of life the following spring, at which point you can pot each cutting into individual 9cm pots. Grow on until the plants are large enough to be planted out the following year.
Seed (sow in spring)
- Seeds are typically ready for collecting in mid to late summer when you can hear them rattling in the dried seedhead.
- Snip the seedheads from the plant using scissors or secateurs. Try to do this in dry conditions, and shake the seeds into a small, labelled paper bag or envelope. Store somewhere cool and dry until it is time to sow the following spring.
- In April, fill a seed tray or small pot with a well-draining compost mix, compressing the surface lightly with a flat piece of wood or the bottom of another pot.
- Sprinkle the seeds evenly over the surface of the compost.
- Poppy seeds germinate best when left uncovered, so don’t sprinkle any compost on top as you would usually with seed sowing. A thin layer of vermiculite is ideal at this stage – allowing light through but protecting the seeds from being dislodged when watering.
- Water with a fine spray until the compost is evenly moist but not waterlogged.
- Place the seed tray or pots anywhere light and protected, such as a windowsill, coldframe, or greenhouse.
- When the seedlings have grown large enough to handle, plant out into the garden following our ‘How to plant papaver’ section above.
Annual and biennial species are propagated by seed, best collected as above and sown direct onto the soil in spring. Simply clear the area of weeds, rake over to achieve a fine tilth, and scatter the seeds thinly over the surface. There is no need to cover with soil – just water lightly if no rain is forecast and leave nature to do its work.
* Many plants carry Plant Breeders Rights and cannot be propagated for commercial purposes.
Common Papaver Questions
Do poppies grow back every year?
This depends on the species. Some are perennial, meaning they die back each winter and reappear each spring. Others are annuals and live for only one year, though may replace themselves with self-sown seed in the surrounding area. Biennial species have a two-year life cycle, putting on leaves in year one, then flowering and dying in year two. Again, these will often self-sow, meaning offspring takes the place of the parent plant.
Are poppies difficult to grow?
Not at all, in fact they are often recommended as good starter plants for children and novice gardeners!
Can I grow poppies in pots?
You may have short term success with this, but poppies will always prefer life in the open ground.
What’s the white stuff that comes out of poppy stems when damaged?
This is latex, a natural substance produced by many species of poppy.
