How to grow Pansy
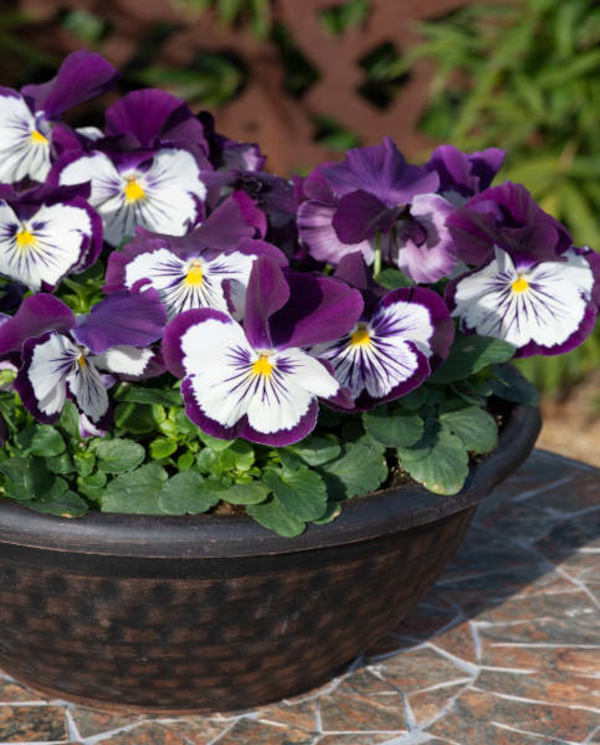
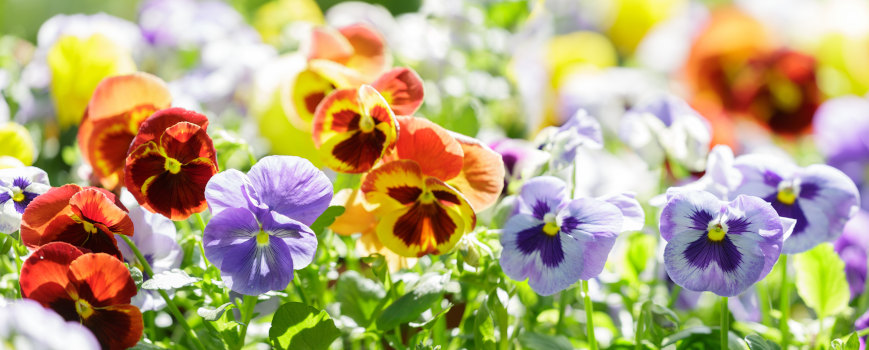
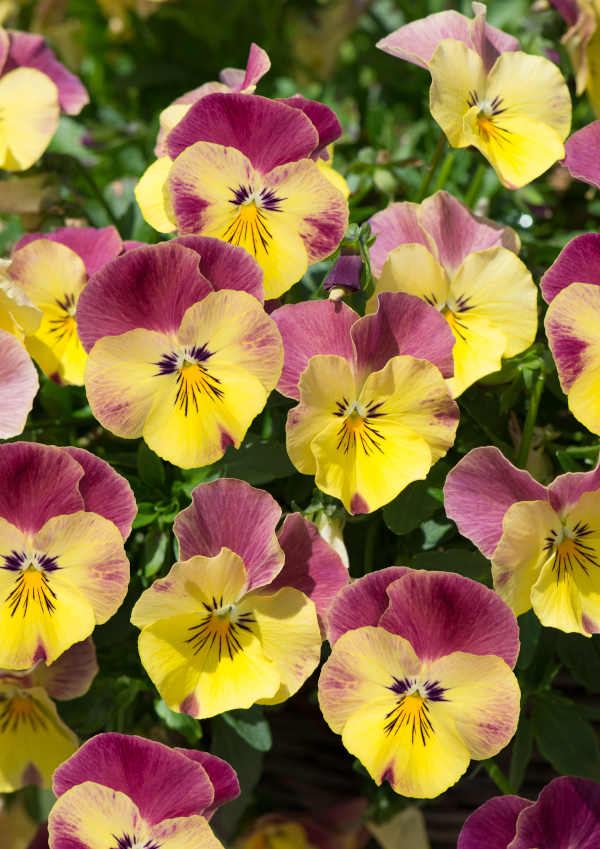
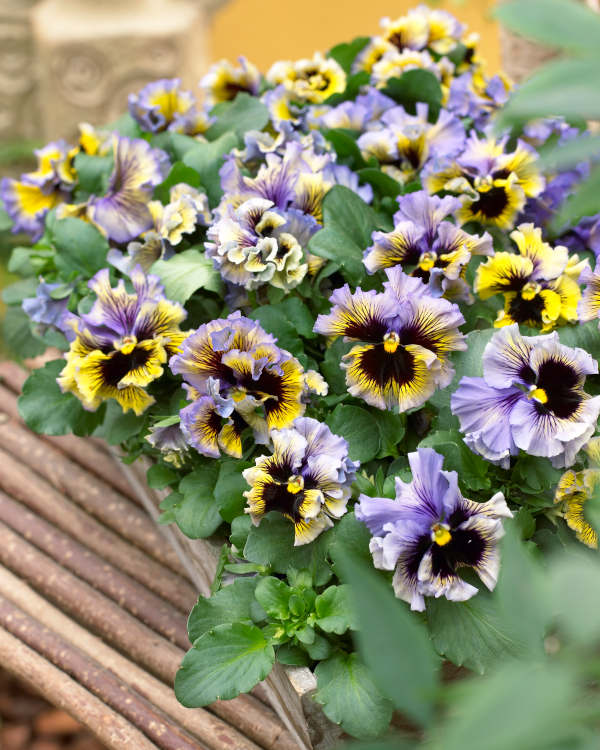
Grown for their large flowers which are often prettily marked at the centre, these small, bushy, cool season perennials are a popular choice for filling pots, window boxes, and hanging baskets with colour during the colder months of the year. Most pansies flower from early spring until the heat of summer puts an end to their blooming, though some varieties will flower from autumn to early winter. A few other cultivars (often smaller flowered) have been bred especially to bloom throughout winter.
The difference between pansies and violas can be a confusing matter. Pansies are hybrid violas (Viola x wittrockiana), distinguished from other species by their big, bright, often patterned flowers and a neat, clump-forming habit. What we refer to as violas tend to have smaller, plainer flowers produced in greater quantities. These are often present throughout the warmer months, unlike pansies which flower in cooler temperatures. Violas usually have a spreading habit and are popular as ground cover. They can last for many years, whereas having been bred for their flowers rather than longevity, pansies are best treated as annuals.
Zantedeschia is a genus of flowering plants from the family Araceae and is native to southern Africa. With a rich history dating back to the Ancient Romans, these deciduous or semi-evergreen perennials have been used as a symbol of celebration. Zantedeschia was Named after Professor Giovanni Zantedeschia, an Italian botanist.
There are two main forms of Zantedeschia: hardy and tender. Hardy forms of the plant can be grown outdoors, enjoy moist soil and full sun or partially shaded conditions - these are known as Arum lilies. Tender forms of Zantedeschia prefer being grown in containers or pots and should be brought inside over the winter - these are known as Calla lilies.
With tuberous flora in all colours from whites, yellows and oranges to deep reds and purples, Zantedeschias are not to be overlooked in any garden, as long as they have sufficient sunlight to grow in.
Ready to learn more about growing Zantedeschia? Read on for all there is to know...

Key Information
Soil pH

Position
Hardiness

Where & when to plant Pansy
Position - While full sun is tolerated (providing the soil or compost does not dry out), best results are found in cool, damp, partial shade.
Soil - Fertile, moist, loose, and well-draining soil/ compost is best, though pansies are impressively robust and will have a good go at growing in a range of conditions. Simply avoid anywhere which can become either waterlogged or bone dry. The pH can be acid, alkaline, or neutral.
Flowering Period - Varies according to the variety, though generally in the cooler half of the year.
Hardiness - Can be H6 (hardy to between -15°C and -20°C), or H7 (hardy to -20°C and beyond).
The ideal planting time for pansies depends on the flowering period. The advice on this can appear quite complex, but really boils down to the simple rule of planting or potting a month or two before the expected bloom time. Usually, you won’t have to give this too much thought, as, like many bedding plants, pansies tend to be offered for sale as ‘garden-ready’ plants, i.e., during their optimal planting time.
Pansies can be used as cool season bedding, dotted throughout borders to add a cheering dash of colour when many other plants lay dormant, and to complement winter and spring bulbs. Their most popular use, however, is to fill containers, window boxes, and hanging baskets with colour during the cooler months.
How to plant Pansy
- For planting in containers, first choose an appropriately sized pot. You may wish to grow your pansies on their own in a pot, or as part of a larger, mixed container display. Either way, ensure there are plenty of drainage holes in the bottom.
- If you are using a large or heavy pot, it can be a good idea to fill and plant it in situ to save yourself the trouble of moving once full.
- Use a good quality potting compost with some horticultural grit mixed in and, if not already present (check the labelling on the bag) some slow-release fertiliser granules.
- Start by partially filling the pot with compost; enough so that when placed on it the upper surface of the root balls are about 3cm lower than the top of the pot. Space plants around 15cm apart, then fill around them with compost, firming down with your fingers then adding a little more so they are held tight.
- Pick up the container and lightly tap on the potting bench or ground a few times to help further settle the compost around the plant.
- Soak well with water.
- A mulch with horticultural grit will look attractive and help to prevent a ‘cap’ or crust forming on the top of the compost (something container plants can suffer due to the artificial nature of their watering).
- For planting in the garden, dig the soil area removing any large stones and weeds and breaking up any lumps. Mix in some organic matter such as manure or garden compost. If your soil is on the heavy side, now is also the time to add a generous helping of horticultural grit. Rake level and firm with your heels. Rake level again.
- Water plants well and allow to drain before planting.
- A good tip is to dig a hole twice the size of the root-ball. Fill with water and allow to drain before placing in the plant.
- Place the plant in the hole, ensuring the top of the root ball sits level with the surface of the soil. Too low and the plant may rot, too high and the roots can dry out.
- Backfill with soil and firm in gently with your foot.
- Soak well with water.
Mulch around the base with well-rotted organic matter.
What to plant with Pansy
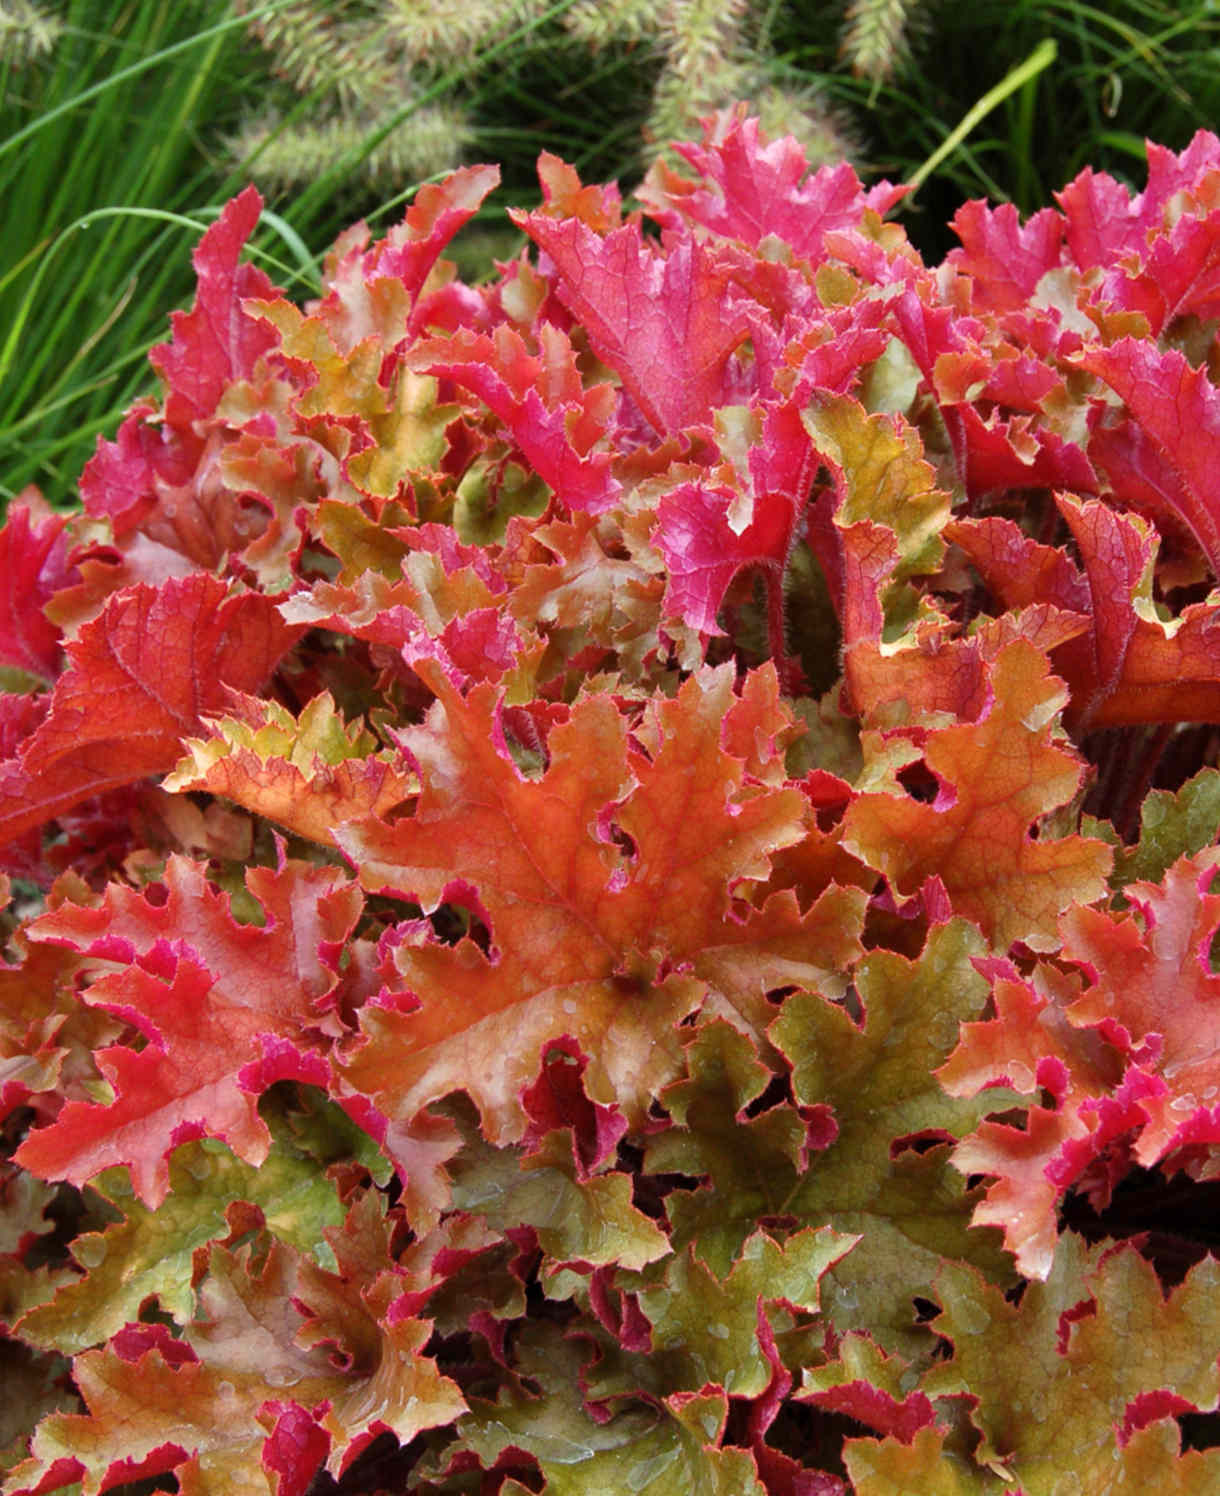
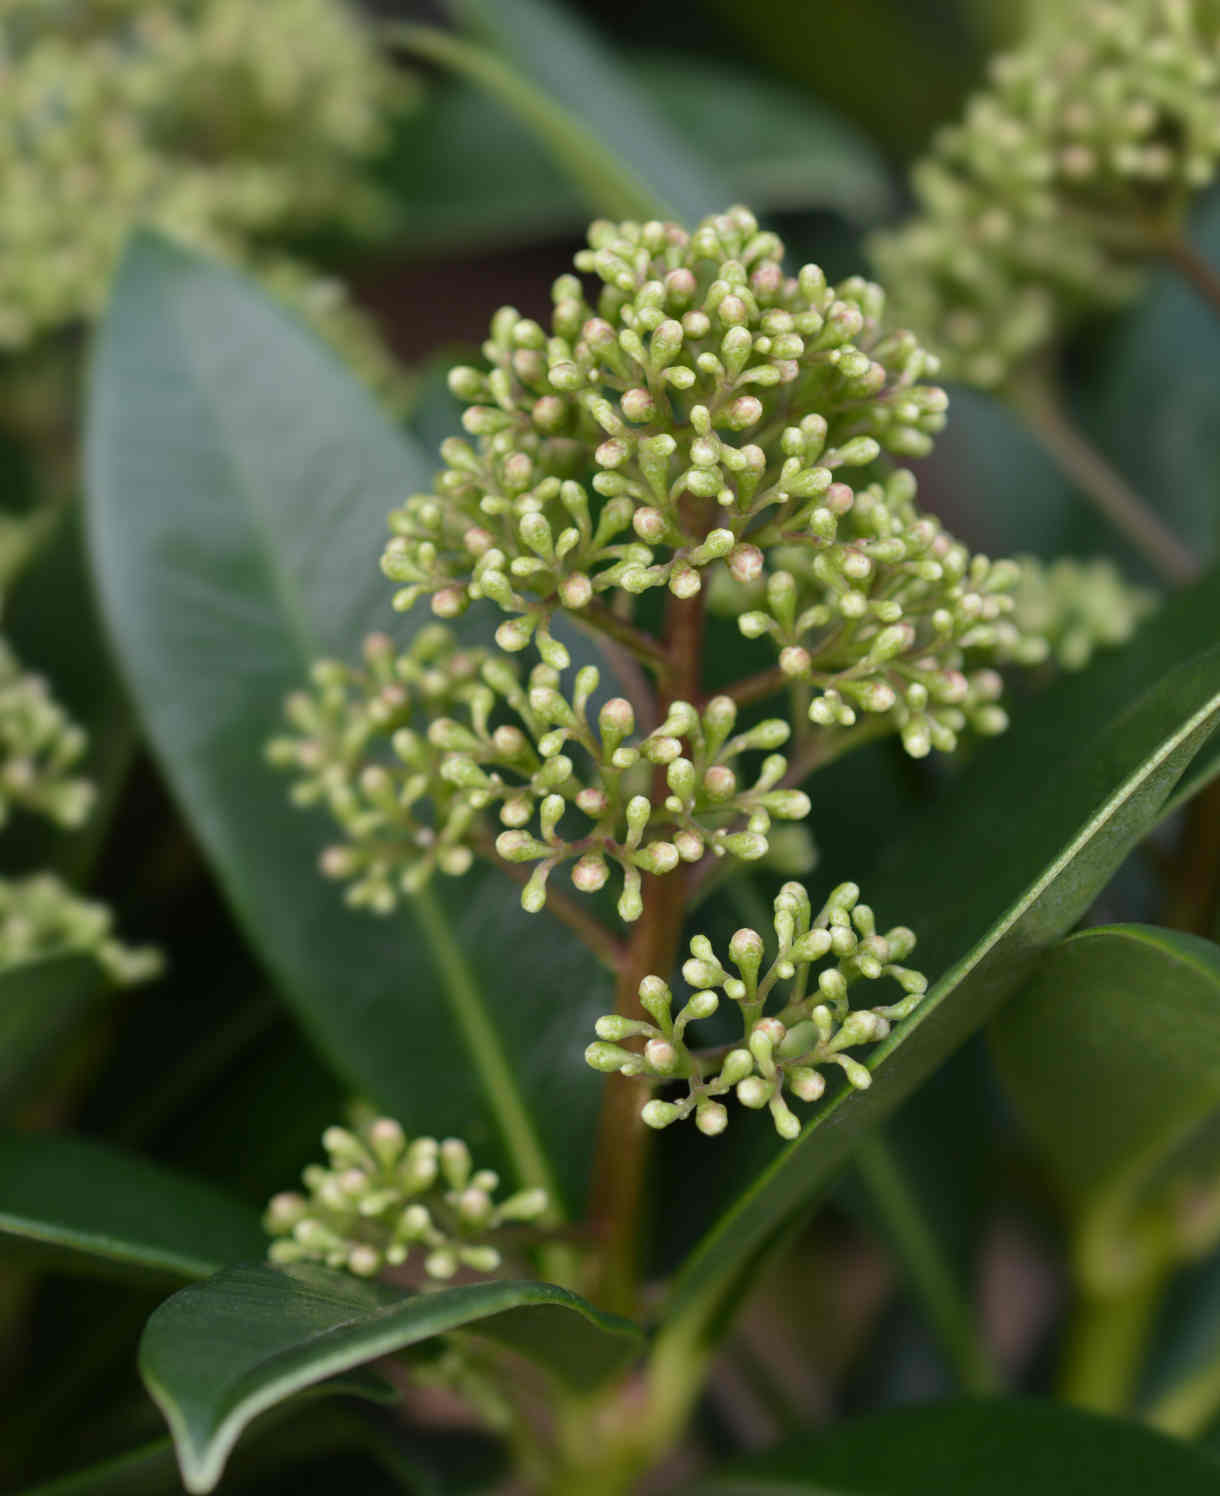
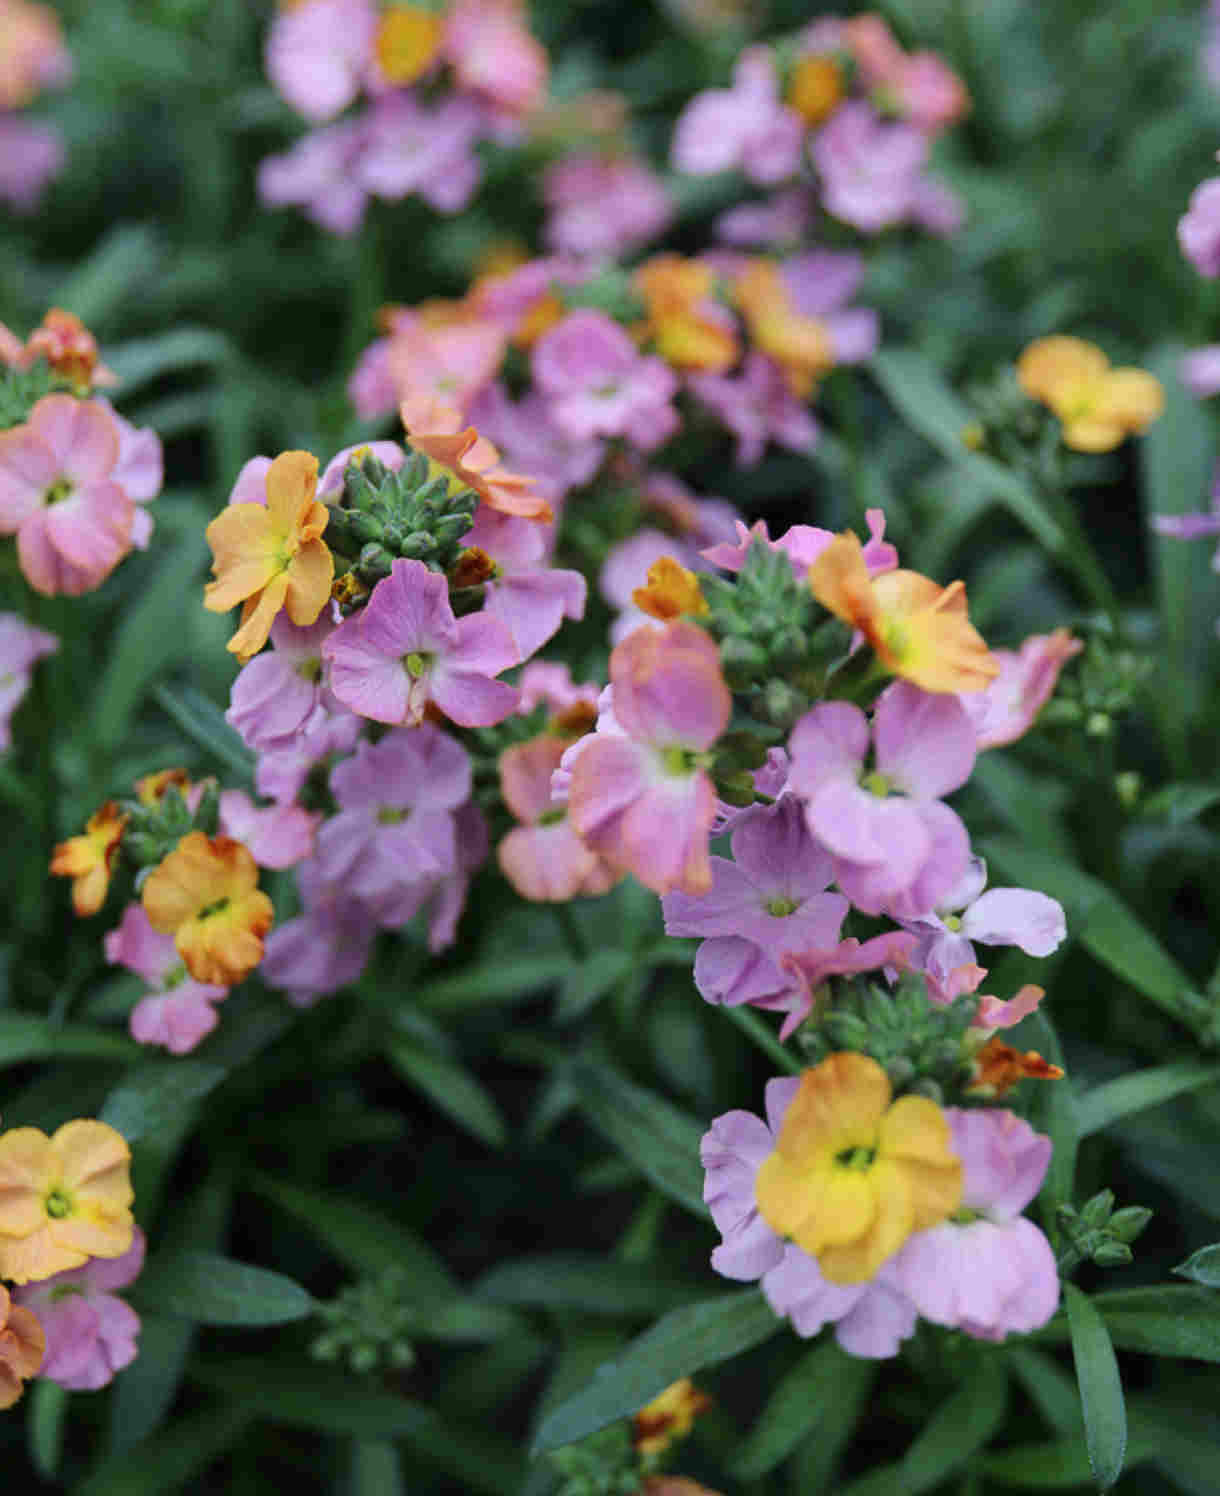
To create a mixed, cool season container display, pair pansies with other early flowering plants such as erysimum, hellebores, and snowdrops. For evergreen foliage, add heuchera, ajuga, or skimmia.
How to care for Pansy
Pruning and Deadheading
Deadheading your pansies regularly throughout the flowering period will keep them looking neat and encourage further blooming.
Pansies are usually treated as annuals, meaning once they have finished flowering they are simply removed to the compost heap and replaced with summer bedding. If, however, you wish to try and keep these short-lived perennials going for another year, shear them back to about 5cm after flowering and give a good feed. They should start to regrow in a month or so. Remember to keep watered during the heat of summer.
Watering
Keep pansies watered during dry spells. Watch out for cold, easterly winds which can dry out soil and compost quicker than you may expect. A good rule of thumb to help avoid overwatering is to allow the top couple of centimetres of soil or compost to dry out between soakings. To check this, wiggle your finger down into the soil/ compost until you feel moisture.
When watering, aim for the soi/ compost rather than the foliage. This will help to reduce the likelihood of fungal diseases.
Feeding
Feeding is an important part of getting the most out of hungry bedding plants such as pansies – particularly when grown in a container.
In the open ground, mulch newly planted pansies with well-rotted organic matter, i.e., a layer of manure or garden compost applied to the soil around the plant. As well as boosting the nutrient content of the soil, this has the added benefit of suppressing weeds and locking in moisture.
After this, a fortnightly application of balanced liquid feed can boost performance significantly.
In a container, pansies should be potted in a good quality compost with slow-release fertiliser granules mixed in, then fed with a liquid feed at fortnightly intervals throughout the growing season.
Cold Protection
Pansies are hardy enough to withstand a UK winter without the need for additional protection. Having said this, their large, delicate flowers can be damaged by harsh weather, so you may wish to have them in a sheltered position whilst in bloom.
It is also worth noting that a very hard winter may cause winter-flowering pansies to cut their bloom period short.
Pests and Diseases
Overall, pansies are fairly trouble-free, though slugs and snails can be a nuisance, when plants are young. Encouraging natural predators into your garden, such as birds, frogs, toads, and hedgehogs, will make a big difference. Torchlight searches after dark (when slugs and snails are at their most active) are also effective, allowing you to collect the offending molluscs in a bucket and dispose of as you see fit. Relocating to a nearby woods or bagging up and putting in your freezer before popping them in the bin are said to be the most humane approaches.
A fungal disease known as powdery mildew can also crop up, appearing as a white, powder-like coating on foliage. This is generally a sign that a plant is stressed – often through either a lack or excess of water, though other causes can include poor airflow or over fertilizing.
Prune off and dispose of any affected leaves and if necessary, thin out surrounding plants to avoid overcrowding. Do not be tempted to give plants an extra feed, as this will generate an excess of soft, new growth which is particularly susceptible to the fungus.
How to propagate Pansy
Pansies are such low-cost plants that many gardeners buy them afresh each year. If, however, you wish to try your hand at propagating, cuttings in spring or late summer can bring success.
- Find non-flowered shoots 5-10cm long and snip off the plant.
- Put them in a plastic bag straight away to prevent drying out.
- Fill a container with a compost mix which is at least 50% perlite (or if you prefer, as we do, 100% perlite).
- Trim the end of the cutting to just below a node (point at which leaves grow).
- Remove the lowest third of leaves.
- If the remaining leaves are large, cut them in half with a sharp knife (to reduce water lost through transpiration).
- Insert the cuttings into the compost and water lightly. Several cuttings can be put in the same container if there is enough space to do this without them touching.
- Place in a propagating unit with bottom heat if you have one or covered with a plastic bag on a windowsill or in a greenhouse if not (out of direct sunlight).
- Keep the cuttings misted and occasionally watered until they root. You will know this has happened when roots emerge out of the bottom of the container.
- Gently remove rooted cuttings and pot them into individual pots. Grow on in a warm, frost-free environment such as a conservatory, greenhouse, or sunny windowsill until they are large enough to be planted out.
* Many plants carry Plant Breeders Rights and cannot be propagated for commercial purposes.
Common Pansy questions
What month do you plant pansies?
Generally, a month or two before they are due to flower, which varies depending on the variety. Suppliers will usually take the guess work out by offering pansies for sale when the time is right to plant them.
Do pansies come back year after year?
In theory, it is possible for pansies to come back for 2-3 years, as they are classed as short-lived perennials. In reality, however, the quality of growth and blooming decreases after the first year, meaning most gardeners treat them as annuals and replace each year.
Should I soak my pansies before planting?
While not essential, prior soaking encourages plants to establish quickly and successfully. We advise you do this when planting anything new in the garden.
Do pansies like sun or shade?
While cool, damp, partial or dappled shade is the recommended ideal for pansies, they are surprisingly adaptable and able to tolerate full sun as long as they are kept moist.