How to grow Osteospermum
Hailing from southern Africa, this showy and colourful semi-evergreen member of the daisy family is grown for its fast growth habit, easy nature, and reliable profusion of cheery flowers from spring right through until the first frosts. While some species and cultivars are said to withstand short spells of -10°C (most notably Osteospermum ‘Cannington Roy’ and some forms of O. ecklonis), most are considered tender or half-hardy and are treated as annual bedding in the UK.
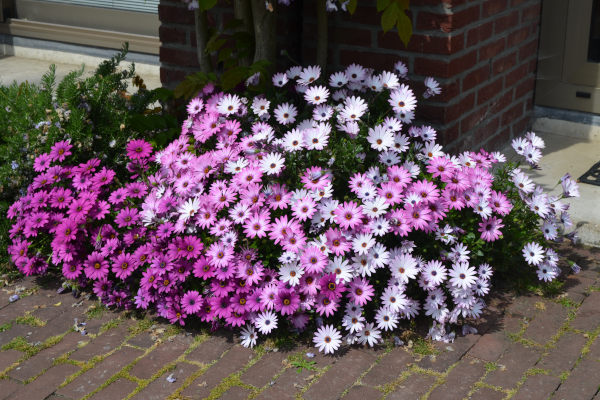
Osteospermum is also known by the common name of African daisy, or cape daisy. It can be bushy and upright or spreading and mat forming, depending on the species or cultivar.
Zantedeschia is a genus of flowering plants from the family Araceae and is native to southern Africa. With a rich history dating back to the Ancient Romans, these deciduous or semi-evergreen perennials have been used as a symbol of celebration. Zantedeschia was Named after Professor Giovanni Zantedeschia, an Italian botanist.
There are two main forms of Zantedeschia: hardy and tender. Hardy forms of the plant can be grown outdoors, enjoy moist soil and full sun or partially shaded conditions - these are known as Arum lilies. Tender forms of Zantedeschia prefer being grown in containers or pots and should be brought inside over the winter - these are known as Calla lilies.
With tuberous flora in all colours from whites, yellows and oranges to deep reds and purples, Zantedeschias are not to be overlooked in any garden, as long as they have sufficient sunlight to grow in.
Ready to learn more about growing Zantedeschia? Read on for all there is to know...

Key Information
Soil pH

Position
Hardiness

Where & when to plant Osteospermum
Position- A warm, sunny, sheltered spot.
Soil - Moderately fertile, light, and well-draining. Avoid areas prone to waterlogging, as this can result in rotten roots.
Flowering Period - Late spring to early autumn
Hardiness - Mostly H2 (tender/ minimum temperature of 1°C to 5°C), and H3 (half-hardy/ minimum temperature of 1°C to -5°C).
Plant your osteospermum outside once all risk of frost has passed in your area. This can vary depending on the region, though is usually around mid-May. If your young plants arrive before it is safe to plant them out, pot into 9cm containers using a well-draining compost mix and keep in a frost-free environment such as a greenhouse, conservatory, or sunny windowsill.
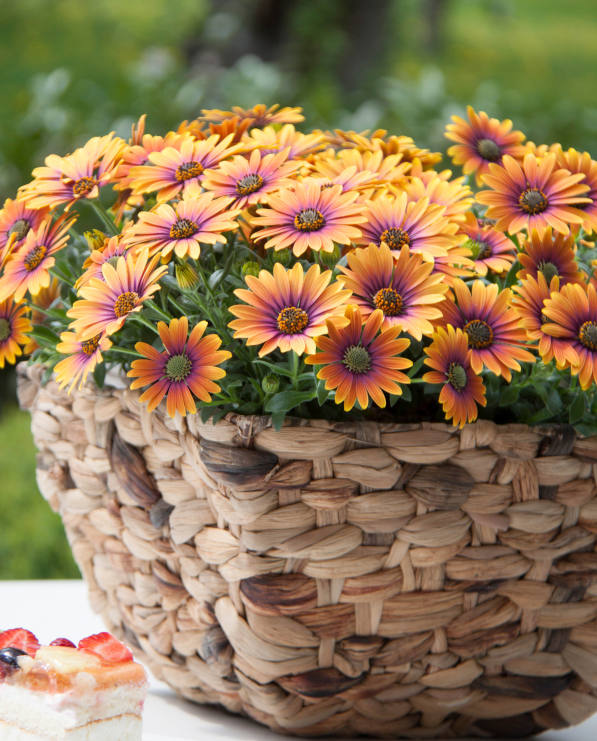
When the time comes, osteospermum is useful as a front of border plant or for lining a path. It also makes an excellent container plant and is often mixed with other summer flowering annuals for a vibrant display of colour. Many of the smaller, more compact series are particularly well-suited to window boxes and hanging baskets.
How to plant Osteospermum
- For planting in the garden, dig the soil area removing any large stones and weeds and breaking up any lumps. Mix in some organic matter such as manure or garden compost. If your soil is on the heavy side, now is also the time to add a generous helping of horticultural grit. Rake level and firm with your heels. Rake level again.
- Water plants well and allow to drain before planting.
- A good tip is to dig a hole twice the size of the root-ball. Fill with water and allow to drain before placing in the plant.
- Place the plant in the hole, ensuring the top of the root ball sits level with the surface of the soil. Too low and the plant may rot, too high and the roots can dry out.
- Backfill with soil and firm in gently with your foot.
- Soak well with water.
- Mulch around the base with well-rotted organic matter.
- For planting in containers, first choose an appropriately sized pot. You may wish to grow your osteospermum on its own in a pot just a few centimetres larger than the rootball, or as part of a larger, mixed container display. Either way, ensure there are plenty of drainage holes in the bottom.
- If you are using a large or heavy pot, it can be a good idea to fill and plant it in situ to save yourself the trouble of moving once full.
- Use a good quality potting compost with plenty of horticultural grit mixed in and some slow-release fertiliser granules.
- Start by partially filling the pot with compost; enough so that when placed on it the upper surface of the root ball is about 3cm lower than the top of the pot.
- Infill all the space surrounding the root ball with compost, firming down with your fingers then adding a little more so the plant is held tight.
- Pick up the container and lightly tap on the potting bench or ground a few times to help further settle the compost around the plant.
- Soak well with water.
- A mulch with horticultural grit will look attractive and help to prevent a ‘cap’ or crust forming on the top of the compost (something container plants can suffer due to the artificial nature of their watering).
What to plant with Osteospermum
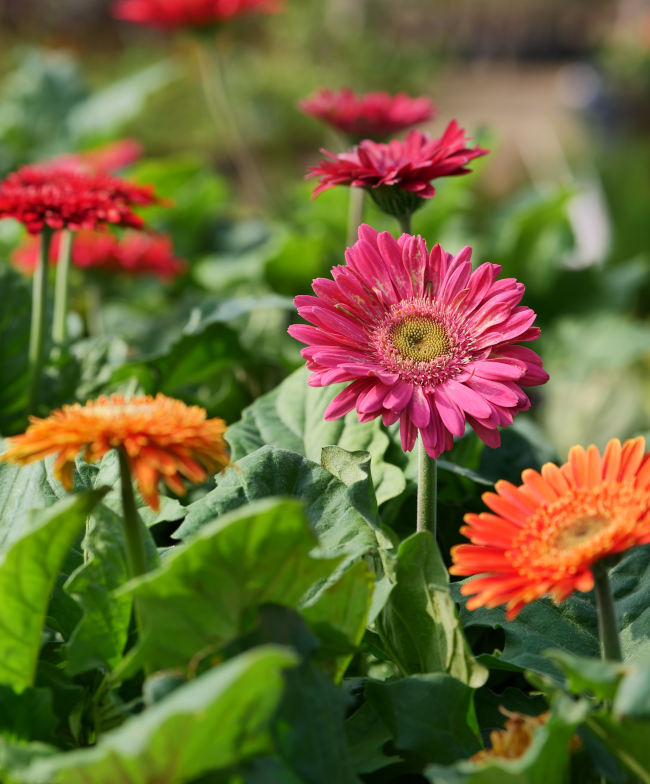
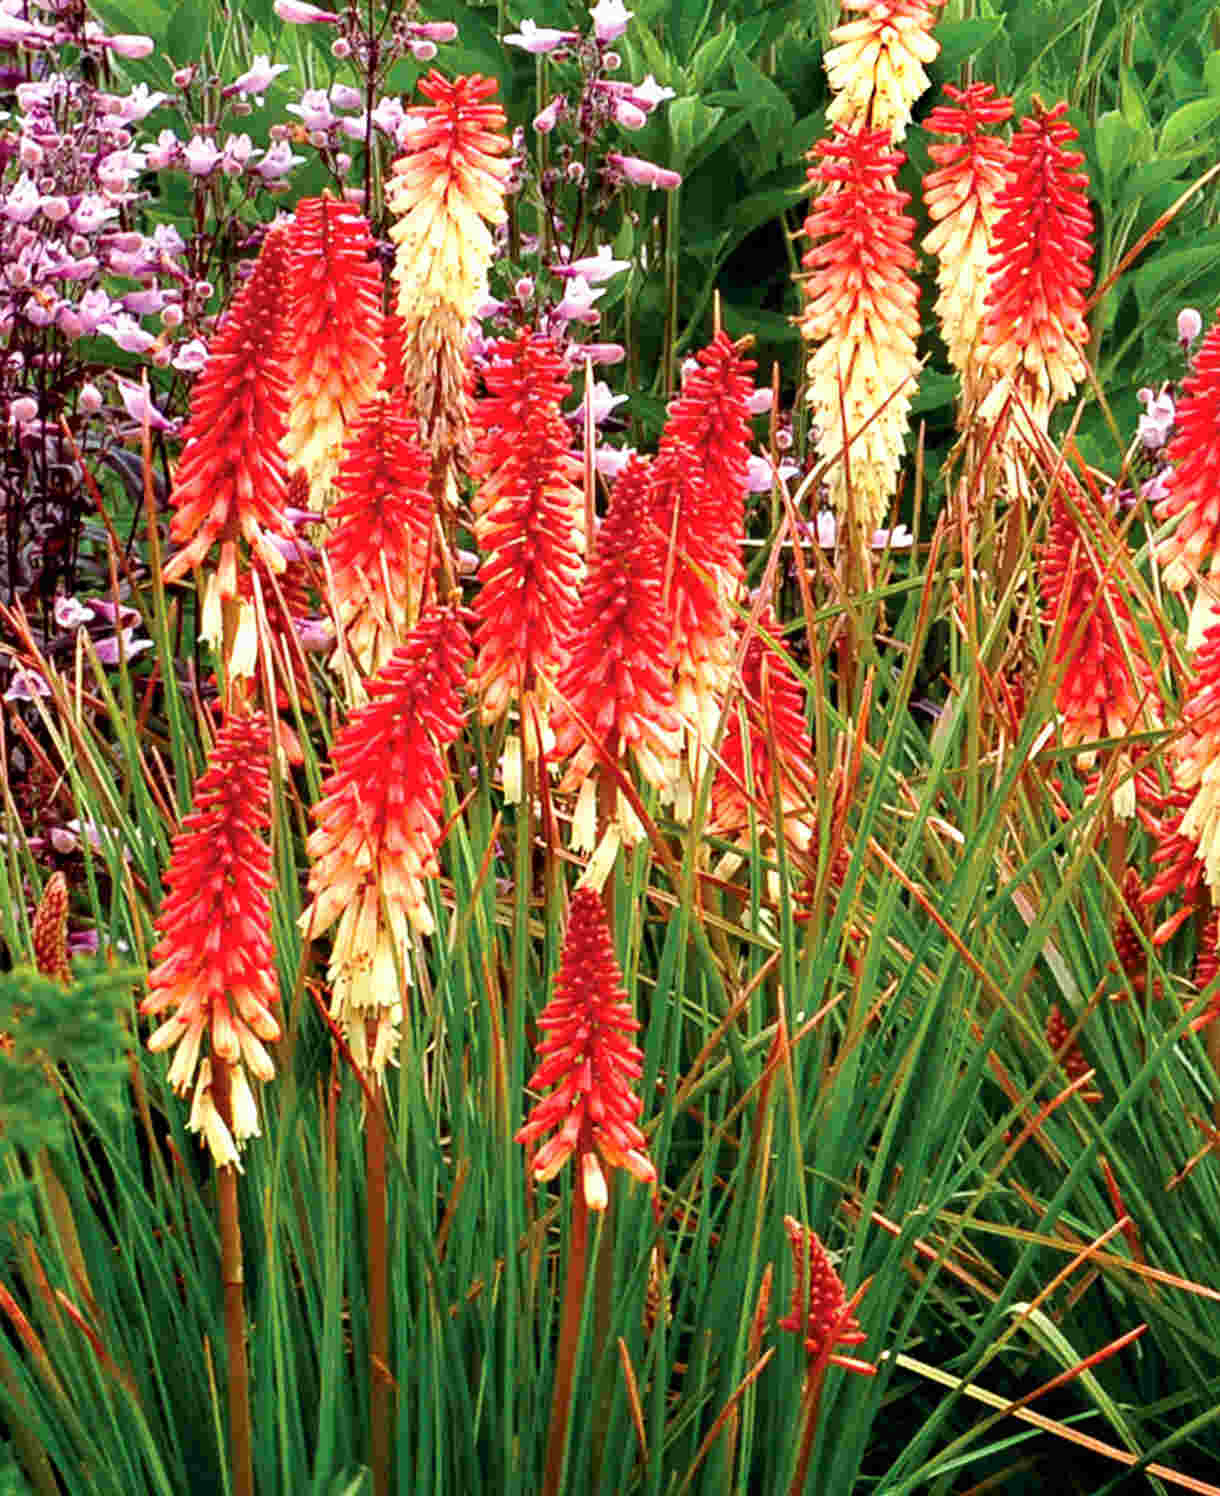
While osteospermum mixes easily in almost any brightly coloured planting scheme, nothing quite beats seeing it grown alongside fellow South African companions. These may include beauties such as arctotis, gerbera, bulbine, kniphofia, and nerine. A dazzling and vibrant display awaits!
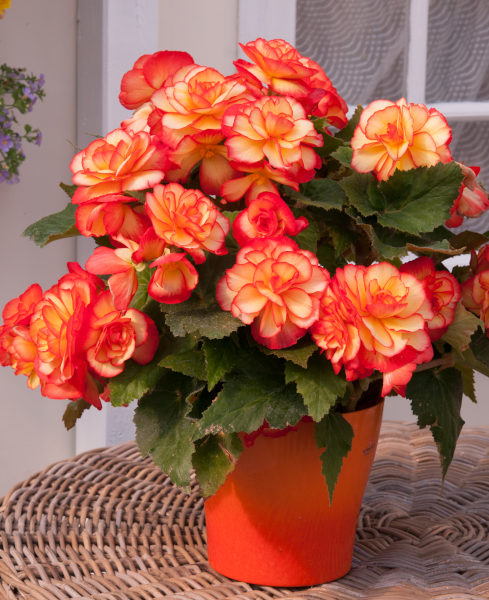
Alternatively, you may wish to combine with other exotic-looking bedding plants for a colourful mixed container display. Think along the lines of solenostemon, begonia, bidens, and pelargonium.
If you would like any further planting ideas or growing advice for your osteospermum, please contact our friendly and knowledgeable Customer Care Team - we will be more than happy to help you.
How to care for Osteospermum
Pruning and Deadheading
Deadhead regularly to encourage continuous flowering.
If you garden in a particularly mild part of the UK, you may wish to try and overwinter one of the hardier (i.e., H3) species. To do this, cut back in autumn and apply an insulating mulch around the plant. The drawback is that the results can be hit and miss, and given the ease with which they can be propagated (or bought at low cost as young plants), plus the speediness of their growth rate, many gardeners prefer to treat them as annuals. This means simply removing plants to the compost heap each autumn and starting afresh with new plants each spring.
Watering
Water newly planted osteospermum regularly until established (i.e., for the first few weeks in the ground), and then in very hot dry spells after this. Annuals (or those plants grown as annuals) don’t have time to put out extensive root systems, so need an eye kept on them during warm weather. Aim for consistently moist but not soggy soil – allowing the top couple of centimetres to dry out before watering (insert your finger into the soil to check this).
Container-grown osteospermum need to be watered regularly throughout the growing season as these can dry out very quickly. Again, aiming to allow the top few centimetres of compost to dry out between soakings is a good rule of thumb to help avoid overwatering.
Feeding
To get the most out of hungry summer bedding plants such as osteospermum, regular feeding is a must – particularly when grown in a container.
In the open ground, mulch newly planted osteospermum with well-rotted organic matter, i.e., a layer of manure or garden compost applied to the soil around the plant. As well as boosting the nutrient content of the soil, this has the added benefit of suppressing weeds and locking in moisture.
After this, a weekly or fortnightly application of balanced liquid feed can boost performance significantly.
In a container, osteospermum should be potted in a good quality compost with slow-release fertiliser granules mixed in, then fed with a liquid feed at weekly intervals throughout the growing season.
Cold Protection
Osteospermum is usually treated as an annual, which means simply allowing plants to be knocked back by the first frosts then removing them to the compost heap. Taking cuttings in late summer (see ‘How to propagate osteospermum’ section below) ensures a continual supply of new plants each year.
In milder areas, H3 rated species can be left in the ground where they may return to life the following year if the winter has not been too harsh. See more information in ‘Pruning and Deadheading’. Those in a container can be moved into a frost-free environment such as a greenhouse, conservatory, or coldframe, their compost kept barely moist. It is worth noting, however, that the second-year performance rarely matches the first, explaining why many gardeners prefer to start with new plants each year.
Pests and Diseases
While largely trouble-free, osteospermum can occasionally succumb to downy mildew. This fungal disease can be identified by discoloured blotches on the foliage, with a corresponding patch of mould on the underside. It enjoys damp conditions, so take care not to overwater and keep an eye out in wet summers.
Remove and dispose of any affected leaves straight away to avoid the spores spreading to the rest of the plant. In severe cases, there is little else for it other than to remove and dispose of the entire plant.
Aphids are sometimes partial to the sap of osteospermum. While unsightly, these are part of a balanced garden ecosystem, and the best approach is to leave them to their natural predators (e.g. birds, ladybirds, wasps, frogs). When numbers are so large, however, that their feeding starts to inhibit and disfigure growth, you may feel it necessary to take action. Regularly blasting off with a hose or wiping away with a cloth or piece of kitchen paper can help to keep numbers down without harming beneficial organisms.
How to propagate Osteospermum
Osteospermum is easily propagated by semi-ripe cuttings, best taken in late summer.
- Find non-flowered shoots 5-10cm long and snip off the plant.
- Put them in a plastic bag straight away to prevent drying out.
- Fill a container with a compost mix which is at least 50% perlite (or if you prefer, as we do, 100% perlite).
- Trim the end of the cutting to just below a node (point at which leaves grow).
- Remove the lowest third of leaves.
- If the remaining leaves are large, cut them in half with a sharp knife (to reduce water lost through transpiration).
- Insert the cuttings into the compost and water lightly. Several cuttings can be put in the same container if there is enough space to do this without them touching.
- Place in a propagating unit with bottom heat if you have one or covered with a plastic bag on a windowsill or in a greenhouse if not (out of direct sunlight).
- Keep the cuttings misted and occasionally watered until they root. You will know this has happened when roots emerge out of the bottom of the container.
- Gently remove rooted cuttings and pot them into individual pots. Grow on in a cool yet frost-free environment such as an unheated conservatory, greenhouse, or cold frame, until they are large enough to be planted out. Osteopermum grows quite quickly – you can expect beefy plants ready to be planted out by the following spring.
* Many plants carry Plant Breeders Rights and cannot be propagated for commercial purposes.
Common Osteospermum questions
Does osteospermum come back every year/ how long do osteospermum plants last?
Most gardeners treat osteospermum as an annual, disposing of the plant after one growing season and replacing the following spring. In a mild winter it is possible to overwinter some osteospermum so they come back for another year, though results tend to be mixed and it is often not worth the effort.
Does osteospermum spread?
Some species and cultivars have a spreading, mat-forming habit, while others grow more bushy and upright. Check individual descriptions for details.
Will osteospermum grow in shade?
We don’t recommend this. Osteospermum is a sun-loving plant and unlikely to thrive in anything other than full sun.
Can osteospermum grow in pots?
This plant is an ideal choice for container displays, window boxes, and hanging baskets, quickly filling them with a profusion of vibrant flowers for months on end.