How to grow Nerine
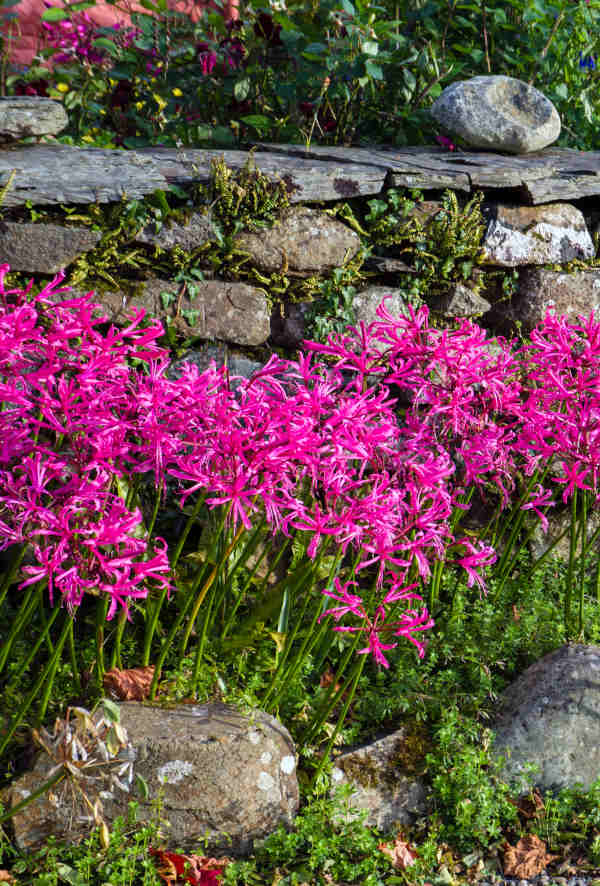
Nerine are perennial bulbs with stately, upright stems, grass-like foliage and striking sprays of lily-like flowers that curl and curve into attractive formations throughout autumn. It has long been said that Nerine drifted across the ocean from South Africa eventually landing on Guernsey Island.
A member of the lily family which contains around 30 species of bulbous perennial, all found growing in dry, sunny places throughout southern Africa. It is cultivated for its loose globes of colourful flowers, often pink with wavy-edged petals.
Most species are tender and, in the UK, can be grown only as greenhouse plants. The exception is Nerine bowdenii, which is hardier and can often be seen planted outdoors.

Key Information
Soil pH
Position
Hardiness


Where & when to plant Nerine
Position- Full sun
Soil- Well-drained
Flowering Period- Autumn
Hardiness- Hardy
We sell nerine both as bulbs and potted plants. Both are best planted or potted in late spring to early summer.
Nerine prefer a dry, sunny spot and will thrive in poor soil and are particularly happy at the base of a warm, south-facing wall. Nerine can also be successfully grown in a container, which has the advantage of enabling it to be moved indoors for the coldest of the winter months (which can be a good idea if you are in a particularly cold, wet region of the UK).
How to plant Nerine
Bulbs
In a container
- Choose an appropriate container, ensuring there are plenty of drainage holes in the bottom.
- If you are using a large pot, it can be a good idea to fill and plant it in situ to save yourself the trouble of moving once full.
- Use a good quality potting compost with plenty of horticultural grit mixed in (aim for around 30% grit), and, if not already present in the compost (check the description on the bag) some slow-release fertiliser granules.
- Plant the bulbs (pointy side up) so that they are close together but not touching. The neck of each bulb should stick out of the compost.
- Pick up the container and lightly tap on the potting bench or ground a few times to help settle the compost around the bulbs.
- Soak well with water.
- A mulch with horticultural grit will look attractive and help to prevent a ‘cap’ or crust forming on the top of the compost (something container plants can suffer due to the artificial nature of their watering).
In the ground
- Clear the chosen area of weeds.
- Dig a small planting hole shallow enough that the neck of the bulb will be sticking up above the surface of the soil. It is a good idea to mix in some horticultural grit at this stage.
- Place the bulb in the hole.
- Backfill with soil and firm in gently.
- Soak well with water.
Potted plant
In the ground
- Clear the chosen area of weeds.
- Dig a planting hole several times larger than the root ball. If your soil is on the heavy side, it is a good idea to mix in plenty of horticultural grit at this stage.
- Place the plant in the hole, ensuring the top of the root ball sits level with the surface of the soil. Too low and the plant may rot, too high and the roots can dry out.
- Backfill with soil and firm in gently.
- Soak well with water.
- Mulch with well-rotted organic matter.
In a container
- Choose an appropriate container, ensuring there are plenty of drainage holes in the bottom.
- Use a good quality potting compost with plenty of horticultural grit mixed in, and, if not already present in the compost (check the description on the bag) some slow-release fertiliser granules.
- Start by partially filling the pot with compost; enough so that when placed on it the upper surface of the root ball is about 3cm lower than the top of the pot.
- Infill all the space surrounding the root ball with compost, firming down with your fingers then adding a little more so the plant is held tight.
- Pick up the pot (if you can!) and lightly tap on the potting bench or ground a few times to help further settle the compost around the plant.
- Soak well with water.
- A mulch with horticultural grit will look attractive and help to prevent a ‘cap’ or crust forming on the top of the compost (something container plants can suffer due to the artificial nature of their watering).

What to plant with Nerine
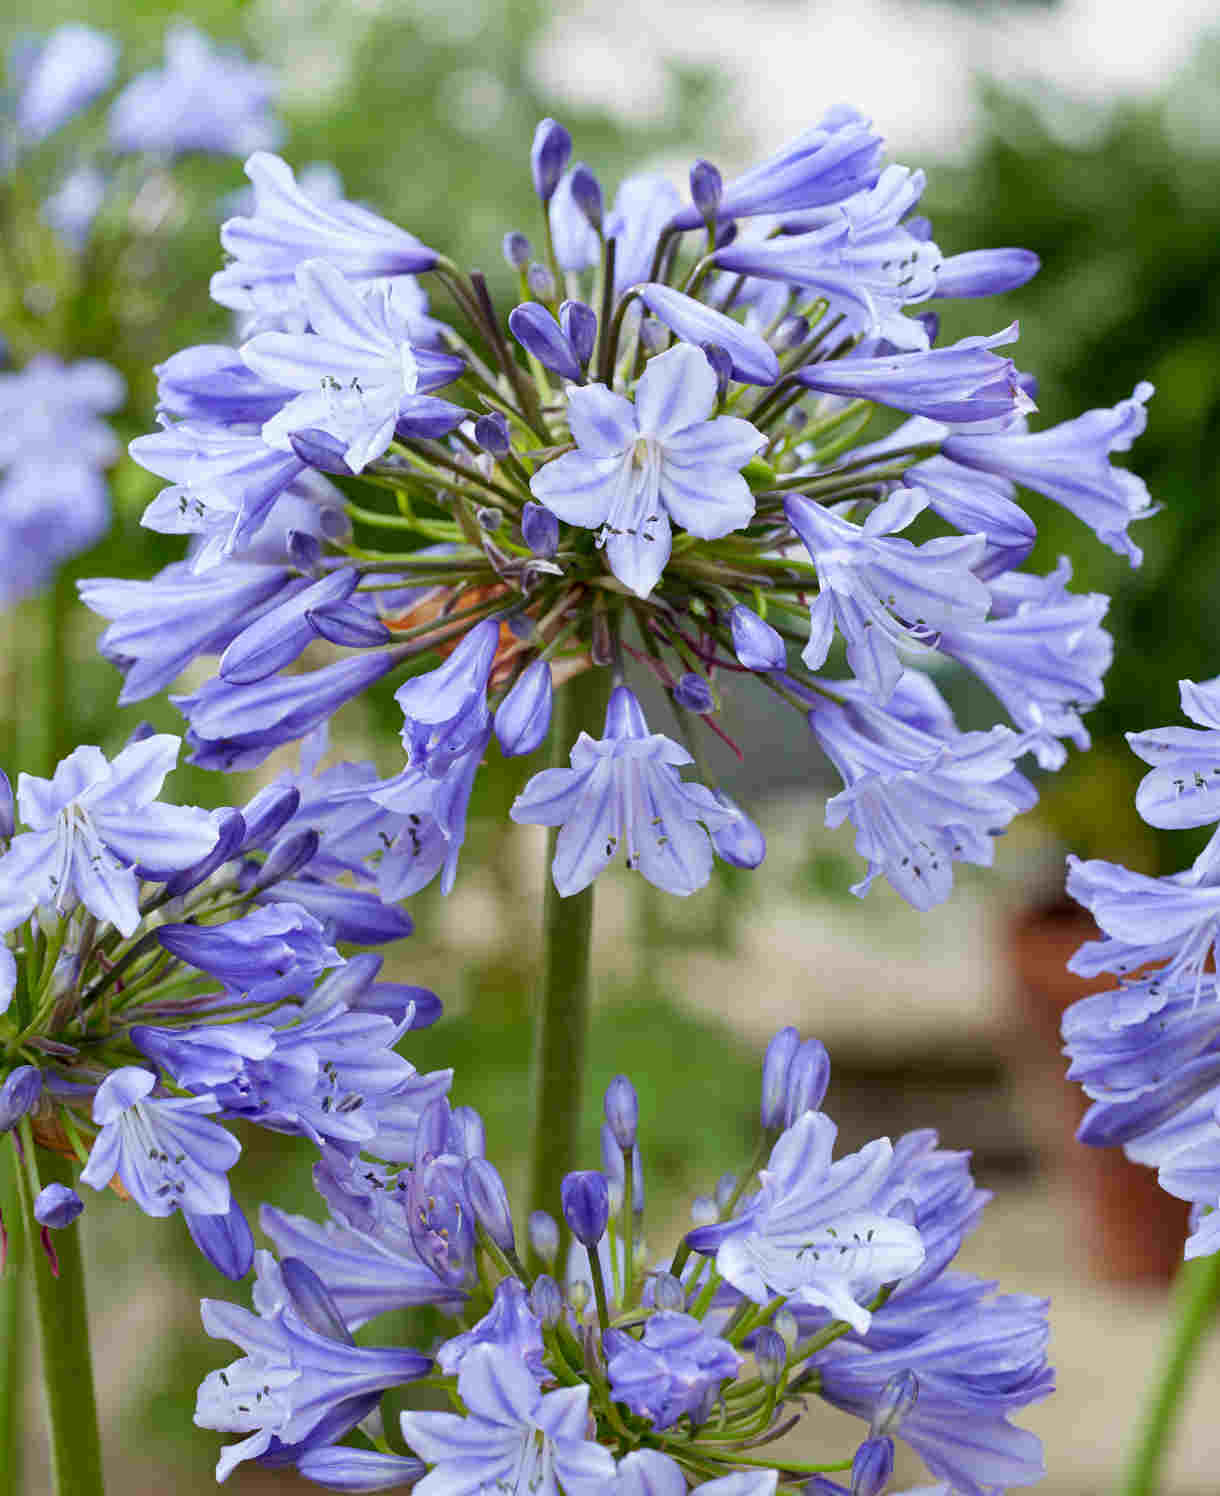
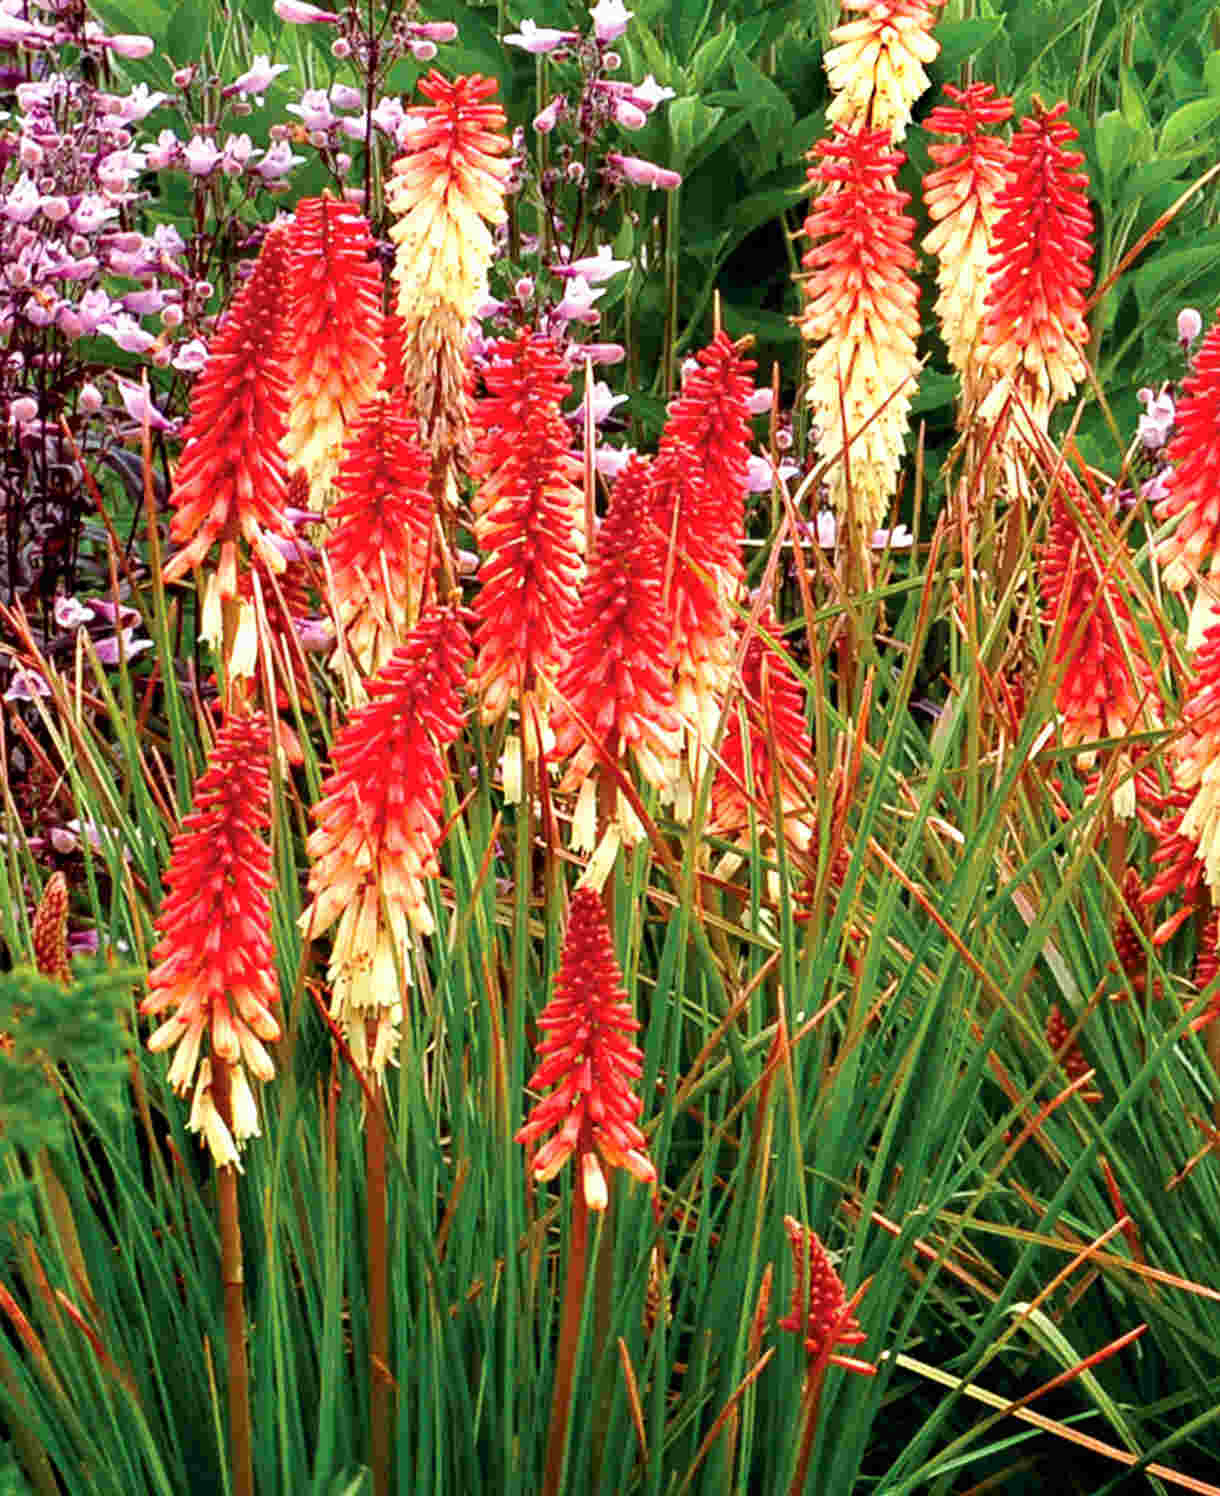
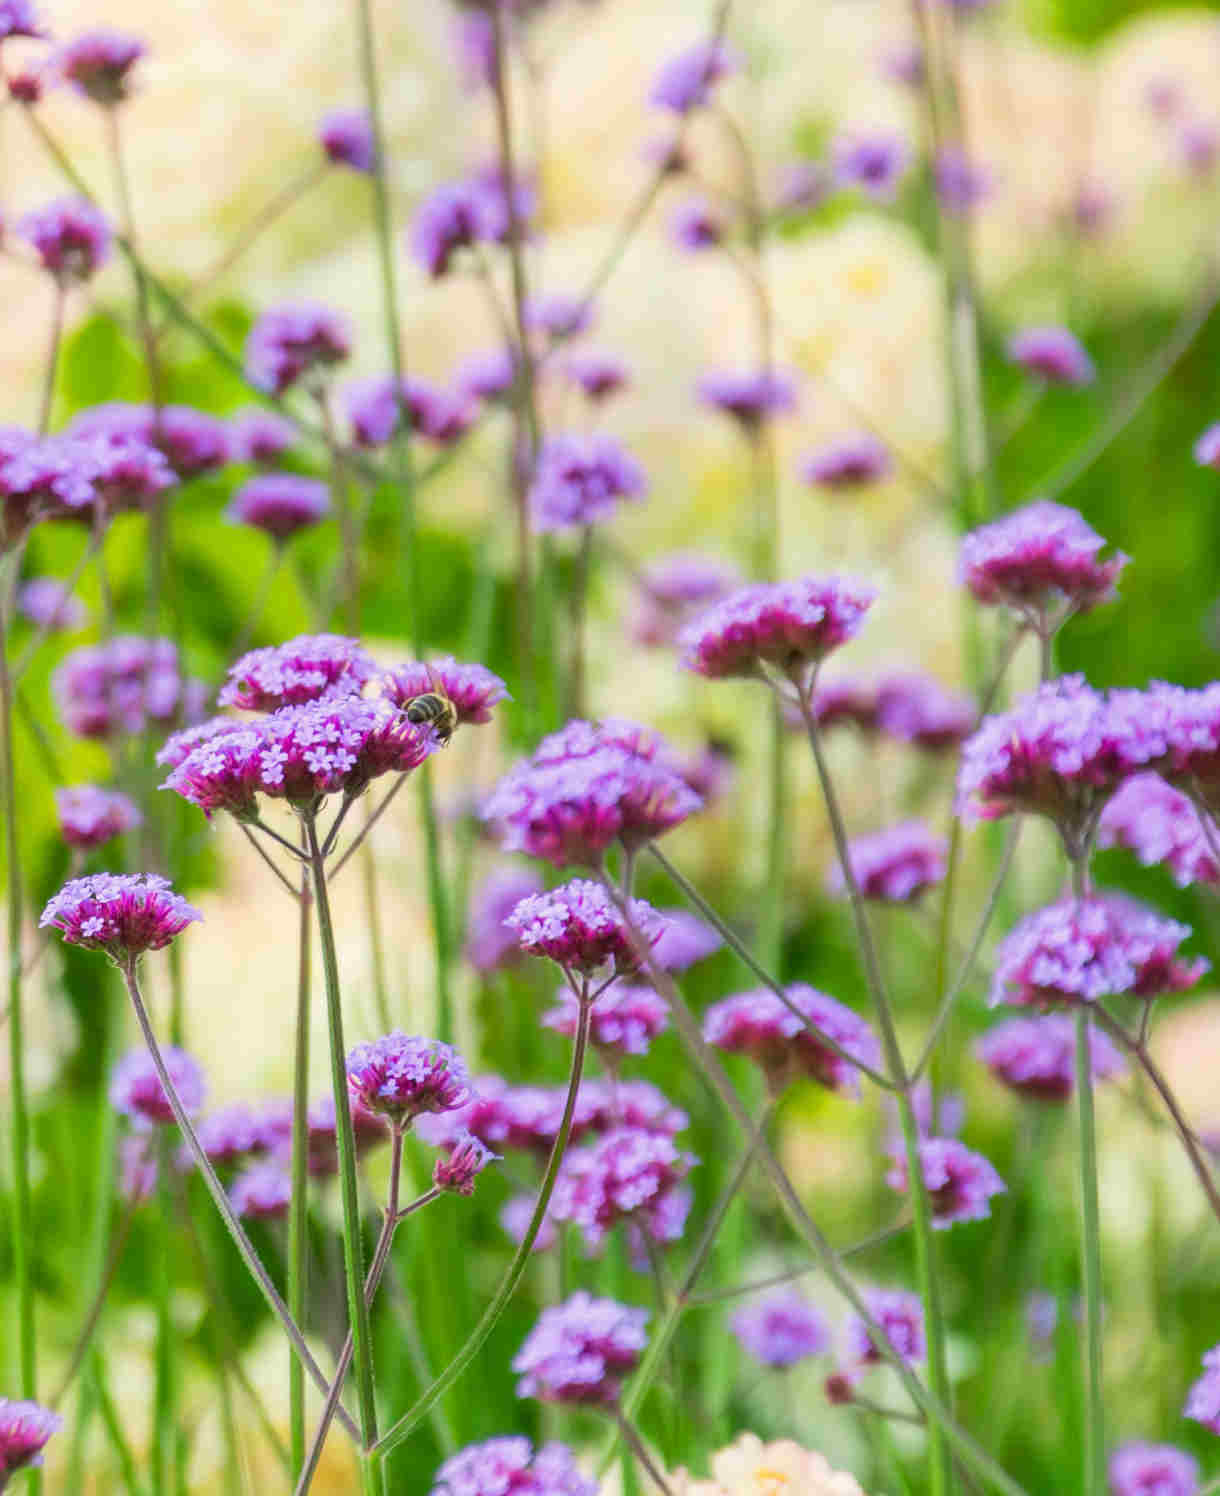
Equally able to thrive in the sunbaked conditions at the foot of a south-facing wall are favourites such as agapanthus, hollyhock, kniphofia, convolvulus, erigeron, and verbena.


How to care for Nerine
Pruning and Deadheading
Cut back spent flower heads after blooming and remove withered foliage as the plants die back for winter.
Watering
When growing at the foot of a wall, nerines can find themselves in a rain shadow, and so it is important to water these during hot, dry periods during the growing season. Watering can be stopped during the dormant period.
Container-grown nerines should also be watered regularly throughout the growing season.
Cold Protection
Nerine bowndenii should overwinter easily throughout most of the UK without the need for additional protection, particularly if given the warmth of a sunny, south-facing wall.
In particularly cold or wet regions, it can be worth providing a thick, dry winter mulch, or growing yours in a container to enable overwintering indoors (an unheated conservatory or greenhouse is ideal).
Pests and Diseases
Nerine tends to be problem-free.
How to propagate Nerine
Over time nerines will form a congested clump of bulbs. This is when they put on their most impressive and floriferous display, though after a few years of this the flowering can start to wane. At this point, we recommend lifting and dividing clumps to create further planting opportunities and renew vigour. (This tends to be needed every five or so years).
This can be done either immediately after flowering, or in spring.
- Gently lift out of the ground with a garden fork, taking care not to pierce any of the bulbs.
- If grown in a container, remove by any means possible. Unfortunately, for congested clumps, this can often mean having to break the pot.
- Shake off any excess soil/ compost, and carefully tease bulbs apart by hand.
- Replant or pot where desired, as in our ‘How to plant nerine’ section above.
Common Nerine questions
Can nerines be grown in pots?
Absolutely, nerines are very well suited to life in a container. See our ‘When and where to plant nerine’ section above for more information.
How deep should nerines be planted?
Plant or pot nerine bulbs so their ‘neck’ is just showing above the surface.
Are nerines poisonous to dogs?
Nerine has no reported toxic effects.
What month do nerines flower?
Nerines are usually autumn-flowering bulbs. Ours should all flower from September to November.
Is nerine good as a cut flower?
Yes, it can be very useful in this respect at a time of year when such treats are becoming scarcer (particularly in shades of pink). Rather than cutting container-grown nerine, you can bring the whole pot temporarily indoors when in flower.


