


How to grow Muscari
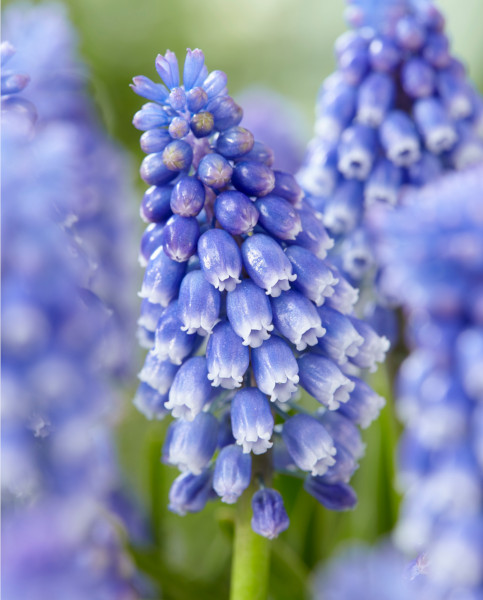
A spring carpet of cobalt blue is a magical sight, adding early colour to banks, slopes, borders and containers. The traditional blue is joined by new pink, and white golden siblings.
The name Muscari originates from the Greek word for musk and alludes to the sweet, delicate fragrance. Stems hold dense clusters of tiny blooms, looking like a bunch of grapes, hence the common name.
Full of pollen and nectar, attracting early pollinators, these petite pals last up to a week in a miniature arrangement, pull the stems rather than cutting, for maximum length.

Key Information
Soil pH

Position
Hardiness

Where & when to plant Muscari
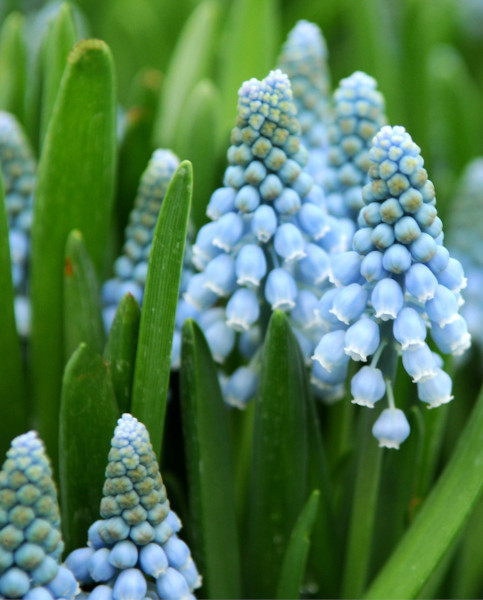
Muscari are reliable perennial bulbs which can be planted at any time in autumn and will do well in any soil types and pH levels. The soil must, however, be moist and well-drained, in full sun or part-shade where the bulbs can naturalise and spread freely. Some cultivars, particularly the traditional blue Muscari Armeniacum will spread vigorously so ensure you have space before you begin planting these varieties. Drifts of blue amongst verdant green in spring look wonderful in open areas or verges.
When you have chosen the ideal spot for planting, amend the soil by digging in plenty of grit if the drainage is poor. Because the flowers are not tall, they are best placed at the front of the border where larger plants will not overshadow or swamp them, and you can appreciate their delicate beauty and fragrance up close.
How to plant Muscari
Plant the bulbs in groups, around 5-10cm apart and 6-8cm deep with the pointed end facing up and the roots at the bottom. Cover over with soil and firm down gently before watering.
Muscari are also perfect for growing in pots, especially if you are concerned about the plants spreading as the roots and bulbs will be contained. Place a few crocks in the bottom of a frost-free pot and use loam-based compost with added grit for drainage to ensure the pot does not become waterlogged causing the bulbs to rot. Pot feet are a good idea to raise the pot off the ground.
Nestle your bulbs into the soil and cover over with a few centimetres of compost followed by a thin layer of grit which will help to keep moisture in and weeds, slugs and snails out in early spring.
What to plant with Muscari
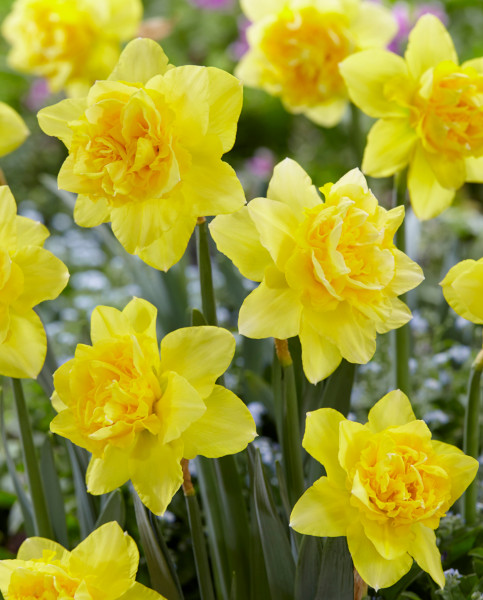
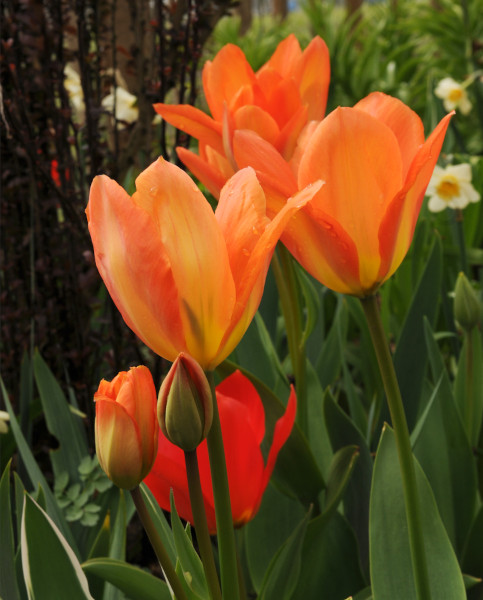
Muscari combine well with other spring bulbs and low growing plants, adding a tapestry of colour and texture. Plant Muscari next to bulbs which bloom at a similar time and thrive in the same environment such as Hyacinths, Narcissi, Anemones, Tulips, Ranunculus, and Erythronium to add joy and cheer to your beds and borders in spring.
You can create some wonderful and interesting combinations to fit with any garden design with Muscari. The flowers work well in traditional and contemporary planting schemes and look fabulous lining a pathway or woodland border.
Try mixing the fresh green and white spikes of Muscari aucheri White Magic in front of pastel blue forget-me-nots and the beautiful, fringed Tulip Honeymoon for a dreamy combination.
Our Marvellous Muscari Collection of blues looks simply fabulous with dainty Narcissus Minnow and Jetfire. The classic pairing of spring yellow and blue adds a welcome splash of colour at the front of a border, or in pots or vintage containers either on your patio or near to your front door as a bright and welcoming display.
If you would like any further planting ideas or growing advice for your Muscari, please contact our friendly and knowledgeable Customer Care Team at Hayloft - we will be more than happy to help you.

How to care for Muscari
Feeding and watering is not usually necessary in normal conditions but keep an eye on pot grown Muscari to ensure the soil does not completely dry out.
After flowering, deadhead at the base of the stalk. The foliage should be allowed to turn yellow and dry naturally, allowing photosynthesis for as long as possible, to improve repeat flowering the following year.
If grown in a grassy area, remember not to mow the grass until the leaves have withered and died back. Clumps can be divided every few years after the foliage has faded by lifting and splitting into smaller sections for replanting.
How to propagate Muscari
Muscari naturalise easily, multiplying underground by producing numerous bulblets. These tiny bulbs take a year or two to bulk up and flower properly.
You can lift and divide established clumps every few years in summer, once the foliage has faded to increase your stock and promote healthy blooming or share plants with friends and family.
Dig carefully around the outside of your Muscari clumps with a garden fork, taking care not to damage the bulbs. Lift the clump from the ground and gently separate it into smaller sections, each containing several bulbs and bulblets.
Plant the sections into a new area of your garden as before or pot them up into containers of gritty compost to grow on or share.