How to grow Musa
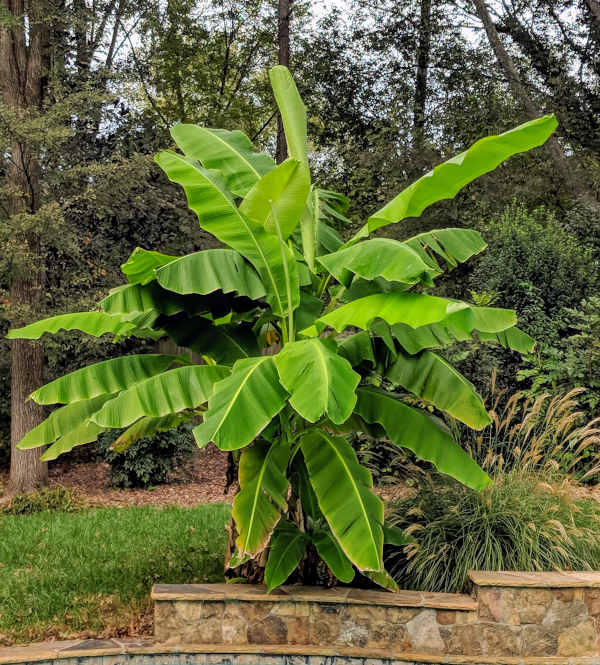
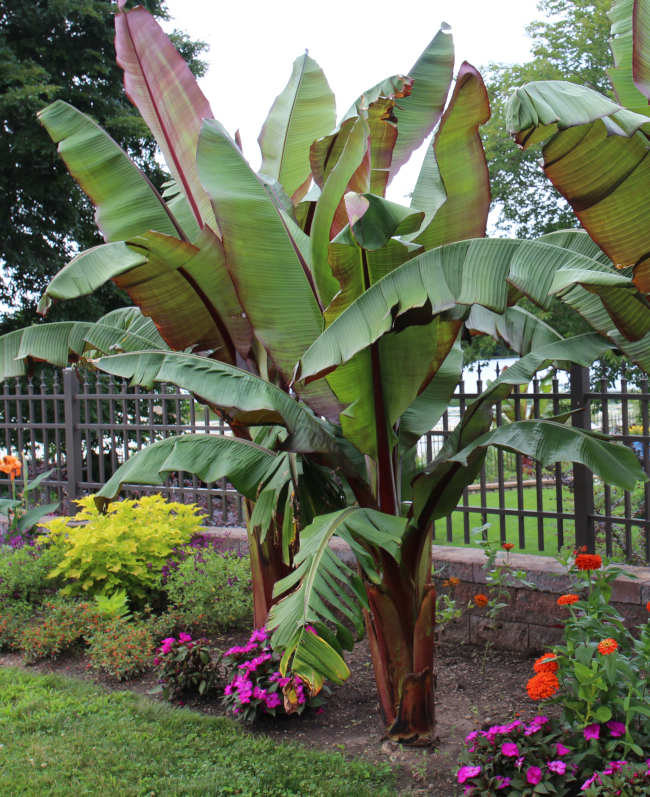
Grown for its spectacular, large, paddle-shaped leaves, whilst this fast-growing, palm-like plant may resemble a tree, it is in fact a very large, evergreen, herbaceous perennial. It is the hardiest species of banana, notable for being the only one suitable for growing outside in UK. Even so, it is unable to withstand frost and so will need to be either protected or moved indoors to survive the average UK winter.
Though there are around 40 species of musa, Musa basjoo (Japanese banana) is the most cultivated throughout the UK. While some musa species are grown commercially to produce the bananas found in shops, this one is largely an ornamental, foliage plant.
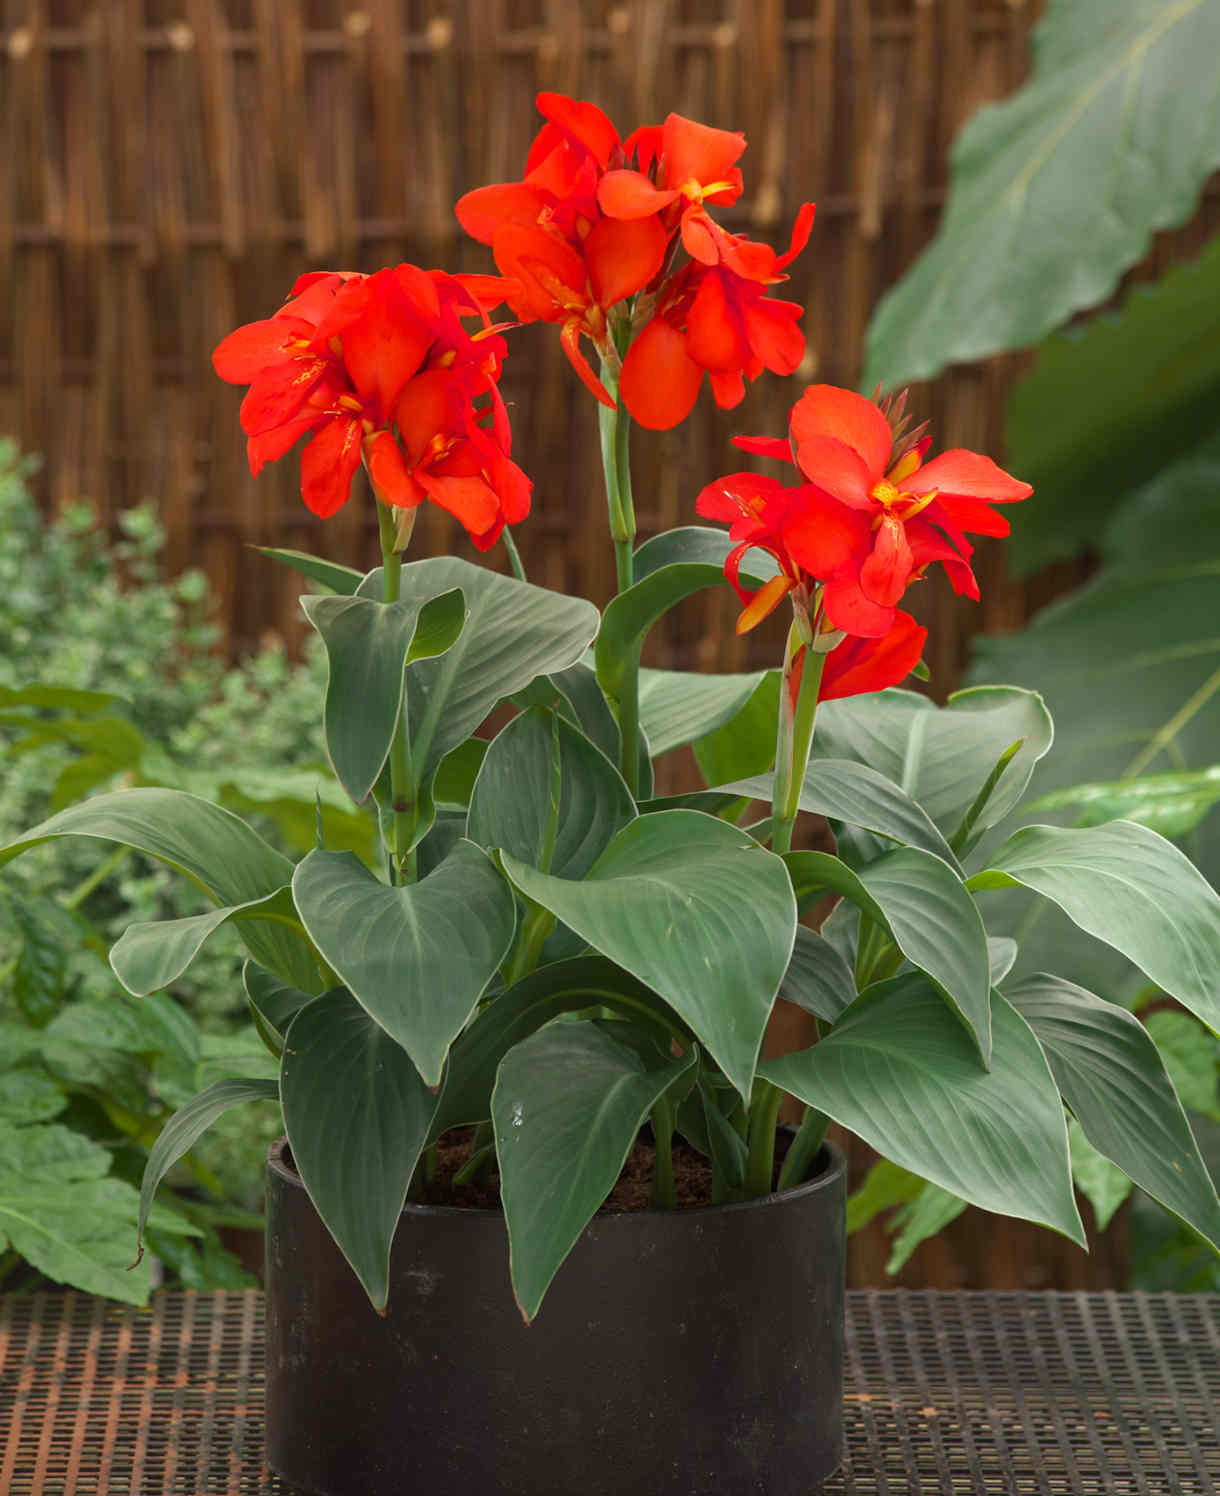
Zantedeschia is a genus of flowering plants from the family Araceae and is native to southern Africa. With a rich history dating back to the Ancient Romans, these deciduous or semi-evergreen perennials have been used as a symbol of celebration. Zantedeschia was Named after Professor Giovanni Zantedeschia, an Italian botanist.
There are two main forms of Zantedeschia: hardy and tender. Hardy forms of the plant can be grown outdoors, enjoy moist soil and full sun or partially shaded conditions - these are known as Arum lilies. Tender forms of Zantedeschia prefer being grown in containers or pots and should be brought inside over the winter - these are known as Calla lilies.
With tuberous flora in all colours from whites, yellows and oranges to deep reds and purples, Zantedeschias are not to be overlooked in any garden, as long as they have sufficient sunlight to grow in.
Ready to learn more about growing Zantedeschia? Read on for all there is to know...

Key Information
Soil pH

Position
Hardiness

Where & when to plant Musa
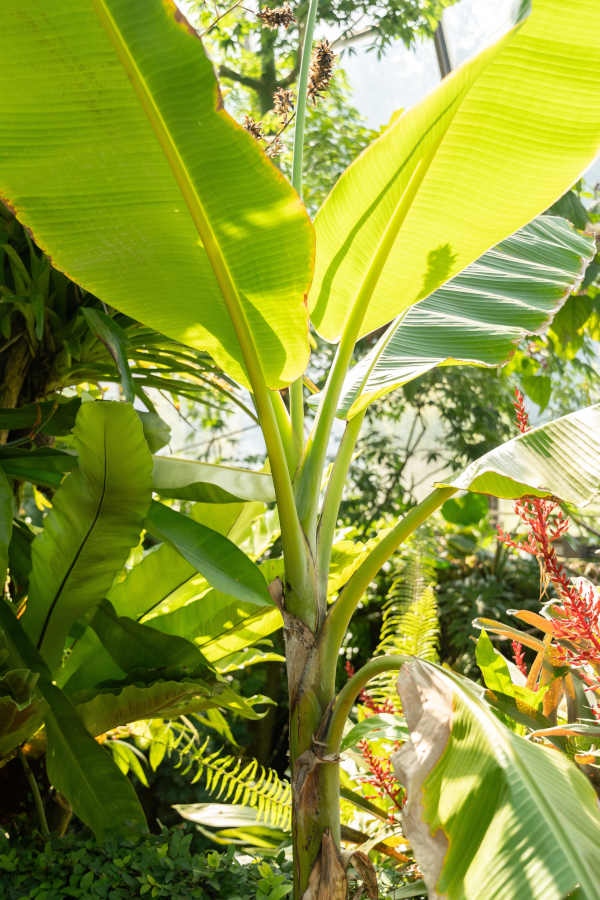
Position - Full sun with shelter from wind (to avoid unsightly shredding of the leaves). Ensure there is plenty of room for the leaves to extend – Musa basjoo can reach 2.5m across.
Soil - Fertile, moist, well-drained. Avoid areas prone to the extremes of waterlogging or drought. Can be acid, alkaline, or neutral pH.
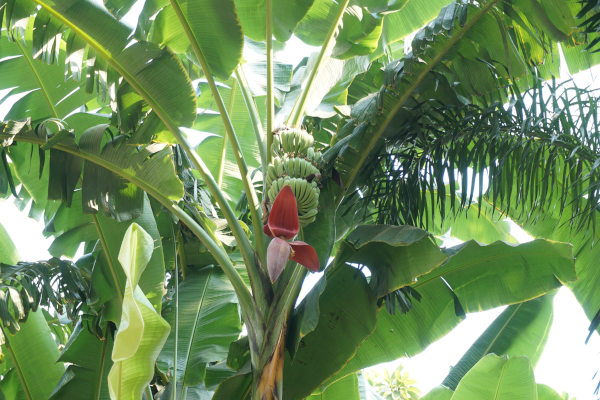
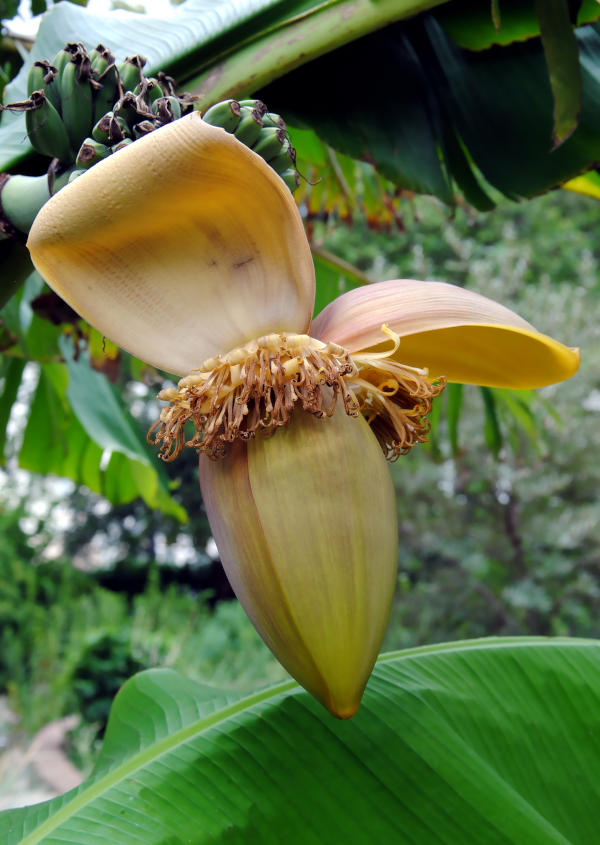
Flowering Period - Unlikely to flower outdoors throughout most of the UK.
In very mild regions, or in a glasshouse or conservatory, mature plants may flower in summer and even produce fruits (though these are usually small and inedible).
Hardiness - Tender/ H2/ unable to withstand temperatures dipping below the 1°C to 5°C range.
Plant in the open ground in late spring to early summer once all risk of frost has passed in your area. This varies from region to region, though for many tends to be around mid-May. Planting can also be carried out in summer, though be prepared to water regularly.
If you are growing your musa in a container, pot it up in spring, then either keep in a conservatory or greenhouse all year round or move outside in late spring or early summer as above.
Musa is a statement plant, perfect for adding height and drama to exotic borders, contemporary courtyards, and container displays. With its bold, showy foliage it is invaluable for anyone attempting to create a lush, jungle effect. In warmer parts of the south (i.e., coastal region such as Cornwall, or in cities), musa can be left in the ground all year with some wrapping and mulch to insulate against the cold (see ‘Cold Protection’ section below). Elsewhere, it is best either to grow in a container or lift and pot each autumn to enable overwintering indoors.
How to plant Musa
Before moving your musa outside, it is important you gradually acclimatise it – known as ‘hardening off’. We recommend taking the following steps, starting three weeks before the final move:
WEEK 1 – wrap in two layers of fleece and place outside during the day only (moving back into a warm, protected environment at night).
WEEK 2 – as WEEK 1, though this time with the fleece reduced to one layer.
START OF WEEK 3 – now with no fleece. If nighttime temperatures are reliably remaining above 1°C, you can leave outside at nighttime too, though reapply the fleece for this.
END OF WEEK 3 – leave outside completely uncovered for a couple of days/ nights before planting out as follows.
- For planting in the garden, dig the soil area removing any large stones and weeds and breaking up any lumps. Mix in some organic matter such as manure or garden compost. If your soil is on the heavier side, now is also the time to add a generous helping of horticultural grit. Rake level and firm with your heels. Rake level again.
- Water plants well and allow to drain before planting.
- A good tip is to dig a hole twice the size of the root-ball. Fill with water and allow to drain before placing in the plant.
- Place the plant in the hole, ensuring the top of the root ball sits level with the surface of the soil. Too low and the plant may rot, too high and the roots can dry out.
- Backfill with soil and firm in gently with your foot.
- Soak well with water.
- Mulch around the base with well-rotted organic matter.
- For planting in containers, first choose an appropriately sized pot (i.e., 5-10 cm larger than the rootball) ensuring there are plenty of drainage holes in the bottom.
- If you are using a large or heavy pot, it can be a good idea to fill and plant it in situ to save yourself the trouble of moving once full.
- Use a good quality potting compost with plenty of horticultural grit mixed in, and, if not already present in the compost (check the description on the bag) some slow-release fertiliser granules.
- Start by partially filling the pot with compost; enough so that when placed on it the upper surface of the root ball is about 3cm lower than the top of the pot.
- Infill all the space surrounding the root ball with compost, firming down with your fingers then adding a little more so the plant is held tight.
- Pick up the container and lightly tap on the potting bench or ground a few times to help further settle the compost around the plant.
- Soak well with water.
- A mulch with horticultural grit will look attractive and help to prevent a ‘cap’ or crust forming on the top of the compost (something container plants can suffer due to the artificial nature of their watering).
- Aim to repot into a larger pot every couple of years, going up approximately 10cm in size each time.
What to plant with Musa
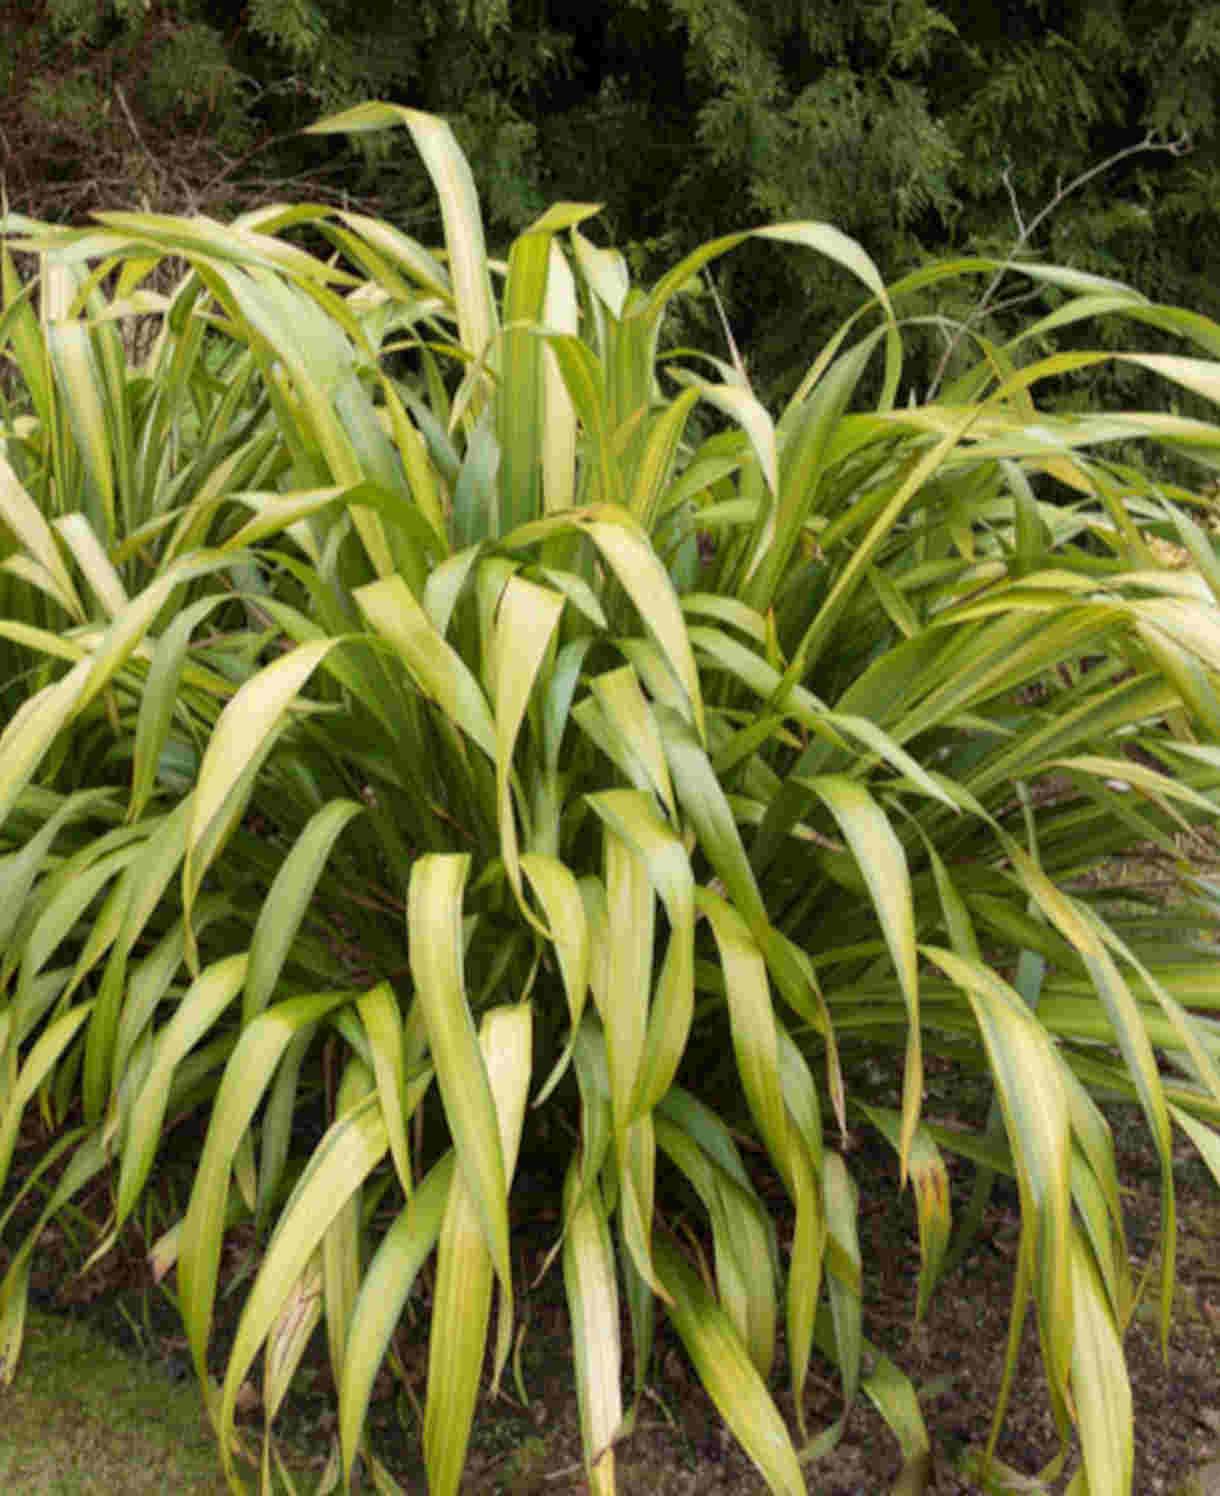
To achieve a dense, tropical look, combine musa with a lush mix of bold foliage plants such as trachycarpus, ensete, fatsia, and phormium. Add bright, jewel-like flowers like kniphofia, dahlia, canna, and agapanthus for striking pops of colour.
Alternatively, if you’re planning to grow your musa as a permanent conservatory plant consider colourful, indoor companions such as such as strelitzia, dipladenia, citrus and plumbago.
How to care for Musa
Pruning and Deadheading
Prune off old leaves when they start to become tatty, snipping at the base of the leaf stalk.
If your musa has grown too tall for its allotted space it will respond well to a drastic chop carried out at any time during the growing season, so long as you leave a ‘stump’ of at least 60cm. While this may look severe, hold your nerve! You should see leaves re-sprouting from the cut fairly quickly.
Cut off all the leaves in early autumn if:
- You are overwintering your musa indoors and require it to take up less space
- You are leaving your musa outdoors and need to wrap it up against the winter cold
If you are one of the few lucky UK gardeners with a microclimate that can be relied upon to remain above freezing, you may leave the foliage intact all year.
Watering
Musa in the open ground needs watering generously throughout spring and summer. As a rule of thumb, aim for a good soaking every couple of weeks, increasing the frequency in hot, dry weather. Those gardening on sandy soil will need to water more often than this.
Container-grown musa needs even more attention as its roots have less access to rainfall. Water freely throughout spring and summer, aiming for consistently moist but not soggy compost.
During winter, musa being kept inside should be watered very sparingly, i.e., just enough to prevent the compost drying out completely.
Feeding
It takes plenty of nutrients to power the impressive, rapid growth musa is known for. Outdoors, in healthy, fertile soil, a spring application of general purpose granular feed covered with a mulch of well-rotted organic matter (i.e., a layer of manure or garden compost applied to the soil around the plant) should suffice. The mulch has the added benefit of suppressing weeds and locking in moisture.
If, however, you garden on particularly poor soil, applying an additional weekly liquid feed to the roots throughout spring and summer can provide a welcome boost.
Container-grown plants rely more on the gardener for their nutritional needs. Get off to a flying start by making sure you use a good quality compost, then throughout the growing season (March to September) apply a weekly liquid feed, mixed according to its instructions.
Cold Protection
Musa must be protected from the frost to survive winter. In milder regions of the UK (generally speaking, the southern half), it can be left in the ground wrapped with an insulating layer of fleece or hessian; the leaves removed to make this easier. Add a thick layer of mulch to protect the roots. Remove the insulation in May once all risk of frost has passed.
Where winters are colder, musa is best overwintered in a warm, sheltered environment such as a heated conservatory or greenhouse. Either grow it in a container or lift and pot every October. Again, the leaves can be removed if storage space is an issue (see ‘Pruning and Deadheading’ section).
Pests and Diseases
Outdoors, musa tends to be problem-free, though in glasshouses or conservatories the usual issues of spider mite and aphid can crop up. Keeping plants as healthy as possible is the key to warding off problems, and by this we mean proper ventilation, adequately spaced plants (for good air flow), keeping everything well-watered and fed, and repotting into larger containers when necessary. Thoroughly cleaning the indoor environment every winter can also help to remove overwintering populations of pests.
Where infestations do take hold, try introducing biological controls (often sachets or tubes containing miniscule natural predators), or in the worst cases, remove the affected plant/s altogether.
How to propagate Musa
The easiest way to propagate musa is by using the offsets or suckers naturally produced around the base of the stem. These arise from the main underground rhizome.
- In spring, dig down to the main rhizome and carefully separate the offset, keeping as many of its roots intact as possible.
- Remove the lower leaves and pot up into a small container filled with a well-draining compost mix.
- Grow on in a warm, frost-free environment, keeping well-watered but not soggy.
- Apply a weekly dose of a balanced liquid feed.
- When large enough to pot or plant out, do so as in our ‘How to plant musa’ section.
* Many plants carry Plant Breeders Rights and cannot be propagated for commercial purposes.
Common Musa questions
How fast does a musa banana plant grow?
Musa is quick to establish and will grow rapidly once the warm weather arrives.
Should you cut the dead leaves off banana trees?
Wind and age can cause leaves to become shredded and tatty. These can be removed in autumn or spring.
What is the best fertiliser for a banana tree?
We recommend a top dress of general purpose granular feed each spring. For musa grown in poor, sandy soil or a container, a weekly dose of balanced liquid feed is also advisable.
Do banana trees need lots of water?
In short, yes! Water as much as you can without causing them to sit in waterlogged soil or compost. See our ‘Watering’ section above for more detailed instructions.
How does musa differ from ensete?
Ensete is another type of banana popularly grown for ornamental purposes. It is more tender than musa and must be overwintered indoors even in very mild regions of the UK.