How to grow Molinia
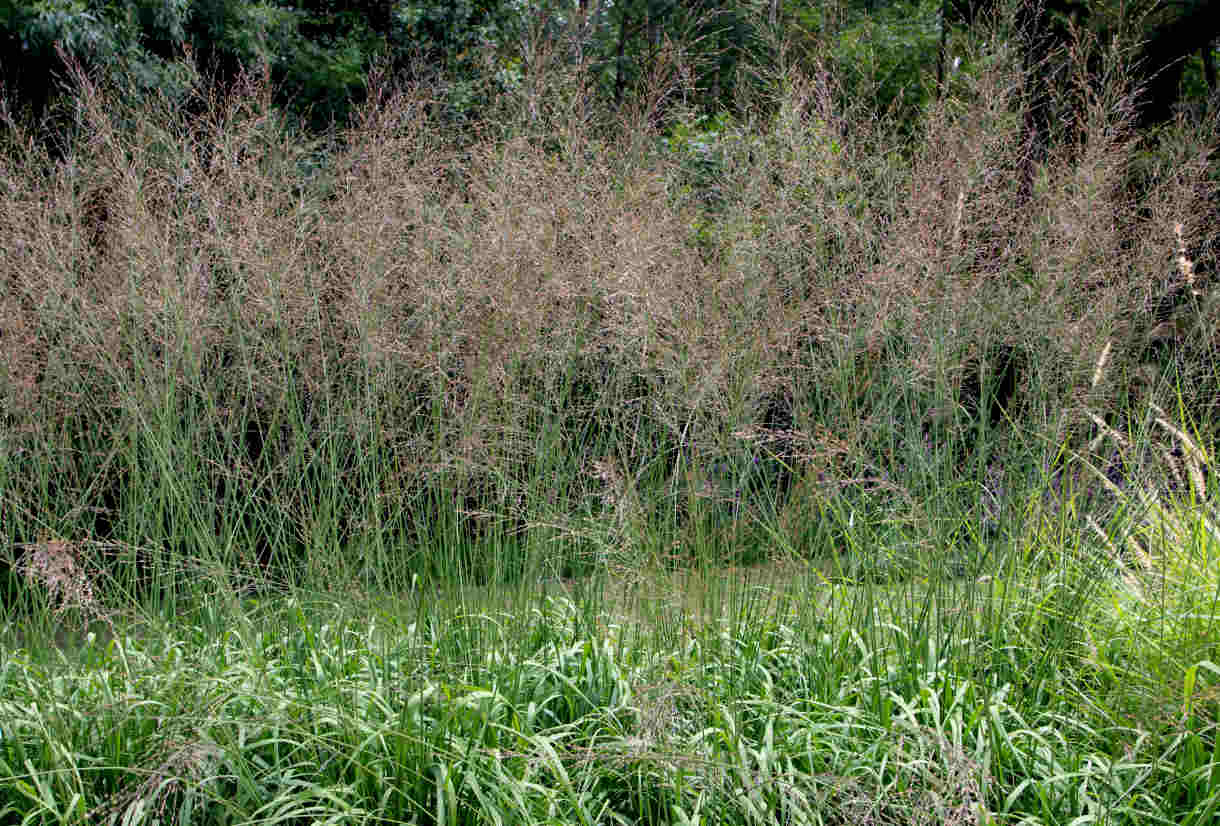
Also known as moor grass, molinia is a genus of two species of tufted, perennial grasses which grow naturally in damp moorland habitats. One of these – Molinia caerulea (purple moor grass), is native to Europe, including the UK. The other, M. japonica (Japanese moor grass), originates from Asia. The European species is the most widely grown in UK gardens, with many cultivated forms to choose from including the dark and dramatic ‘Edith Dudszus’, the dense, screen-forming ‘Heidebraut’, and the petite ‘Variegata’. ‘Karl Foerster’ is extra tall at around 2 metres, while ‘Skyracer’ towers even higher, reaching an enormous 2.4 metres.
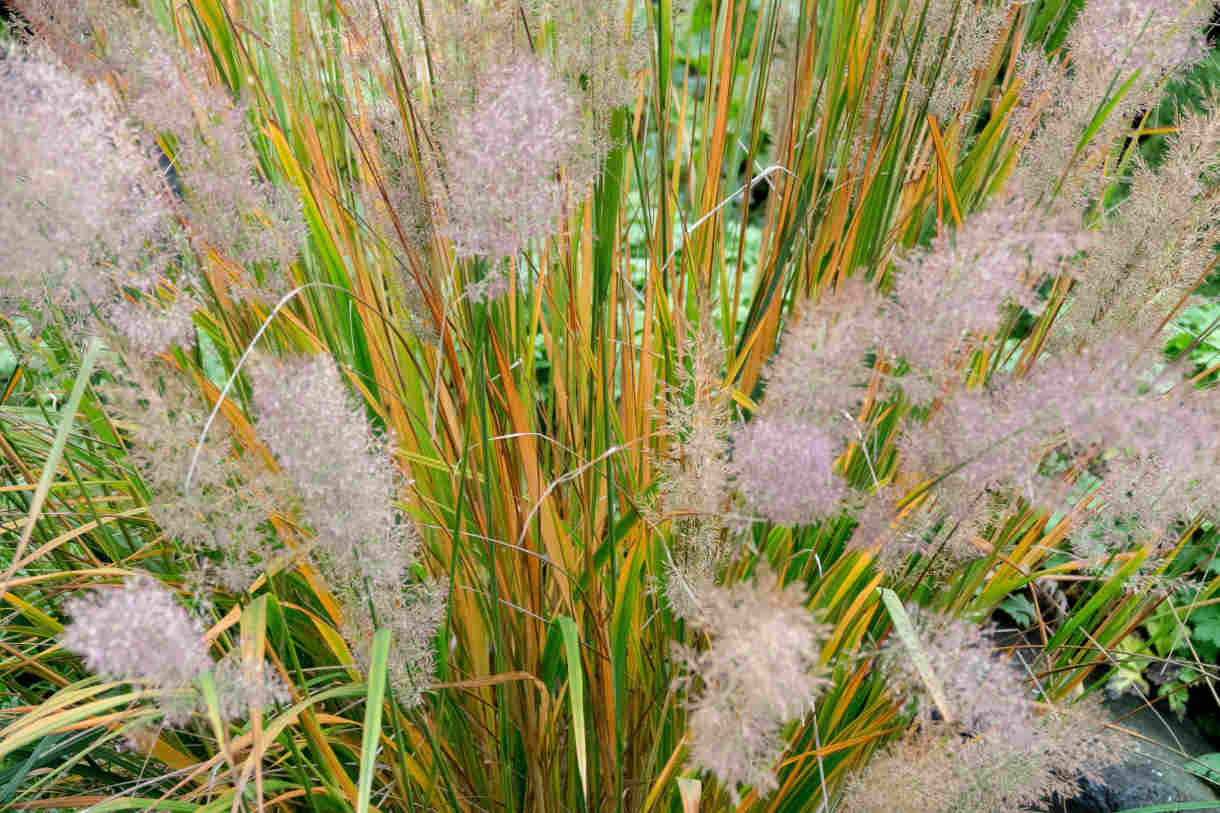
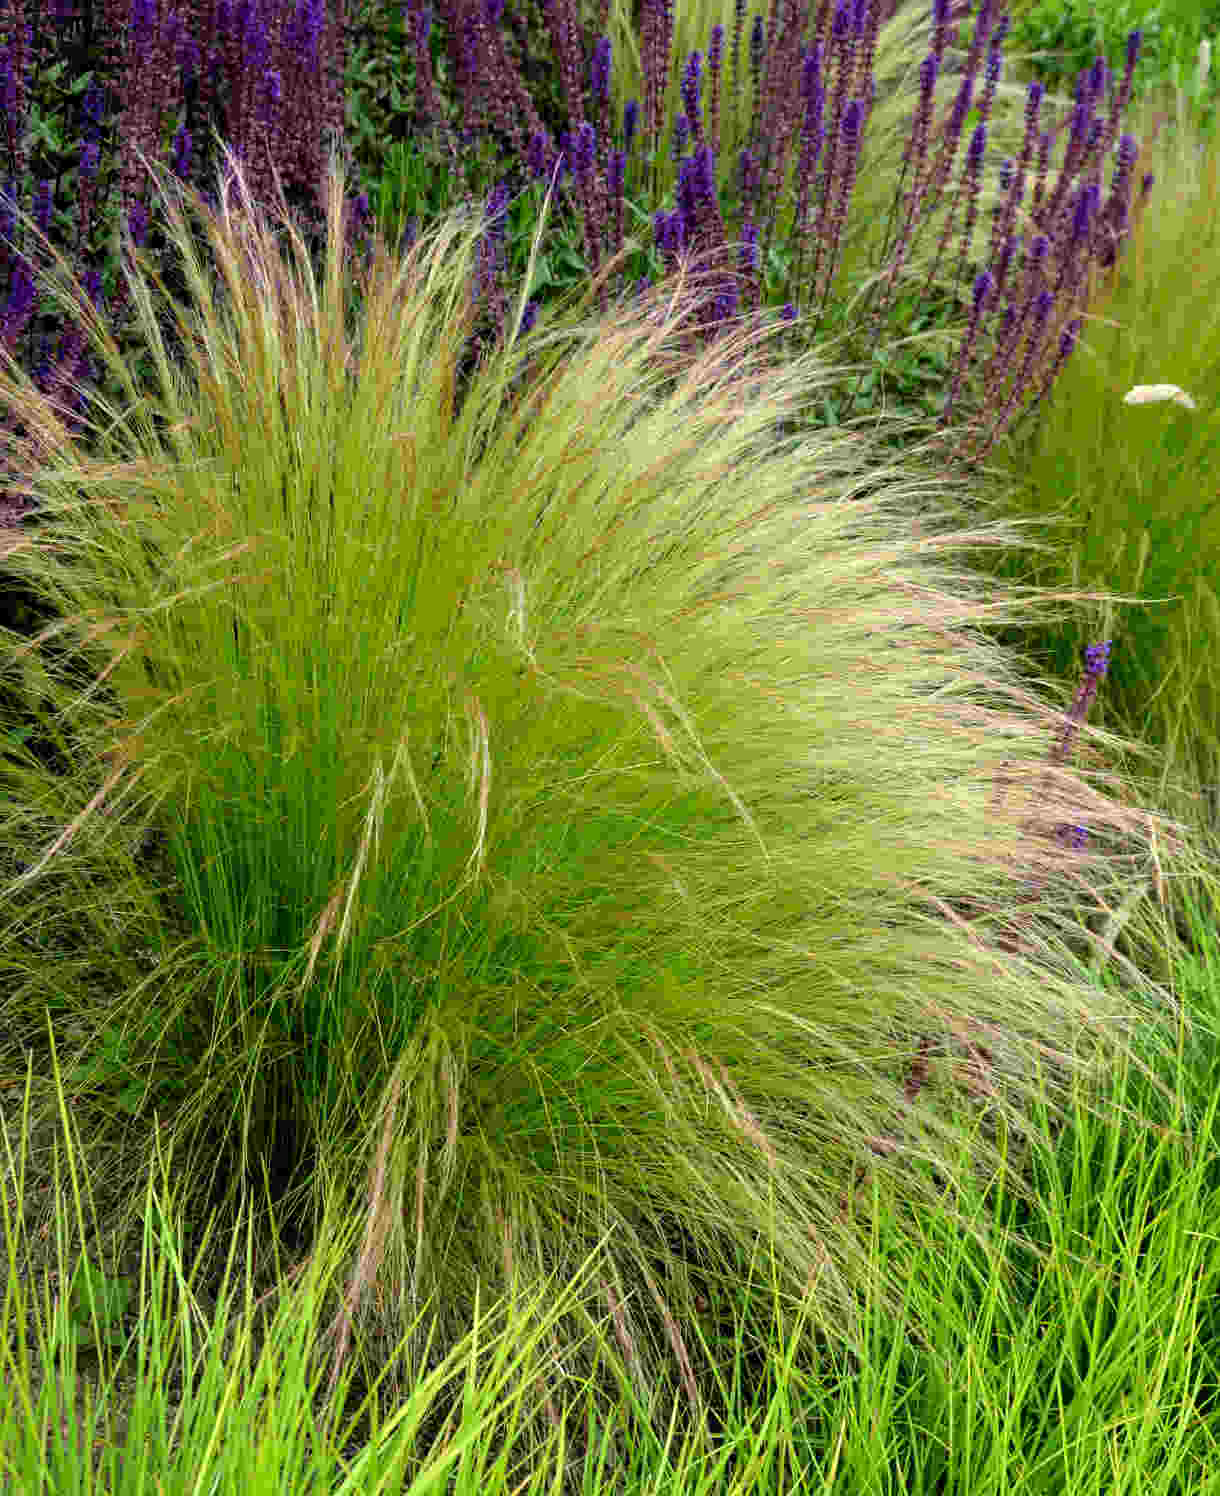
As a clump-forming grass with short, narrow foliage, molinia grows easily in a border without overpowering its neighbours. In summer it produces delicate, graceful flower panicles, held on sturdy stems which tend to splay out from the foliage creating an airy, transparent feel. These are followed by seedheads which last well into winter. Other key attributes are the autumn colour of the foliage, easy and adaptable nature, and tolerance of extreme cold.
Zantedeschia is a genus of flowering plants from the family Araceae and is native to southern Africa. With a rich history dating back to the Ancient Romans, these deciduous or semi-evergreen perennials have been used as a symbol of celebration. Zantedeschia was Named after Professor Giovanni Zantedeschia, an Italian botanist.
There are two main forms of Zantedeschia: hardy and tender. Hardy forms of the plant can be grown outdoors, enjoy moist soil and full sun or partially shaded conditions - these are known as Arum lilies. Tender forms of Zantedeschia prefer being grown in containers or pots and should be brought inside over the winter - these are known as Calla lilies.
With tuberous flora in all colours from whites, yellows and oranges to deep reds and purples, Zantedeschias are not to be overlooked in any garden, as long as they have sufficient sunlight to grow in.
Ready to learn more about growing Zantedeschia? Read on for all there is to know...

Key Information
Soil pH

Position
Hardiness

Where & when to plant Molinia
Position - Full sun to partial shade
Soil - Happy in damp soil (though doesn’t like standing water). Also tolerant of some drought. Thrives in a neutral to acidic soil pH.
Flowering Period - Summer
Hardiness - As hardy as it gets, rated H7 (meaning capable of withstanding -20°C and beyond).
For best results, plant in autumn or spring. An autumn planting can be done by those gardening in mild conditions (and broadly speaking, this is the southern half of the UK). For those liable to cold winters, it is best to wait until spring (generally the northern half of the UK). Planting can also be carried out in summer, though be prepared to water regularly.
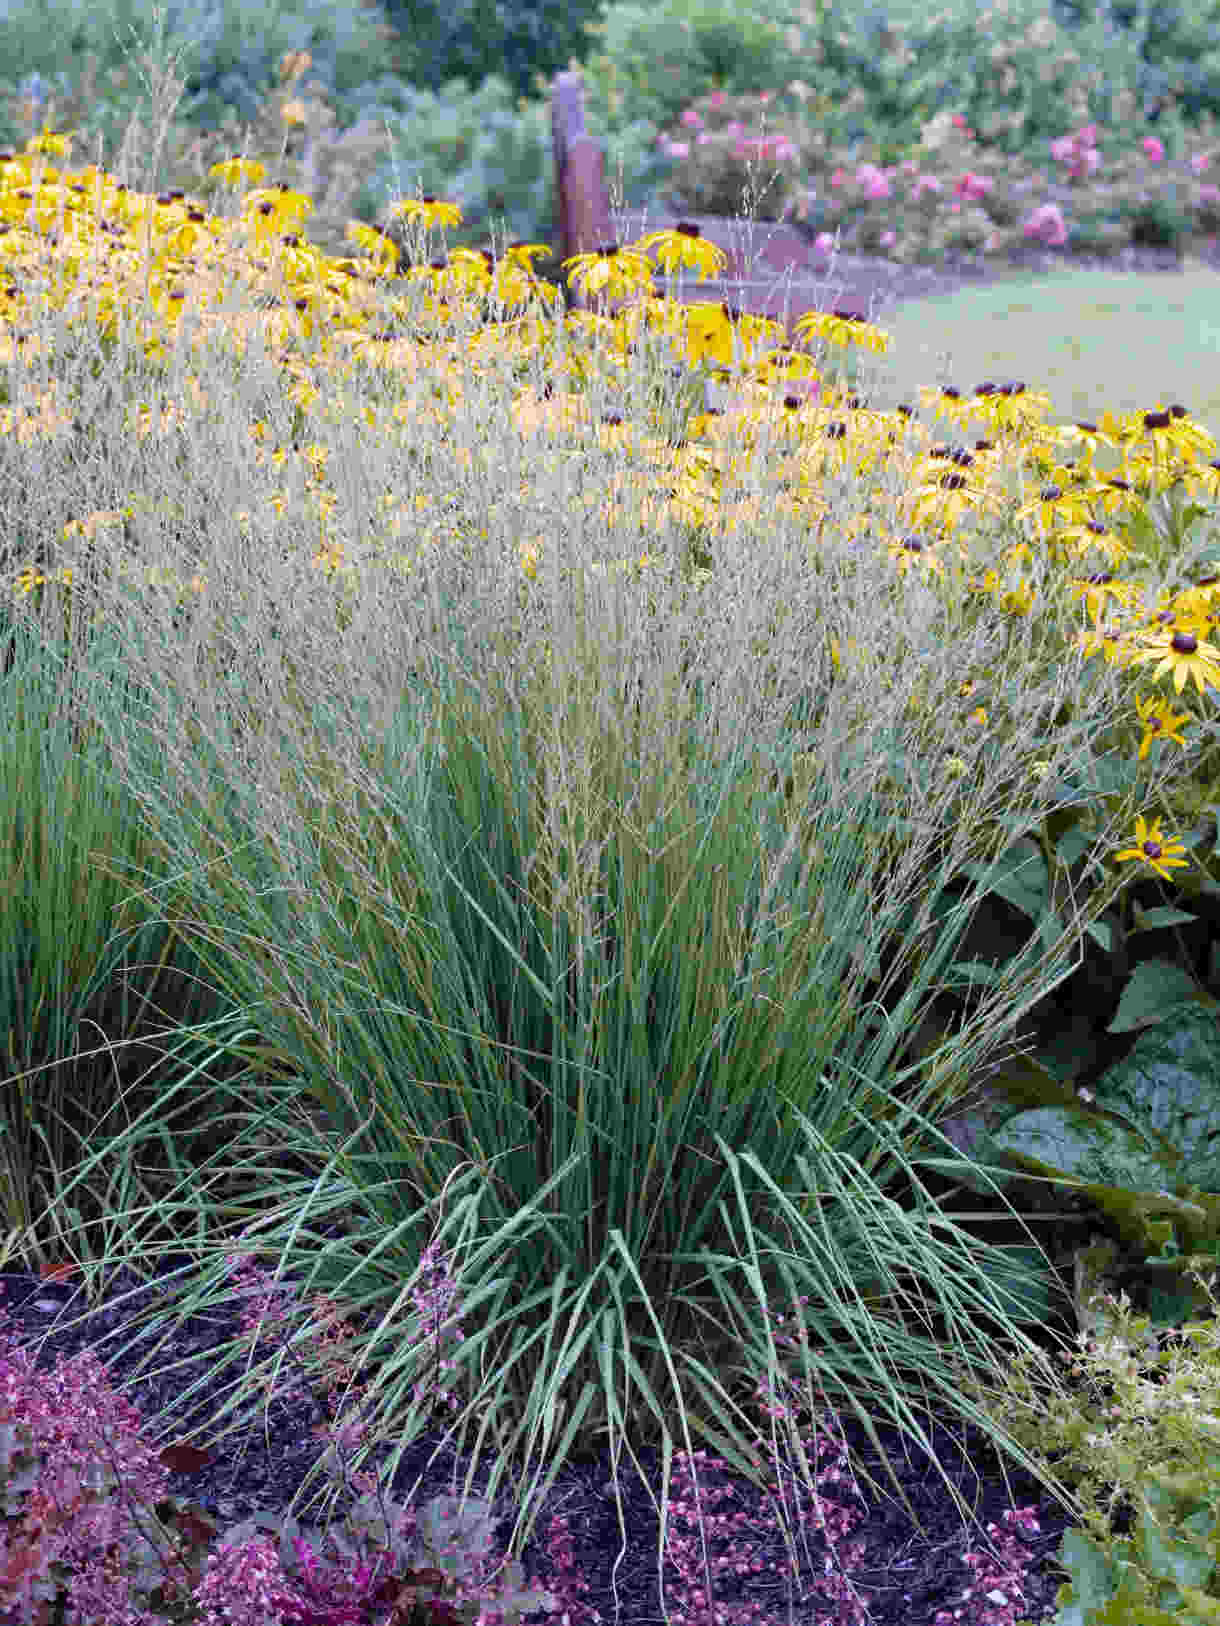
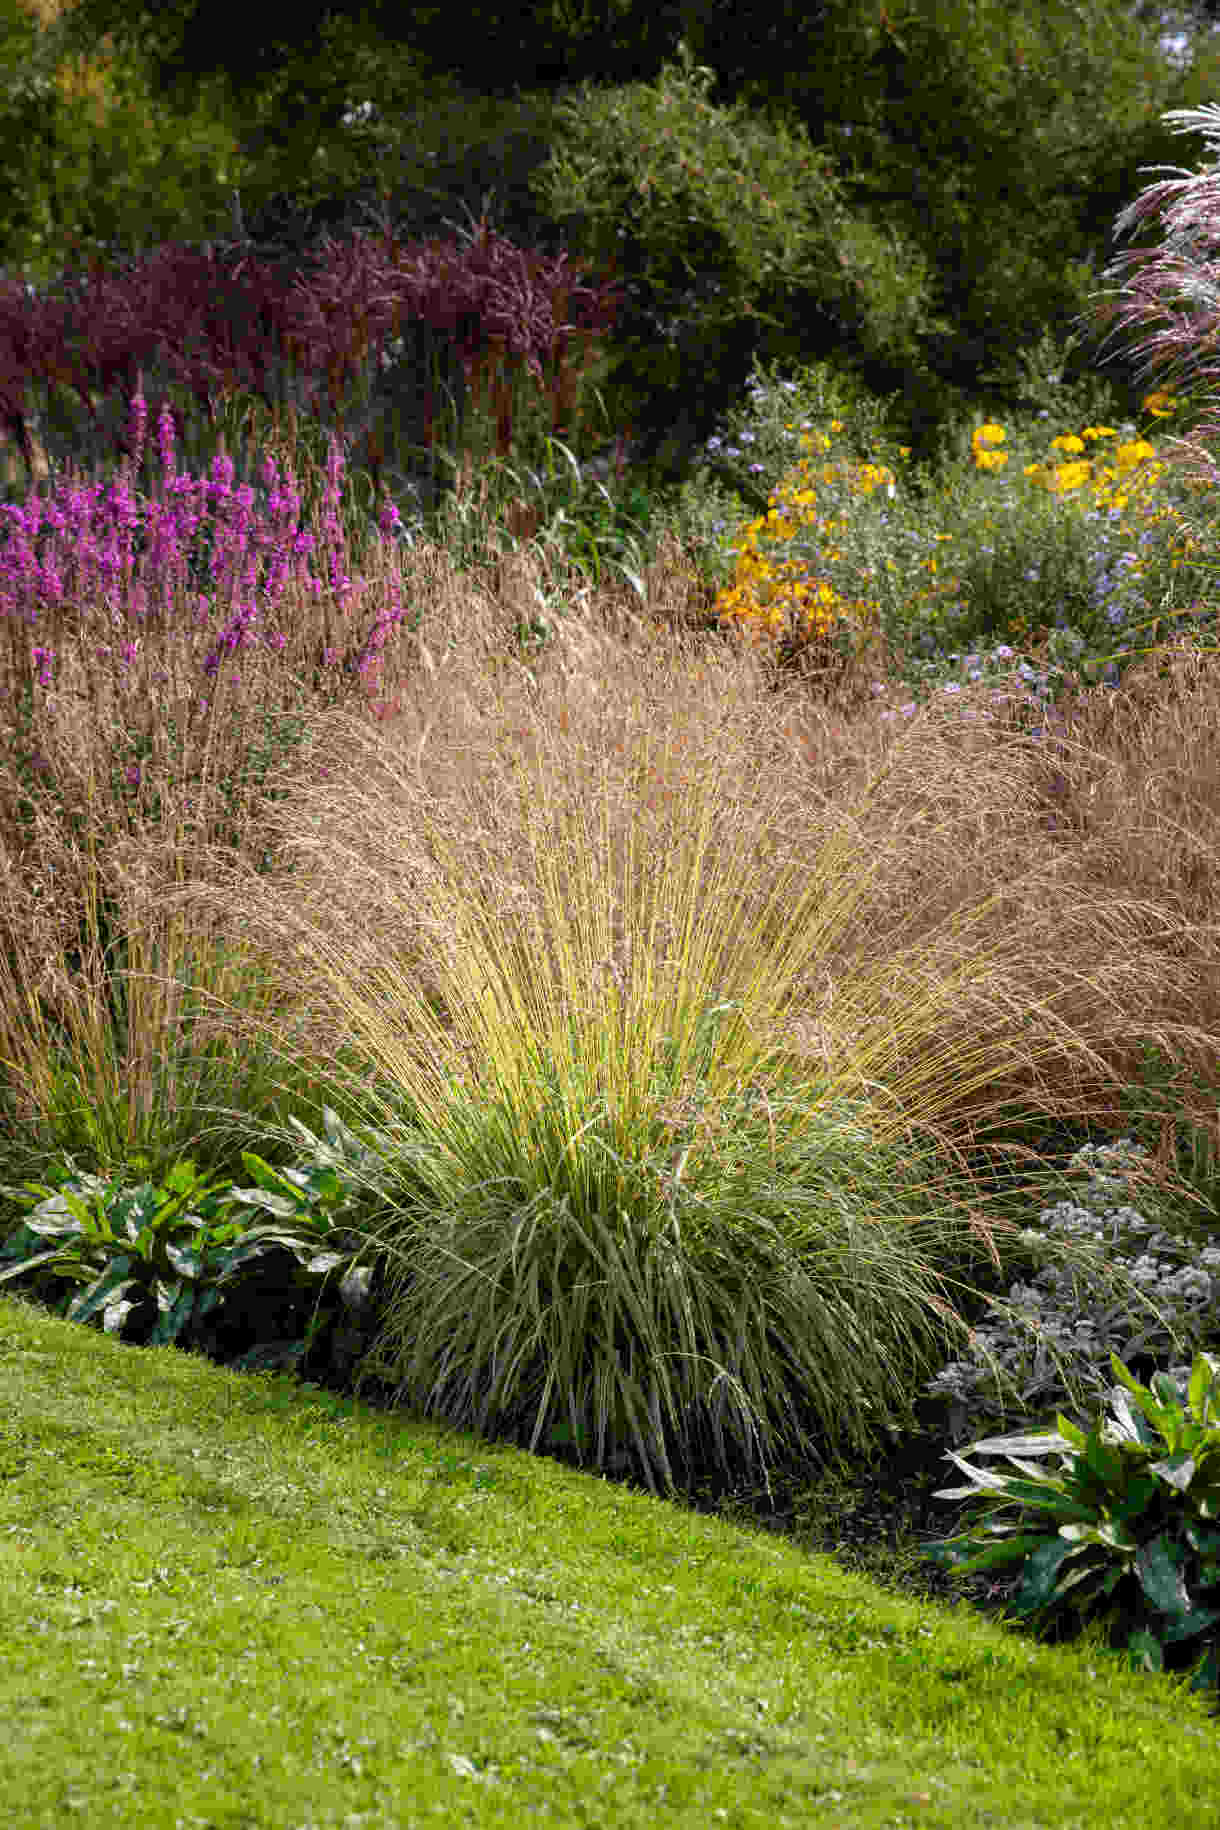
With its gentle, transparent appearance (notwithstanding the ‘Heidebraut’ cultivar which creates more of a dense screen), molinia is ideal for mingling through the middle of a border where it will add height and movement while still allowing the plants around and behind it to be seen. It can also be used to underplant airy, deciduous trees, or even as part of a (regularly watered) container display. Molinia is a good choice for damp areas, though is equally happy in drier conditions too. A real all-rounder!
The uncharacteristically dense ‘Heidebraut’ makes a big impact when planted en masse (the well-known designer Piet Oudolf plants it in great, minimalist swathes), or can be used to punctuate other planting.
How to plant Molinia
· For planting in the garden, dig the soil area removing any large stones and weeds and breaking up any lumps. Mix in a little organic matter such as manure, leaf mould, or garden compost. Rake level and firm with your heels. Rake level again.
· Water plants well and allow to drain before planting.
· Dig a hole twice the width of the root-ball.
· Place the plant in the hole, ensuring the top of the root ball sits level with the surface of the soil. Too low and the plant may rot, too high and the roots can dry out.
· Backfill with soil and firm in gently with your foot.
· Soak well with water.
· Mulch around the base with well-rotted organic matter.
· For planting in a container, first choose an appropriately sized pot. New molinia plants can take a while to establish, but once they do will quickly bulk up. If you’re starting with a small plant, it’s therefore best to start with a container only marginally bigger than the current rootball, increasing yearly until the plant has reached full size. Always ensure there are plenty of drainage holes in the bottom.
· If you are using a heavy pot, it can be a good idea to fill and plant it in situ to save yourself the trouble of moving once full.
· Use a good quality potting compost with plenty of horticultural grit mixed in, and, if not already present in the compost (check the description on the bag) some slow-release fertiliser granules.
· Start by partially filling the pot with compost; enough so that when placed on it the upper surface of the root ball is about 3cm lower than the top of the pot.
· Infill all the space surrounding the root ball with compost, firming down with your fingers then adding a little more so the plant is held tight.
· Pick up the container and lightly tap on the potting bench or ground a few times to help further settle the compost around the plant.
· Soak well with water.
· A mulch with horticultural grit will look attractive and help to prevent a ‘cap’ or crust forming on the top of the compost (something container plants can suffer due to the artificial nature of their watering).
What to plant with Molinia
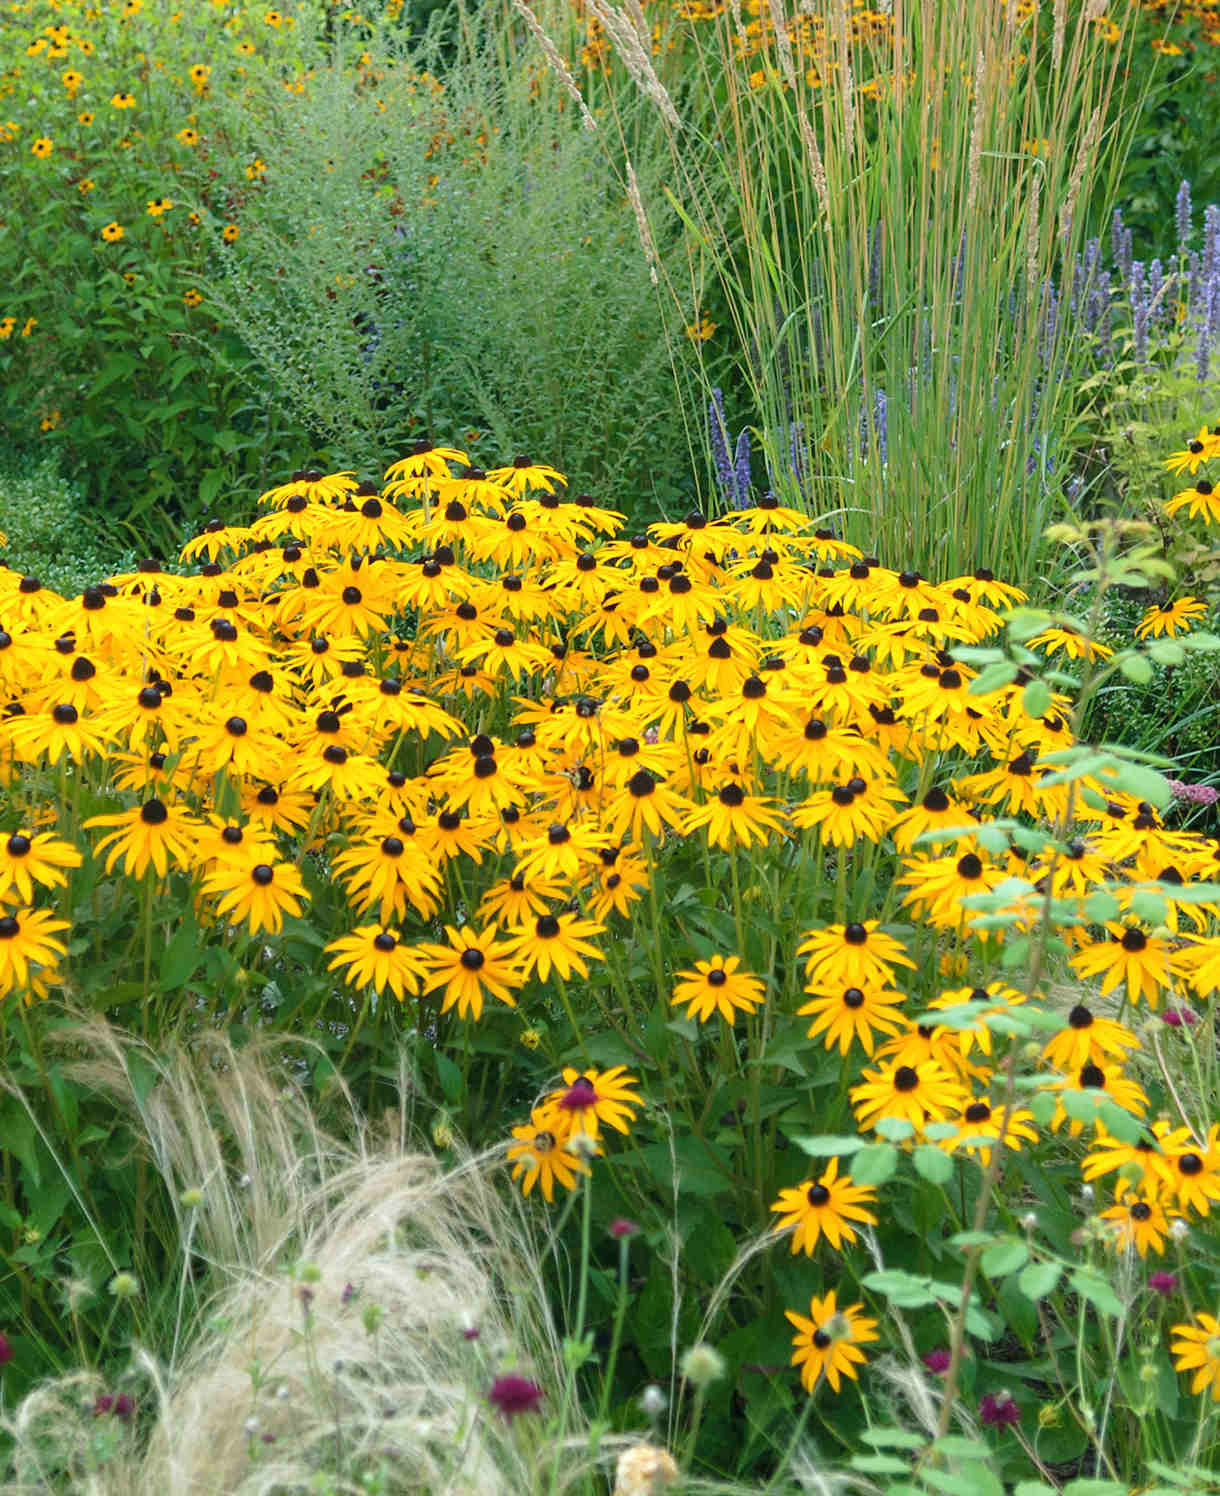
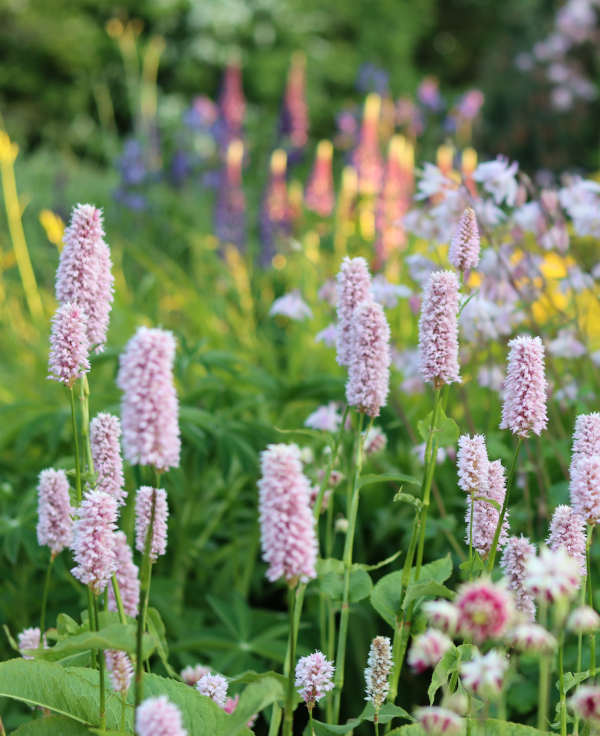
There can be few better sights than a mix of late summer perennials and ornamental grasses catching the rich, mellow light of the turning season. Think persicaria, echinacea, Japanese anemone, sedum, aster, rudbeckia, coreopsis, and helenium, as well as other swaying grassy companions such as deschampsia, panicum, and stipa.
How to care for Molinia
Pruning and Deadheading
To get the most out of molinia, leave it untouched for as long as you can. The stems last well into winter, tending to collapse in sudden, dramatic fashion one day in December or January. Clear away as required then carry out proper pruning a little later, in early spring. Use a pruning saw or secateurs to cut the whole plant back to just above ground level. Either remove prunings to the compost heap, or chop into 20–30-centimetre lengths and leave in situ as a mulch.
Watering
When planting in the open ground, give your molinia a good initial soaking and then a few more over that first summer while the roots establish. After this, it should be largely self-sufficient, particularly when given an annual mulch (see below).
Molinia in a container is far more likely to become very dry and should be watered freely throughout each growing season. A saucer placed underneath the pot can help maintain healthy moisture levels in the compost. From mid-autumn onwards the British climate tends to take over watering needs, though do remember to step in during an unseasonably dry spell.
Feeding
On healthy, fertile soil, an annual mulch of organic matter should provide sufficient nutrients for your molinia. This might be a layer of manure, leaf mould, garden compost, or chopped up pruning material spread over the soil around the plant (see above). Mulch has the added benefit of suppressing weeds and locking in moisture and is best done in autumn or spring (or winter if using pruning material).
If your plant looks in need of an extra boost or you garden on very poor soil, applying a general purpose feed such as blood, fish and bone to the surface of the soil and lightly working in (known as a ‘top dress’) can reap benefits. Do this in spring, and then again in midsummer if needed.
Permanently container-grown plants rely more on the gardener for nutrition. Get off to a flying start by making sure you use a good quality compost, then throughout the growing season (March to September) apply a liquid feed every 3-4 weeks.
Cold Protection
Molinia is as hardy as it gets and able to withstand even the harshest of UK winters without the need for additional protection.
Pests and Diseases
Molinia is trouble free.
How to propagate Molinia
Most popular forms of molinia are cultivars which may not come true from seed. The best way to propagate them is therefore to lift and divide established plants in spring. As well as producing new plants, division is an effective way to breathe new life into older, tiring clumps.
1. Choose a day when the soil is not frozen or waterlogged.
2. Dig the plant out of the ground.
3. Shake off any excess soil.
4. Separate the plant into sections using either swift, cutting blows with a sharp spade, or two forks inserted back-to-back with tines touching, handles then pushed together to prise the plant apart.
5. Discard old, damaged, or surplus pieces, keeping healthy, vigorous material.
6. Molinia divisions can take a while to re-establish, so rather than planting straight back into the ground it is best to pot them up and grow on in a cold frame or unheated greenhouse until they’ve filled out a little.
7. Plant as above.
* Many plants carry Plant Breeders Rights and cannot be propagated for commercial purposes.
Common Molinia Questions
· Does molinia self seed/ is molinia invasive?
The straight, wild species of Molinia caerulea spreads vigorously by seed – evident in the way it blankets huge expanses such as Dartmoor. Fortunately, cultivated forms are far less invasive and can be planted in the garden without concern.
· Is moor grass a perennial?
Yes, this grass dies back for winter and regrows each spring.
· Where can I see examples of molinia?
The national collection is held by Norfolk Nursery, The Plantsman’s Preference. Visit their display garden in late summer/ early autumn to see these grasses at their best.