How to grow Mint
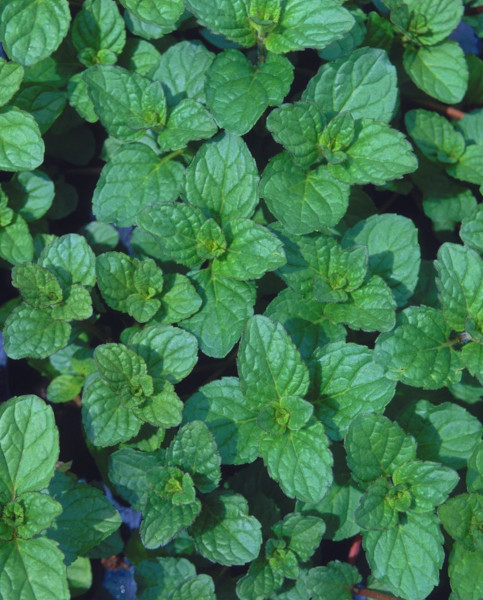
No garden should be without this wonderful perennial herb, grown for its aromatic leaves which are often added to culinary dishes and drinks to add a wonderful fresh flavour.
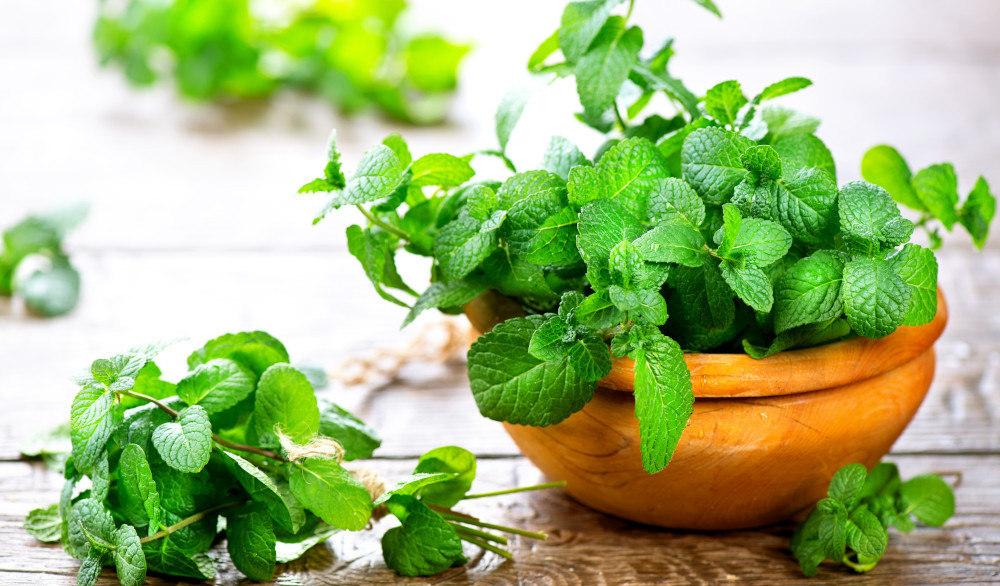
A sprig of Mint picked to add to a cool drink or summer cocktail adds a crisp and fragrant edge, and mint sauce made freshly on a Sunday morning to accompany your roast simply cannot be beaten by any shop-bought version!
Key Information
Soil pH

Position
Hardiness

Where & when to plant Mint
Spring is the best time to plant Mint when the soil is starting to warm up which will allow young plants to settle in and grow quickly.
Mint is a vigorous plant which will spread rapidly by underground runners so it is often planted in pots where the roots can be confined.
Choose a large pot, at least 30cm in diameter and depth, which will allow your Mint to thrive and have space to fill out. Large pots also need watering less often than smaller pots in summer. A good quality peat-free multipurpose compost will provide the best growing medium for pot-grown Mint.
If planting in open ground in the garden or border, choose a space where the plant can spread without smothering your other plants. Garden mint will reach a maximum height of around 1m and a spread of 1.2-1.5m although it may spread further if left to its own devices. A deep bucket with a large hole in the bottom sunk down into the soil can help keep roots in check as they do not grow deeply.
How to plant Mint
Mint performs best in full sunshine, so choose a bright location for your plants. Bare in mind the overall height and spread of your chosen variety when you choose the site for your plants.
Dig a hole for your plant twice as deep and wide as the pot it arrived in and amend the soil with some organic matter such as well-rotted manure, homemade compost or bonemeal and add drainage in the form of coarse grit if you are growing in heavy clay.
Mint plants should be spaced at least 60cm apart if you are planting several. Try to avoid growing different varieties next to one another as they can lose their unique scent and flavour.
Gently tease your plant from the pot it arrived in and place it in the planting hole at the same depth as it sat in its container, fill around the edges with soil and firm in before watering well. Water plants once or twice a week for the first few weeks until they are established, especially if it is dry.
What to plant with Mint
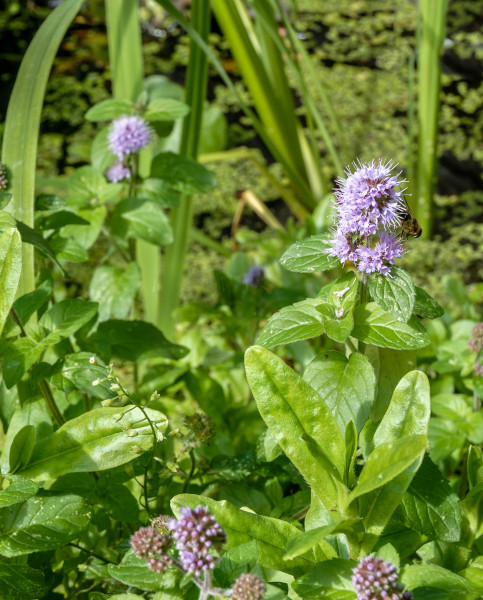
No kitchen or herb garden is complete without fragrant mint! However, many herbs prefer poor sun-baked soil whereas mint loves moist soil and can bear some shade. So be mindful of this when planning a herb garden.
Mint can work well in a mixed border along with other vigorously growing plants such as large Cardoons, Alchemilla mollis, Crocosmia, Euphorbia and Ferns.
For best results, we recommend growing mint in a large pot such as our blue provence planter.
Please contact our friendly Customer Care Team at Hayloft if you would like any further help or planting tips for your Mint, we would love to help.
How to care for Mint
Mint thrives in moist, well-drained soil, so ensure you water your plants often during dry spells of weather.
Pot grown plants will benefit from a top dressing of bonemeal or a light mulch in spring and autumn to provide nutrients and help the soil to retain moisture.
After your mint has flowered in late summer, stems and foliage can be cut back near to ground level for winter. Mint is a hardy perennial, and most varieties require no winter protection. Strong fresh growth will emerge in early spring.
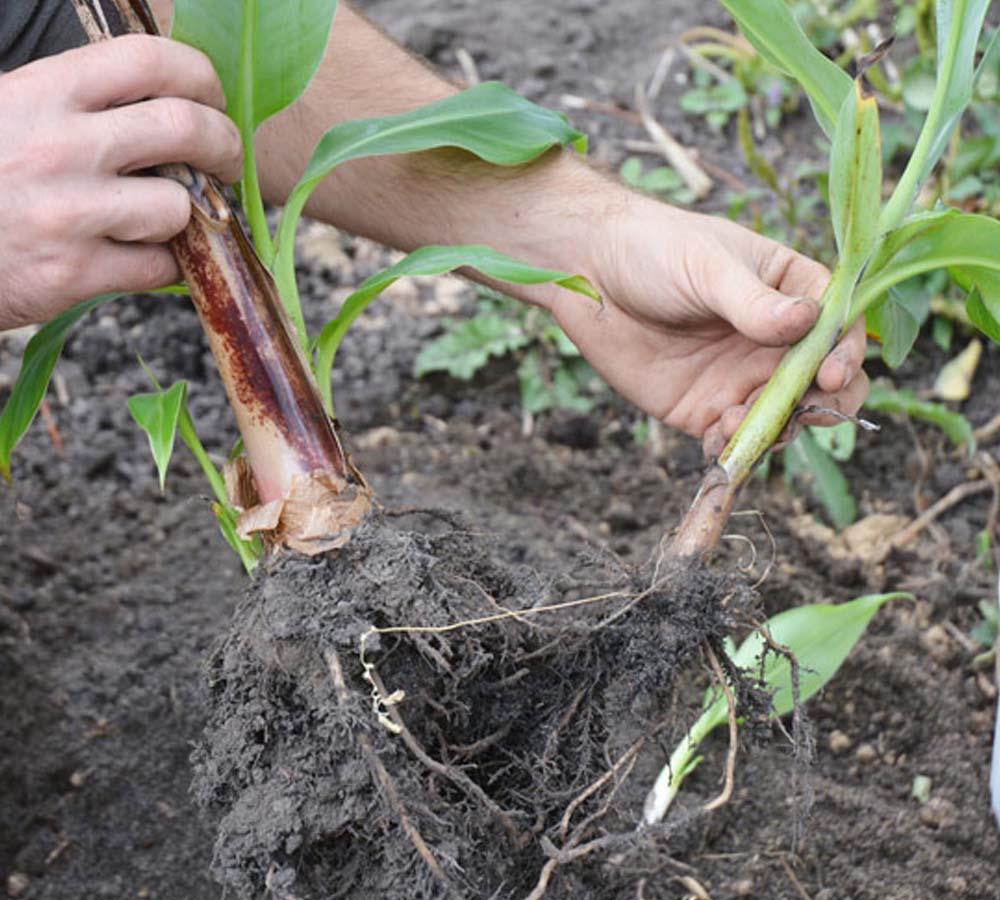
Mint are shallow-rooted plants, so if spreading starts to become a problem, sections of the plant can be easily pulled up and either discarded or propagated.
Mint beetle can sometimes be a pest for plants as they feed on the leaves in summer. These iridescent bright green beetles are usually quite easy to spot and can be removed by hand and disposed of.
Leaves are best when picked and used fresh but can also be frozen inside a polyethene bag or finely chopped into ice-cube trays and used straight from the freezer outside of summer months.
How to propagate Urginea
If you have ever kept stems of mint in a glass of water in the kitchen window for adding to food or drinks, you will know how easily they produce roots!
This is the easiest method to propagate mint in the summer months using cut stems of fresh growth at least 10cm long. Ensure there are no leaves below the water line and change the water every few days.
Once roots have formed from the stems, the cuttings can be potted on into small pots of multipurpose compost and grown on outside. Nip the top leaves out of the shoots to encourage bushy growth.
Mint can also be propagated via root cuttings in autumn. Fill a seed tray with multipurpose compost mixed with a handful of grit. Expose the thick pinky-purple roots of your established plant near the surface of the soil, known as stolons or runners with a hand fork. These large roots should have plenty of smaller roots growing from them. Use a sharp knife to remove some of the roots at the base of the plant. Then, trim the larger roots into sections about 3cm long. Lay the cuttings on their sides on top of the seed tray filled with compost, then cover with a thin layer of compost before watering and placing in a bright frost-free place. Once the cuttings have rooted and are producing healthy green top-growth, they can be separated and grown on in individual pots ready to plant out in spring.