How to grow Melittis
Delightfully known as ‘bastard balm’, owing to its passing resemblance to lemon balm (Melissa officinalis), melittis is a woodland wildflower in the mint family. It is found growing in light woodland (often ancient, coppiced woods) and along the base of hedgerows throughout Europe, including some parts of the UK such as Devon and Cornwall, the New Forest, and southwest Wales.
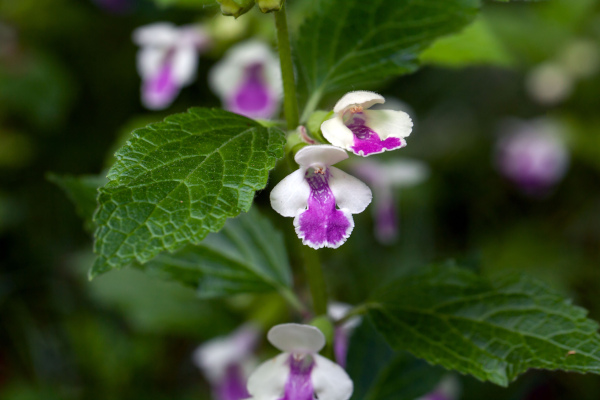
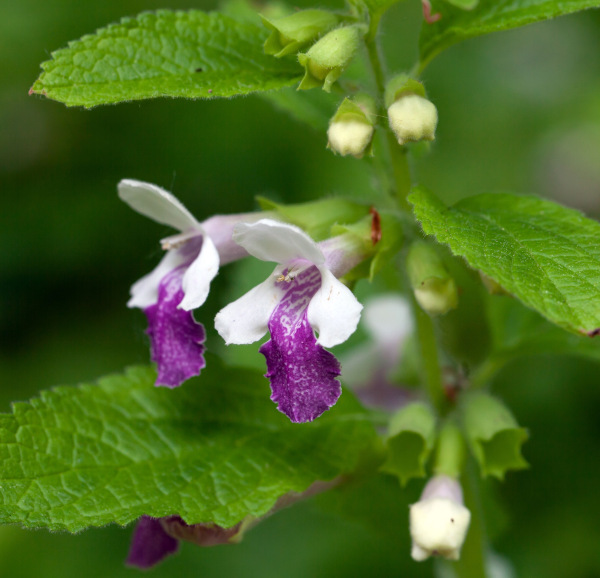
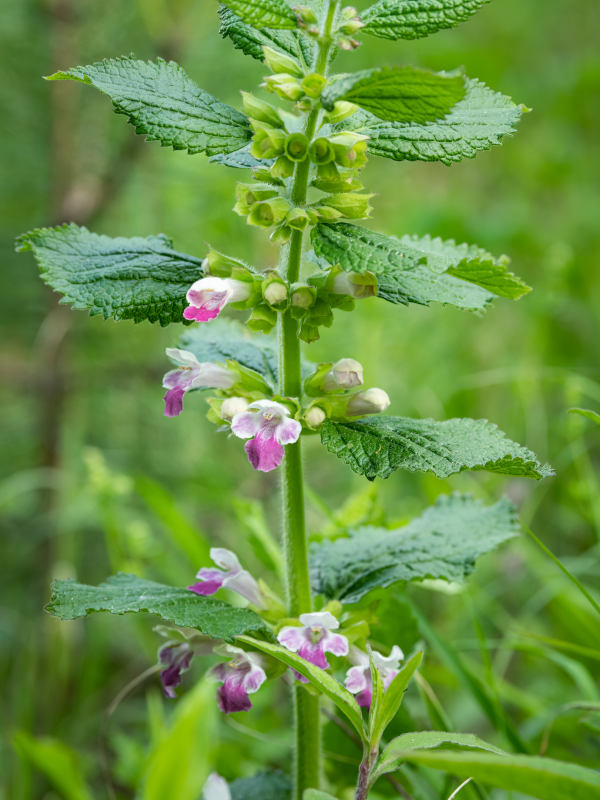
Melittis is a clump-forming perennial with the square stems and aromatic foliage characteristic to the mint family (its leaves have a faint honey-like scent). From late spring to early summer, it bears fragrant salvia-like flowers with a pink blotch on the lower lip. The colouring of the rest of the flower varies according to population; in the UK it is mainly white, while elsewhere it can be completely pink. There are cultivated forms too, such as ‘Royal Velvet Distinction’ (the lower lip a rich, plum purple), and ‘Alba’ (all white). The strong perfume emitted by these flowers is reminiscent of sweet woodruff, drawing bees and other pollinators into shady corners of the garden.
Melittis has a long history of folklore and medicinal use and was traditionally used to treat melancholy. Nowadays, it is mainly grown for its orchid-like beauty and as a bee-friendly addition to shady garden areas.
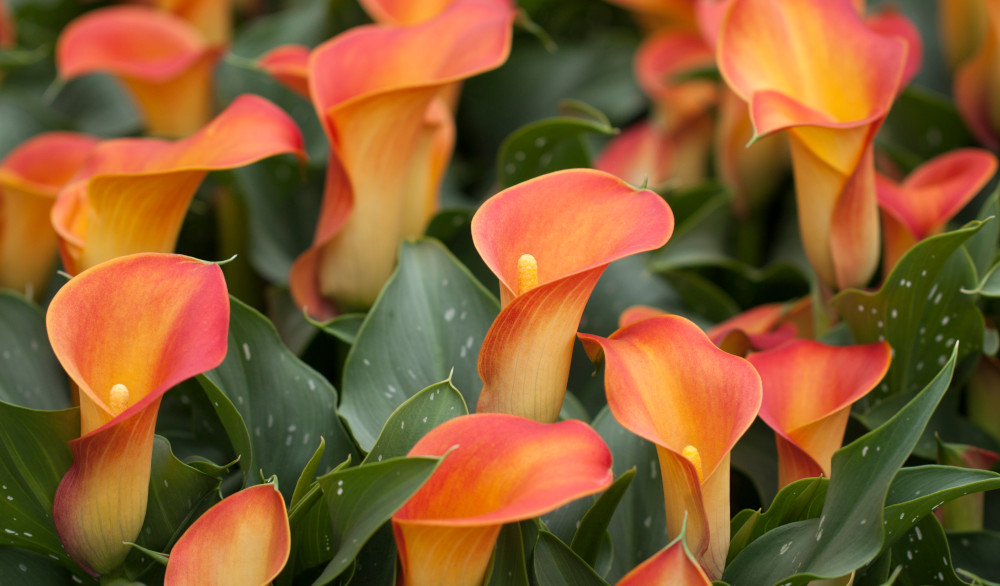
Zantedeschia is a genus of flowering plants from the family Araceae and is native to southern Africa. With a rich history dating back to the Ancient Romans, these deciduous or semi-evergreen perennials have been used as a symbol of celebration. Zantedeschia was Named after Professor Giovanni Zantedeschia, an Italian botanist.
There are two main forms of Zantedeschia: hardy and tender. Hardy forms of the plant can be grown outdoors, enjoy moist soil and full sun or partially shaded conditions - these are known as Arum lilies. Tender forms of Zantedeschia prefer being grown in containers or pots and should be brought inside over the winter - these are known as Calla lilies.
With tuberous flora in all colours from whites, yellows and oranges to deep reds and purples, Zantedeschias are not to be overlooked in any garden, as long as they have sufficient sunlight to grow in.
Ready to learn more about growing Zantedeschia? Read on for all there is to know...
Key Information
Soil pH
Position
Hardiness

Where & when to plant Melittis
Position - Partial or dappled shade
Soil - Moist, moderately fertile, well-draining soil. Avoid anywhere prone to becoming parched in summer.
Flowering Period - Late spring to early summer
Hardiness - Hardy, rated H6 (-15 to -20°C)
For best results, plant in autumn or spring. An autumn planting can be done by those gardening in mild conditions (and broadly speaking, this is the southern half of the UK). For those liable to cold winters, it is best to wait until spring (generally the northern half of the UK). Planting can also be carried out in summer, though be prepared to water regularly.
Melittis will thrive in a partially shaded border, or on the ground beneath deciduous trees and shrubs. It can be used to underplant a deciduous hedge, or in a lightly shaded spot in a wildlife-friendly garden.
Melittis can also be grown in a container provided it is watered regularly.
How to plant Melittis
For planting in the garden, dig the soil area removing any large stones and weeds and breaking up any lumps. Melittis loves a rich soil (think of those woodland floors made of centuries-worth of oak, beech, and chestnut leaves), so now is the time to mix in some organic matter such as leaf mould, manure, or garden compost. Rake level and firm with your heels. Rake level again.
Water plant well and allow to drain before planting.
Dig a hole twice the width of the root-ball.
Place the plant in the hole, ensuring the top of the root ball sits level with the surface of the soil. Too low and the plant may rot, too high and the roots can dry out.
Backfill with soil and firm in gently with your foot.
Soak well with water.
Mulch around the base with well-rotted organic matter.
For planting in a container, find a pot a few centimetres larger than the rootball, ensuring there are plenty of drainage holes.
If you are using a heavy pot, it can be a good idea to fill and plant it in situ to save yourself the trouble of moving once full.
Use a good quality potting compost with plenty of horticultural grit mixed in, and, if not already present in the compost (check the description on the bag) some slow-release fertiliser granules.
Start by partially filling the pot with compost; enough so that when placed on it the upper surface of the root ball is about 3cm lower than the top of the pot.
Infill all the space surrounding the root ball with compost, firming down with your fingers then adding a little more so the plant is held tight.
Pick up the container and lightly tap on the potting bench or ground a few times to help further settle the compost around the plant.
Soak well with water.
A mulch with horticultural grit will look attractive and help to prevent a ‘cap’ or crust forming on the top of the compost (something container plants can suffer due to the artificial nature of their watering).
What to plant with Melittis
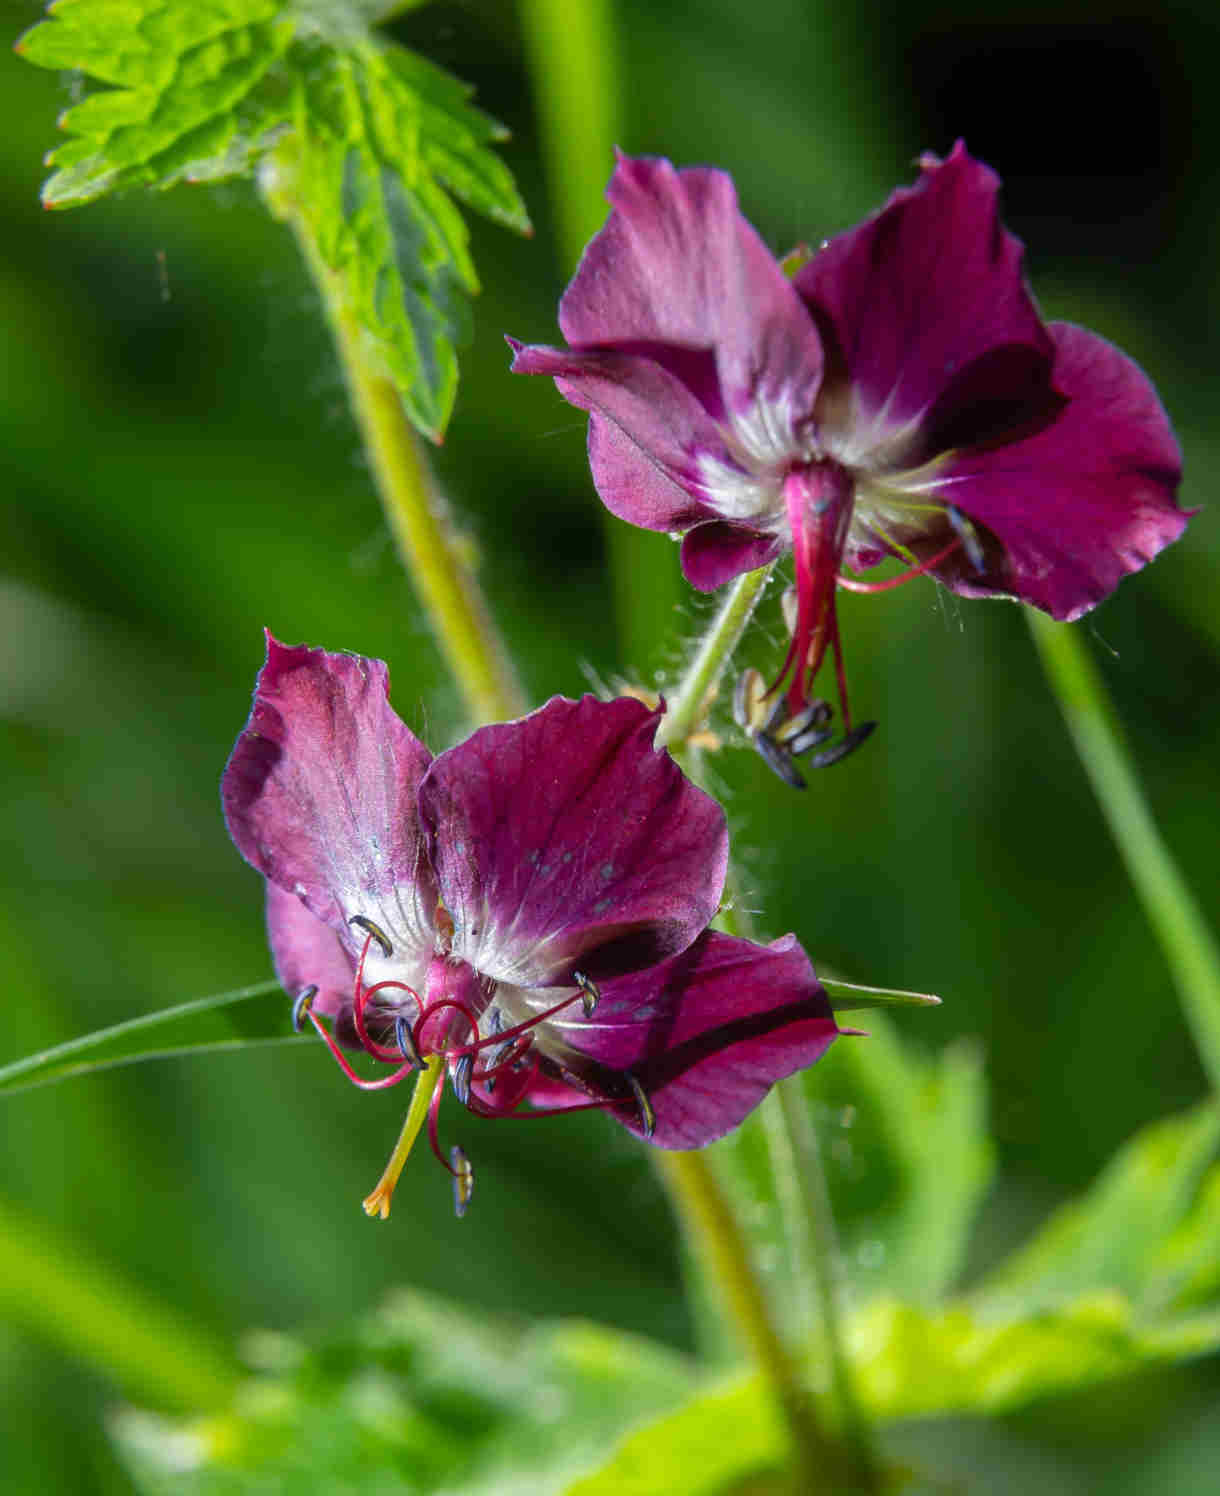
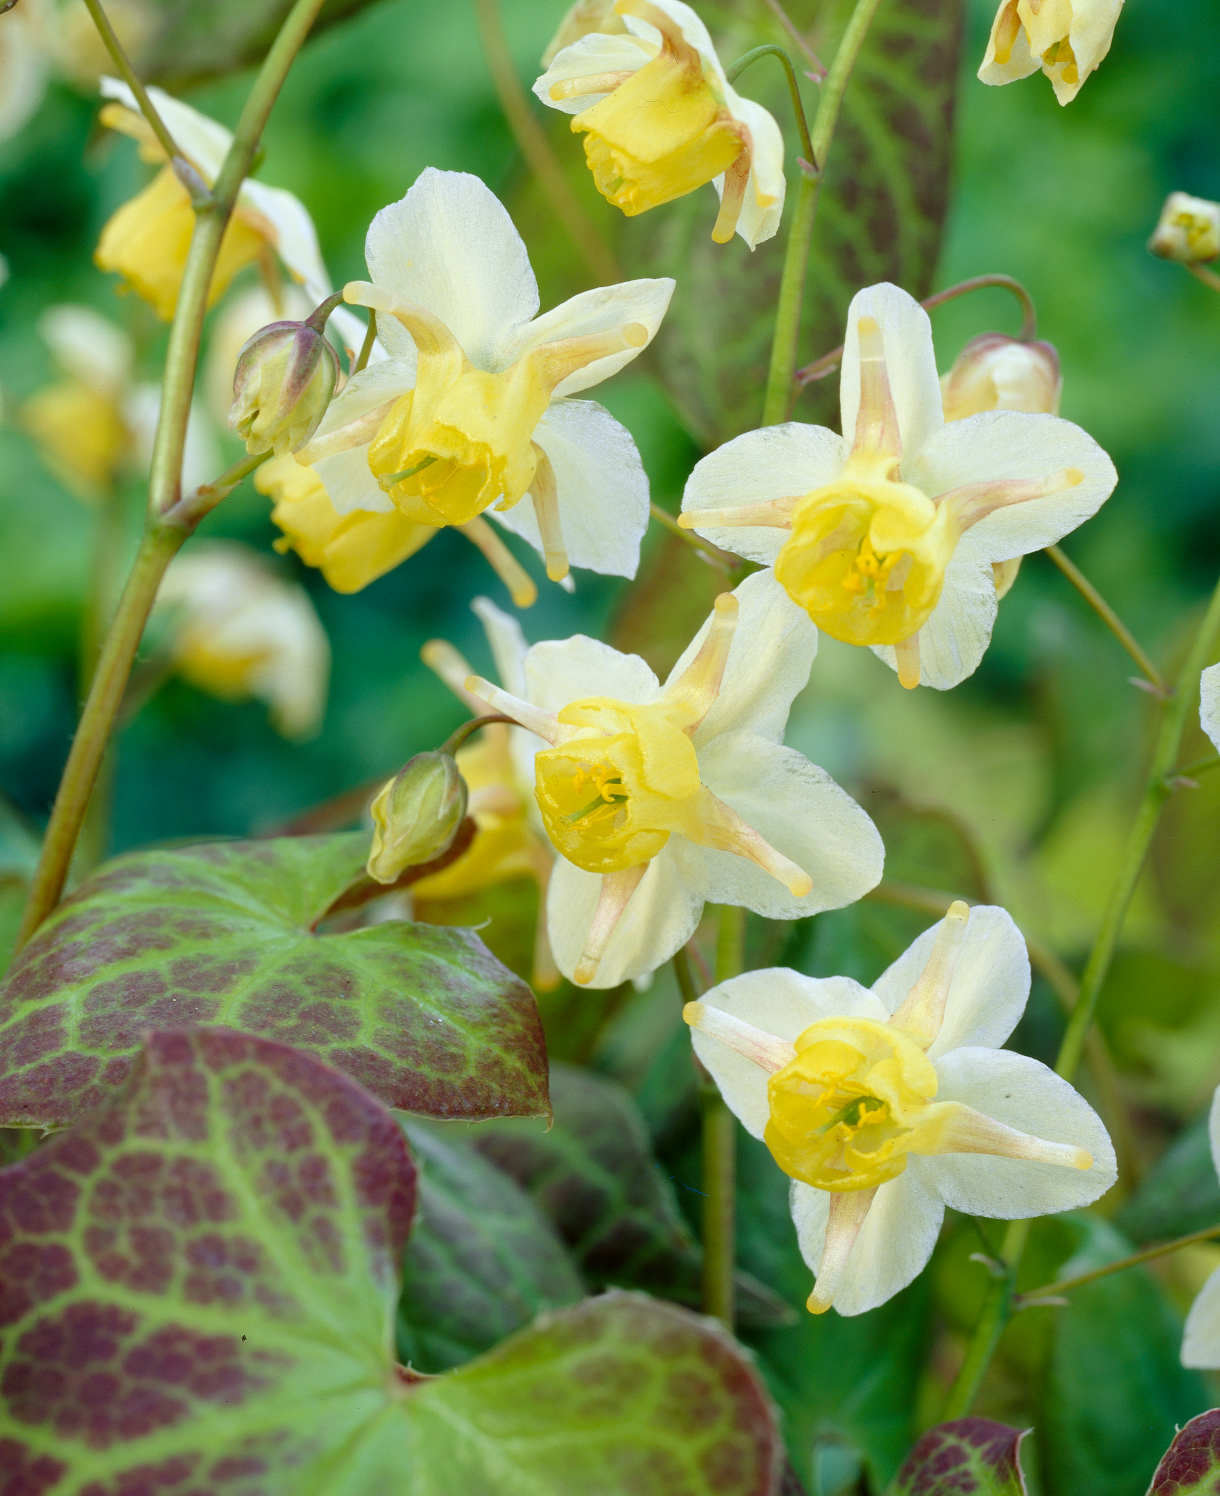
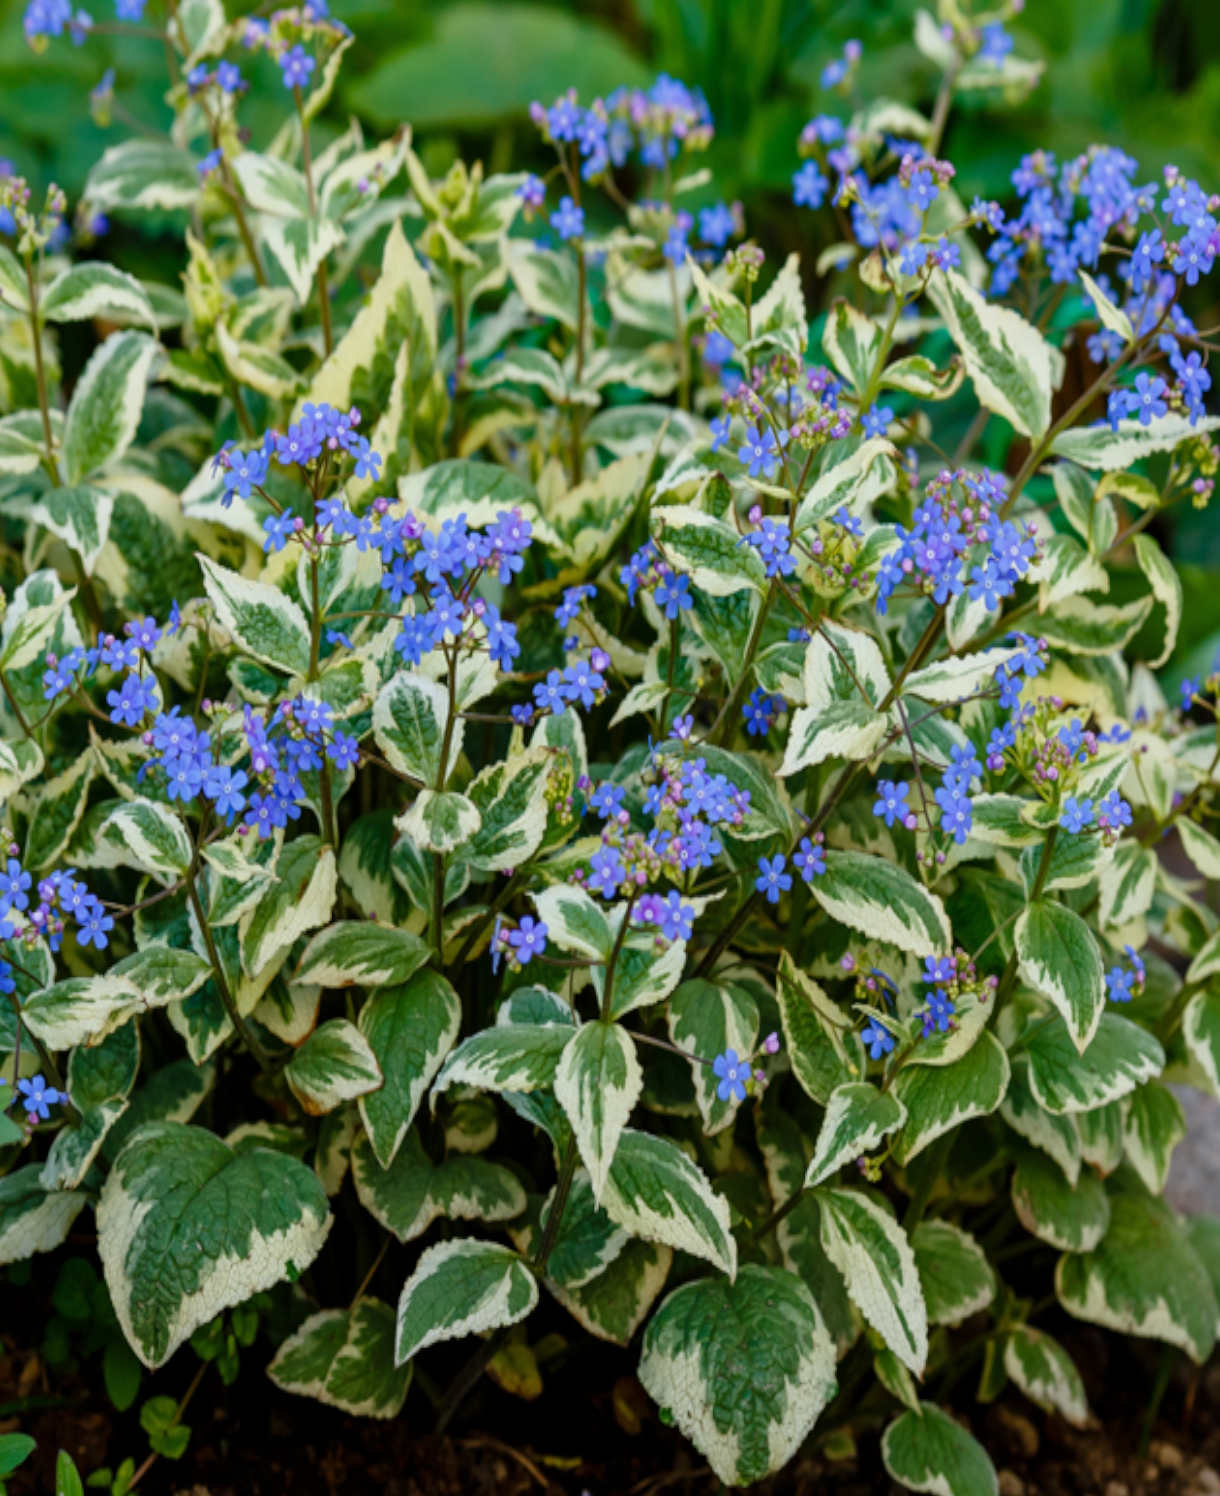
Nestle amongst other clump-forming shade dwellers to create a dense, lush tapestry rich in colour and texture. Think epimedium, hosta, polemonium, brunnera, and Geranium phaeum, along with ferns such as blechnum and polystichum. You could also go for a clump-forming species of lamium such as Lamium orvala, though perhaps avoid the spreading types (e.g., L. maculatum), which may swamp this delicate beauty.
How to care for Melittis
Pruning and Deadheading
Melittis asks for little in the way of care. Simply cut back as it naturally dies back for winter and expect it to reshoot in spring.
Watering
Give newly planted melittis a handful of good soakings during its first couple of months in the ground. After this, provided it isn’t grown in excessively dry soil, it should be self-sufficient in all but the most prolonged periods of hot, dry weather.
Melittis in a container will need regular watering throughout the growing season. Allowing the top couple of centimetres of compost to dry out in between is a useful rule of thumb to avoid overdoing it. From mid-autumn, the British climate tends to take over watering needs, though do remember to step in in the event of an unseasonably dry spell.
Feeding
On healthy, fertile soil, a mulch of well-rotted organic matter (i.e., a layer of leaf mould, manure, or garden compost applied to the soil around the plant) should provide enough nutrients for your melittis. This has the added benefit of suppressing weeds and locking in moisture. Mulch when planting, and then again each spring.
If you garden on poor soil or your melittis looks in need of a boost, applying a general-purpose feed such as blood, fish, and bone to the surface of the soil and lightly working in can reap benefits. This is known as a top dress and should be done to coincide with mulching in spring – first apply the feed, then cover with the mulch.
Container-grown plants are different as they rely solely on the gardener for nutrition. Get off to a flying start by making sure you use a good quality compost with slow-release granules mixed in. These generally provide nutrients for around 6 to 8 weeks, after which you’ll need to apply a balanced liquid feed once a month until the end of the growing season. Remember also to repot your melittis every year or two into a slightly larger pot with fresh compost.
Cold Protection
Melittis is hardy enough to withstand even a harsh UK winter without the need for additional protection.
Pests and Diseases
Melittis is problem-free.
How to propagate Melittis
The easiest way to propagate melittis is to lift and divide in established clumps spring, just as growth resumes.
1. Choose a day when the soil is not frozen or waterlogged.
2. Dig the plant out of the ground.
3. Shake off any excess soil.
4. Separate the plant into sections using either swift, cutting blows with a sharp spade, or two forks inserted back-to-back with tines touching, handles then pushed together to prise the plant apart.
5. Discard old, damaged, or surplus pieces, keeping healthy, vigorous material.
6. Replant decent-sized pieces where desired, and any smaller bits can be potted up.
7. Water well until fully established.
* Many plants carry Plant Breeders Rights and cannot be propagated for commercial purposes.
Common Melittis Questions
Are there lots of different species of melittis?
Melittis is monotypic, meaning it is a genus containing just one species (Melittis melissophyllum). There are several cultivated forms of this.
Is melittis rare in the wild?
In the UK, yes. What was already a rarity found growing in just a few select regions is becoming even more uncommon. Enjoying the dappled light of a coppiced woodland floor (an ancient practice of cutting trees down to the ground every few years to generate strong, new growth), its numbers have declined as more woodlands become unmanaged. Left un-coppiced, the mature trees now cast shade too dense for plants such as melittis to survive.
How fast does melittis grow?
This plant needs a little time to settle and mature. Expect it to reach its full potential in 2-5 years.
Is bastard balm the same as deadnettle?
While both shade-loving members of the mint family, the two are distinct genera. Deadnettle (Lamium) tends to have ‘top heavy’ flowers where the hooded, upper petal is most pronounced, often borne in whorls around the stem. Melittis flowers are more ‘bottom heavy’ with the lower petal being the biggest; sometimes referred to as the tongue, or lip. These are borne in the upper leaf axils, so appear more spaced and dotted on the stem. The pink/ purple blotch on the lower petal is another distinguishing feature.
