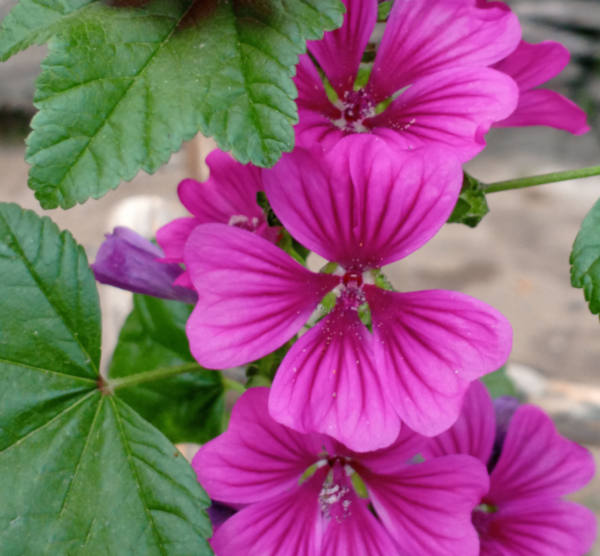
How to grow Malva
This member of the mallow family contains around 30 species of annuals, biennials, and perennials. It originates from dry, open habitats, wasteland, and roadsides throughout Europe, north Africa, and temperate Asia, though is also widely naturalised elsewhere.
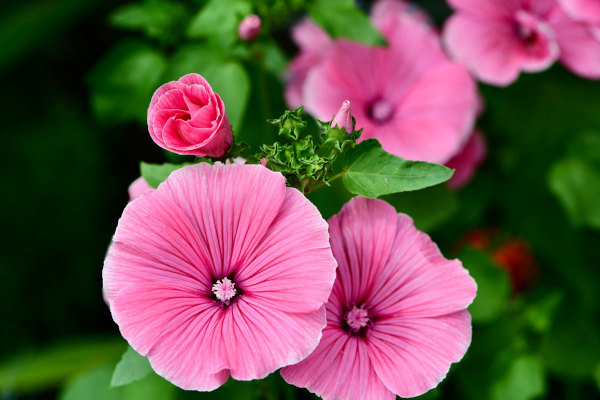
Malva is cultivated for its easy, low-maintenance nature and long-lasting display of showy, pink, hollyhock-like flowers.
Malva is also known by the common name of mallow, as are several other genera in the malvaceae family.
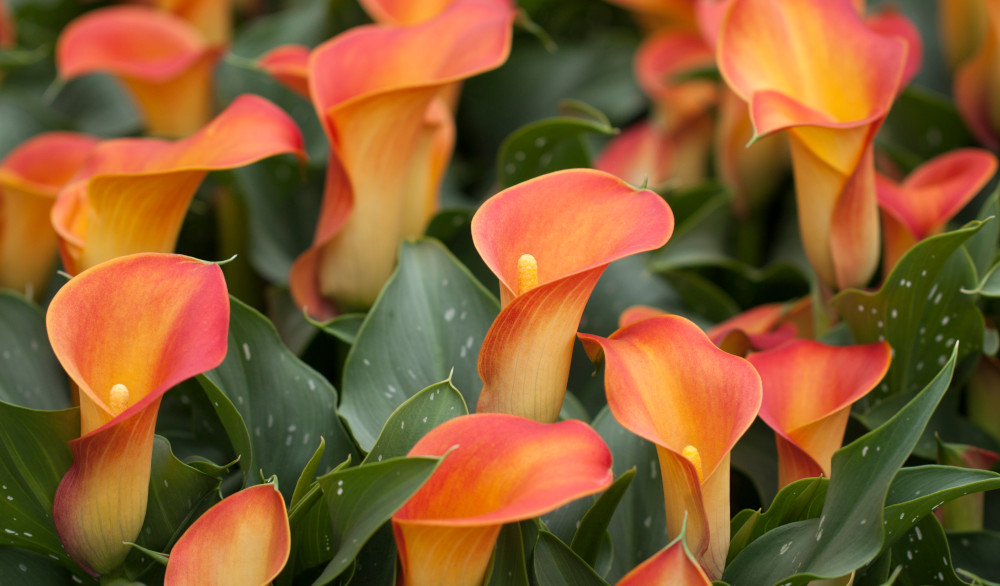
Zantedeschia is a genus of flowering plants from the family Araceae and is native to southern Africa. With a rich history dating back to the Ancient Romans, these deciduous or semi-evergreen perennials have been used as a symbol of celebration. Zantedeschia was Named after Professor Giovanni Zantedeschia, an Italian botanist.
There are two main forms of Zantedeschia: hardy and tender. Hardy forms of the plant can be grown outdoors, enjoy moist soil and full sun or partially shaded conditions - these are known as Arum lilies. Tender forms of Zantedeschia prefer being grown in containers or pots and should be brought inside over the winter - these are known as Calla lilies.
With tuberous flora in all colours from whites, yellows and oranges to deep reds and purples, Zantedeschias are not to be overlooked in any garden, as long as they have sufficient sunlight to grow in.
Ready to learn more about growing Zantedeschia? Read on for all there is to know...
Key Information
Soil pH
Position
Hardiness

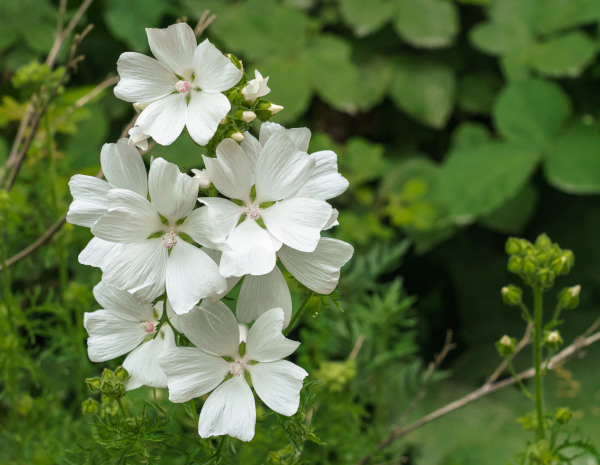
Where & when to plant Malva
Position- Full sun
Soil- Moist and well-drained
Flowering Period- Summer to autumn
Hardiness- Hardy
For best results, plant in autumn or spring. An autumn planting can be done by those gardening in mild conditions (and broadly speaking, this is the southern half of the UK). For those liable to cold winters, it is best to wait until spring (generally the northern half of the UK). Planting can also be carried out in summer, though be prepared to water regularly.
Malva has an naturalistic look, ideal for cottage garden borders, wildflower meadows, or wild gardens. It can also be grown in a container, though without the support of neighbouring plants may require support.
How to plant Malva
In the ground
- Clear the chosen area of weeds.
- Dig a planting hole several times larger than the root ball. Now is the time to give your soil a boost with the addition of generous amounts of well-rotted organic matter, and, if on the heavy side, plenty of horticultural grit.
- Place the plant in the hole, ensuring the top of the root ball sits level with the surface of the soil. Too low and the plant may rot, too high and the roots can dry out.
- Backfill with soil and firm in gently.
- Soak well with water.
- Mulch around the base with well-rotted organic matter.
In a container
- Choose an appropriate container, ensuring there are plenty of drainage holes in the bottom.
- It can be a good idea to pot up large containers in situ, to save yourself the trouble of moving once full.
- For best results use a good quality potting compost with a few handfuls of horticultural grit mixed in. If not already present in the compost, add some slow-release fertiliser granules.
- Start by partially filling the pot with compost; enough so that when placed on it the upper surface of the root ball is about 3cm lower than the top of the pot.
- Infill all the space surrounding the root ball with compost, firming down with your fingers then adding a little more so the plant is held tight.
- Pick up the pot and lightly tap on the potting bench or ground a few times to help further settle the compost around the plant.
- Soak well with water.
- A mulch with horticultural grit will look attractive and help to prevent a ‘cap’ or crust forming on the top of the compost (something container plants can suffer due to the artificial nature of their watering).
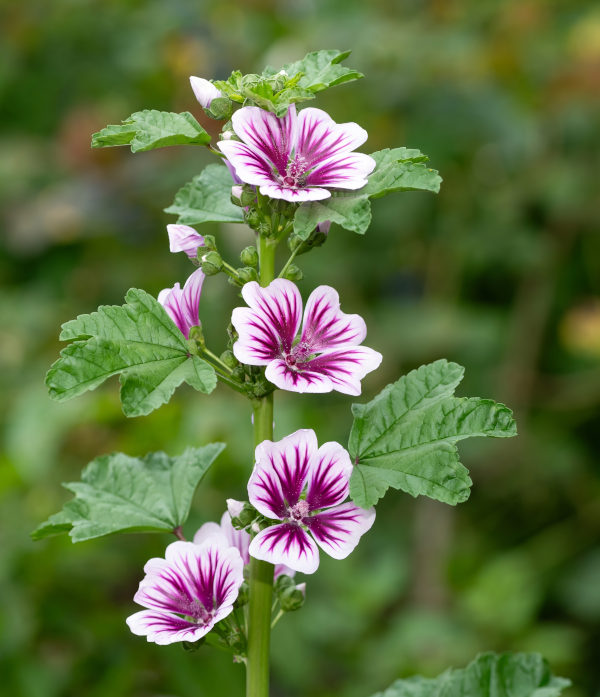
What to plant with Malva
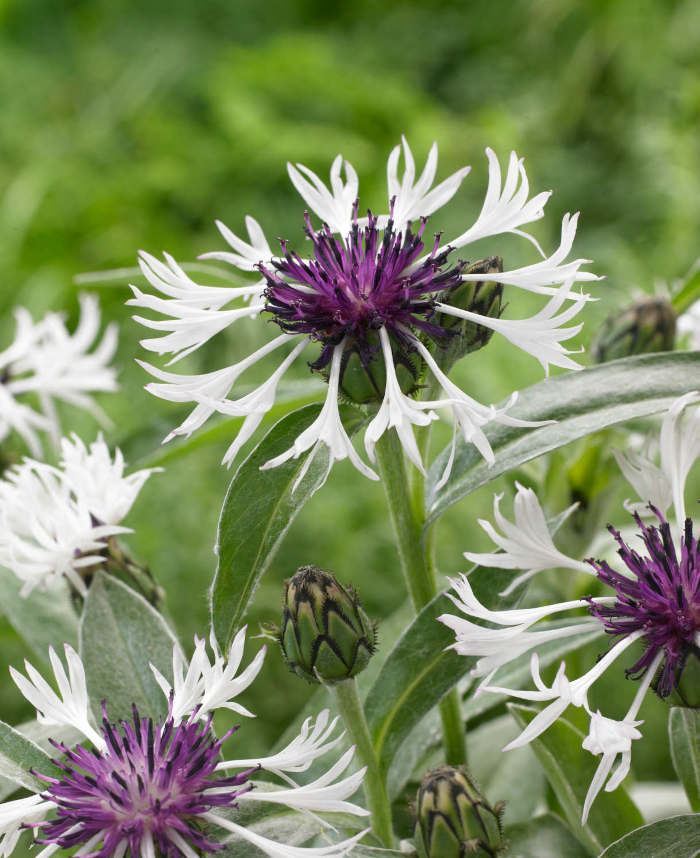
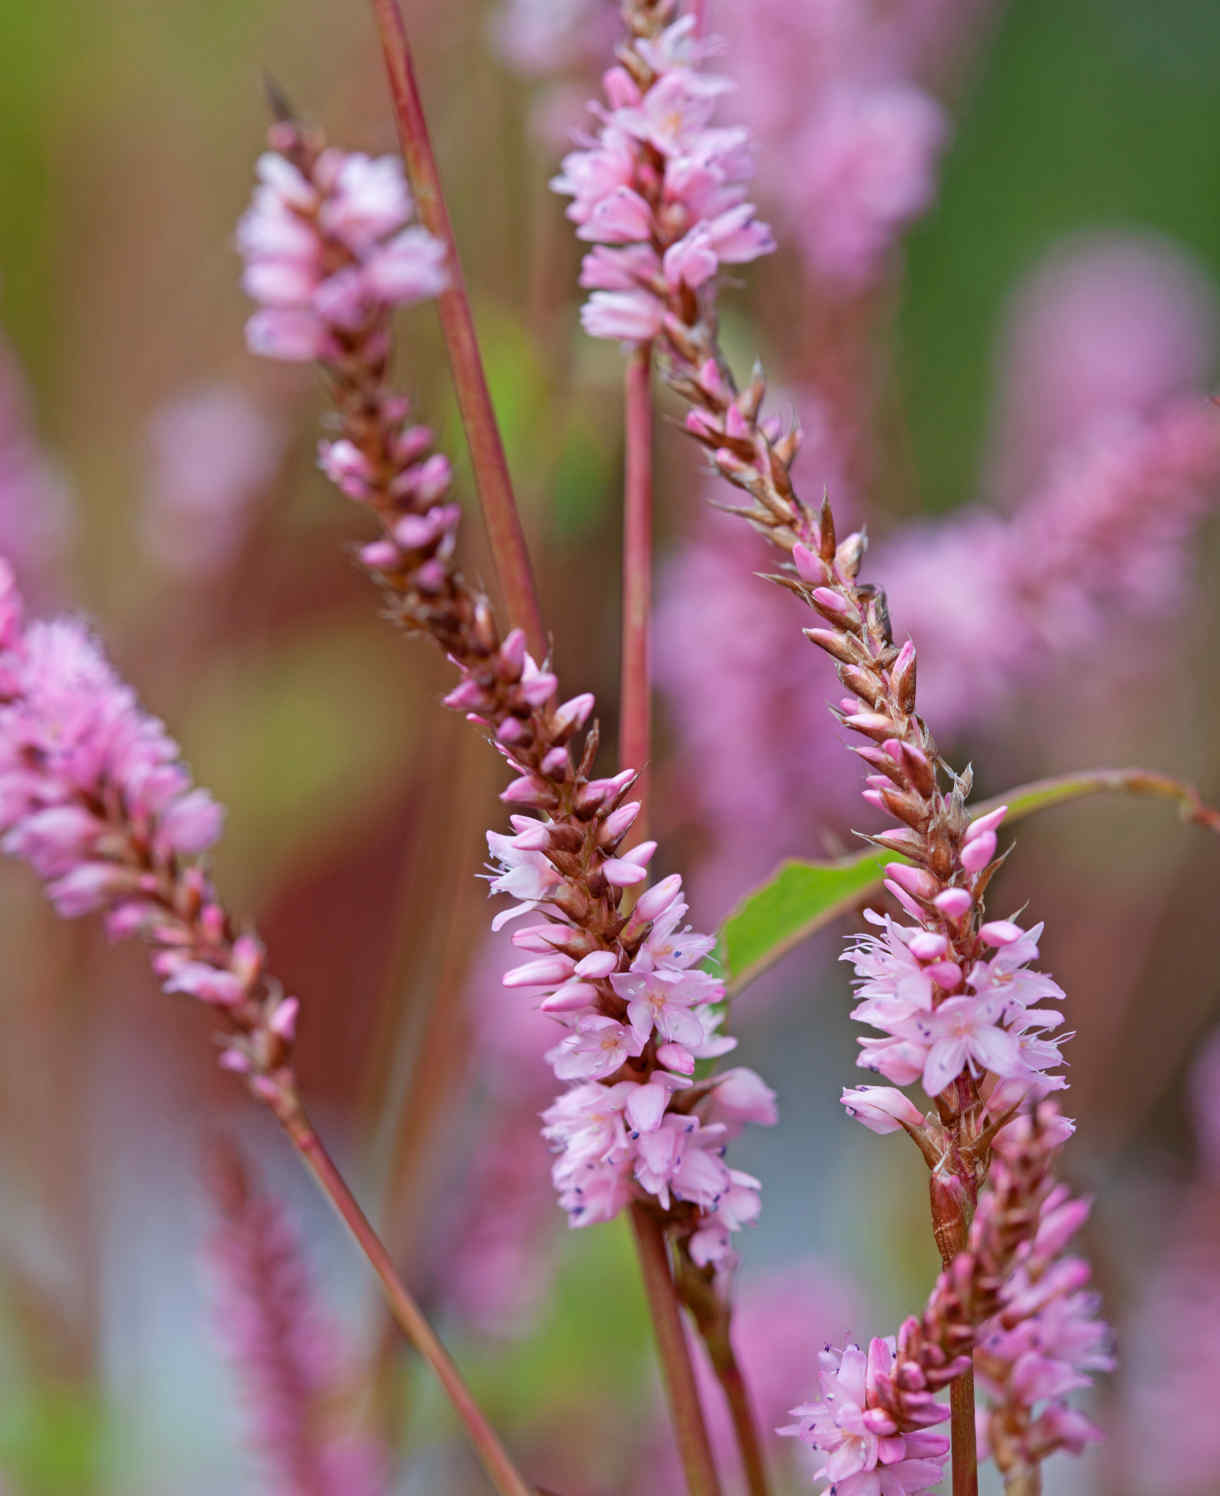
Malva mixes beautifully with other natural and wild-looking favourites such as centaurea, verbascum, persicaria, veronicastrum, cirsium, anthriscus, digitalis, and scabious.
We recommend you avoid planting it near other member of the mallow family (such as hollyhock, lavatera, and hibiscus), as this can increase the likelihood of rust (see ‘Pests and Diseases’ section below).
How to care for Malva
Pruning and Deadheading
Malva will self-seed readily. To prevent this, deadhead flowers before they have a chance to set seed.
Cut the whole plant down after flowering.
Watering
Malva prefers consistently moist soil, though, once established, can be moderately drought tolerant.
We recommend watering regularly throughout the first growing season, and then in very dry spells thereafter.
Container-grown malva will need regular watering throughout the growing season.
Cold Protection
Malva is hardy and able to withstand a UK winter outside without the need for additional protection. The only threat to winter survival can be waterlogged soil, so take care to choose a well-draining spot.
Pests and Diseases
Malva is generally a healthy, robust plant, though like all members of malvaceae, can succumb to rust. This fungal disease causes spotting and discolouration of foliage, and in severe cases can stunt the growth of the plant.
A few simple steps can be taken to reduce the risk of this becoming a problem, such as not planting too densely and minimising the presence of other malvaceae plants nearby (see ‘What to plant with malva’ section above). If rust does arrive, cut off and dispose of any affected leaves as soon as you can. Very heavily infected plants should be removed altogether.
How to propagate Malva
Given its propensity to self-seed, the easiest way to propagate malva is to do nothing at all – letting it find its own way into other parts of the garden. If, however, you prefer a more controlled approach, take basal cuttings in spring.
- Find several strong, basal shoots (originating from the crown) around 10cm long.
- With sharp secateurs or a knife, sever cleanly from as close to the base as possible.
- Put them in a plastic bag straight away to prevent drying out.
- Fill a container with a compost mix which is at least 50% perlite (or if you prefer, as we do, 100% perlite).
- Remove the lowest third of leaves.
- If the remaining leaves are large, cut them in half with a sharp knife (to reduce water lost through transpiration).
- Insert the cuttings into the compost and water lightly. Several cuttings can be put in the same container if there is enough space to do this without them touching.
- Place in a greenhouse or propagating unit if you have one or covered with a plastic bag on a windowsill if not (out of direct sunlight).
- Keep the cuttings misted and occasionally watered until they root. You will know this has happened when roots emerge out of the bottom of the container.
- Gently remove rooted cuttings and pot them into individual pots. Grow on in an unheated yet protected environment such a conservatory, greenhouse, or cold frame until they are large enough to plant out.
Common Malva questions
How quickly does malva grow?
Malva has a fast growth rate, reaching full flowering maturity in its first year.
Does malva come back each year?
Perennial malva species die back for winter and reappear the following spring. They tend to be fairly short-lived (usually around 3-4 years), though if allowed to self-seed will usually remain a permanent presence in the garden. So much so, the demise of the original plant will often go unnoticed!
Why is my malva flopping over?
This is usually a sign of excessively soft, leggy growth which is often caused by over-fertilising or insufficient sunlight. Make sure you give you malva a spot in full sun, and aside from an annual mulch, there is no need to feed.
Container-grown malva should be given a half-strength balanced liquid feed once a month during the growing season. Even with the right light and nutrient levels, a container-grown malva can flop without neighbouring plants there to prop it up. Provide support using either a network of woody sticks such as hazel or birch, or a shop-bought alternative.
