How to grow Lobelia
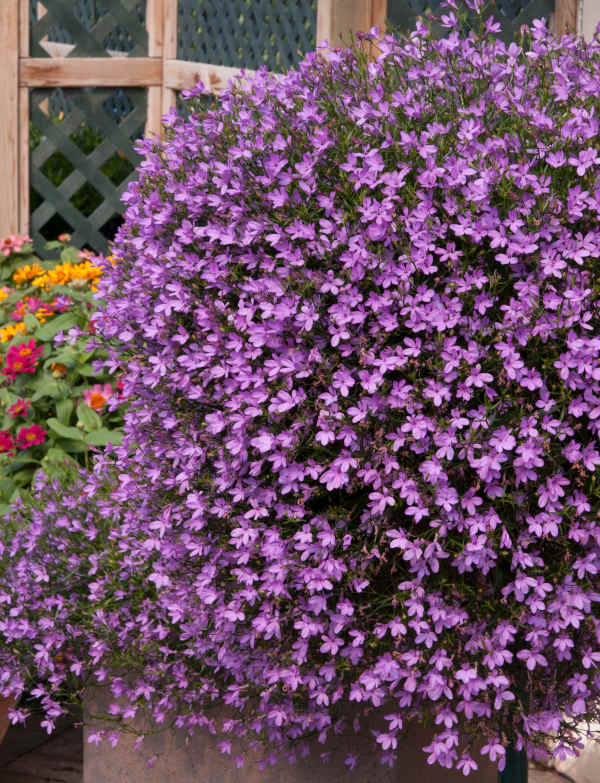
While many of us will know lobelia as the trailing, blue flowered plant seen cascading from hanging baskets and window boxes, there is actually much more to this diverse and varied genus. For starters, that much-loved patio classic (the South African species, Lobelia erinus, and its many cultivated forms) is available not just in blue, but also purple, pink, and white. There are also perennial species which look markedly different from their summer bedding counterparts, the best known of which is L. cardinalis (cardinal flower, or bog sage). Native to America, this clump-forming perennial grows naturally in damp areas where it bears tall spikes of brilliant red flowers. Another American species, the blue-flowered L. siphilitica, has a similar form to L. cardinalis, though is slightly shorter and hardier. The two are often crossed to create L. x speciosa, a popular hybrid which bears extra-large flowers in shades of blue, pink, magenta, and white. Well known examples of this cross include ‘Compton Pink’, ‘Tania’, and ‘Hadspen Purple’.
Less widely grown in the UK is the Chilean species L. tupa. Reaching up to 2 metres it is a dramatic-looking plant and an entirely different beast to those dainty little window box annuals. It is popular in exotic or jungle-themed schemes.
The perennial species mentioned above can be short-lived (particularly the half-hardy L. cardinalis) and are often treated as annuals or biennials by UK gardeners.
It is worth noting that all parts of lobelia can cause discomfort if ingested, and the white sap of some species can cause irritation to skin. L. erinus (the annual summer bedding kind) is said to be less toxic than the rest, though we recommend wearing gloves when handling, just to be on the safe side.

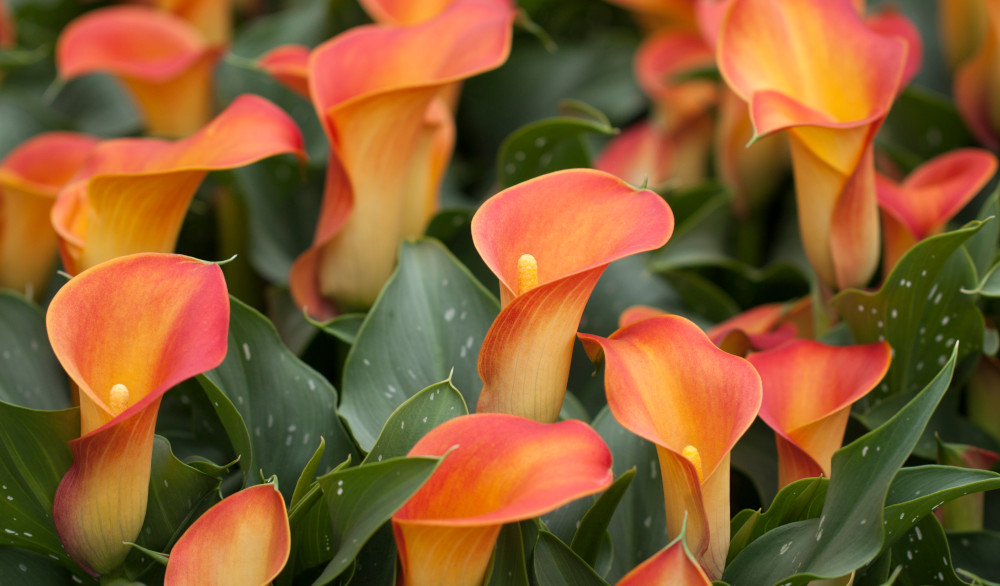
Zantedeschia is a genus of flowering plants from the family Araceae and is native to southern Africa. With a rich history dating back to the Ancient Romans, these deciduous or semi-evergreen perennials have been used as a symbol of celebration. Zantedeschia was Named after Professor Giovanni Zantedeschia, an Italian botanist.
There are two main forms of Zantedeschia: hardy and tender. Hardy forms of the plant can be grown outdoors, enjoy moist soil and full sun or partially shaded conditions - these are known as Arum lilies. Tender forms of Zantedeschia prefer being grown in containers or pots and should be brought inside over the winter - these are known as Calla lilies.
With tuberous flora in all colours from whites, yellows and oranges to deep reds and purples, Zantedeschias are not to be overlooked in any garden, as long as they have sufficient sunlight to grow in.
Ready to learn more about growing Zantedeschia? Read on for all there is to know...
Key Information
Soil pH
Position
Hardiness


Where & when to plant Lobelia
Position - Full sun or partial shade. Growing annual species in partial shade will mean they flower for longer, particularly in a hot, dry summer.
Soil - Deep, fertile, reliably moist. L. cardinalis in particular needs consistent moisture.
Flowering Period - Often midsummer into autumn
Hardiness - Varies according to species:
L. erinus is rated H2 (tender) and cannot withstand temperatures below the 1 to 5°C range.
L. cardinalis is rated H3 (half-hardy), struggling below 1 to -5°C.
L. siphilitica and its offspring L. x speciosa have a rating of H5 (hardy), withstanding temperatures as low as -15°C.
L. tupa is rated H4 (hardy) and can stand temperatures dropping to between -5 and -10°C.
The annual bedding species are suitable for edging, containers, hanging baskets, and window boxes. Perennial species are effective in a reliably moist border. L. cardinalis can be taken a step further when it comes to soil moisture, growing well in a bog garden or the shallows of a pond.
Annual lobelia species are tender and can only survive outdoors in the UK once all risk of frost has passed. This varies from region to region, though tends to be mid to late May. If your plants arrive before it is safe to go outdoors, keep them in a bright, frost-free environment until the time is right. A greenhouse, conservatory, coldframe, or sunny porch or windowsill are all ideal. Just make sure you don’t let them dry out! Small plug plants are best potted up into 9cm pots if they’re going to spend time in a ‘holding zone’ such as this.
Another important thing to note with tender plants is the need to gradually harden them off, rather than suddenly move them outside. This slow ‘toughening up’ reduces the chances of shock, which can severely check growth.
The easiest way to do this is by using a coldframe opened in gradual increments over the course of a week or two. Keep the lid closed at night until the last couple of days of the hardening off period.
If you don’t have a coldframe, a bit of horticultural fleece combined with a spot of ‘musical pots’ works just as well. A couple of weeks before you anticipate planting your lobelia out, wrap it in a couple of layers of fleece and place outside during the day (moving back into a warm, protected environment at night). Do this for a few days then reduce the fleece to one layer. After a few more days like this, remove the fleece completely. If it’s warm enough you can leave outside at night too, though reapply the fleece for this. Towards the end of the hardening off period, leave outside completely uncovered for a couple of days and nights before planting out as below.
Perennial species are best planted in spring as the soil begins to warm. Summer is another option, though be prepared to water frequently.
How to plant Lobelia
· For planting in the garden, dig the soil area removing any large stones and weeds and breaking up any lumps. Mix in plenty of organic matter such as manure or garden compost. Rake level and firm with your heels. Rake level again.
· Water plants well and allow to drain before planting.
· Dig a hole twice the width of the root-ball.
· Place the plant in the hole, ensuring the top of the root ball sits level with the surface of the soil. Too low and the plant may rot, too high and the roots can dry out.
· Backfill with soil and firm in gently with your foot.
· Soak well with water.
· Mulch around the base with well-rotted organic matter.
· For planting in a container, first choose an appropriately sized pot. You may wish to grow your lobelia on its own, in which case go for one just a few centimetres larger than the rootball. Alternatively, choose a large pot for a mixed display. Always ensure there are plenty of drainage holes in the bottom.
· If you are using a large or heavy pot, it can be a good idea to fill and plant it in situ to save yourself the trouble of moving once full.
· Use a good quality potting compost with plenty of horticultural grit mixed in, and, if not already present in the compost (check the description on the bag) some slow-release fertiliser granules.
· Start by partially filling the pot with compost; enough so that when placed on it the upper surface of the root ball is about 3cm lower than the top of the pot.
· Infill all the space surrounding the root ball with compost, firming down with your fingers then adding a little more so the plant is held tight.
· Pick up the container and lightly tap on the potting bench or ground a few times to help further settle the compost around the plant.
· Soak well with water.
· A mulch with horticultural grit will look attractive and help to prevent a ‘cap’ or crust forming on the top of the compost (something container plants can suffer due to the artificial nature of their watering).
What to plant with Lobelia
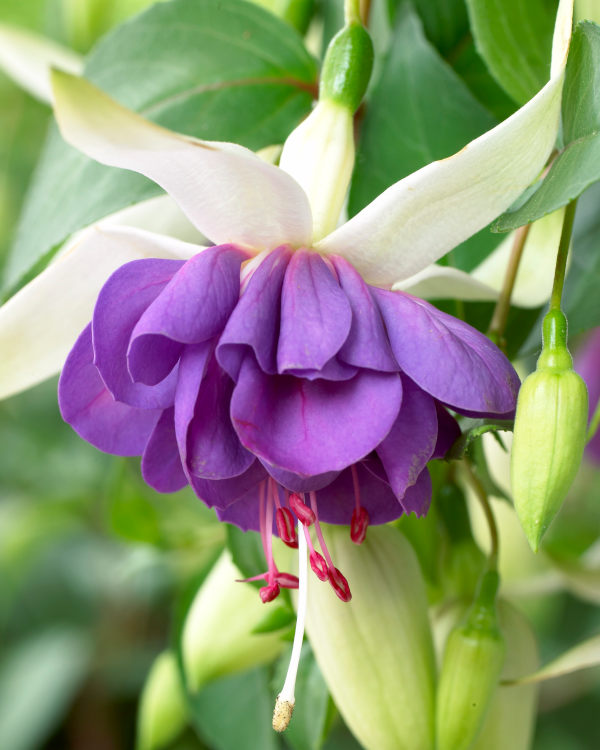
Annual bedding species can be used in conjunction with other patio favourites to create colourful and vibrant summer container displays. Think begonia, diascia, nemesia, calibrachoa, fuchsia, and petunia.
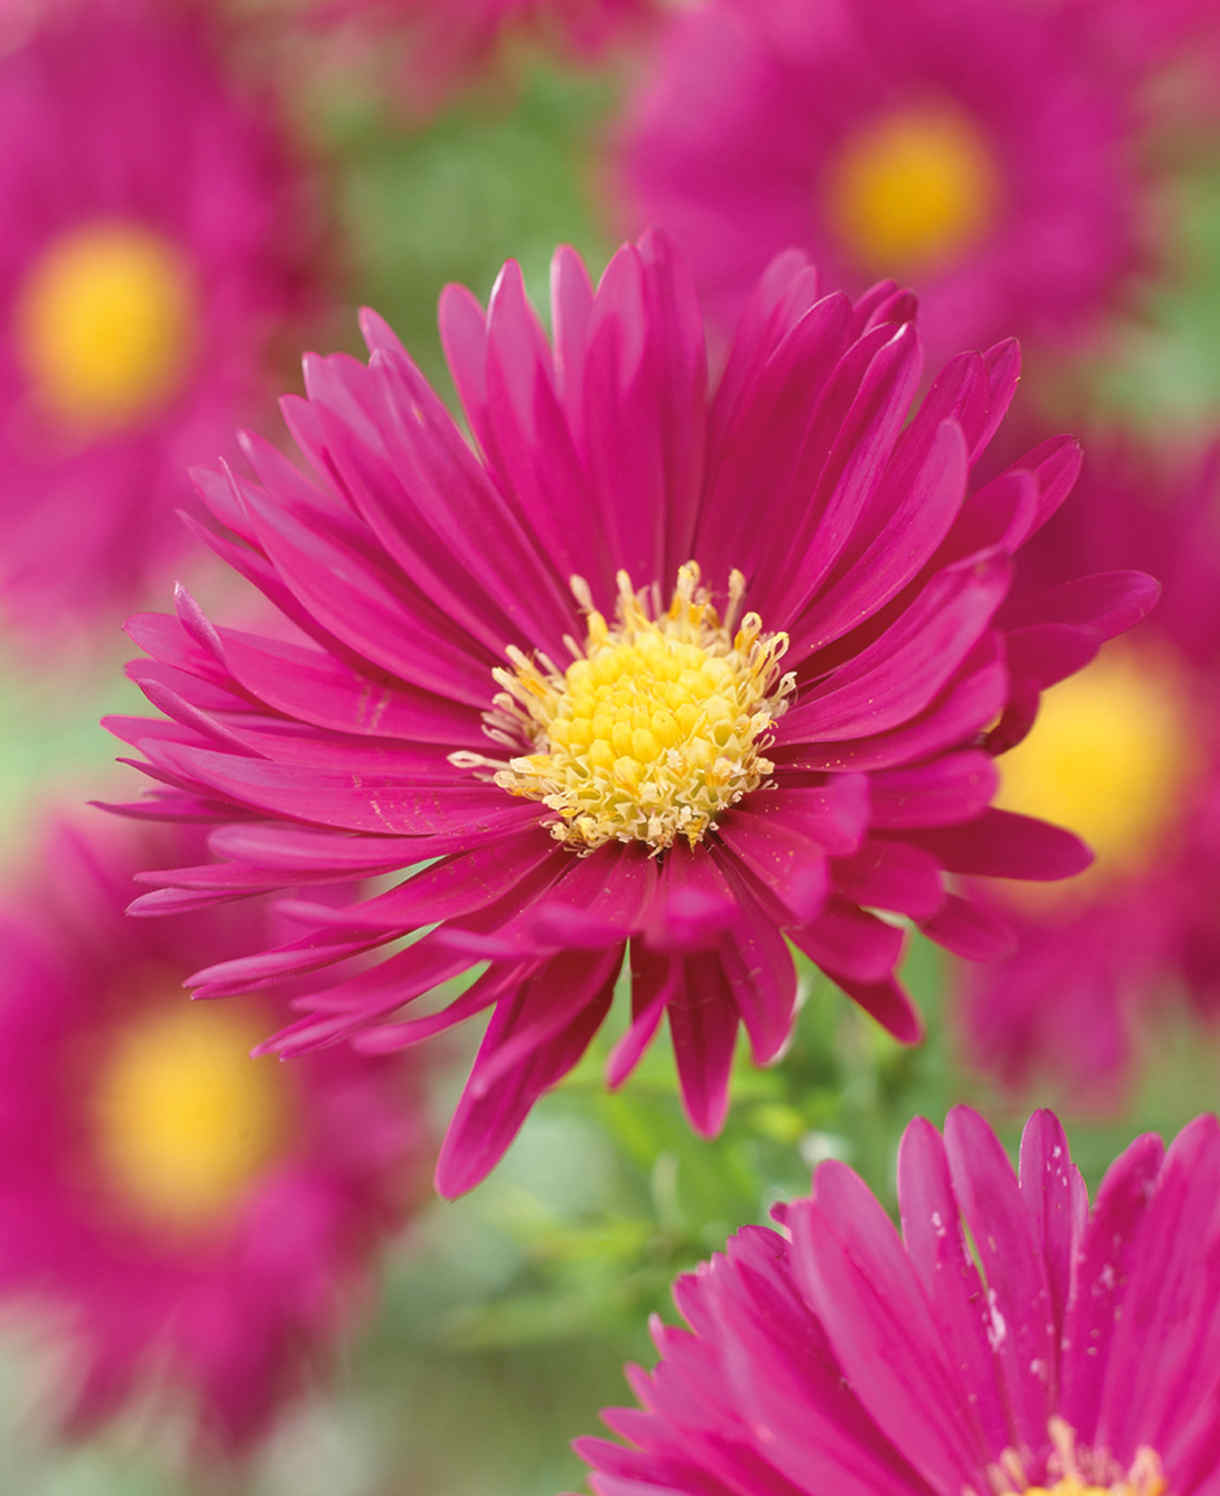
Perennial species grown in a reliably damp border pair beautifully with other moisture-loving companions such as inula, filipendula, Lychnis flos-cuculi, aster, monarda, astrantia, and persicaria.
How to care for Lobelia
Pruning and Deadheading
The annual bedding types are what’s known as ‘self-cleaning’, meaning they naturally drop spent flowers to make way for new ones and therefore don’t require deadheading. To keep things looking neat you can give this type of lobelia a midseason shear, though this is by no means essential.
At the end of the flowering period, simply remove plants to the compost heap.
The flower spikes of perennial species can be removed once they have finished. Cut back the whole thing in autumn to make room for a protective winter mulch (see ‘Cold Protection’ section below).
Watering
All types of lobelia need consistently moist conditions and will struggle if the soil or compost is allowed to dry out. For annual bedding types in containers, this means regular watering. Give a good soak on initial potting up then continue throughout the growing season, allowing the top couple of centimetres of compost to dry out each time. Bear in mind that in the height of summer you may be watering as often as once a day.
Perennial species in the ground should be given a good soaking on planting, and again a handful of times after this. If grown in consistently moist conditions and given a moisture-locking mulch, your lobelia should then be largely self-sufficient in all but the most prolonged periods of hot, dry weather. Grown in drier conditions it will need regular watering.
Feeding
Feeding is an important part of getting the most out of hungry bedding plants such as annual lobelia. Start with a balanced liquid feed every two weeks in spring and early summer, then from midsummer onwards, switch to a low nitrogen alternative such as tomato food. This stops the plant producing too many leaves and gives flowering a turbo boost.
Perennial species will perform fine given only a mulch, though even better with additional feeding. Apply a dose of balanced, general fertiliser in spring or early summer (blood, fish, and bone is ideal), and then a high potash feed in midsummer.
Cold Protection
Annual bedding types can be discarded at the end of the growing season.
Perennial types may either be treated in the same way or given a little extra care to help them come through winter: cut the whole plant back in autumn and pile a dry mulch over the crown (straw, bracken, or back chips all work well). Exceptions to this are the hardier L. siphilitica and L. x speciosa, which should survive an average UK winter without help. That said, like most perennial lobelia species they are relatively short-lived and likely to need replacing after a couple of years.
Pests and Diseases
Lobelias are fairly robust plants; however, slugs and snails can be a nuisance – particularly on young, fresh growth. Encouraging natural predators into your garden, such as birds, frogs, toads, and hedgehogs, makes a big difference. Torchlight searches after dark (when slugs and snails are at their most active) are also effective, allowing you to collect the offending molluscs in a bucket and dispose of as you see fit. Relocating to a nearby woods or bagging up and putting in your freezer before popping them in the bin are said to be the most humane approaches.
How to propagate Lobelia
Most annual bedding types are unlikely to produce viable, true seeds, therefore it is advisable to start afresh each year with new plants.
For perennial species, the quickest and easiest way to propagate is to lift and divide in spring:
1. Choose a day when the soil is not frozen or waterlogged.
2. Dig the plant out of the ground.
3. Shake off any excess soil.
4. Separate the plant into sections using either swift, cutting blows with a sharp spade, or two forks inserted back-to-back with tines touching, handles then pushed together to prise the plant apart.
5. Discard old, damaged, or surplus pieces, keeping healthy, vigorous material.
6. Replant decent-sized pieces where desired, and any smaller bits can be potted up.
7. Water well until fully established.
L. cardinalis may also be propagated by softwood cuttings taken in summer:
1. In the morning (plants are more turgid at this time and less likely to wilt during the process), take 10cm cuttings from the soft tips of new, non-flowering shoots. Snip off just above a bud using sharp, clean secateurs.
2. Place in a clean plastic bag in which to transport the cuttings back to a potting bench or garden table.
3. Fill a container with a well-draining compost mix.
4. Trim the end of the cutting to just below a node (point at which leaves grow).
5. Remove the lowest third of the leaves.
6. Insert the cuttings into the compost and water lightly. Several cuttings can be put in the same container if there is enough space to do this without them touching.
7. Place in a propagating unit with bottom heat if you have one, or covered with a plastic bag on a warm windowsill if not (out of direct sunlight). If using a plastic bag, remove it a couple of times a week for around ten minutes. This will ensure the cuttings remain well-ventilated and don’t rot.
8. Keep the cuttings misted and occasionally watered until they root. You will know this has happened when roots emerge out of the bottom of the container.
9. Gently remove rooted cuttings and pot them into individual pots. Grow on in a protected environment such as a conservatory, greenhouse, or that windowsill again, before planting out as above.
* Many plants carry Plant Breeders Rights and cannot be propagated for commercial purposes.
Common Lobelia Questions
How do you keep lobelia blooming?
The answer to this lies not in deadheading, but in feeding and watering. Follow our advice above to maximise the flowering potential of your plants.
Where does lobelia grow best?
Choose a sheltered spot with plenty of sun and perhaps a little light shade.
Is lobelia hard to grow?
Annual bedding types of lobelia are one of the easiest, most floriferous plants you can grow.
Given adequate water, perennial types can be relied on to perform fantastically in their first year. After this they can be variable, which is why many gardeners choose to treat them as annuals or biennials.
Does lobelia grow well in pots?
Annual types are perfect for pots. Perennial species do better in the ground, though can still be grown in pots provided they are regularly watered – a saucer placed underneath can help maintain consistent moisture levels.


