


How to grow Kalimeris
The plant genus Kalimeris are clump forming perennials within the family of Asteraceae. A huge family containing over 32,000 known species from 1900 genera.
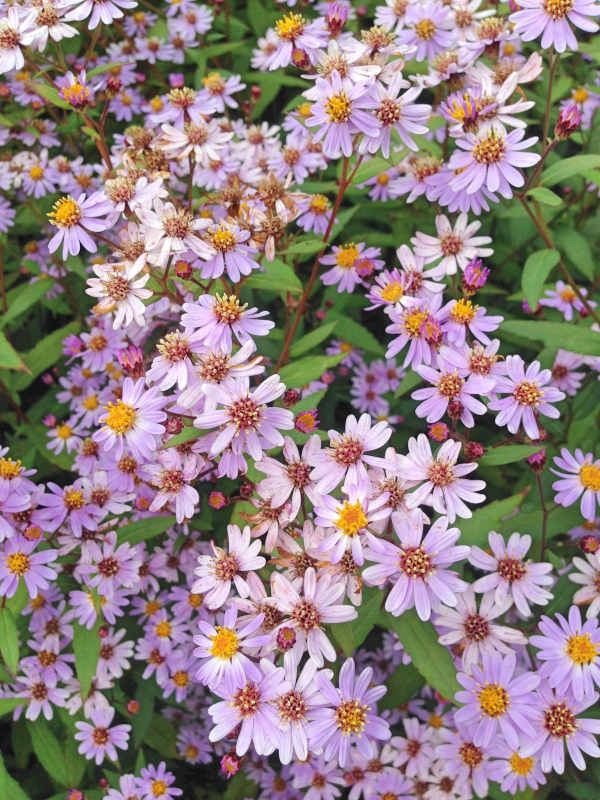
Commonly called ‘Korean Aster’ which is where they are naturalised along with other countries in eastern Asia – China, Japan – and Hawaii! Plant taxonomy wise their closest relatives are found in Asian Asters sharing the same chromosome base number.
There currently are 16 species within the genus of Kalimeris. All are herbaceous perennials growing leafy stems 1-1.5m in height. Leaves vary by variety and can be blue green in colour and can be long and narrow or round, toothed or lobed.
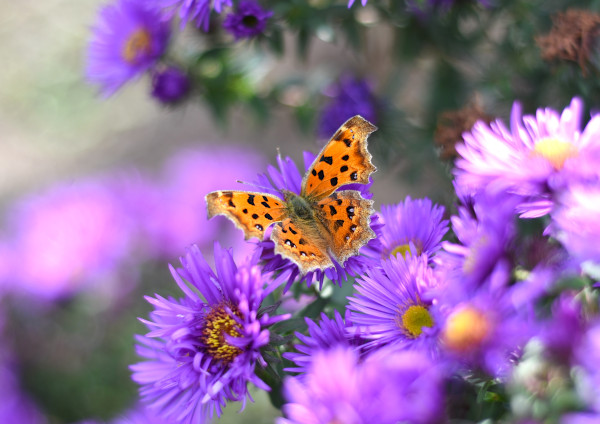
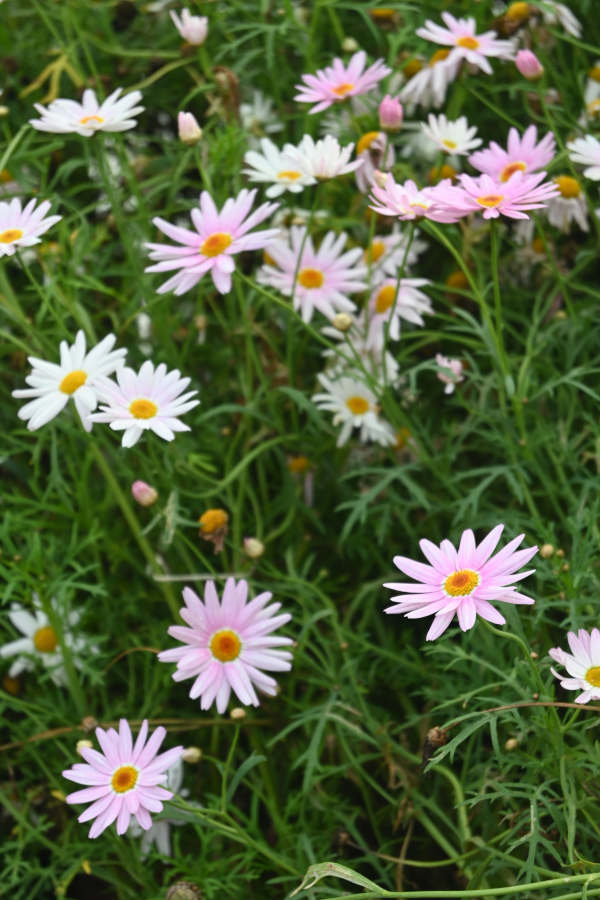
Aster like, daisy shaped flowers are produced atop the stem in either single or small flat topped clusters of disc shaped florets. The central disc is yellow whilst the outer ray florets are pink, white or purple.
A key benefit of kalimeris over its close relative the Aster, is that they rarely get mildew and are usually unaffected by the scourge of all gardeners – slug and snails! They have a longer flowering period of arching sprays and their tough stemmed growth is more naturalistic in the border and doesn’t need staking.
All kalimeris species provide invaluable pollen to pollinating insects such as butterflies, bumblebees, honeybees and hoverflies.
*Some varieties of kalimeris are often used synonymously with aster. In more recent years, botanists have been able to use DNA sequencing to separate the species of Aster into more narrow genera groupings. Until then kalimeris was previously accepted into the loser genera division of Aster. Many species names are listed as unresolved by the Royal Horticultural Society.
Zantedeschia is a genus of flowering plants from the family Araceae and is native to southern Africa. With a rich history dating back to the Ancient Romans, these deciduous or semi-evergreen perennials have been used as a symbol of celebration. Zantedeschia was Named after Professor Giovanni Zantedeschia, an Italian botanist.
There are two main forms of Zantedeschia: hardy and tender. Hardy forms of the plant can be grown outdoors, enjoy moist soil and full sun or partially shaded conditions - these are known as Arum lilies. Tender forms of Zantedeschia prefer being grown in containers or pots and should be brought inside over the winter - these are known as Calla lilies.
With tuberous flora in all colours from whites, yellows and oranges to deep reds and purples, Zantedeschias are not to be overlooked in any garden, as long as they have sufficient sunlight to grow in.
Ready to learn more about growing Zantedeschia? Read on for all there is to know...

Key Information
Soil pH

Position
Hardiness

Where & when to plant Kalimeris
Position - Full sun
Soil - Moist well drained soil which can be chalk, clay, loam or sand and copes with most pH levels.
Flowers - Summer to Autumn if soil is moist.
Horticultural Divisions
Here we list out the most popularly cultivated species available in the U.K.
| Species | Common name |
Hardy in the severest European continental climates H7 (< -20°C
| Kalimeris incisa | Japanese Aster |
Kalimeris lautureana |
| |
Kalimeris mongolica | Genghis Khan aster |
Kalimeris can be planted all year around when purchased grown in pots. Avoid planting out into water logged or frozen soil.
If container grown plants are planted out during the active summer growing season make sure that they are watered regularly until the plant has settled into its new location. Water at soil level rather than the foliage.
Kalimeris are ideal in cottage garden schemes, prairie planting, coastal gardens, flower borders and cutting gardens.
How to plant Kalimeris
- For planting in the garden, dig the soil area removing any large stones and weeds and breaking up any lumps. Mix in some organic matter, ideally leaf mould, though manure or garden compost are also fine. Rake level and firm with your heels. Rake level again.
- Water plants well and allow to drain before planting.
- A good tip is to dig a hole twice the size of the root-ball. Fill with water and allow to drain before placing in the plant which is especially good for summer plantings.
- Remove the plant from its pot placing the plant in the hole, ensuring the top of the root ball sits level with the surface of the soil. Too low and the plant may rot, too high and the roots can dry out.
- Backfill with soil and firm in gently with your foot.
- Soak soil well with water.
- For planting in containers, first choose an appropriately sized pot around 5-7cm larger than the root ball of your plant (you’ll need to gradually increase the pot size every few years). Always ensure there are plenty of drainage holes in the bottom.
- Use a good quality potting compost if you have it and mix with garden soil. Mix in some horticultural grit and, if not already present (check the labelling on the bag) some slow-release fertiliser granules.
- Start by partially filling the pot with compost; enough so that when placed on it the upper surface of the root ball is about 3cm lower than the top of the pot.
- Fill around the plant with compost, firming down with your fingers then adding a little more so it is held tight.
- Pick up the container and lightly tap on the potting bench or ground a few times to help further settle the compost around the plant.
- Soak well with water.
What to plant with Kalimeris
Outdoors, plant alongside plants with different shaped or coloured foliage as a contrast whilst also making sure nearby plants have interest when kalimeris does not.
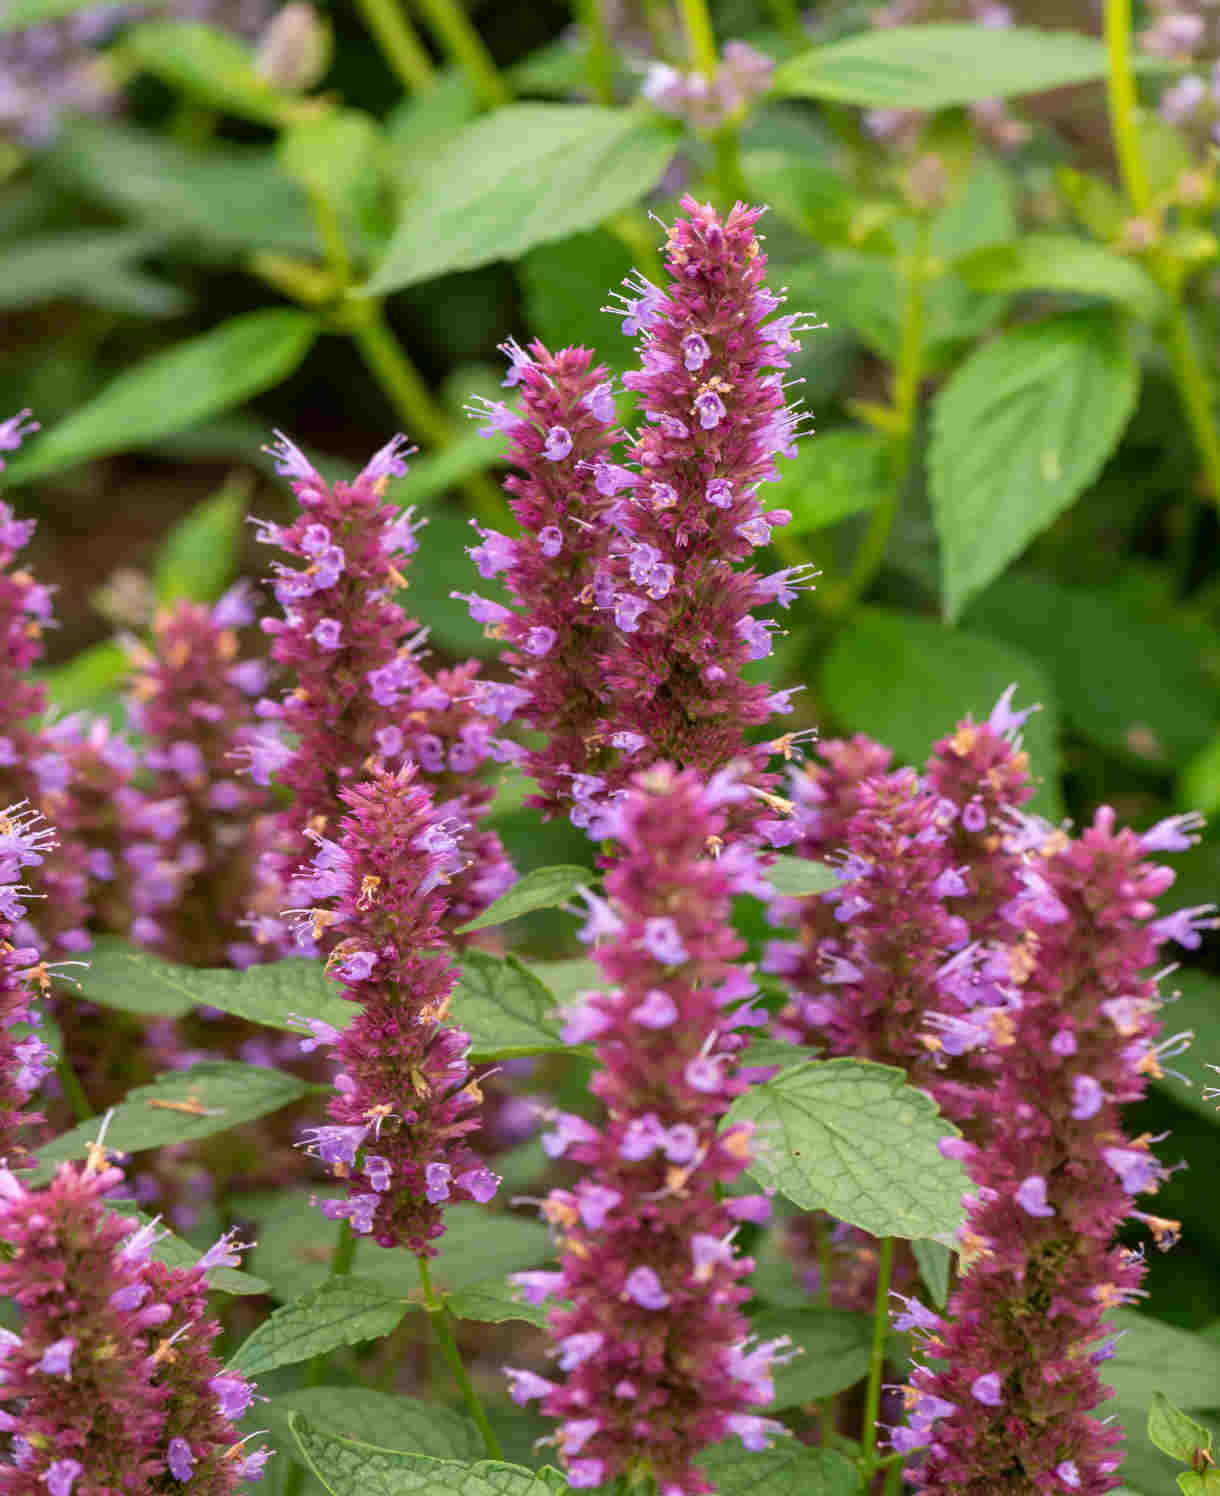
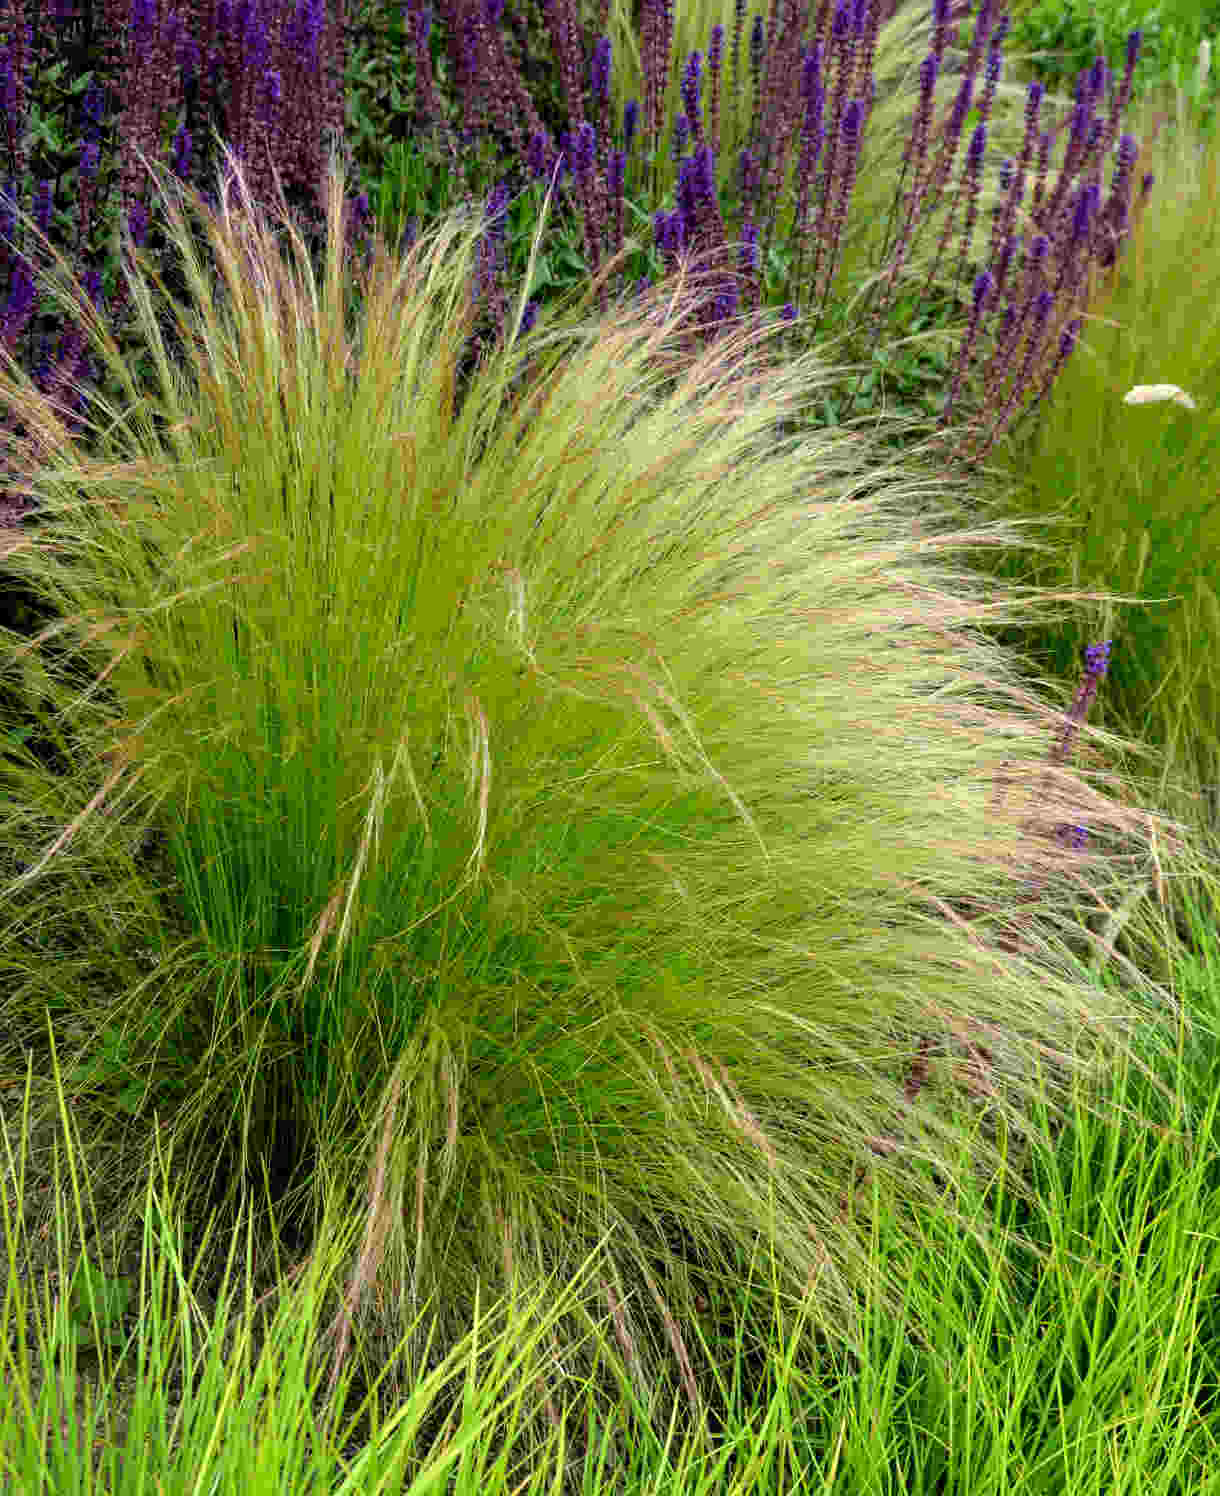
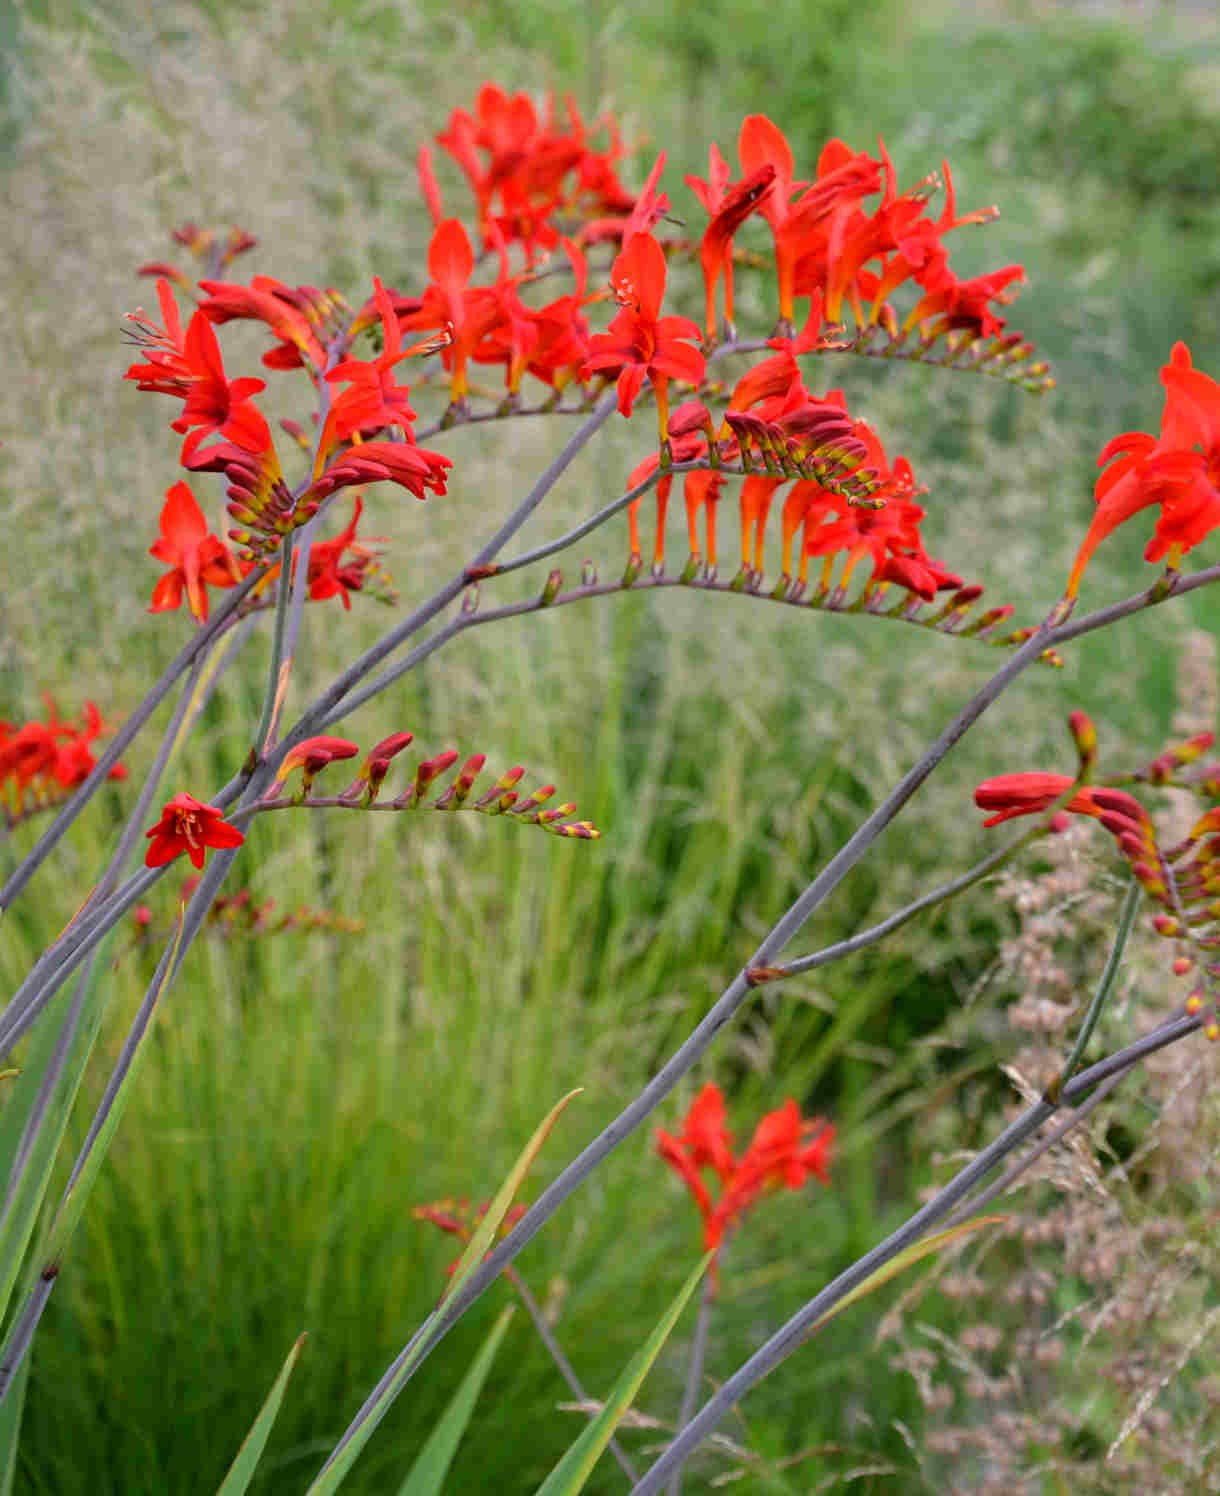
Try plants such as Alstroemeria, Agastache, Crocosmia, Hibiscus, Hydrangea, Grasses and Bamboo, Roses, Rudbeckia and Viburnum.
How to care for Kalimeris
Pruning and Deadheading
In spring as stems are forming nip the tips out when they are a 5-10cm high to encourage bushier growth.
After flowering in autumn, if the flower stems are still upright leave them to provide winter interest and seeds for wildlife. In early spring or when they look untidy cut all stems to ground level.
Watering
On planting outside, they benefit from a good watering in on planting and then regular soakings until established. After this unless there is prolonged season of dry weather they should not need watering.
If grown in containers water the soil regularly checking the compost to see if the soil is dry when you wiggle your fingertip into the soil surface.
Feeding
On healthy, fertile soil, a mulch of well-rotted organic matter (i.e., a layer of leaf mould, manure, or garden compost applied to the soil around the plant) should provide enough nutrients for your kalimeris. This has the added benefit of suppressing weeds and locking in moisture. Mulch when planting, and then again each spring.
Container-grown plants are different as they rely solely on the gardener for nutrition. Get off to a flying start by making sure you use a good quality compost with slow-release granules mixed in. These generally provide nutrients for around 6 to 8 weeks, after which you’ll need to apply a liquid feed every 2-3 weeks until the end of the growing season (i.e., September-ish).
Remember to repot your kalimeris every few years into a slightly larger pot using fresh compost. In-between, it’s worth removing the top few centimetres of compost each spring and replacing with a fresh mix of compost and slow-release granules.
Cold Protection
Kalimeris are winter tough plants so do not need any particular cold protection.
Pests and Diseases
Kalimeris are generally pest free in the garden.
How to propagate Kalimeris
Kalimeris can be propagated from division or softwood basal cuttings.
Perennial Division.
When your plant is at least 3 years old and has been growing well in the previous season you should be able to divide the root structure into more plants during early spring.
- Make sure the plant is not suffering from drought, pest or disease.
- Lift plants carefully by digging all around its crown with a fork.
- Shake off excess soil so you can clearly see the roots.
- Carefully tease the root ball apart into 2 or 3 portions using a sharp knife or two garden forks back to back ensuring each portion has a good piece of crown and a good amount of root growth.
- Pot up each segment individually into pots of good quality compost or plant back into the garden. Hold the growth crown carefully with fingertips of one hand with the other hand backfill the compost around the roots lightly firming in. Ensure the crown is planted at the same depth as before.
- Water well and leave in a light shady spot keeping moist at all times.
- The kalimeris should show signs of further growth within a couple of weeks.
Softwood basal cuttings
- In spring collect some young shoots at the base of the kalimeris which are at least 7-10cm long with leaves unfolding. Using a sharp knife cut as close to the base of the plant as possible.
- Select a stem which is 5-10cm long using a sharp knife trim below a node (leaf joint) Remove the lower sets of leaves leaving 2 to 4 leaves at the top.
- Pinch out the soft tip to just above a leaf joint and dip the base into rooting hormone powder or liquid.
- In a ready watered and drained pot level filled and lightly firmed with good quality new compost, make a hole for the cutting with a dibber. Insert the base of the cutting until the first set of leaves are just above the surface.
- In a 9cm pot you can put 3 cuttings in a triangular formation making sure the leaves are well within the edges of the pot.
- Covering with a plastic sandwich- like-bag to form a mini propagator is a good idea for the first few weeks. Hold the bag in place on the pot with an elastic band or string. Ensure the bag is stiff enough to hold upright above the plants foliage. The plastic bag holds in moisture keeping the humidity high which reduces the rate of water loss from the cutting, increasing the success rate of propagation.
- Place the pot on a saucer away from direct sunlight, yet in a light area that is around 18-24oC.
- At least twice a week remove the bag to allow some ventilation to the cuttings for 15 minutes. Check the soil surface feels damp.
- Rooting takes 2 to 4 weeks. Gently pull on one of the cuttings if it shows resistance then it is likely roots are forming. The bag can now be removed for longer periods of time gradually acclimatising the cuttings to their surroundings. (Hardening Off)
- Remove any dead or decaying material regularly.
- Once hardened off for 3-4 weeks the cuttings should be ready for potting on individually. Carefully remove the plants from the pot as one root ball. Checking for signs of good rooting - if not ready, leave to develop for few more weeks. Carefully separate each cutting ensuring a good portion of root is kept intact potting on into individual 9cm pots. Water well and leave to develop in a light sheltered environment until established. A good tip is to pinch the growing tips of new stems as they grow to encourage a bushy plant.
* Many plants carry Plant Breeders Rights and cannot be propagated for commercial purposes.
Common Kalimeris questions
Is kalimeris hardy?
Yes kalimeris is completely hardy in all UK gardens.
Can you grow kalimeris indoors?
No, kalimeris is an outdoor garden plant.
Do rabbits eat kalimeris?
Kalimeris is rabbit and deer resistant.
Is kalimeris poisonous to dogs?
There are no known toxic effects reported.
