How to grow bulbous Iris
Iris is a large genus of flowering perennials, grown for its kaleidoscopic range of intricately marked blooms and named after the Greek goddess of rainbows. The many hundreds of species can be grouped into three main categories. Bulb irises tend to be small and spring flowering (though there are a few taller, later forms too); moisture-loving irises are useful for boggy areas and pond margins; and border irises are popular as a source of colour and height in summer planting schemes.
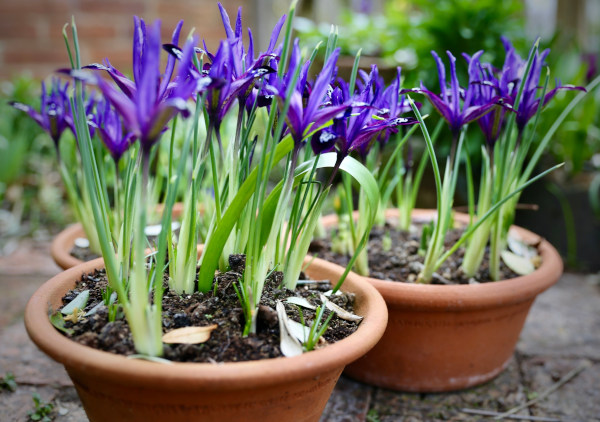
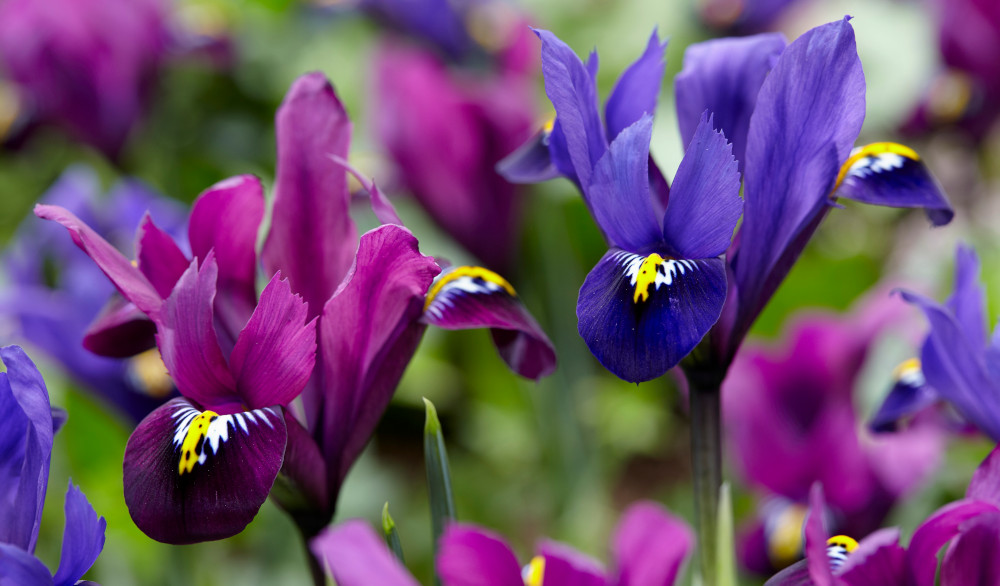
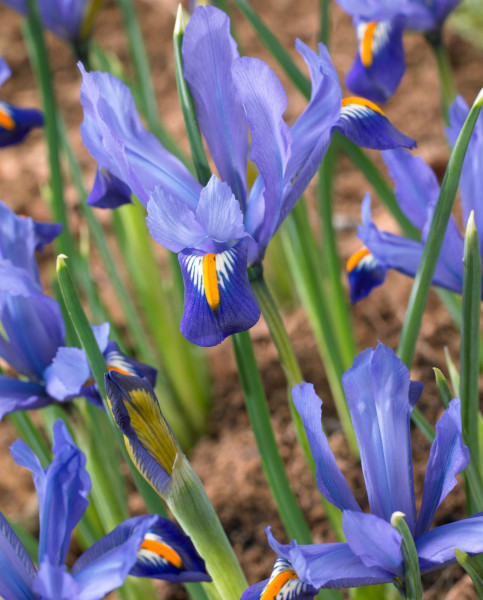
This growing guide will focus on bulb irises. The species most likely coming to mind are the diminutive, early flowering types with flowers in shades of blue, yellow, and white, such as Iris reticulata, I. histrioides, and I. danfordiae. Flowering from February, these are some of the earliest blooms in the garden. They make short-lived additions to the garden and usually need renewing every few years.
There are also summer-flowering bulb species, chief among which are the Dutch irises (I. x hollandica). With large blooms held on long, straight stems this hybrid was initially developed for the cut flower industry, however when it was discovered that its bulbs could be tricked it into growth at any time of year and therefore produced on a mass scale, it quickly became a popular garden plant. Usually flowering in April and May, Dutch irises arrive earlier in the season than other summer-flowering bulb species, such as the lesser grown yet equally as beautiful Spanish irises (I. xiphium) and English irises (I. latifolia). Given the right conditions, this group tends to be more reliably long-lived than the spring-flowering types.
Key Information
Soil pH
Position
Hardiness

Where & when to plant bulbous Iris
Position - A spot which receives full sun during the flowering period. For spring-flowering types, the ground beneath deciduous trees is fine, as this only shades over once flowering is complete.
Avoid a permanently shaded position.
Soil - Any free-draining soil. Spring-flowering species dislike much moisture, while summer-flowering types can take it a bit damper, particularly English irises.
Avoid heavy, wet soils.
Flowering Period - February to March, or April/ May/ June, depending on the species.
Hardiness - Hardy. Dutch irises are rated H5, i.e., hardy to between -10 and -15°C (fine throughout most of the UK), while the other species are even hardier – H6 and H7.
Bare iris bulbs are best planted in autumn for flowers the following year.
Plant spring-flowering species in naturalistic swathes to liven up bare, winter borders or the ground beneath deciduous trees and shrubs. Summer-flowering varieties make attractive drifts of early colour in herbaceous borders, or perfect fillers between roses and peonies.
Bulb irises can also be grown in shallow containers, which gives you the option to bring them indoors during the flowering period and enjoy as a temporary houseplant.
How to plant bulbous Iris
- For planting into the ground, start by digging the soil area over, removing any large stones and weeds and breaking up any lumps.
- Rake level and firm with your heels. Rake level again.
- For a naturalistic drift, scatter bulbs onto the ground and plant wherever they land, repositioning slightly if any bulbs are too close (i.e., less than about 10cm apart).
- For each bulb, dig a hole so the bulb can be planted at a depth twice its height. For spring-flowering bulbs, increasing this to at least 10cm will increase the likelihood of flowers the following year– planted shallowly they are prone to splitting into masses of tiny bulbils which take at least two years to reach flowering maturity (by which time they’ve more often than not fallen victim to fork or spade).
- Place the bulb in the hole (pointy side up).
- Backfill with soil and firm in gently.
- Soak well with water.
- For planting in containers, first choose an appropriately sized pot. Like all bulbs, irises can be planted more closely together in a pot than in the ground. Always ensure there are plenty of drainage holes in the bottom.
- If you are using a large or heavy pot, it can be a good idea to fill and plant it in situ to save yourself the trouble of moving once full.
- Use a good quality potting compost with plenty of horticultural grit mixed in, and, if not already present in the compost (check the description on the bag) some slow-release fertiliser granules.
- Pot up the bulbs, following the depth guidelines above and leaving a gap of a few centimetres between the surface of the compost and the top of the pot. This makes watering easier and more efficient.
- Pick up the pot and lightly tap on the potting bench or ground a few times to help further settle the compost around the plant.
- Soak well with water.
- A mulch with horticultural grit will look attractive and help to prevent a ‘cap’ or crust forming on the top of the compost (something container plants can suffer due to the artificial nature of their watering). It also keeps the flowers clean as they emerge and prevents blackbirds tossing the compost about.
What to plant with bulbous Iris
Marvellous on their own, or as an early-flowering storey of a bulb lasagne.
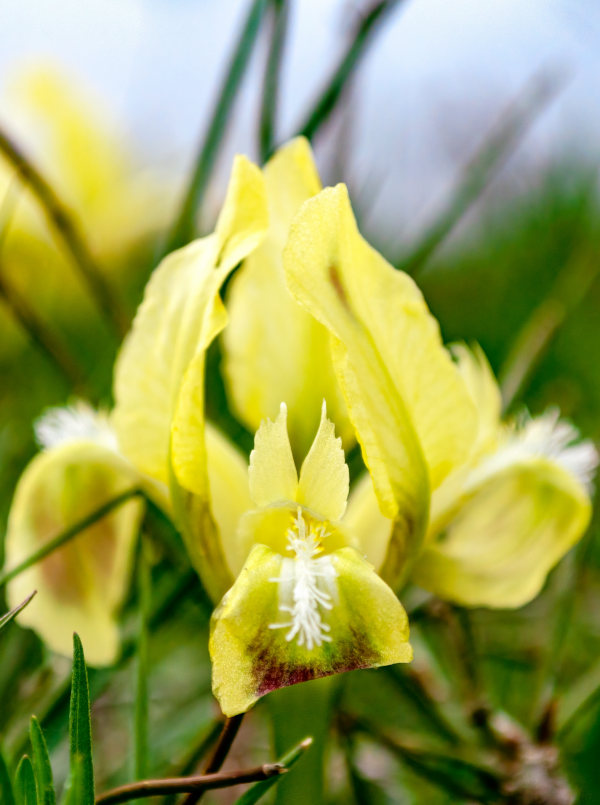
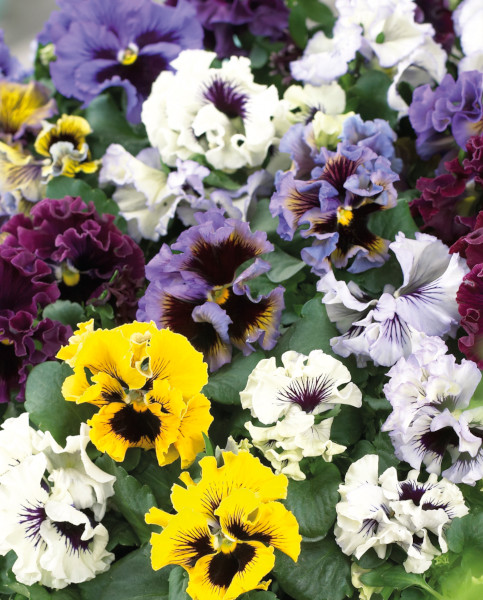
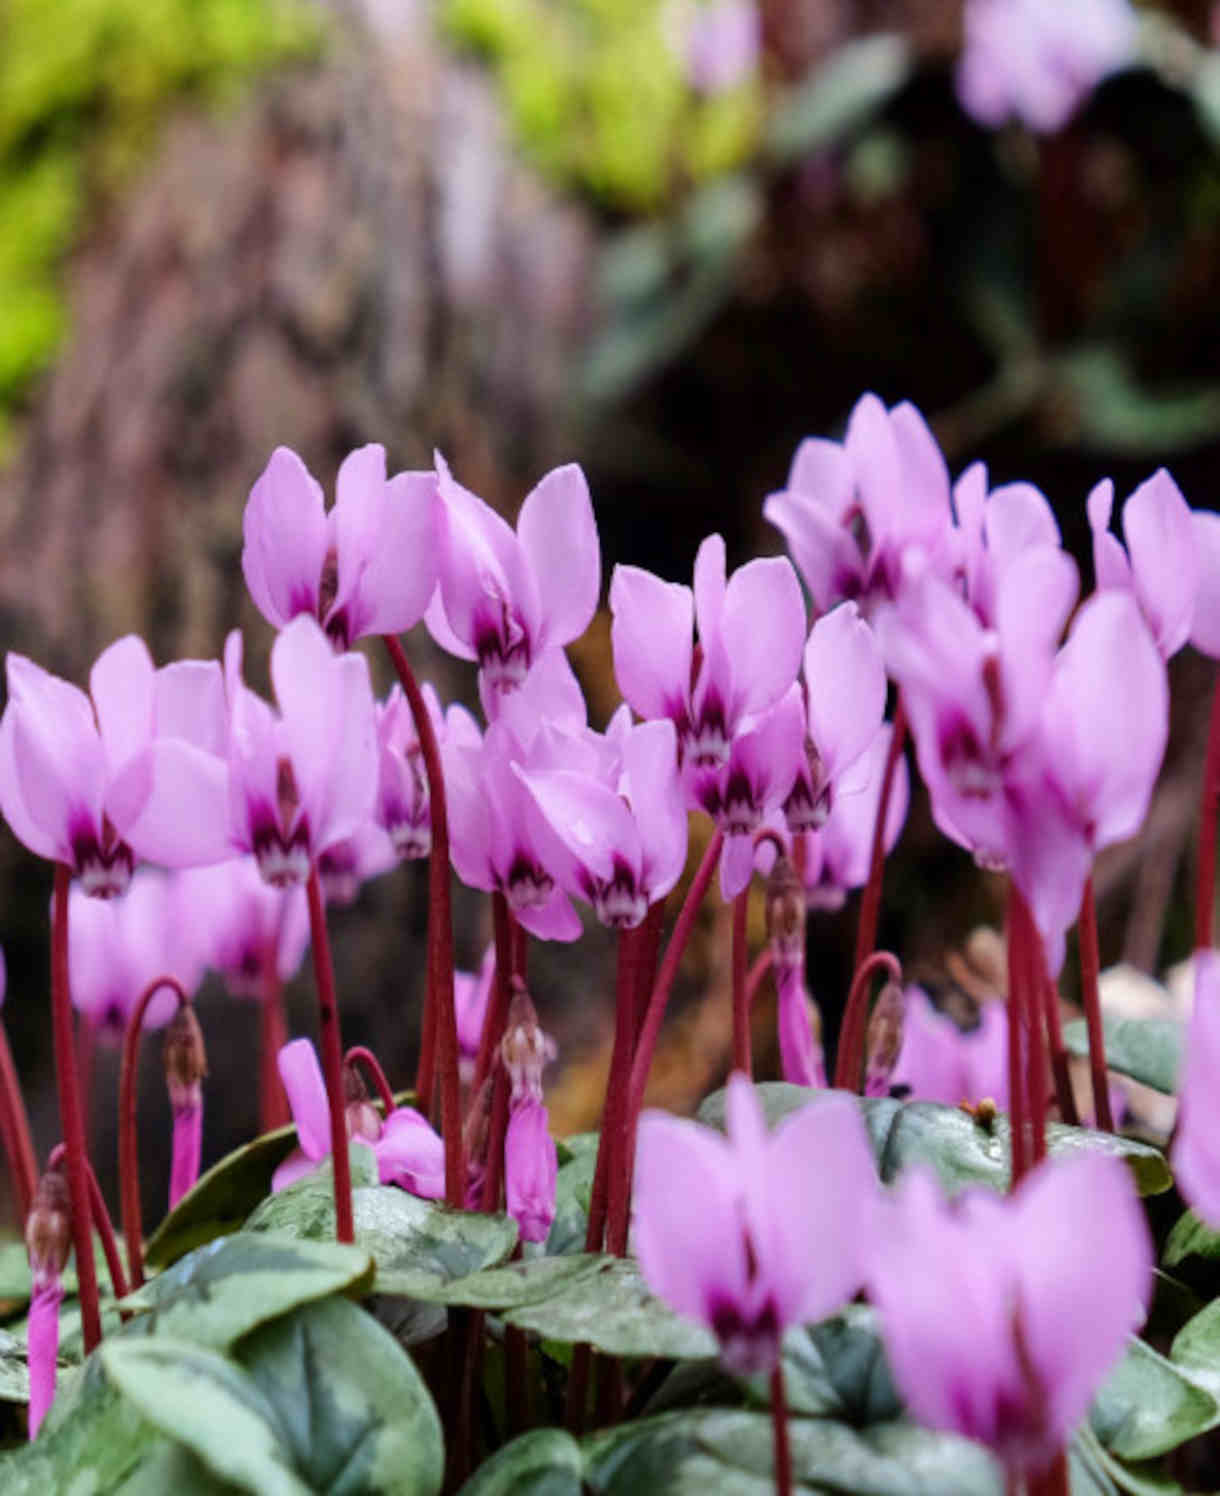
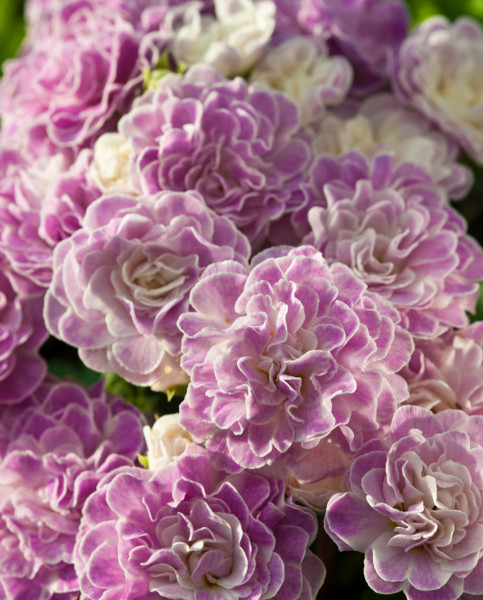
Combining well with other low growing spring beauties such as Snowdrops or Crocus, early pollinators will enjoy seeking out the nectar rich centres. Polyanthus, Violas, Cyclamen and Primroses all compliment Iris reticulata, creating spring carpet colour.
Summer-flowering bulb irises can play an essential role in that delightful, early rush of colour and beauty in the summer garden. Choose companions with a similarly early season of interest, such as allium, aquilegia, thalictrum, digitalis, lupin, geum, papaver, and peony.
How to care for bulbous Iris
Pruning and Deadheading
Bulb irises require little intervention – the flower stem and foliage will die back naturally after flowering, so simply wait until these are dry and brown then pull away if you wish.
Watering
After their initial soaking, iris bulbs in the ground should not require any additional watering. In a container, keep the compos moist from autumn to late spring. Cease watering when the foliage dies down (this allows the bulbs to enter dormancy).
Feeding
Bulb irises aren’t hungry plants, and on healthy, fertile soil shouldn’t require feeding.
Container-grown plants are different as they rely solely on the gardener for nutrition. Get off to a flying start by making sure you use a good quality compost with slow-release granules mixed in. Then, when the bulbs are in active growth, add a liquid fertiliser to the can whenever you water (a high potash feed such as tomato feed is ideal).
Cold Protection
Bulb irises are hardy enough to withstand a UK winter without the need for additional protection. Wet, waterlogged soil is more likely to cause problems than plunging temperatures.
Pests and Diseases
Bulb irises are largely problem free, though slugs and snails can sometimes be an issue. Encouraging natural predators into your garden, such as birds, frogs, toads, and hedgehogs makes a big difference. Torchlight searches after dark (when slugs and snails are at their most active) are also effective, allowing you to collect the offending molluscs in a bucket and dispose of as you see fit. Relocating to a nearby woods or bagging up and putting in your freezer before popping them in the bin are said to be the most humane approaches.
How to propagate bulbous Iris
Many species of bulb iris produce bulbils, or small ‘daughter’ bulbs, which can be separated and potted up in autumn.
- Choose a day when the ground is not frozen.
- Using a garden fork, carefully lift a clump of bulbs out of the ground.
- Shake off any excess soil, and gently tease away any bulbils.
- Pot individually into small containers filled with a gritty compost mix.
- Keep just moist from autumn until late spring, allowing to enter dry summer dormancy after this. Resume watering in autumn.
- Expect the bulbs to reach flowering maturity in a couple of years. Plant out as above.
* Many plants carry Plant Breeders Rights and cannot be propagated for commercial purposes.
Common Question about bulbous Iris
How do I treat bulb irises as temporary houseplants?
Grow outdoors or in a well-ventilated greenhouse until you see the first buds starting to open. Enjoy the flowering period inside, then return to their original location once blooming has finished.
I think something has been digging up my iris bulbs. Any ideas?
This is likely to be squirrels. If these are a problem in your area, it can be worth pinning a length of chicken wire over the surface of the soil where bulbs have been planted.
