How to grow Iris
Iris is a large genus of flowering perennials, grown for its kaleidoscopic range of intricately marked blooms and named after the Greek goddess of rainbows. The many hundreds of species can be grouped into three main categories. Bulbous irises tend to be small and spring flowering (though there are a few taller, later types too); moisture-loving irises are useful for boggy areas and pond margins; and border irises are popular as a source of colour and height in summer planting schemes.
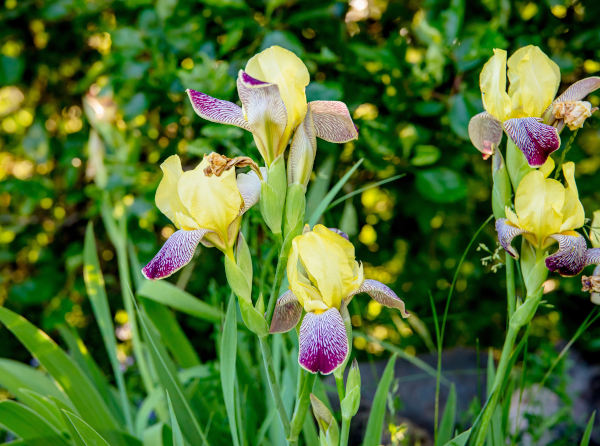
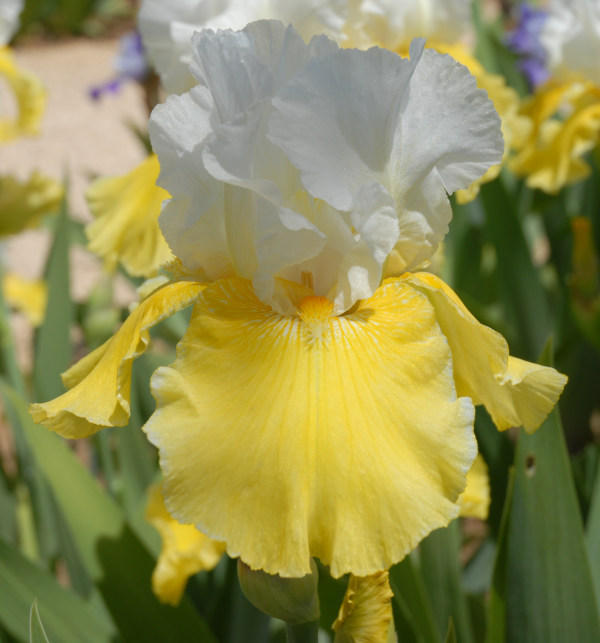
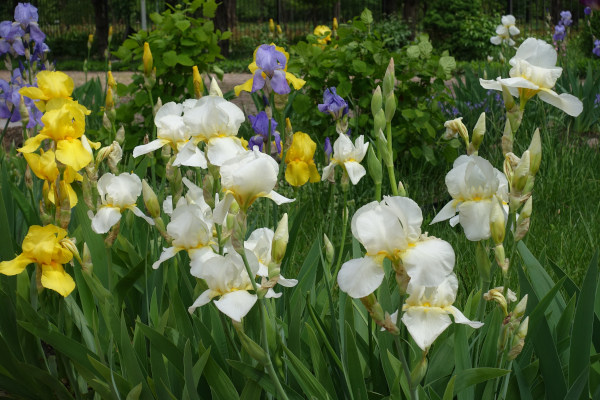
This growing guide will focus on border irises. Iris germanica is by far the most widely grown species in this group, commonly known as the bearded iris due to the stripe of hairs found on the lower petals. There are many hundreds, if not thousands of cultivars, offering almost every conceivable colour and combination apart from a clear red. Many have flamboyant ruffles, and all tend to bear a fan of chunky, sword-like blue-green leaves. Both flowers and foliage emerge from thick, knobbly rhizomes. Originating from the Mediterranean and the Middle East, this type of iris enjoys sunbaked, dry growing conditions which are best achieved in the UK by positioning the rhizomes on the surface of the soil rather than submerged in it.
The other main border iris species is I. sibirica, or Siberian iris. This forms a clump of fleshy underground roots rather than surface rhizomes, with foliage which is narrow and grassy. It is more adaptable when it comes to growing conditions; its natural origins are damp areas throughout Europe, Turkey, and Russia, though it can happily grow in drier soil once established. Much like its bearded counterpart there are numerous cultivars available, though the colour range is more limited to blues and creamy yellows.
Both species vary greatly in size depending on the cultivar, their height measuring anything from 30 centimetres to over 1 metre when in flower. As a general rule, shorter bearded iris cultivars bloom earlier than taller ones – within their early summer flowering period.
Key Information
Soil pH
Position
Hardiness


Where & when to plant Iris
Position - A sunny, open spot is best, though Siberian irises will also grow well in dappled shade.
Soil - Bearded irises prefer a well to free-draining soil. Siberian irises will grow in any reasonable soil i.e., not bone dry or waterlogged.
Flowering Period - Early summer
Hardiness - Very hardy, usually rated H6 (-15 to -20°C), or H7 (-20°C and beyond).
Border irises can be bought in bareroot form or as potted plants. The bareroots are best planted in either late summer/ early autumn, or spring. Potted plants can be planted at any time during the growing season (March to mid-November), though be prepared to water frequently if you do so during the heat of summer.
Familiarise yourself with the eventual height and spread of your chosen iris before settling on a planting spot. Tall forms do well towards the back of a border, while shorter varieties suit the front or even a container display. Bearded irises like plenty of room and good airflow, while Siberian irises are able to jostle for space with other plants and will even do well in a meadow.
How to plant Iris
- For planting in the garden, dig the soil area removing any large stones and weeds and breaking up any lumps. Mix in a little well-rotted organic matter such as manure or garden compost. Rake level and firm with your heels. Rake level again.
- Plant bearded irises in groups with a spacing of around 30 centimetres for larger cultivars, 15 centimetres for smaller.
- When planting,
- For potted plants:
- Water well and allow to drain before planting.
- Dig a hole twice the size of the root-ball.
- Place the plant in the hole, ensuring the top of the compost sits level with the surface of the soil. Remember that the knobbly rhizomes of bearded irises need to sit on top of the soil. Another common error at this point is planting the rhizome in a way that it shades itself out with its leaves. Remember the rhizomes need sun ‘ripening’ to produce good flowers, so always try to position them with the leaf fan at the ‘north’ end rather than where they will block out the light.
- Backfill with soil and firm in gently.
- If it hasn’t already been done, trim the foliage of bearded irises back to reduce wind rock; until the roots establish the plant has no anchorage in the soil, and its leaves can act as a sail in the wind. Cut down to 10-15 centimetres, always in an arrow-like point rather than straight across (this encourages water to run off and helps avoid the rhizome rotting).
- Soak well with water.
- For bareroot:
- Dig a hole large enough to fit the rhizome and roots.
- Hold the rhizome in place, i.e., where it will sit on the soil surface, and not block out its own sunlight (see above).
- In fill around the roots with soil and firm in gently.
- Soak well with water.
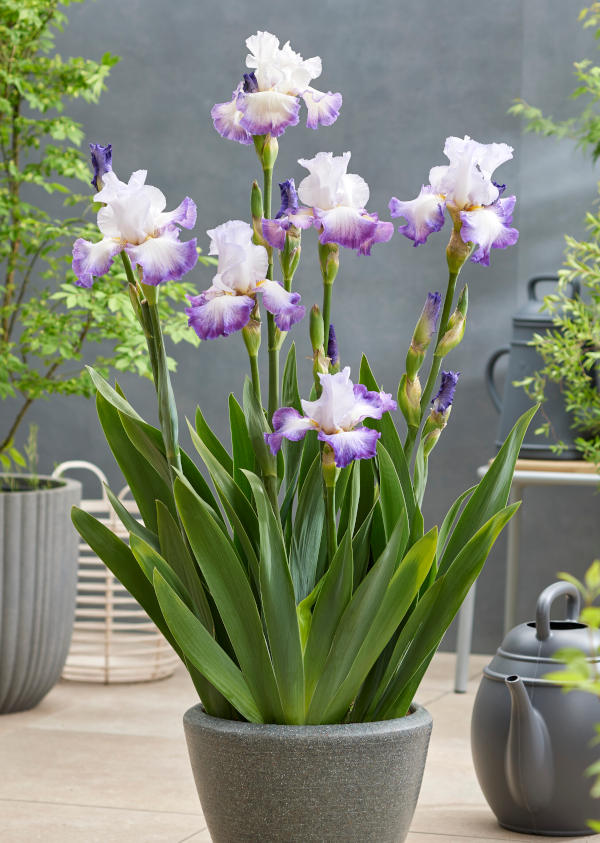
- For planting in containers (remember, smaller forms are best for this), first choose an appropriately sized pot with plenty of drainage holes. Iris is relatively shallow rooted, so the pot needn’t be especially deep, though going fairly wide can be a good idea, particularly when it comes to bearded irises which can spread quickly.
- If you are using a large or heavy pot, it can be a good idea to fill and plant it in situ to save yourself the trouble of moving once full.
- Use a good quality potting compost with plenty of horticultural grit mixed in, and, if not already present in the compost (check the description on the bag) some slow-release fertiliser granules.
- Pot up, following the positioning guides above. Always aim to leave a gap between the surface of the compost and the top of the pot, making watering easier and more efficient.
- Pick up the container and lightly tap on the potting bench or ground a few times to help further settle the compost.
- Soak well with water.
- A mulch with horticultural grit will look attractive and help to prevent a ‘cap’ or crust forming on the top of the compost (something container plants can suffer due to the artificial nature of their watering). Take care not to cover any surface rhizomes.
What to plant with Iris
Border irises can play an essential role in that delightful, early summer rush of beauty in the garden.
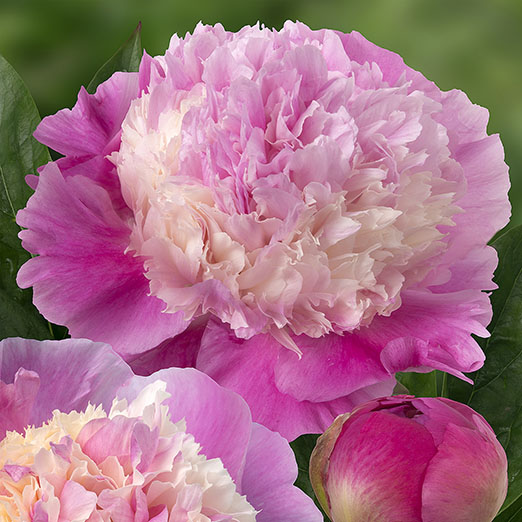
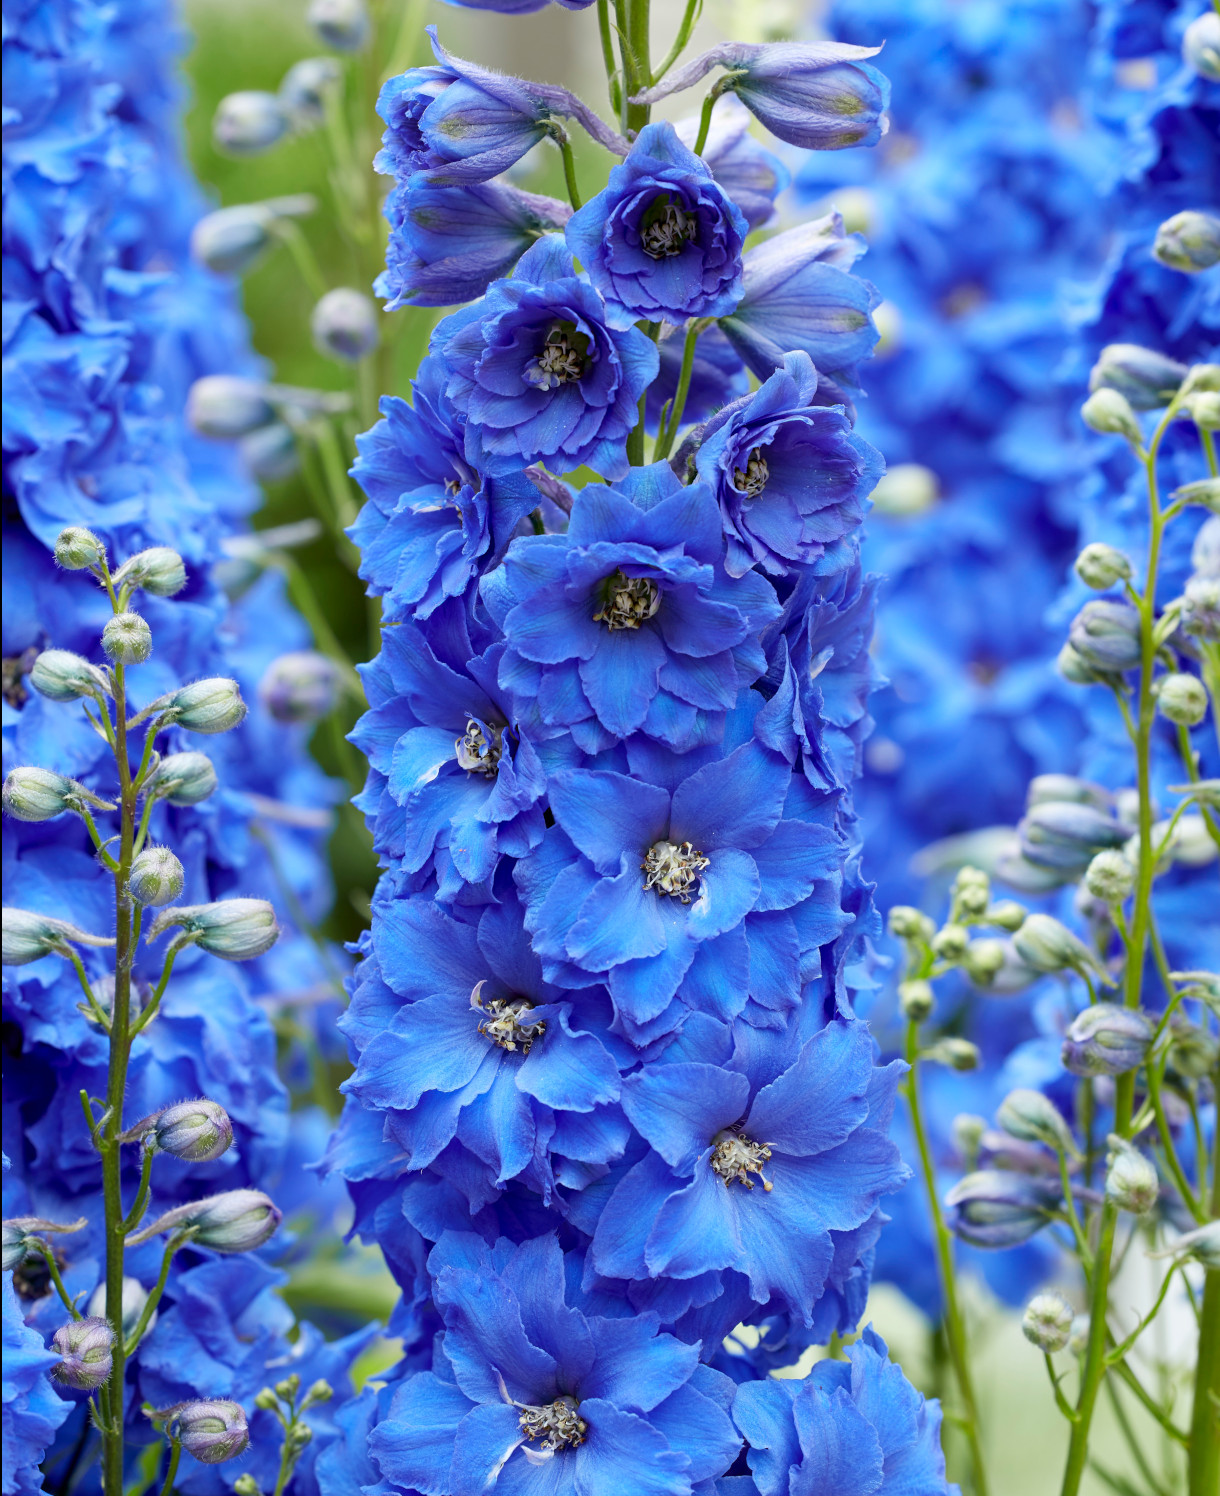
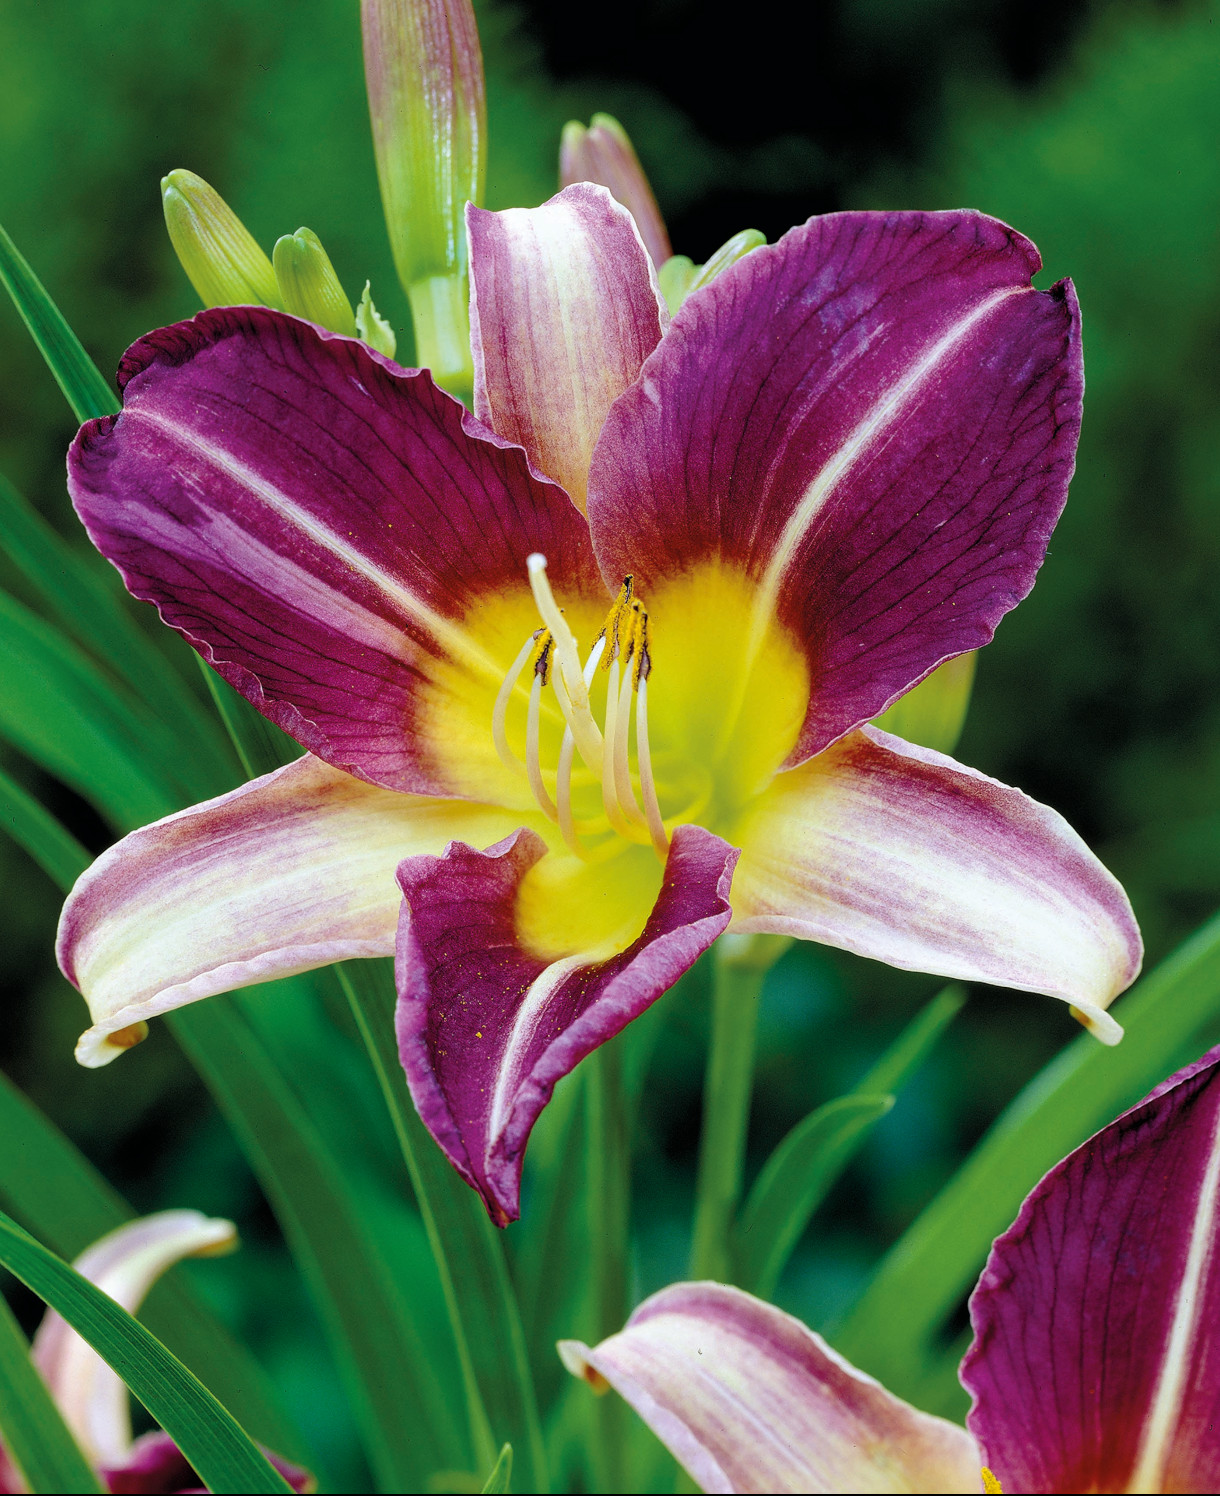
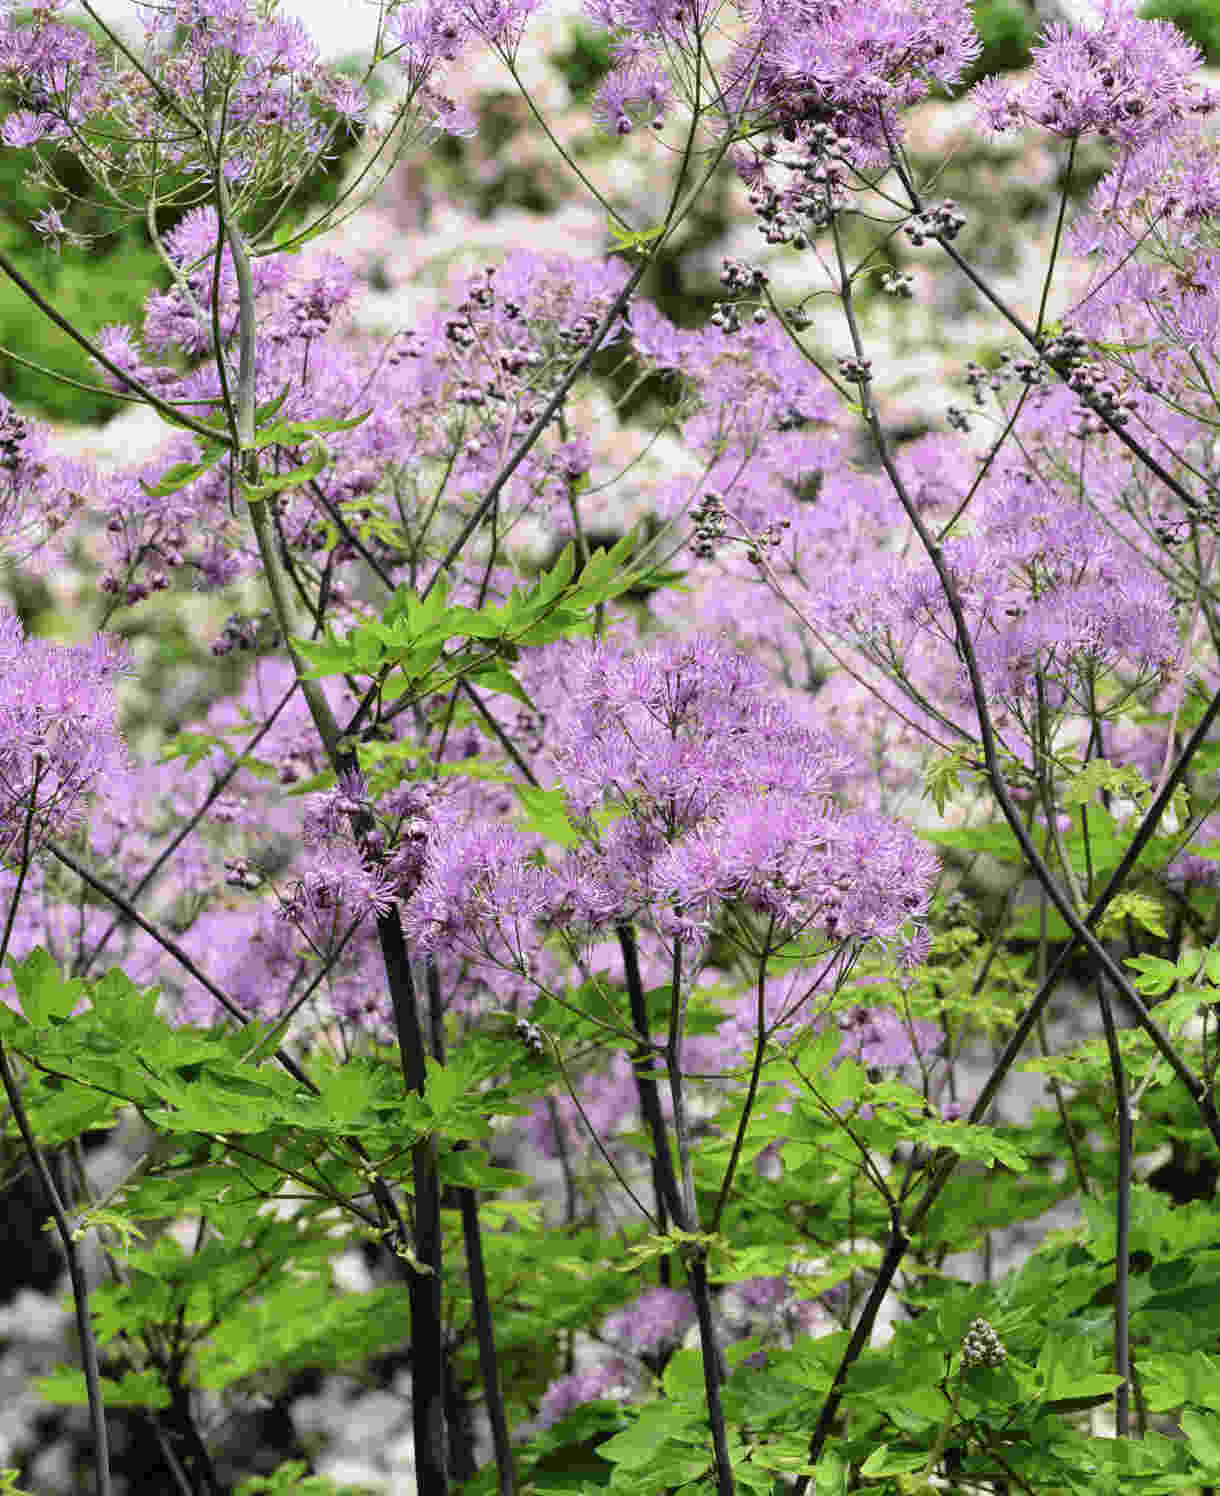
Choose companions with a similar flowering period, such as allium, aquilegia, thalictrum, delphinium, digitalis, hemerocallis, lupin, geum, papaver, and peony.
How to care for Iris
Pruning and Deadheading
Remove any yellowing or damaged foliage on bearded irises as the season progresses, then cut faded flower stems down to the base in late summer. Tidy the foliage in autumn, cutting the fan down to 10-15 centimetres in an arrow-like point.
Cut faded flower stems of Siberian iris down to the ground – these usually continue looking good into autumn. Remove dying foliage whilst you’re at it.
Watering
Border irises should be kept watered throughout their first growing season in the ground, after which they should be largely self sufficient in all but the most prolonged periods of hot, dry weather.
Those grown in a container should be watered enough to keep the compost just moist.
Feeding
Border irises are not especially hungry plants, and on healthy soil, an annual mulch of well-rotted organic matter (i.e., a layer of manure or garden compost applied to the soil around the plant) should provide adequate nutrients. This has the added benefit of suppressing weeds and locking in moisture. Do this in autumn or spring, taking care not to cover any surface rhizomes.
Container-grown plants rely more on the gardener for nutrition. Get off to a flying start by making sure you use a good quality compost with some slow-release fertiliser granules mixed in, then to encourage flowering, apply a high potassium liquid feed (tomato food is ideal) a handful of times throughout the growing season. Repotting every few years into fresh compost with slow-release granules is also important and offers the opportunity to divide clumps for renewed vigour.
Cold Protection
Border irises are usually hardy enough to withstand a UK winter without the need for additional protection.
Pests and Diseases
Border irises tend to be robust and problem free, though you may notice your resident slugs and snails develop a taste for the bearded variety. Encouraging natural predators into your garden, such as birds, frogs, toads, and hedgehogs makes a big difference. Torchlight searches after dark (when slugs and snails are at their most active) are also effective, allowing you to collect the offending molluscs in a bucket and dispose of as you see fit. Relocating to a nearby woods or bagging up and putting in your freezer before popping them in the bin are said to be the most humane approaches.
Other potential pitfalls for bearded irises include iris leaf spot and rhizome rot, particularly where drainage is poor. Remove and dispose of any affected parts of the clump, and consider lifting, dividing, and replanting the rest in a more well-draining location (see next section for how to do this).
How to propagate Iris
The quickest and easiest way to propagate border irises is through division.
For bearded irises, this is best done immediately after flowering, which usually means June or early July. Timing it this way catches the rhizomes when their new roots for that year are still short and forgiving of disturbance. Any later risks damaging a more established system, which means poorer chances of healthy re-establishment.
As well as producing new plants, the division of bearded irises is recommended as a routine maintenance practice. Their rhizomes multiply readily, each producing several new growths a year. Over time these become congested causing flower production to dwindle, meaning clumps should be divided every 3-4 years for optimum performance.
- Gently lift a clump of rhizomes out of the ground using a garden fork, shaking as much soil off as you can.
- Seek out any big, healthy-looking, vigorous rhizomes with their own fan of leaves.
- Using a sharp knife or secateurs, cut these chosen pieces away from any more feeble, tired-looking rhizomes which can be discarded. Trim down any parts of the selected rhizomes which look old or dead (soft and squishy, with a dull appearance).
- You can cut off any older, longer roots if you like, leaving only the fresh, white, short ones.
- Either replant in the same place (taking the opportunity to dig in some well-rotted organic matter before you do so), plant into a new location as above, or pot up and grow on – either to give away to friends and family, or for planting in a new location the following spring.
Siberian irises can be divided much like any other herbaceous perennial in autumn or spring.
- Choose a day when the soil is not frozen or waterlogged.
- Dig the plant out of the ground.
- Shake off any excess soil.
- Separate the plant into sections using either swift, cutting blows with a sharp spade, or two forks inserted back-to-back with tines touching, handles then pushed together to prise the plant apart.
- Discard old, damaged or surplus pieces, keeping healthy, vigorous material.
- Dig over entire area, removing as many roots as possible (these are likely to reshoot).
- Replant or pot up selected pieces as required.
* Many plants carry Plant Breeders Rights and cannot be propagated for commercial purposes.
Common questions about Iris
Are border irises difficult to grow?
The advice to divide bearded irises every 3-4 years can put some gardeners off, giving the false impression that these are tricky plants to grow. In truth, they are easy-going, long-lived members of the garden which, given the right conditions, look after themselves with little fuss.
Siberian irises are even less demanding and are, we think, deserving of a spot in any garden.
Are border irises happy in partial shade?
Bearded irises are unlikely to flower well without their rhizomes basking in the sun all day. Siberian irises are tolerant of dappled shade, though it’s worth noting that their flower stems may grow elongated and require staking (particularly taller varieties).
Why aren’t my border irises flowering this year?
The most common cause of diminished flowering is congestion. Divide border irises every 3-4 years, as described in ‘How to propagate border irises’ above.
