


How to Grow Hydrangea
How to grow Hydrangea
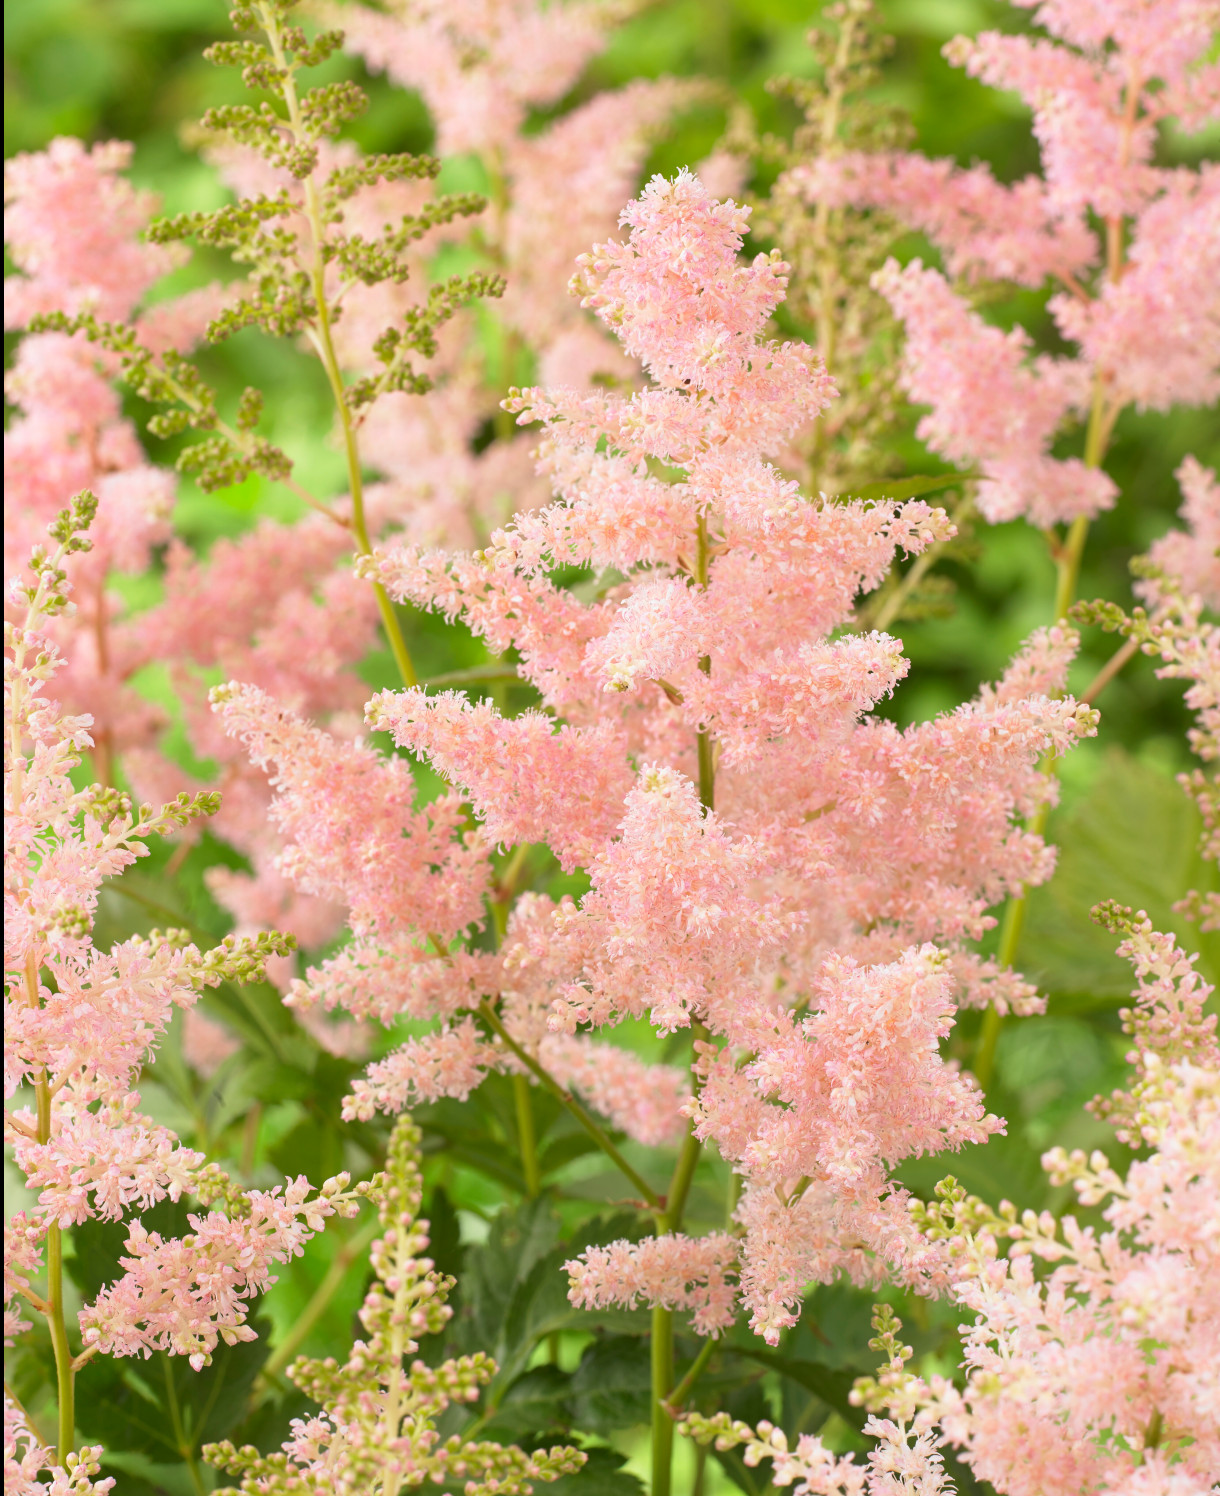
Romantic, plush heads of long-lasting Hydrangea are loved by so many of us and it is easy to see why.
These wonderful shrubs are impressive when they bloom, and the flowers pack a visual punch in the vase. They come in a myriad of soft to saturated blues and pinks, fresh greens, pure whites and sumptuous violets. The flower heads change colour on the plants as they mature and the hue of mophead varieties can even be transformed by their soil pH.
Hydrangeas are available in a wide range of shapes and forms – from delicate lacecaps, ball-shaped mopheads, conical paniculata types to globes of arborescens in shrub, dwarf, and climbing varieties.

Key Information
Soil pH

Position
Hardiness


Where & when to plant Hydrangea
Position- Part shade
Soil- Moist and well-drained
Flowering Period- June - September
Hardiness- Hardy
The wide range of Hydrangea available means there is a Hydrangea to suit most planting schemes from modern designs to cottage and coastal gardens. If planting in the border, large Hydrangea should be placed towards the back, so they do not drown out other plants. Hydrangea form bushy shrubs, some of which are evergreen and will provide attractive screening or hedging, especially when planted next to other Hydrangea. The driveway at Portmeirion Village in Wales is lined with Hydrangea and is a stunning sight to see in late summer.
Smaller varieties of Hydrangea make wonderful feature plants in a large pot or basket on your summer patio or as a welcoming gesture outside your front door.
Spring and autumn are the optimum time for planting out new Hydrangea.
How to plant Hydrangea
As woodland plants, Hydrangea prefer to grow in dappled shade. They will tolerate full sun, but some varieties can be scorched in direct sunlight and may need extra watering to combat the effects of higher levels of sunshine. A spot which receives sun for the earliest part of the day is perfect.
You should also avoid an east-facing position for your Hydrangea as harsh cold winds can damage young plants and fresh growth.
Hydrangea will tolerate most soil types and, as already said, they prefer to be kept moist and well-drained.
Hydrangea can grow to over 3m in height and 2m in width, so ensure your planting area will allow plenty of room for your plant to mature. Some Hydrangea varieties have been bred to remain petite and are therefore wonderful specimen plants for pots or for smaller areas.
Once you have decided on the ideal location for your shrub, dig a hole twice as wide and deep as the pot which your plant arrived in. Add a generous amount of organic matter to the base of the planting hole - leaf mould is perfect for these woody shrubs and garden compost, or manure is also beneficial to help your plants get off to a great start.
Gently tease your plant from its pot, loosening the roots before placing it in the planting hole. Back fill around the edges with soil and firm the plant into the ground with the heel of your foot to close any air pockets then water generously. Be sure to keep your plant well-watered until it has established, especially in dry weather.
If you are growing a more compact variety of Hydrangea such as Polestar in a container then ensure your pot is large enough to accommodate your growing shrub and plant in a medium which is a mix of compost, organic matter, and grit for drainage. If you are buying small young plants which will mature to the larger varieties, then these can be grown on and enjoyed in pots as above until you are ready to plant them out into their final location.

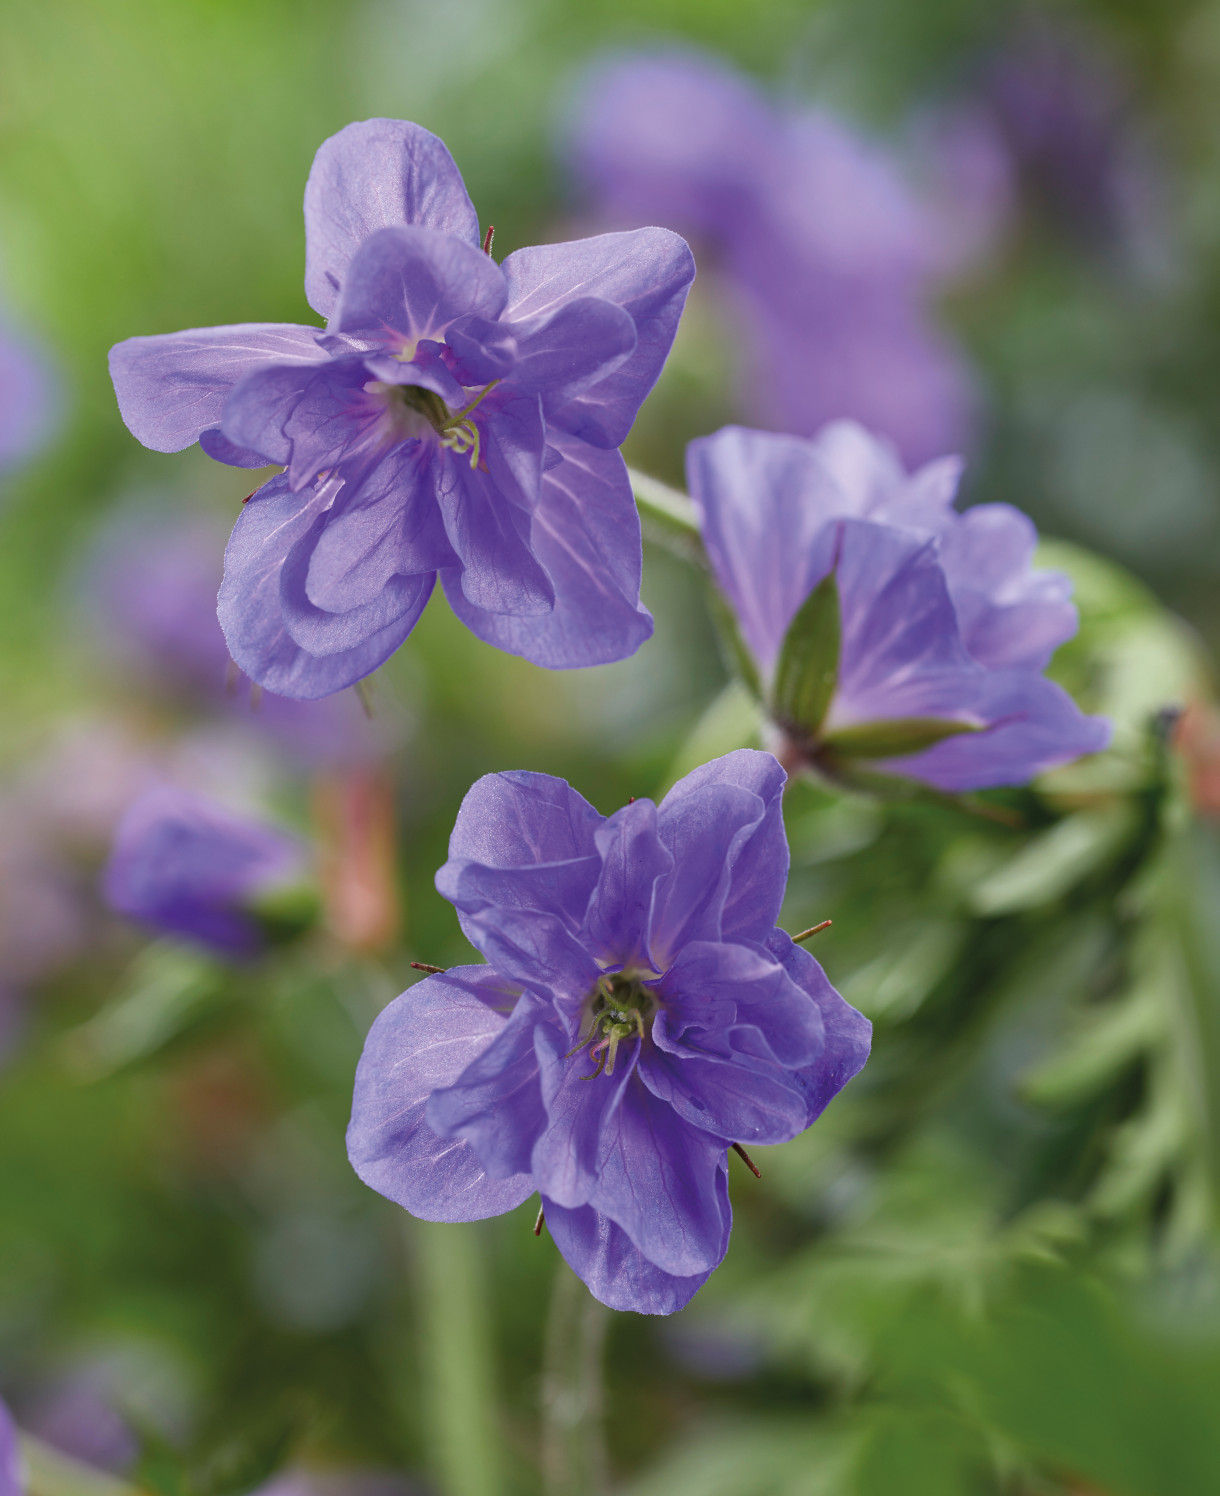
What to plant with Hydrangea

How to care for Hydrangea and How to Prune Hydrangea
How to care:
Hydrangea are rewarding shrubs which only require a little care to bloom year after year. An annual mulch of leaf compost will add nutrients to the soil, helping to maintain a healthy plant and retain moisture in the soil at the base of your plant.
All Hydrangea will benefit from watering in very dry periods of weather. Try to water with rainwater if you can as the colour of some Hydrangea can be affected by changes in pH levels from tap water. This is true for mophead and lacecap varieties which are blue or pink - blue hues are a result of acid soil types, whilst alkaline soils produce pink colouring. Green and white hydrangea do not tend to be affected the pH level of their soil.
Many Hydrangea flowers transform into the most beautiful seasonal shades as we move into the latter months of the year. Hydrangea paniculata Candle Light has gorgeous blooms which deepen in autumn from creamy white to a rich and dusky pink as its leaves change into rich autumnal colours.
How to Prune:
Hydrangeas are fully hardy shrubs which do not require any winter protection.
Care should be taken regarding when and how to prune your shrubs depending on variety as new growth and buds can be damaged by frost.
The flowers of mophead and lacecap Hydrangeas should be left to fade and dry out on the plants as they will offer winter protection to the developing buds below. In mid-spring, the heads should be removed by pruning stems down to the first or second pair of healthy buds. You should also prune out dead or crowded stems at the base and any stems which will help you to maintain the desired shape of your plant.
Hydrangea arborescens and paniculata varieties should be pruned in early spring. Remove the previous year’s growth with a sharp pair of secateurs and any dead stems which will help promote bigger, healthier flowers. These types of Hydrangea flower on new wood and can be pruned back harder.
Climbing varieties of Hydrangea should be pruned immediately after flowering in late summer to maintain their shape. Cut back to a new pair of buds. Flowers are produced on the previous year’s growth so cutting back hard will result in a loss of flowers for next year.
How to propagate Hydrangea
Hydrangea can be propagated by taking softwood cuttings in spring.
Use a sharp knife or pair of secateurs to remove new, non-flowering shoots with three sets of leaves. Remove the lower set of leaves and if the remaining leaves are large then they can be trimmed by 1/2 to avoid moisture loss.
Dip the cut end into hormone rooting powder and insert your cuttings into a pot of peat-free compost with added fine grit or perlite to assist drainage. Push your cuttings in at the edge of the pot to just below the leaf node as this is where new roots will be produced from. Ensure the leaves of each cutting are not touching one another.
Water the pot and cover it over with a clear plastic bag secured with an elastic band to help retain humidity. Place your pot in a bright spot such as a greenhouse or sunny windowsill to take root. Check your cuttings every few days and ensure they are kept moist, watering and misting, as necessary. Once the cuttings have taken root, pot them on into their own containers and grow on in a more shaded spot.