


How to grow Hosta
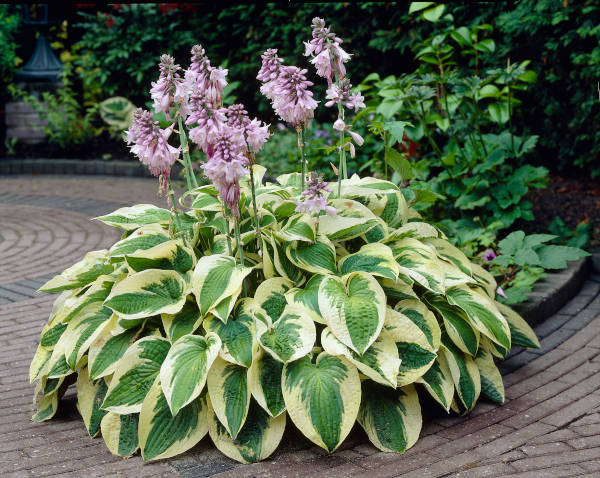
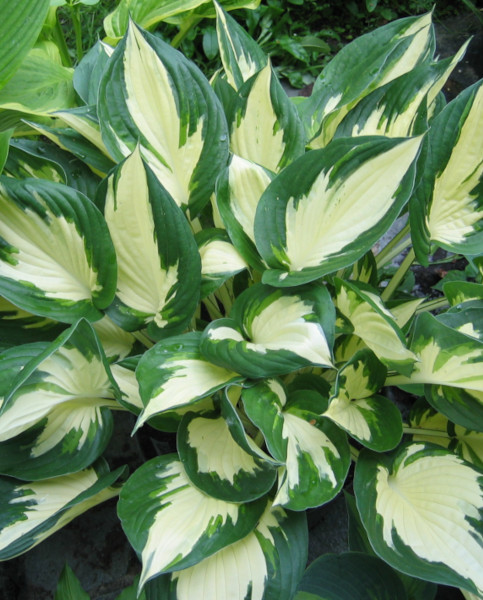
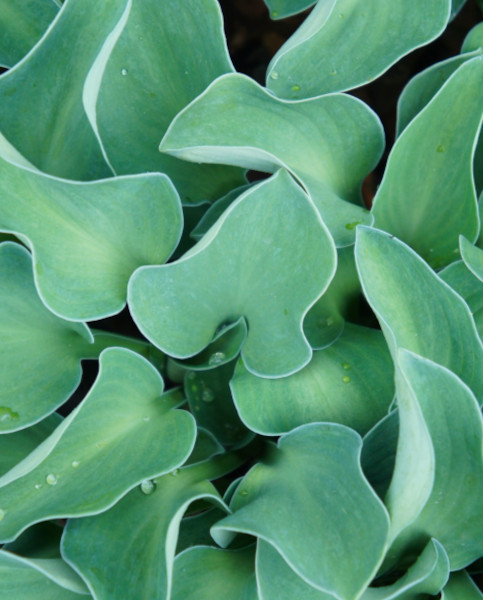
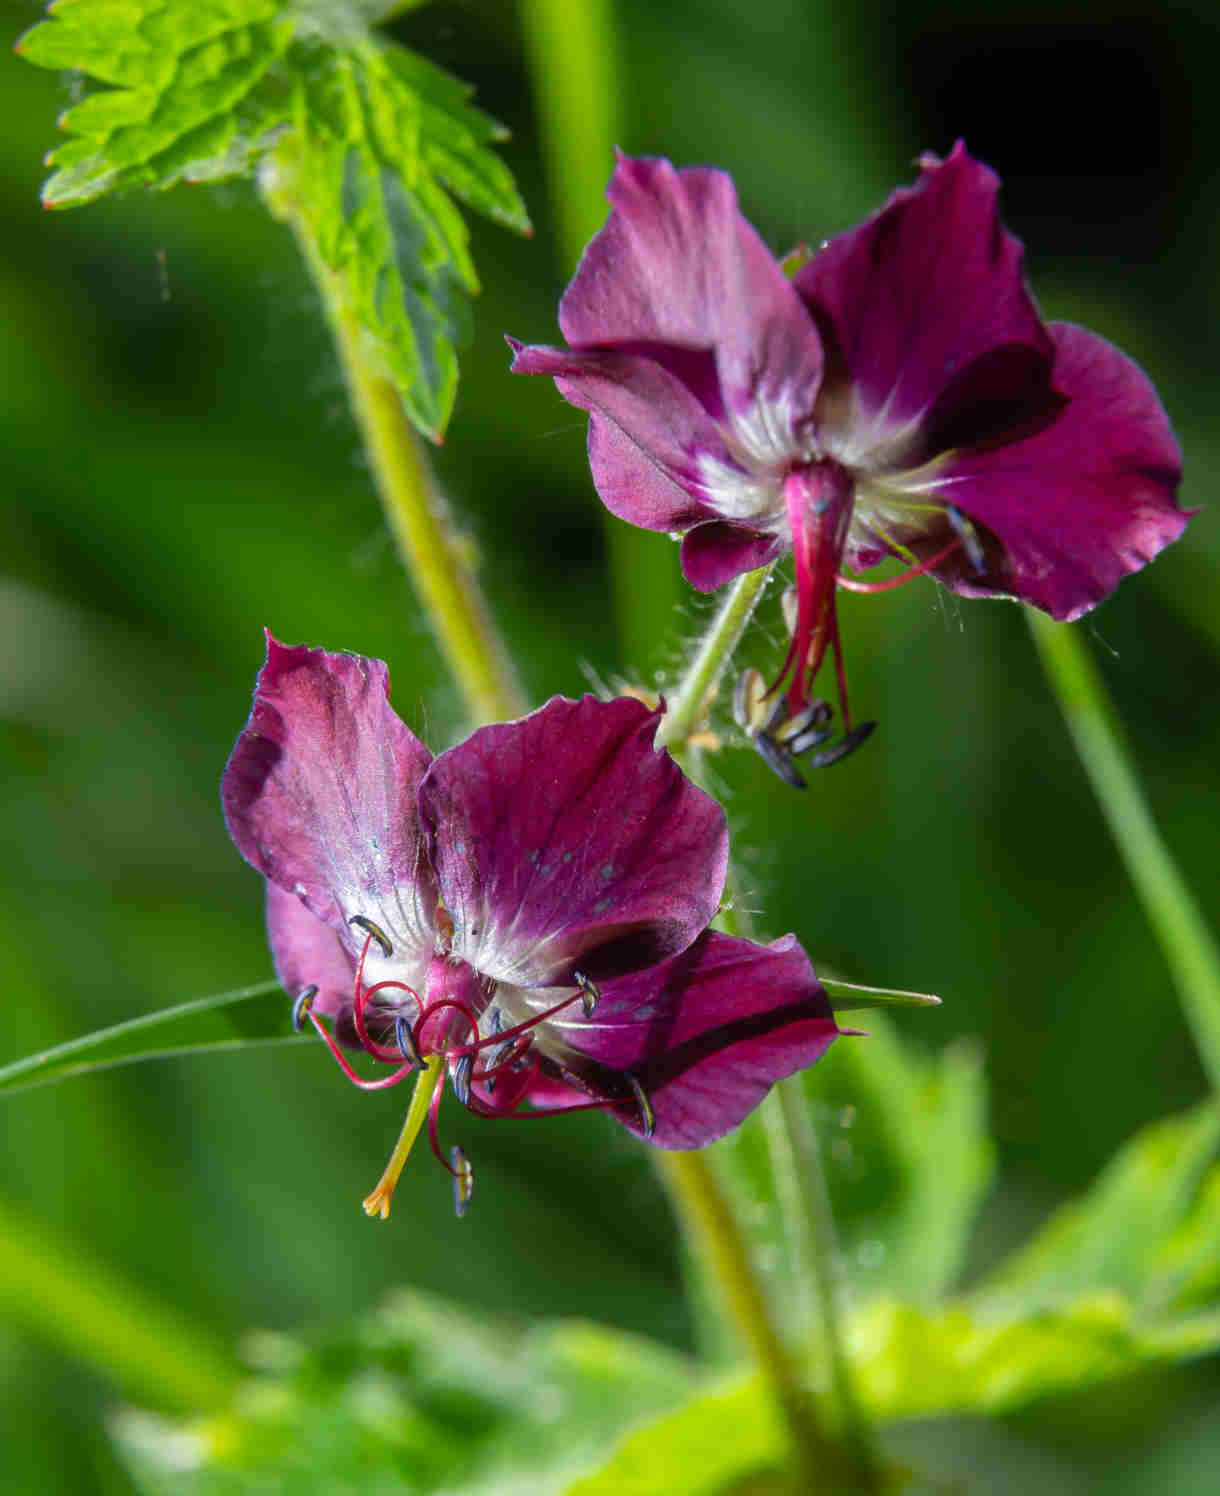
Hosta plants are clump forming, herbaceous perennial that are renowned for their hardy resilience. They are easy to grow and, as such, are a good beginner level plant. They are available in a wide range of foliage colours, sizes and shapes. Glossy, oval or lance-shaped foliage will brighten up a shady area of the garden and they can be found with single colour or variegated patterns to suit your requirements. In addition, they put up flower spikes in Spring/Summer which mostly vary in colour from white to pale blue and lilac shades. Whether you choose to keep these flower spikes or not is a personal choice as there are gardeners who remove the flower spikes (preferring to grow Hosta as foliage only plants) but others will keep the flowers and enjoy their sweet, but fleeting scent – removing the stems after this brief luxury has subsided by cutting the flower stem back to its base. The choice is yours but if you are not familiar with the plant perhaps try both ways before you decide?
Hostas are well suited to flower beds and borders and can be used as underplanting beneath roses and shrubs within cottage or informal garden settings. They are also great grown in jungle style planting to enhance the lower levels or as part of the border to a woodland area, along with ferns and hellebores. As you can tell, they are incredibly versatile and there is a variety for almost any setting.
Key Information
Soil pH

Position
Hardiness

Where & when to plant Hostas
Hostas are best planted in moist, well-drained soil of loam and clay within an acidic, neutral or alkaline PH balance. They love dappled shade but, where shade is absent, ensure you incorporate a generous amount of organic matter such as compost or leaf mould as this will retain moisture in the soil. It is worth noting that the yellow-leaved varieties are more tolerant of sun so choose your Hosta variety wisely.
Ideally, you should choose a site that attracts the right amount of shade and is protected from adverse weather conditions such as strong winds and full sunlight. Once you’ve chosen your site dig a hole that is deep and wide enough to accommodate your plant and ensure it is at the same level in the ground as it was in the pot. Gently tease out the roots and plant with added organic matter to help it establish. Firm in the Hosta and water thoroughly to settle the soil into place. Hostas are best planted out in Spring or Autumn but can be grown on in pots at any time of year given the right conditions.
You can also plant Hostas in containers, with or without companion planting, and they will make a great focal point in a shady corner not suitable for direct planting into the ground. Just make sure you keep them moist and check for pot-bound plants needing division (see below for instructions on how to do this).
How to plant Hostas
Once you’ve chosen your site dig a hole that is deep and wide enough to accommodate your plant and ensure it is at the same level in the ground as it was in the pot - keeping the crown above ground. Gently tease out the roots and plant with added organic matter to help it establish.
Firm in the Hosta and water thoroughly to settle the soil into place. Hostas are best planted out in Spring or Autumn but can be grown on in pots at any time of year given the right conditions.
You can also plant Hostas in containers, with or without companion planting, and they will make a great focal point in a shady corner. Use a general purpose compost, and if possible add leaf mould or other organic matter. A horticultural saucer beneath the pot will help to keep the soil moist.
What to plant with Hostas
The list here would be almost endless as Hostas are such versatile plants and there are so many different varieties but here are a few suggestions to get you started - do contact us if you need more detailed advice and suggestions – we would love to help.
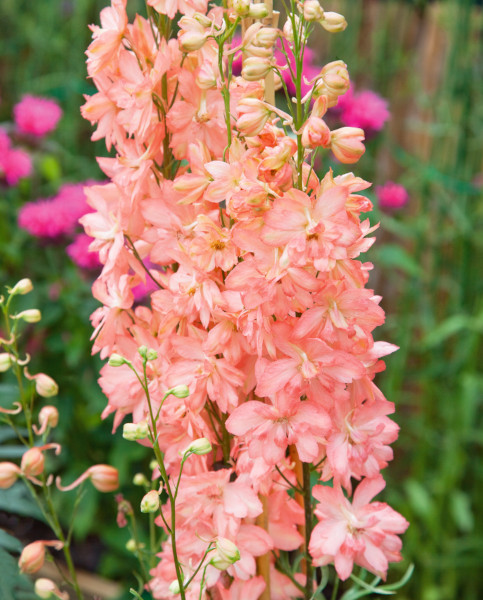
Traditional beds and borders/Cottage garden
Delphiniums, Foxgloves, Roses, Verbascum, Cosmos, Echinacea, Crocosmia, Hardy Geraniums, Mallow, Hollyhocks
Jungle scheme
Hardy palms, Tree ferns (protect during Winter), Gunnera Manicata, Hardy Banana, Grasses, Arum Lily, Phormium, Canna Lilies (need lifting in Winter)
Woodland border
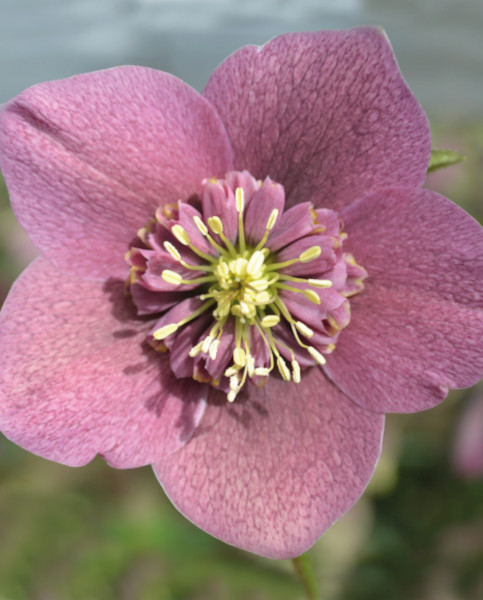
Foxgloves, Hellebores, Hardy Ferns, Bluebells, Wood Anemones, Snowdrops, Trilium
How to care for Hostas
The foliage on your plant will die away during winter and can be removed.
A general-purpose mulch in early Spring will help provide vital nutrients to the soil surrounding your growing Hosta and help to retain moisture, as well as suppressing weeds. Flower stalks can be detached at ground level once the flowering period is over, this will neaten up the overall appearance of your plant. Once flower stalks are cut back, the main plant will benefit from a good multi-purpose plant food to boost the nutrient reserves. This is even more beneficial if you intend to propagate from the plant later in the season.
Herbaceous Hosta will die back naturally, losing their foliage in late autumn.
Hostas require moist soil so ensure that you water your plants regularly, especially during periods of drought. If slugs or snails are an issue (not all Hostas are susceptible), a copper collar, beer trap, eggshells or other gritty materials can act as a good repellent. Slug pellets should be avoided as they are harmful to wildlife. Look for the thicker leaved cultivars if you have concerns about slugs or snails in your garden.
How to propagate Hostas
It is possible to propagate Hostas by division during Autumn or early Spring – most Hostas will benefit from being divided every 3-5 years or so (depending on their growth rate) and you can pot them up after division and care for them in a cold frame or sheltered spot outside; allowing them to establish in the pot prior to planting out.
Just follow the simple instructions below:
- Lift the clump from the planting site with a fork, or tip it out of its container, making sure that you do not damage the growing tips at the top.
- Place the clump on a sufficiently hard surface for you to be able to chop through it
- Divide the clump up by cutting between the shoots with either a sharp spade or an old kitchen knife.
- Ensure each divided piece has at least one good bud to it (ideally 2 or 3) and trim away any damaged roots.
- Replant the divisions into pots (or directly into the ground if preferred) at the same soil level as they were originally, place in a sheltered spot and water well. As with the parent plant they will need checking for appropriate moisture levels and not allowed to dry out.
Plants grown from divisions will be identical to the parent plant and should flower from their second year.
Common Hosta questions
Can I grow Hosta in a sunny area?
Hosta thrive in shade (less than 4 hours sun), to part shade (4-6 hours of sun). As a loose rule, blue-leaved hosta are happiest in shade, while yellow-leaved ones prefer some sun. If you notice burnt or dry curling leaves, starting at the outer edges, your Hosta will need to be moved to a shadier area.
How much water does my Hosta need?
Hostas usually adapt to their location pretty well, but their native environment would receive significant rainfall. Although they prefer to be moist, dry periods do not tend to kill Hostas, but they may be smaller the following year.
Do Hosta self-seed?
Provided the environment is right, Hosta are capable of self-seeding, however not all are fertile. New plants raised by seed may not resemble the parent plant.