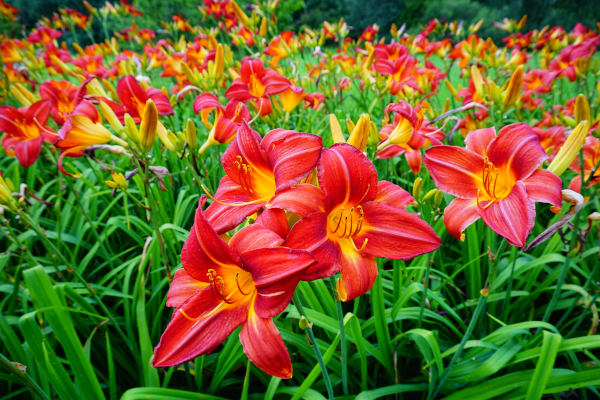
How to grow Hemerocallis
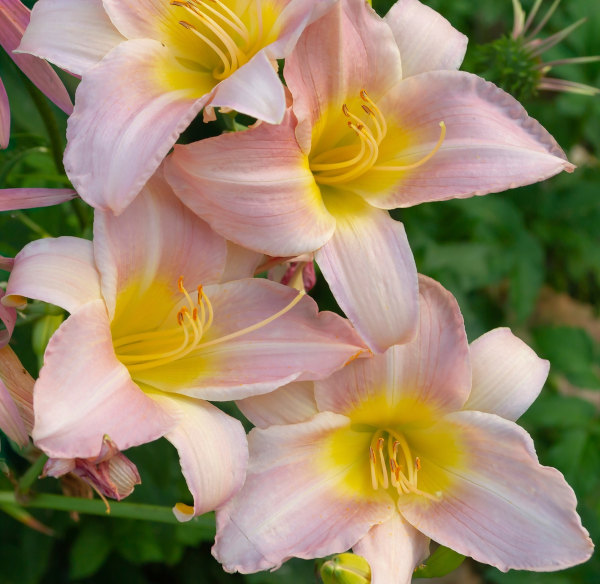
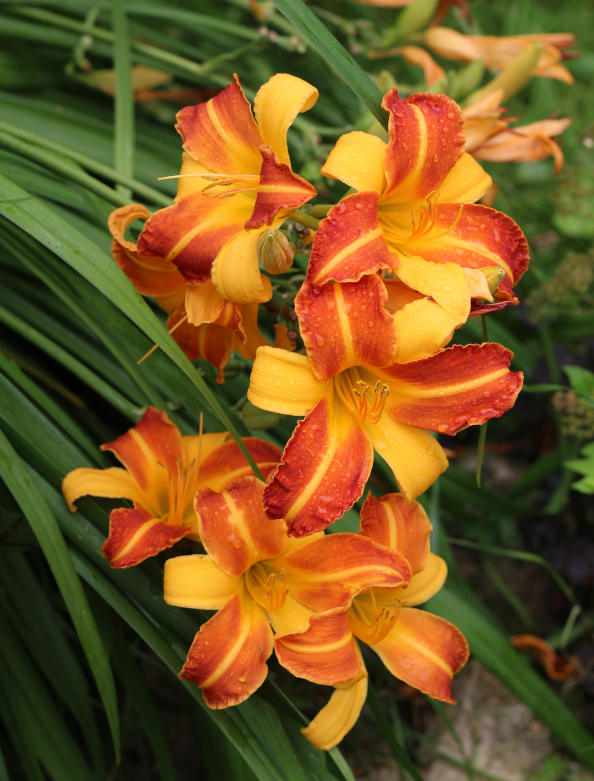
As the name suggests, Day Lilies (or Hemerocallis) blooms are open for just one day and then close and fade. The flowers appear in such bountiful abundance, for weeks at a time you will hardly notice the fleeting nature of each bloom (aside from the need for regular deadheading). Available in a choice of rich or fiery shades, the flowers stand on sturdy stems above clumps of arching foliage and add a touch of the exotic to your planting. These perennial plants flower between late May and early August – adding warm and vibrant splashes to any garden. The majority are hardy and clump-forming – ideal for garden borders and flower beds.
Species Hemerocallis are derived from forms collected in the wild, predominantly those native to Asia, China, Korea and Japan. Thus far there are only 16 species of Hemerocallis, which is low in comparison to the thousands of cultivars now available through hybridisation. The species forms are elegant, often fragrant and come in shades of yellow to orange whilst hybrids are brighter, bolder and even more astounding. Rest assured there will be at least one variety you find irresistible for you planted spaces.
Some are rhizomatous and cover large areas very quickly, one of these is H. fulva, a well-known species which can, in some situations, become invasive and has the rather unpleasant common name of ‘Ditch Lily’. Nonetheless, it is a beautiful orange flower and there is no guarantee it will become invasive in your garden as it does in warmer climes. Beneficially most other species, including H. fulva cultivars, are far more well behaved and not so eager to rampage. Plants are hardy, so can survive British winters outdoors with no additional protection. Most are herbaceous perennials which die down every autumn, then re-sprout reliably every spring. Some are evergreen, keeping their leaves all year round.
Plants need little attention once settled in and are happy in borders or containers.
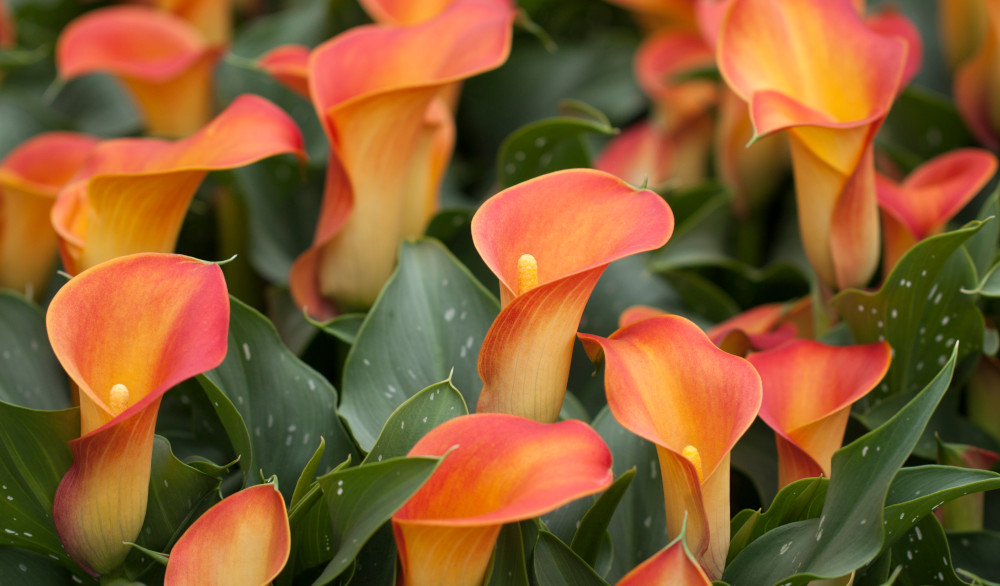
Zantedeschia is a genus of flowering plants from the family Araceae and is native to southern Africa. With a rich history dating back to the Ancient Romans, these deciduous or semi-evergreen perennials have been used as a symbol of celebration. Zantedeschia was Named after Professor Giovanni Zantedeschia, an Italian botanist.
There are two main forms of Zantedeschia: hardy and tender. Hardy forms of the plant can be grown outdoors, enjoy moist soil and full sun or partially shaded conditions - these are known as Arum lilies. Tender forms of Zantedeschia prefer being grown in containers or pots and should be brought inside over the winter - these are known as Calla lilies.
With tuberous flora in all colours from whites, yellows and oranges to deep reds and purples, Zantedeschias are not to be overlooked in any garden, as long as they have sufficient sunlight to grow in.
Ready to learn more about growing Zantedeschia? Read on for all there is to know...
Key Information
Soil pH
Position
Hardiness

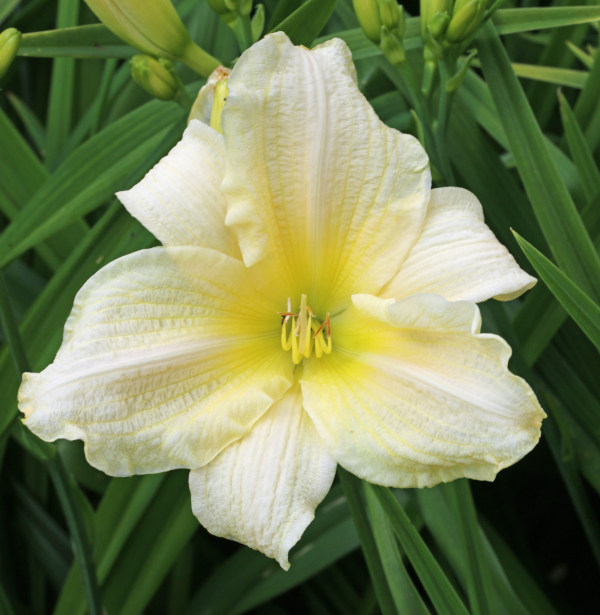
Where & when to plant Hemerocallis
Position - Sun or partial shade
Soil - Suits most soil types
Flowering Period - All summer
Hardiness - Very hardy - rated H5 (- 10 to -15°C) or H6 (-15 to -20°C)
Daylilies like well-drained, fertile soil the best although they are adaptable and will tolerate poorer soils, even heavy clay. Plants prefer some moisture in spring and summer yet dislike sitting in waterlogged soil, particularly during colder weather. Established plants which have been in their current location for two or three years have well-developed root systems able to cope with a degree of drought, although plants may flower less as a consequence.
Hemerocallis like full sun yet tolerate a degree of shade – too much and they will become straggly with less blooms though, and bear in mind some of the richer colours may well be bleached in scorching sun. Hemerocallis are hardy enough to not need additional winter protection and work well in borders, especially combined with other summer-flowering perennials and ornamental grasses. The more vibrant, exotic flower colours also work well in tropical displays with smaller and dwarf cultivars being ideal for large containers, where their arching leaves will cascade over the sides.
Either autumn or spring are ideal planting times as the soil is still relatively warm – encouraging them to settle. Established plants in containers can be planted out directly whilst smaller, younger plants should be potted on and allowed to further develop with a degree of nurturing before going into the ground or a larger display. Bare roots will benefit from being soaked for an hour or so then potted up in compost to develop strong roots and leaves (usually over a month or two).
How to plant Hemerocallis
- For potted plants:
- Water well and allow to drain before planting.
- Dig a hole twice the size of the root-ball.
- Place the plant in the hole, ensuring the top of the compost sits level with the surface of the soil.
- Backfill with soil and firm in gently.
- If it hasn’t already been done, trim the foliage back to reduce wind rock; until the roots establish the plant has no anchorage in the soil, and its leaves can act as a sail in the wind. Cut down to 10-15 centimetres, always in an arrow-like point rather than straight across (this encourages water to run off and helps avoid rotting).
- Soak well with water.
- For bareroot:
- Dig a hole large enough to fit the entirety of the root in.
- Hold the plant in place so that it will sit with the roots below the surface and the top growth level with the soil surface.
- In fill around the roots with soil and firm in gently.
- Soak well with water.
- For planting in containers (remember, smaller forms are best for this), first choose an appropriately sized pot with plenty of drainage holes.
- If you are using a large or heavy pot, it can be a good idea to fill and plant it in situ to save yourself the trouble of moving once full.
- Use a good quality potting compost with some horticultural grit mixed in, and, if not already present in the compost (check the description on the bag) some slow-release fertiliser granules.
- Pot up, following the positioning guides above. Always aim to leave a gap between the surface of the compost and the top of the pot – this makes watering easier and more efficient.
- Pick up the container and lightly tap on the potting bench or ground a few times to help further settle the compost.
- Soak well with water.
- A mulch with horticultural grit will look attractive and help to prevent a ‘cap’ or crust forming on the top of the compost (something container plants can suffer due to the artificial nature of their watering).
- Whilst roots establish it’s a good idea to place the pots in a cold frame or unheated greenhouse to establish. Once they are in active growth with healthy leaves and good roots developing then they are ready for planting out.
What to plant with Hemerocallis
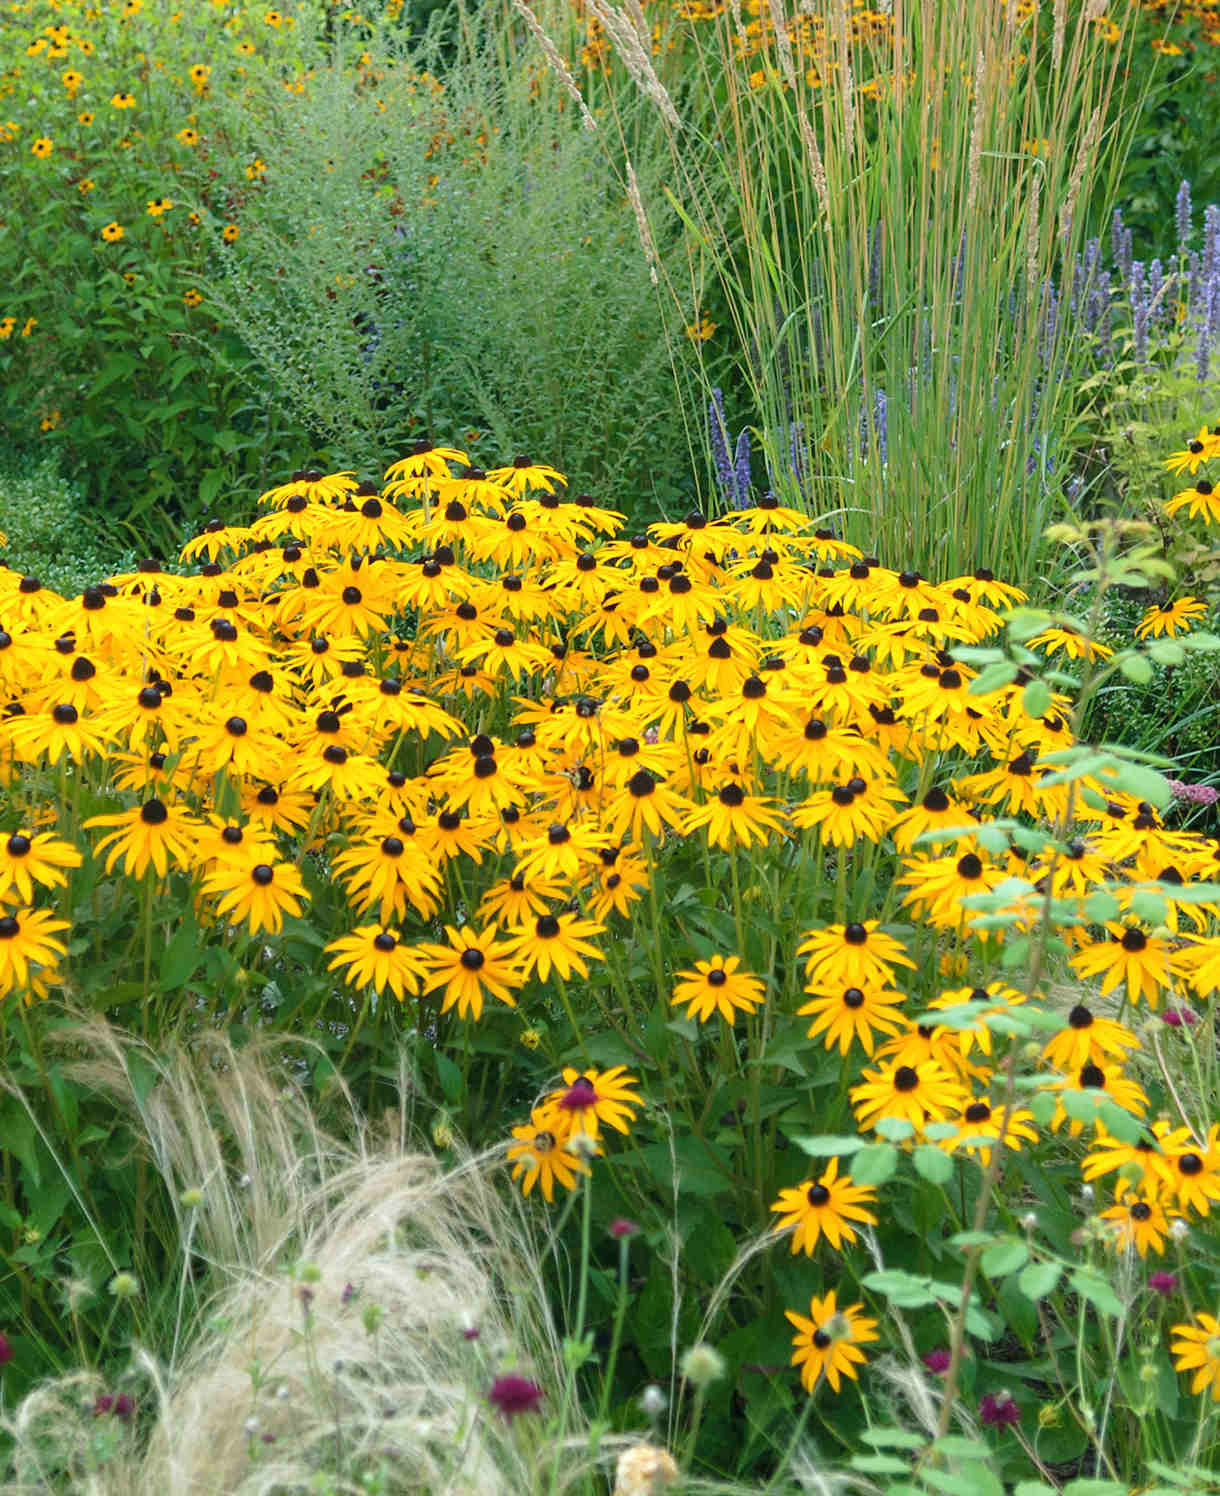
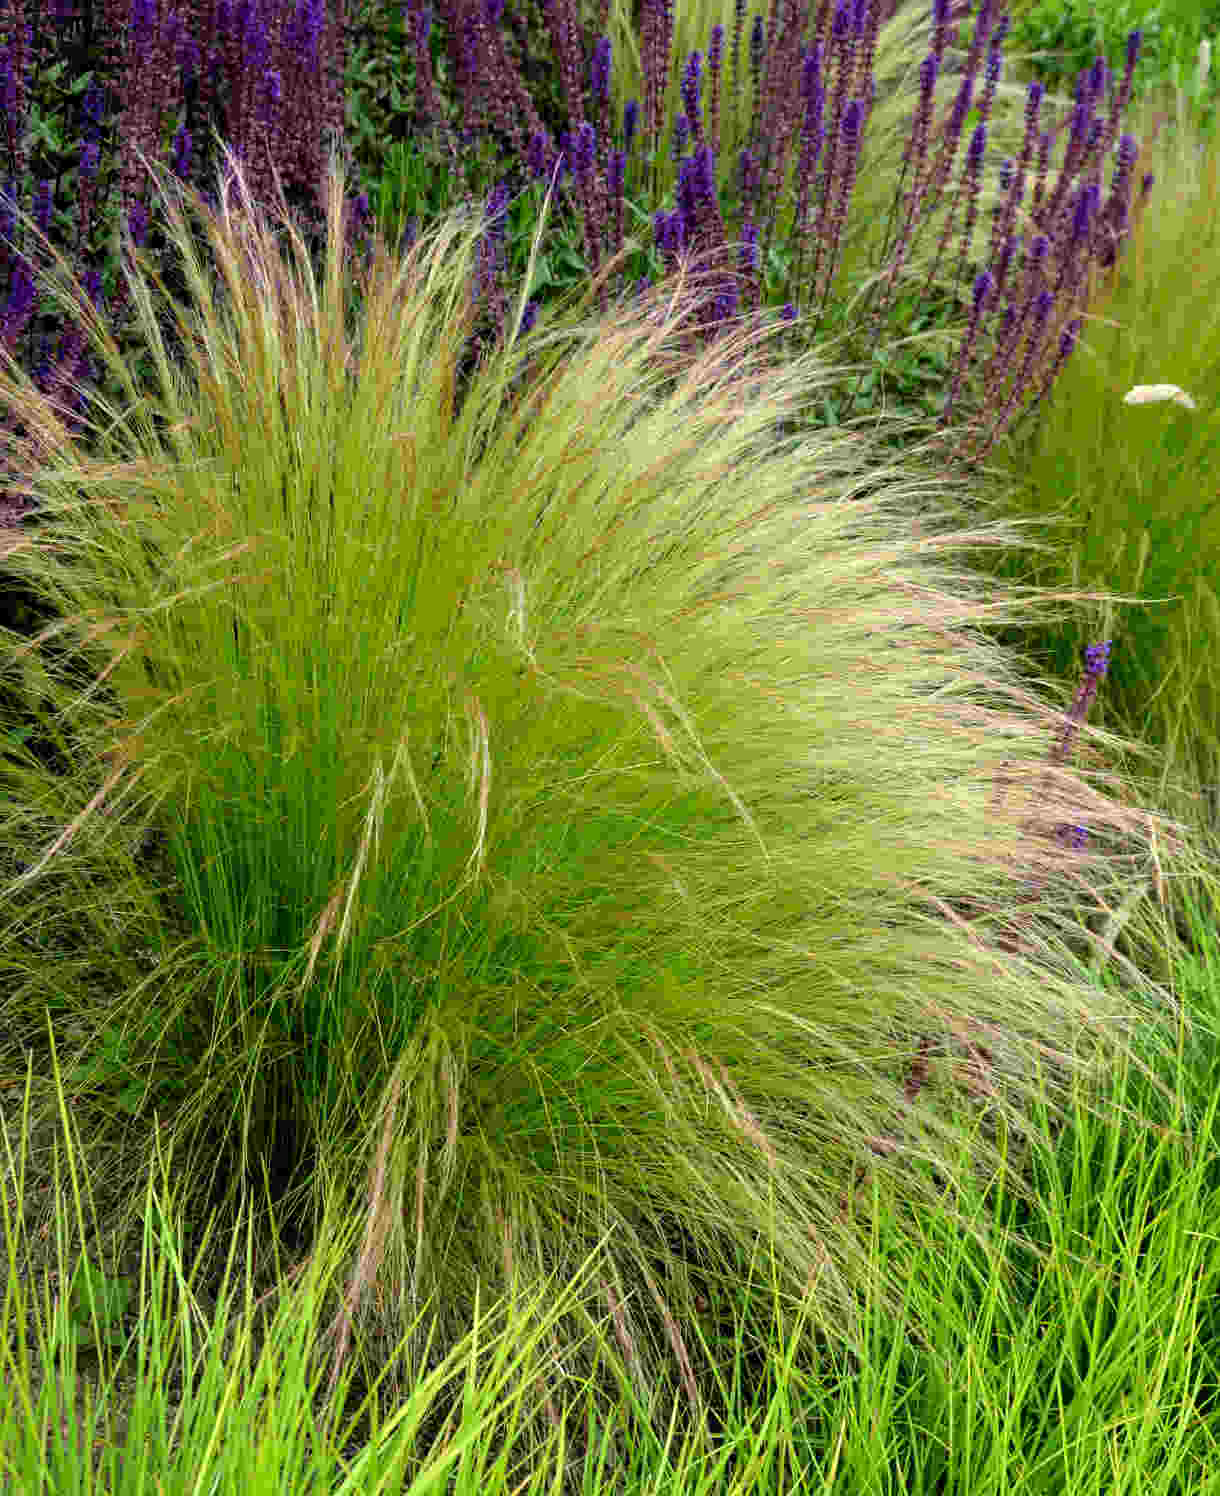
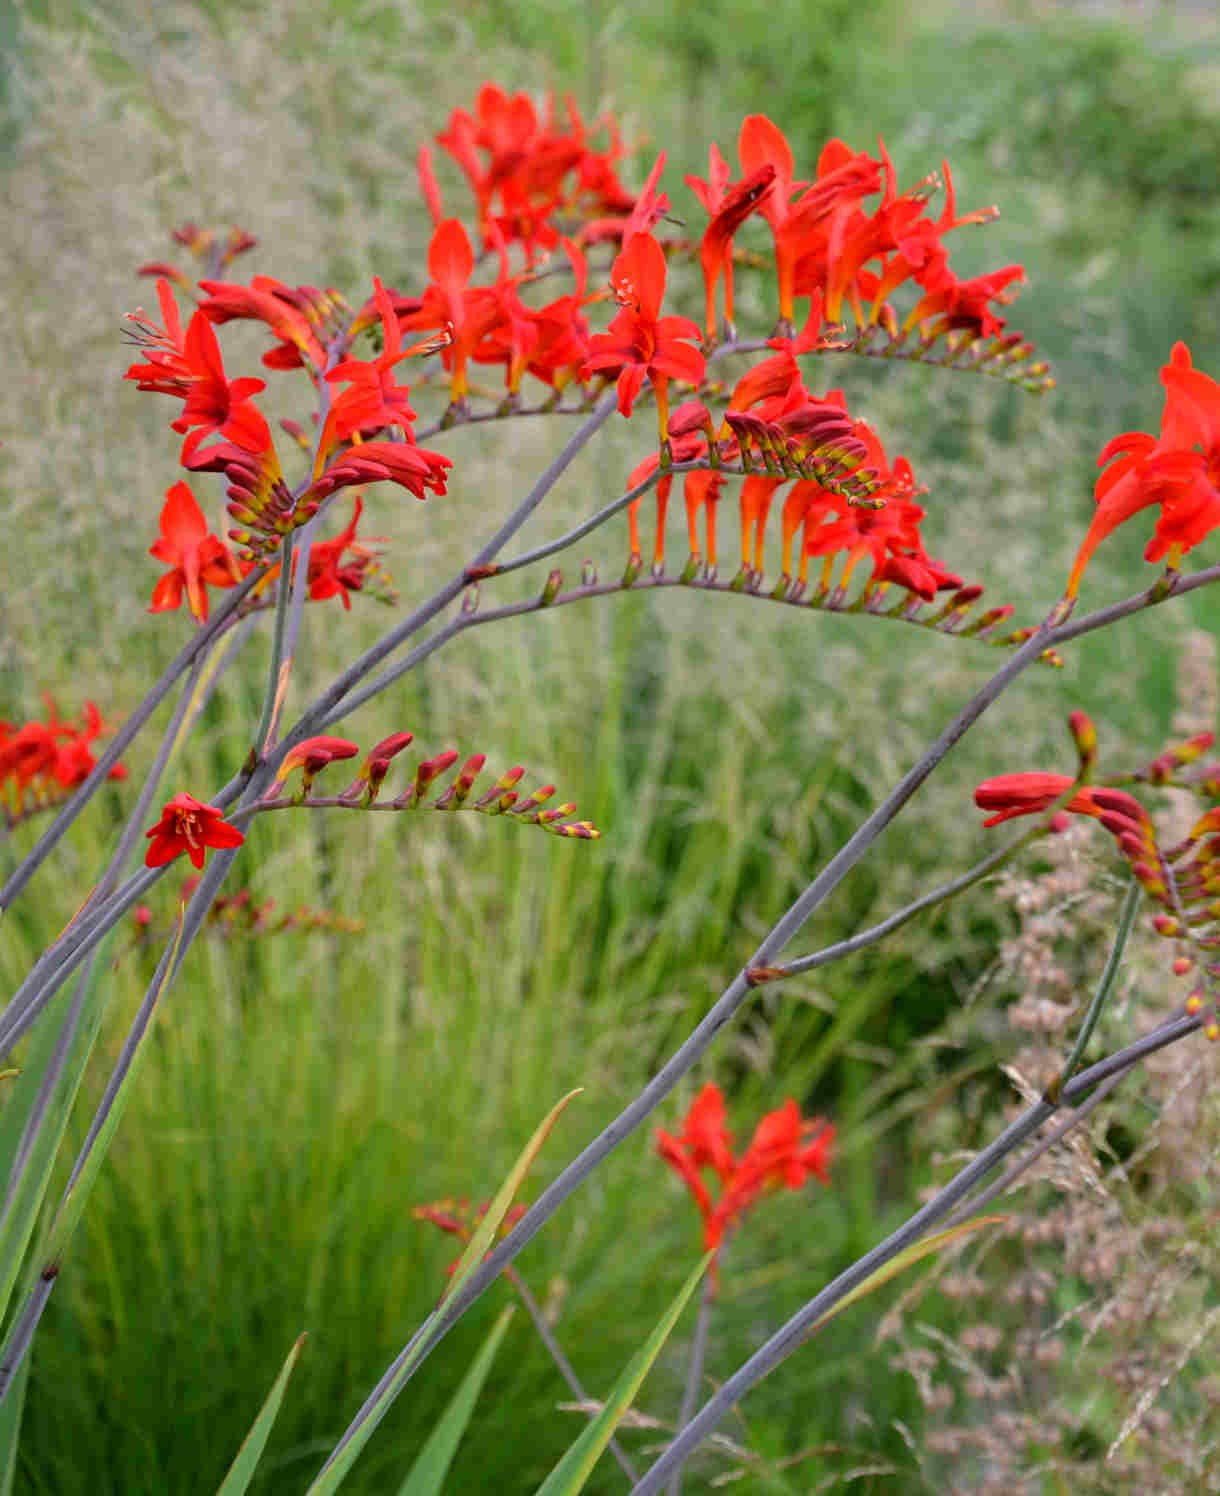
These are generally robust plants which are reliable and pretty much self-sufficient. They look beautiful planted ‘en masse’ and create upright clumps of sword like foliage which looks great with rudbeckia, crocosmia and ornamental grasses – creating a swishing and swaying prairie inspired look.
Alternatively, the flowers are large enough, and the foliage lush enough, to create a jungle vibe alongside japonica and other large leaved shrubs.
How to care for Hemerocallis
Pruning and Deadheading
Deadhead faded blooms to keep your plants looking their best. Established clumps will benefit from being divided every few years to keep them flowering abundantly. Other than this little or no further care is needed.
Watering
The are drought tolerant plants once established so focus on keeping them moist but not waterlogged during their earlier stages of development. You will also find that plants flower better if they are kept moist during the growing season so, if time allows, monitor this and give them a drink occasionally.
Feeding & Mulching
Hemerocallis don't generally need additional feeding, although to boost growth you can apply a general-purpose fertiliser in spring at the rate recommended on the packet.
Plants growing permanently in containers need regular feeding during the growing season, as the compost will soon run out of nutrients. Repotting every few years into fresh compost with slow-release granules is also important and offers the opportunity to divide clumps for renewed vigour. Mulching
Applying a thick layer of mulch around plants in spring helps to hold moisture in the soil and deter weeds. Use well-rotted organic matter, such as garden compost or manure, and top up annually.
Cold Protection
Hemerocallis are usually hardy enough to withstand a UK winter without the need for additional protection.
Pests and Diseases
Generally robust and vigorous, Hemerocallis do not succumb to many pests or diseases in a catastrophic way. Hemerocallis gall midge is probably the most serious – with symptoms including distorted flowers or buds that fail to open. Plants may also suffer minor damage from aphids, slugs and snails.
In 2001 a new rust disease was discovered on an imported plant but, fortunately, this has not been seen again since and does not appear to have taken hold. Look out for numerous yellow or orange blisters on lower leaves and the stem. If seen this rust is reportable so quarantine your plants and notify the relevant authorities.
How to propagate Hemerocallis
The quickest and easiest way to propagate hemerocallis is through division. This can be done every few years in either spring or autumn – either directly into the border or into containers ready to share with friends and neighbours.
- Gently lift a clump out of the ground using a garden fork, shaking as much soil off as you can.
- Seek out any big, healthy-looking, easily separated clumps with their own fan of leaves.
- Using a sharp knife or secateurs, cut these chosen pieces away, trim down any parts which look old or dead, leaving only the fresh, vigorous sections.
- Either replant in the same place (taking the opportunity to dig in some well-rotted organic matter before you do so), or plant into a new location as above, or pot up and grow on.
- Store pots away from excessive cold and keep moist whilst your new Hemerocallis establish themselves.
* Many plants carry Plant Breeders Rights and cannot be propagated for commercial purposes.
Common Hemerocallis questions
Where do daylillies grow best?
The ideal spot for Hemerocallis is in full sun or partial shade with well-drained soil. Smaller varieties also do well in containers.
How often should I water newly planted daylilies?
Newly planted specimens will appreciate soil remaining moist, not waterlogged, whilst they establish a healthy root structure. Once they have this, they become drought tolerant, although flower much better not allowed to dry out completely for long periods.
How deep should daylilies be planted?
Plant so that the roots are fully submerged beneath the soil and the shooting buds or leaves are above the surface ready to grow further.
How do you get daylilies to bloom all summer?
Regular deadheading of individual flowers will promote more to form, and consistent watering will aid production of more and more blooms too. We recommend you check your plants every 3 or 4 days in order to assist this.
