How to grow Helichrysum
Helichrysum is a varied genus of over 500 species including annuals, perennials, subshrubs and shrubs, all found in dry, sunny sites throughout the world. They range from hardy to tender, meaning in frost-prone climates such as the UK some species are used as permanent planting, while others are treated as summer bedding.
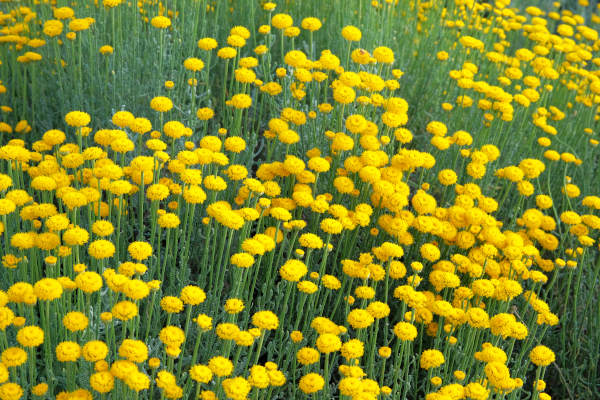
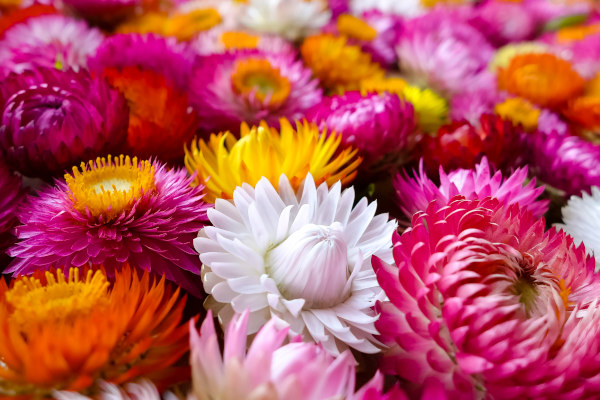
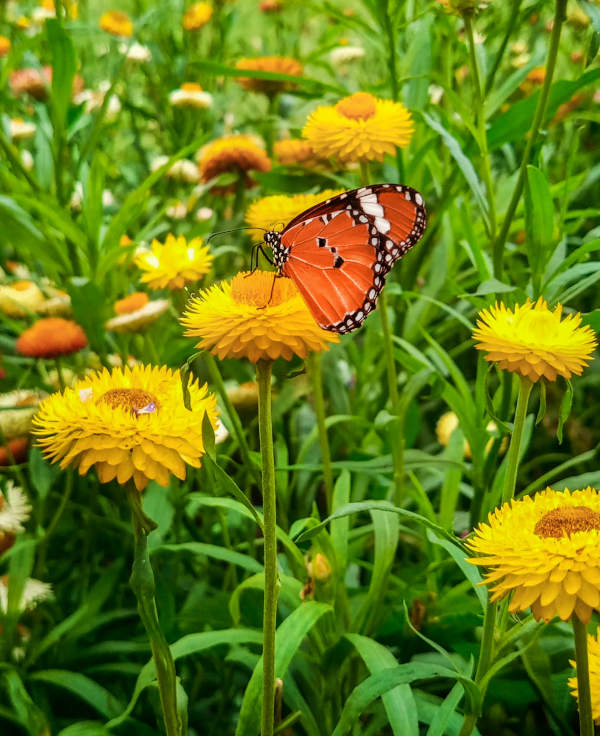
Helichrysum is grown for its sometimes-aromatic woolly foliage, and papery, often daisy-like blooms. These are particularly valued for their performance as dried flowers, holding their colour and shape for exceptionally long periods. This quality gives helichrysum one of its common names of ‘everlasting’, another being ‘strawflower’.
Perhaps the most well-known species in this genus is Helichrysum italicum, also known as the curry plant for its distinctly spicy aroma.
Zantedeschia is a genus of flowering plants from the family Araceae and is native to southern Africa. With a rich history dating back to the Ancient Romans, these deciduous or semi-evergreen perennials have been used as a symbol of celebration. Zantedeschia was Named after Professor Giovanni Zantedeschia, an Italian botanist.
There are two main forms of Zantedeschia: hardy and tender. Hardy forms of the plant can be grown outdoors, enjoy moist soil and full sun or partially shaded conditions - these are known as Arum lilies. Tender forms of Zantedeschia prefer being grown in containers or pots and should be brought inside over the winter - these are known as Calla lilies.
With tuberous flora in all colours from whites, yellows and oranges to deep reds and purples, Zantedeschias are not to be overlooked in any garden, as long as they have sufficient sunlight to grow in.
Ready to learn more about growing Zantedeschia? Read on for all there is to know...

Key Information
Soil pH

Position
Hardiness

Where & when to plant Helichrysum
Position- Full sun, sheltered from cold, drying winds
Soil - Well-drained, poor to moderately fertile, neutral to alkaline
Flowering Period- Can be spring, summer, autumn, or spanning two of these, depending on the species. Check individual descriptions for details.
Hardiness- Ranging from tender to hardy
Tender and half-hardy species (including Helichrysum bracteatum and most Helichrysum petiolare)
Plant in spring once all risk of frost has passed (usually around mid to late May). These species tend to be best suited to hanging baskets, window boxes, containers, and for use as annual bedding in a sunny border. H. bracteatum has large, brightly coloured flowers and will shine in a pot on its own. H. petiolare has insignificant flowers and is grown mainly for its trailing, silvery foliage. It is commonly used as a ‘spiller’ plant in mixed containers.
Hardy species (including Helichrysum amorginum and Helichrysum petiolare ‘Moes Silver’)
Plant in spring once the wettest of the winter weather is over. These species can be grown in rock gardens, sunny, well-draining borders, and containers. Avoid soil prone to winter waterlogging.
How to plant Helichrysum
In a container
- Choose an appropriate container with plenty of drainage holes.
- Use a good quality potting compost with lots of horticultural grit mixed in (aiming for around 30% grit), and, if not already present in the compost (check the description on the bag) some slow-release feed.
- If you are planting up a large, mixed container it can be worth doing this in situ to save yourself the trouble of having to move it later.
- Start by partially filling the pot with compost; enough so that when placed on it the upper surface of the root ball is about 3cm lower than the top of the pot.
- Infill all the space surrounding the root ball with compost, firming down with your fingers then adding a little more so the plant is held tight.
- Pick up the pot (if you can!) and lightly tap on the ground a few times to help further settle the compost around the plant.
- Soak well with water.
- A mulch with horticultural grit will look attractive and help to prevent a ‘cap’ or crust forming on the top of the compost (something container plants can suffer due to the artificial nature of their watering).
In the ground
- Clear the chosen area of weeds.
- Dig a planting hole several times larger than the root ball. It is a good idea to mix in plenty of horticultural grit and well-rotted organic matter at this stage.
- Place the plant in the hole, ensuring the top of the root ball sits level with the surface of the soil. Too low and the plant may rot, too high and the roots can dry out.
- Backfill with soil and firm in gently.
- Soak well with water.
- Mulch around the base with well-rotted organic matter.
What to plant with Helichrysum
Combine the trailing Helichrysum petiolare with a mix of other summer container favourites, such as petunia, pelargonium, artemisia, diascia, and bidens.
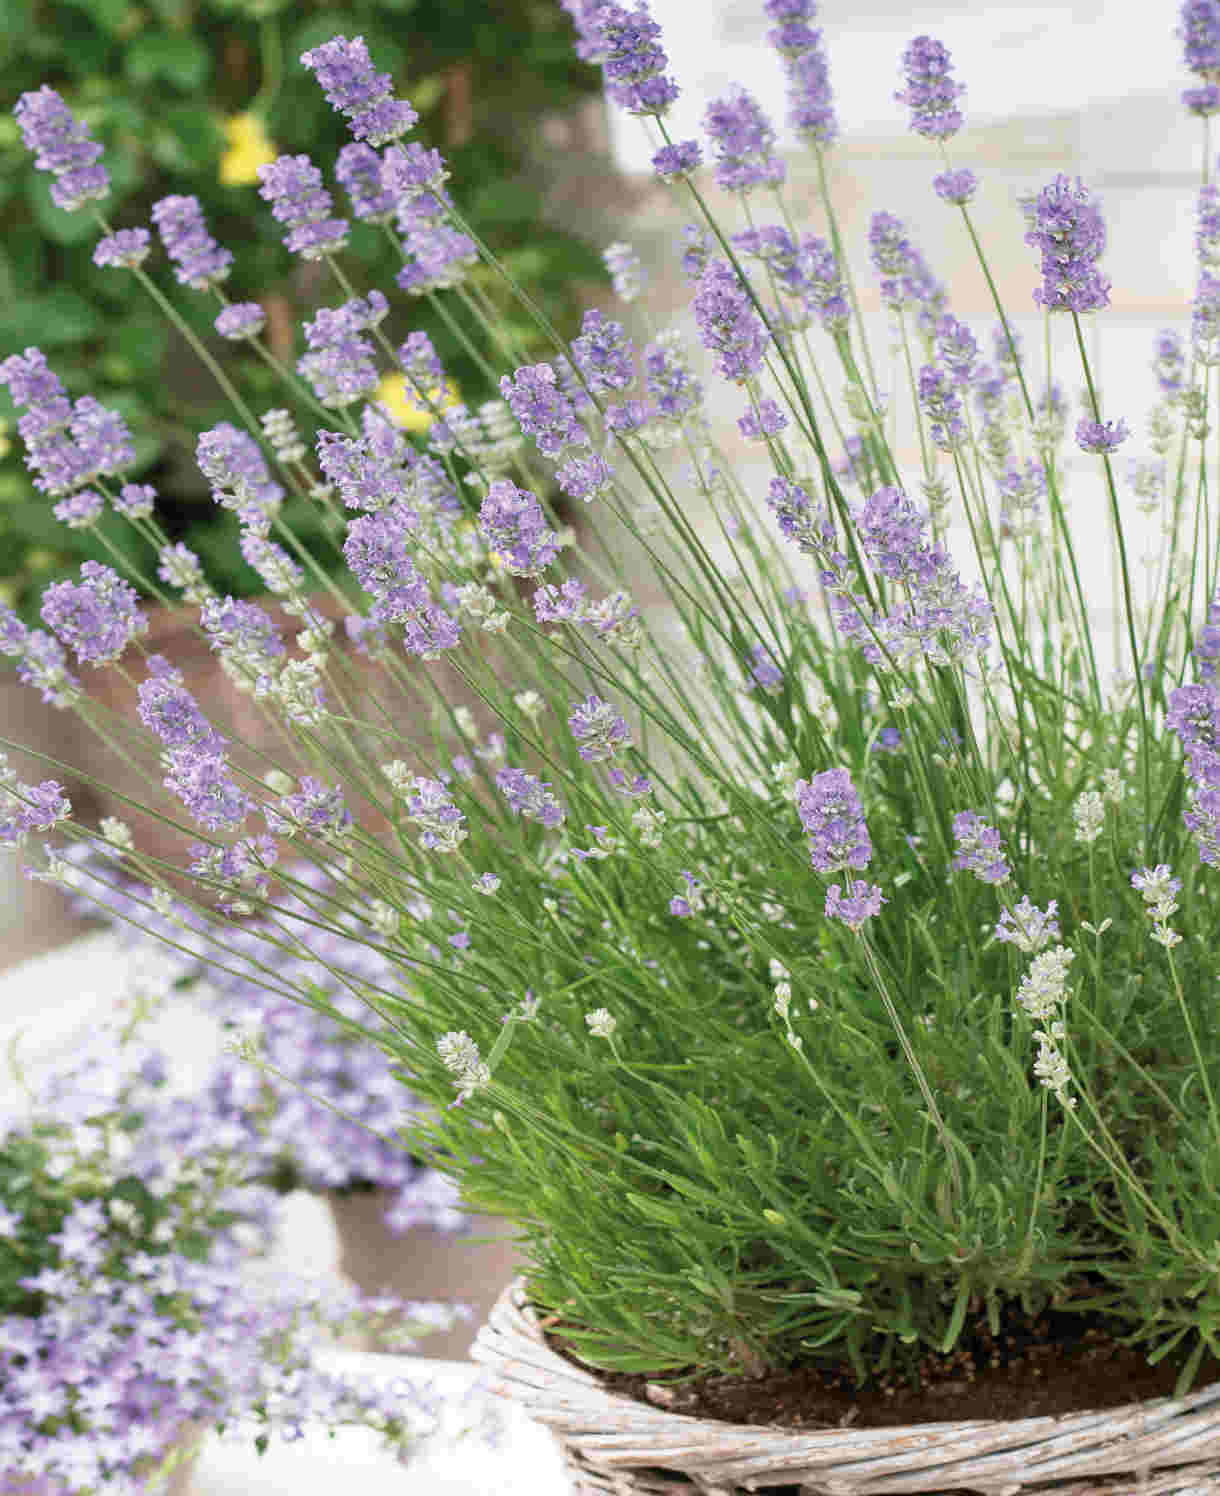
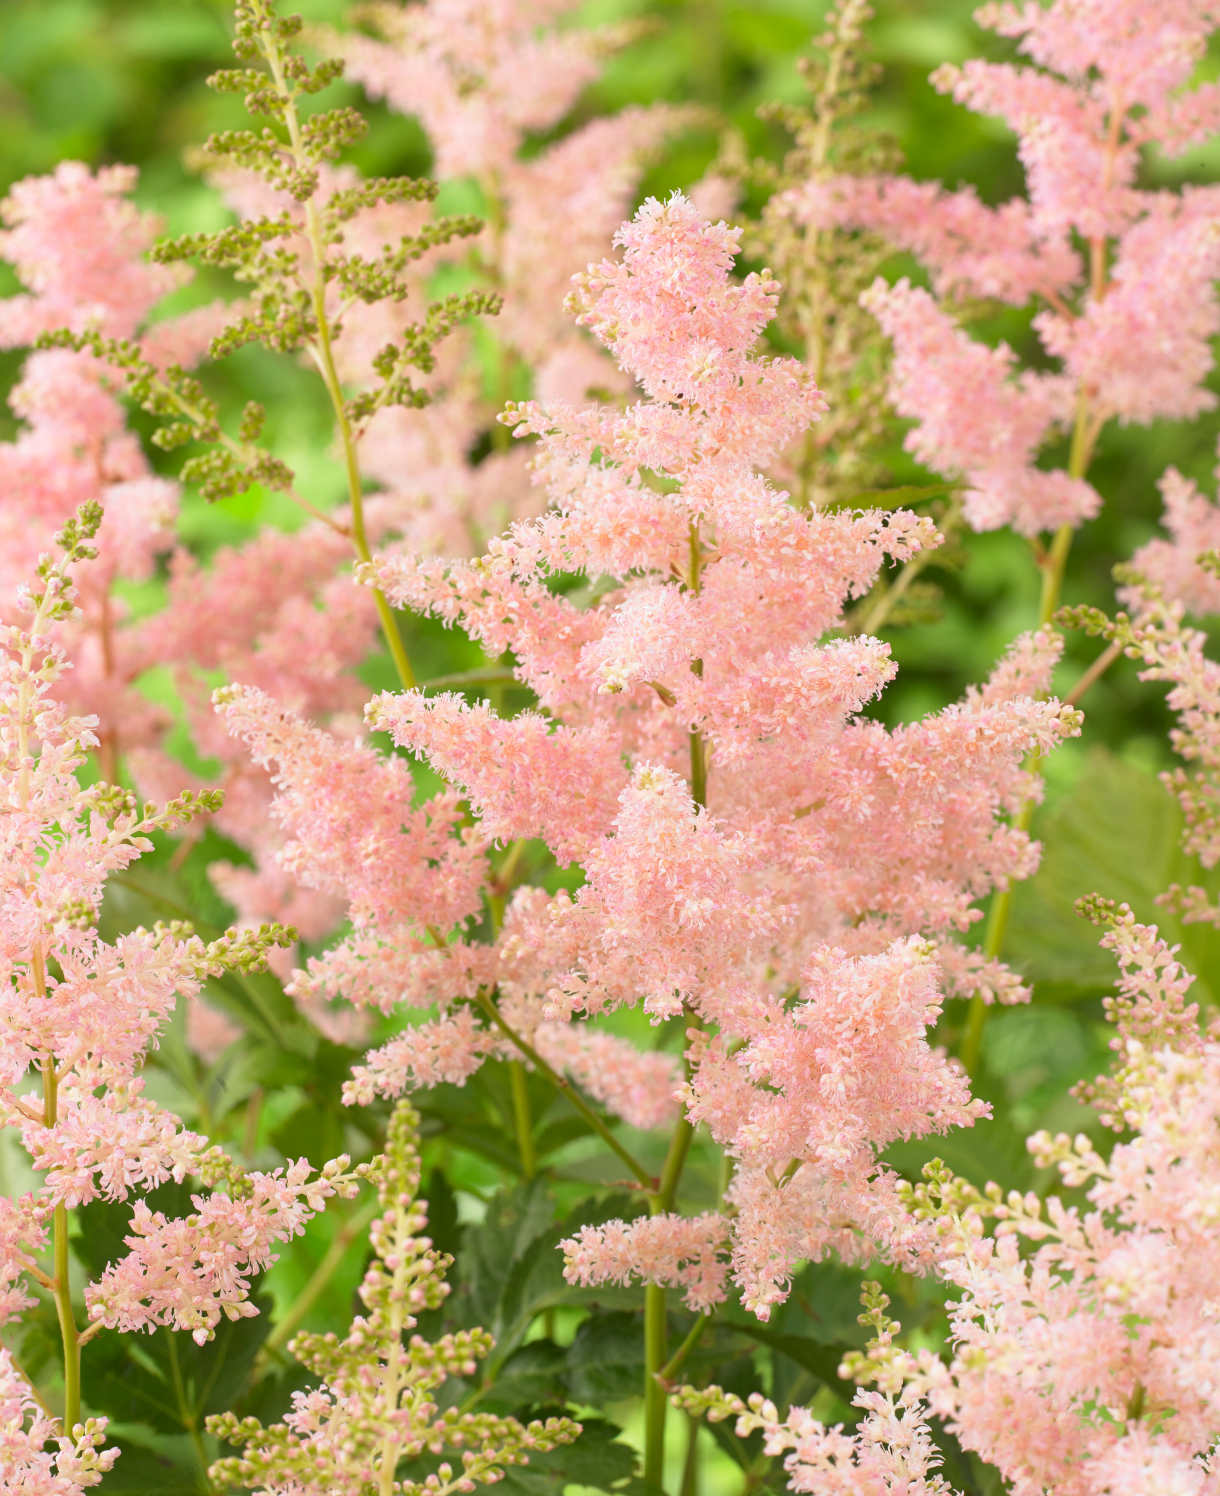
The brightly coloured Helichrysum bracteatum works beautifully as annual bedding towards the front of a cottage garden-style border, or perhaps in a cut flower patch with other plants suitable for drying. These might include eryngium, astilbe, lavender, limonium, amaranthus, and crambe, to name just a few!
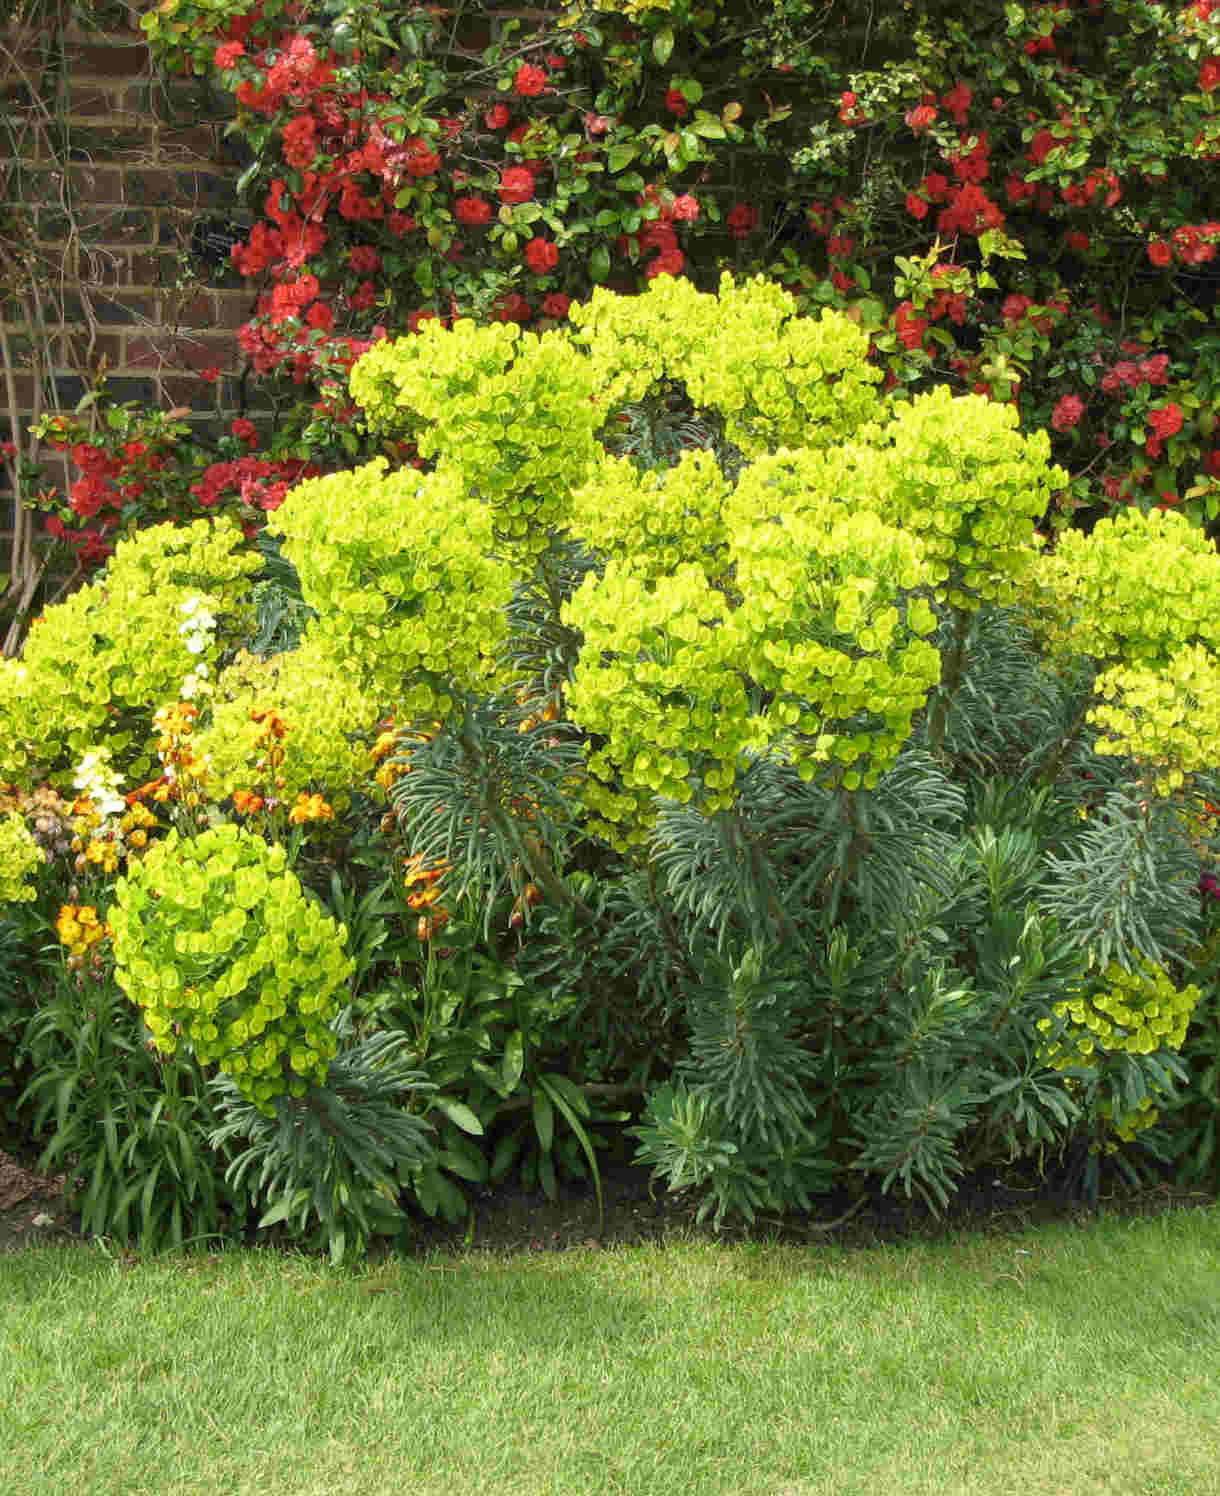
For permanent planting, grow the hardy Helichrysum amorginum alongside other sun and drainage-loving companions such as rosmarinus, origanum, and helianthemum, perhaps with a backcrop of taller plants such as Euphorbia characias, echinops, echium, and verbascum.
How to care for Helichrysum
Pruning and Deadheading
Tender species are generally removed to the compost heap after one growing season, and therefore require no pruning.
Hardy species can be pruned in spring. Remove any flowered stems to within a couple of centimetres of the previous year’s growth.
Watering
Water container-grown helichrysum regularly, allowing the top few centimetres of compost to dry out between soakings.
Helichrysum in the ground will need to be watered until established, after which it tends to be relatively self-sufficient.
Cold Protection
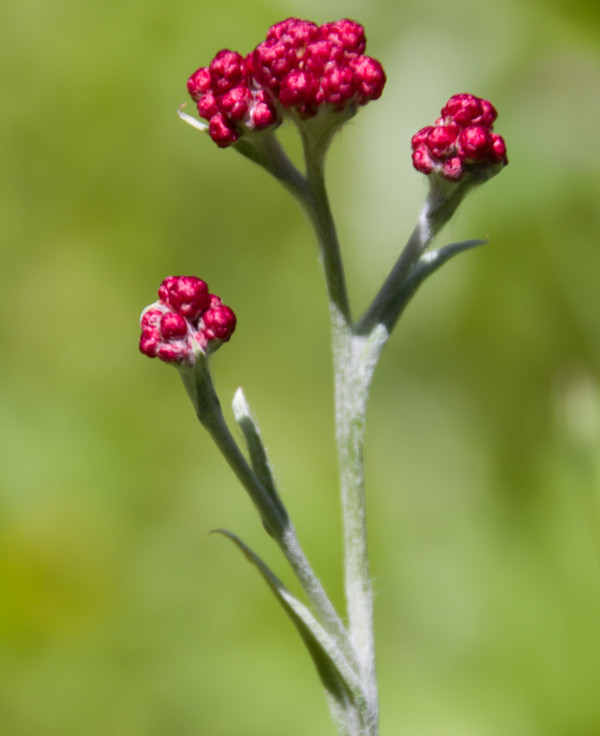
Of all the species and cultivars currently sold by Hayloft, only Helichrysum amorginum ‘Ruby Cluster’ and Helichrysum petiolare ‘Moes Silver’ are hardy enough to withstand a UK winter outside. ‘Ruby Cluster’ will tolerate temperatures to between -10°C and -15°c, so should overwinter easily without the need for protection. ‘Moes Silver’ is slightly less hardy with a minimum temperature somewhere between -5°C and -10°C, so in colder regions may benefit from either the protection of a warm, south-facing wall, or (if container-grown) being moved to a frost-free environment such as an unheated greenhouse or conservatory.
Our tender and half-hardy species and cultivars are either annuals (H. bractateum), or else usually treated as such (all H. petiolare bar ‘Moes Silver’). You may wish to have a go at overwintering some of the tender perennials, though it is just as easy to take cuttings and start afresh with new, vigorous plants each year. See ‘How to propagate helichrysum’ below for a detailed guide.
Pests and Diseases
Helichrysum tends to be fairly trouble-free, though can occasionally be affected by powdery mildew. This fungal disease appears as a white, powdery coating on foliage, and can weaken overall plant health and vigour.
By far the best approach is to cultivate healthy, robust plants as stress makes plants far more susceptible to diseases. This means researching individual needs and choosing appropriate conditions in which to grow any new plant. Both inadequate and excessive levels of light, water and nutrients can cause stress to plants. Finding the right balance is the best single thing to avoid problems down the line.
Where powdery mildew has taken hold, removing and destroying all affected leaves in autumn will help to reduce spore numbers in the area.
How to propagate Helichrysum
Shrubby helichrysum can be propagated by cuttings in summer.
- Find non-flowered shoots 5-10cm long and snip off the plant.
- Put them in a plastic bag straight away to prevent drying out.
- Fill a container with a compost mix which is at least 50% perlite (or if you prefer, as we do, 100% perlite).
- Remove the lowest third of leaves.
- Insert the cuttings into the compost and water lightly. Several cuttings can be put in the same container if there is enough space to do this without them touching.
- Place in a greenhouse or propagating unit if you have one or covered with a plastic bag on a windowsill if not (out of direct sunlight).
- Keep the cuttings misted and occasionally watered until they root. You will know this has happened when roots emerge out of the bottom of the container.
- Gently remove rooted cuttings and pot them into individual pots. Grow on in an unheated yet protected environment such a conservatory, greenhouse, or cold frame until it is time to plant them out the following spring.
Perennial helichrysum can be divided in spring.
- Choose a day when the soil is not frozen or waterlogged.
- Dig the plant out of the ground.
- Shake off any excess soil.
- Separate the plant into sections using either swift, cutting blows with a sharp spade, or two forks inserted back-to-back with tines touching, handles then pushed together to prise the plant apart.
- Discard old, damaged, or surplus pieces, keeping healthy, vigorous material.
- Replant selected pieces where desired.
- Water well until fully established.
Common Helichrysum Questions
- How tall does helichrysum get?
The height of helichrysum can vary. The varieties currently sold by Hayloft range from 20cm to 60cm. - Is helichrysum the same as xerochrysum?
Xerochrysum bracteatum was known as Helichrysum bracteatum, until a name change in the 1990s. It remains known by both names today.