How to grow Hebe
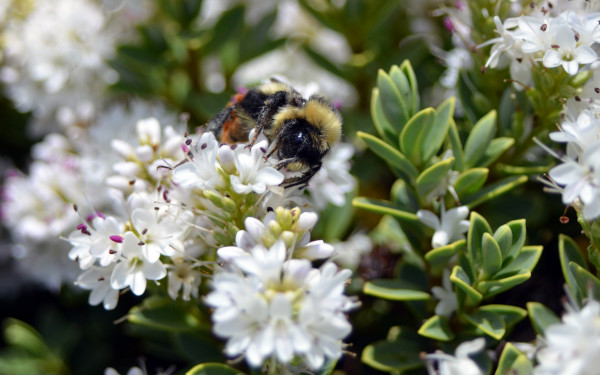
Known commonly as 'Shrubby Veronica', Hebe are incredibly popular and sun-loving evergreen shrubs which originate from New Zealand and other parts of the southern hemisphere but have settled well in most parts of the UK – depending upon how cold and wet your garden is as they have varying degrees of hardiness from RHS H3 (-1 to -5°C) to H4 or, occasionally, H5 (10 to -15°C). The genus includes around 90 species of evergreen, long-flowering shrubs and all will make colourful focal points when in bloom around midsummer to mid-autumn. They also provide year round structure in the garden, often with pretty, colourful or variegated foliage too.
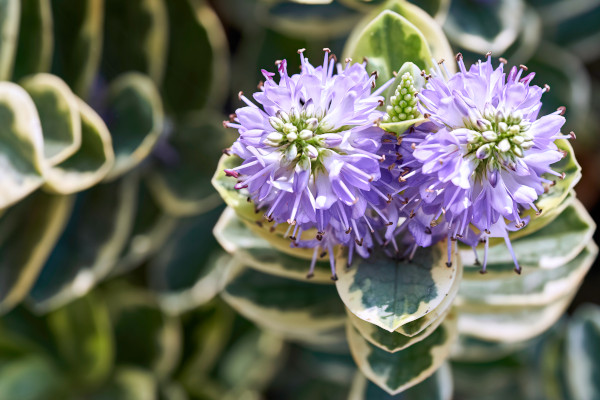
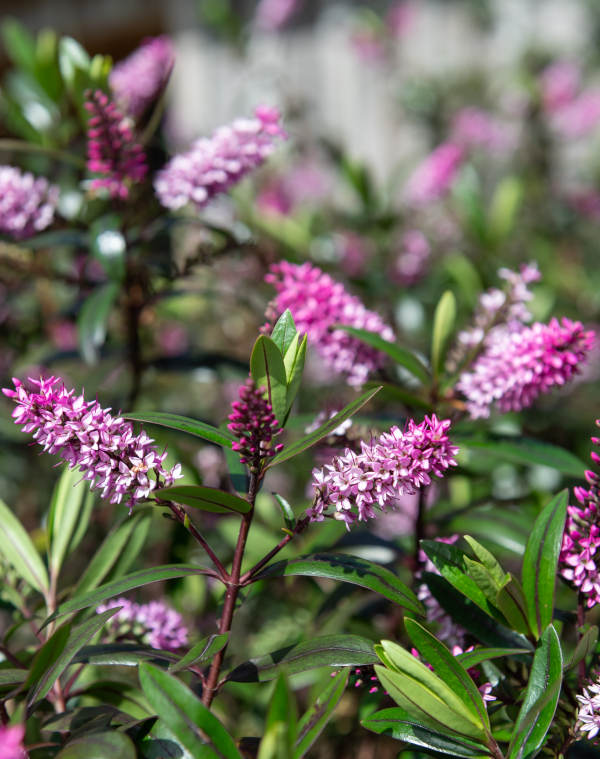
Lovers of a sunny spot, hebe flower for many months in summer, with spikes of small blooms in shades of purple, pink and white which are alluring to bees and other pollinators. Horticulturally, these plants had a recent name change and are now referred to as Shrubby Veronica - although it may be a while before you find this on plant labels! Fascinatingly, they were actually known as Veronica up until 1929 and the name only reverted back around 2022/23.
A hebe can grow between 40cm to 1.5m dependent on variety. Most prefer poor, well-drained soil and they will withstand high winds and salt spray so are resilient enough for coastal garden.
Zantedeschia is a genus of flowering plants from the family Araceae and is native to southern Africa. With a rich history dating back to the Ancient Romans, these deciduous or semi-evergreen perennials have been used as a symbol of celebration. Zantedeschia was Named after Professor Giovanni Zantedeschia, an Italian botanist.
There are two main forms of Zantedeschia: hardy and tender. Hardy forms of the plant can be grown outdoors, enjoy moist soil and full sun or partially shaded conditions - these are known as Arum lilies. Tender forms of Zantedeschia prefer being grown in containers or pots and should be brought inside over the winter - these are known as Calla lilies.
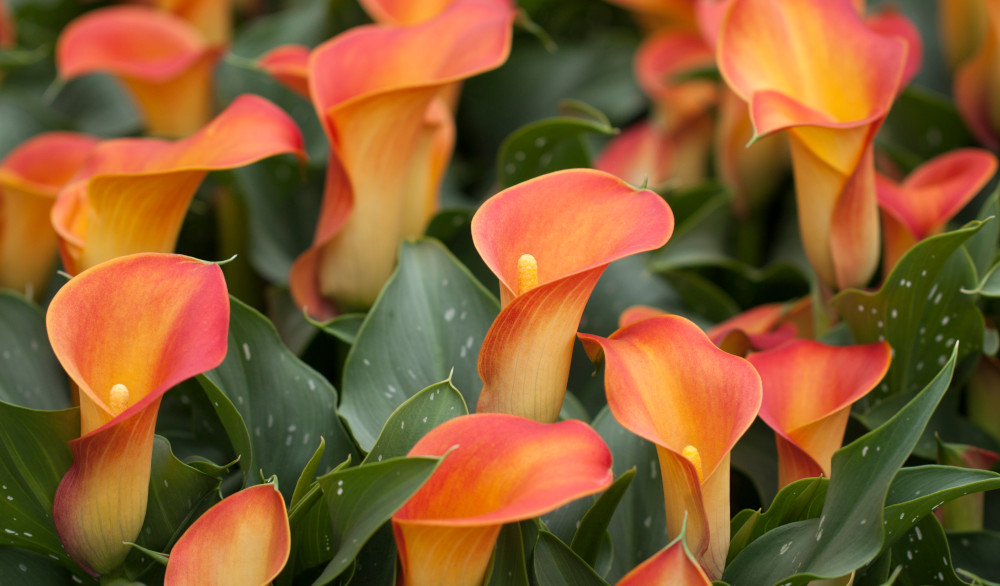
With tuberous flora in all colours from whites, yellows and oranges to deep reds and purples, Zantedeschias are not to be overlooked in any garden, as long as they have sufficient sunlight to grow in.
Ready to learn more about growing Zantedeschia? Read on for all there is to know...
Key Information
Soil pH
Position
Hardiness

Where & when to plant Hebe
Position - Full sun although some will tolerate partial shade
Soil - Well-drained, moderately fertile soil of any kind. Avoid soil with an acid pH.
Flowering Period - Summer and autumn
Hardiness - Mainly H3 and H4
For best results, plant in spring, around April or May time, as the soil begins to warm so that they settle in quickly. An autumn planting can be done by those gardening in mild conditions (and broadly speaking, this is the southern half of the UK). Winter planting is best avoided as young plants can be susceptible to rotting in cold, wet soil. Planting can also be carried out in summer, though be prepared to water regularly.
Hebes need lots of sun and well-drained soil. They dislike very shady, damp or cold conditions. Heavy clay is best avoided. Smaller plants will, however, happily grow in containers where drainage can be adjusted to suit. Remember to water at least weekly during hot weather. Larger varieties are great for the back of the border, whilst many shorter specimens can be utilised for stepover or low hedging.
How to plant Hebe
In the ground
- Clear the chosen area of weeds.
- Dig a planting hole several times larger than the root ball. Now is the time to give your soil a boost with the addition of plenty of well-rotted organic matter, and, if liable to sit wet, plenty of horticultural grit.
- Place the plant in the hole, ensuring the top of the root ball sits level with the surface of the soil. Too low and the plant may rot, too high and the roots can dry out.
- Backfill with soil and firm in gently.
- Soak well with water.
In a container
- Choose an appropriate container, ensuring there are plenty of drainage holes.
- It can be worth potting up large containers in situ to save yourself the trouble of moving once full.
- Use a good quality potting compost with some horticultural grit mixed in, and, if not already present in the compost (check the description on the bag) some slow-release plant food.
- Start by partially filling the pot with compost; enough so that when placed on it the upper surface of the root balls are about 3cm lower than the top of the pot.
- Infill all the space surrounding the root balls with compost, firming down with your fingers then adding a little more so the plants are held tight.
- Pick up the pot (if you can!) and lightly tap on the potting bench or ground a few times to help further settle the compost around the plant.
- Soak well with water.
- A mulch with horticultural grit will look attractive and help to prevent a ‘cap’ or crust forming on the top of the compost (something container plants can suffer due to the artificial nature of their watering).
What to plant with Hebe
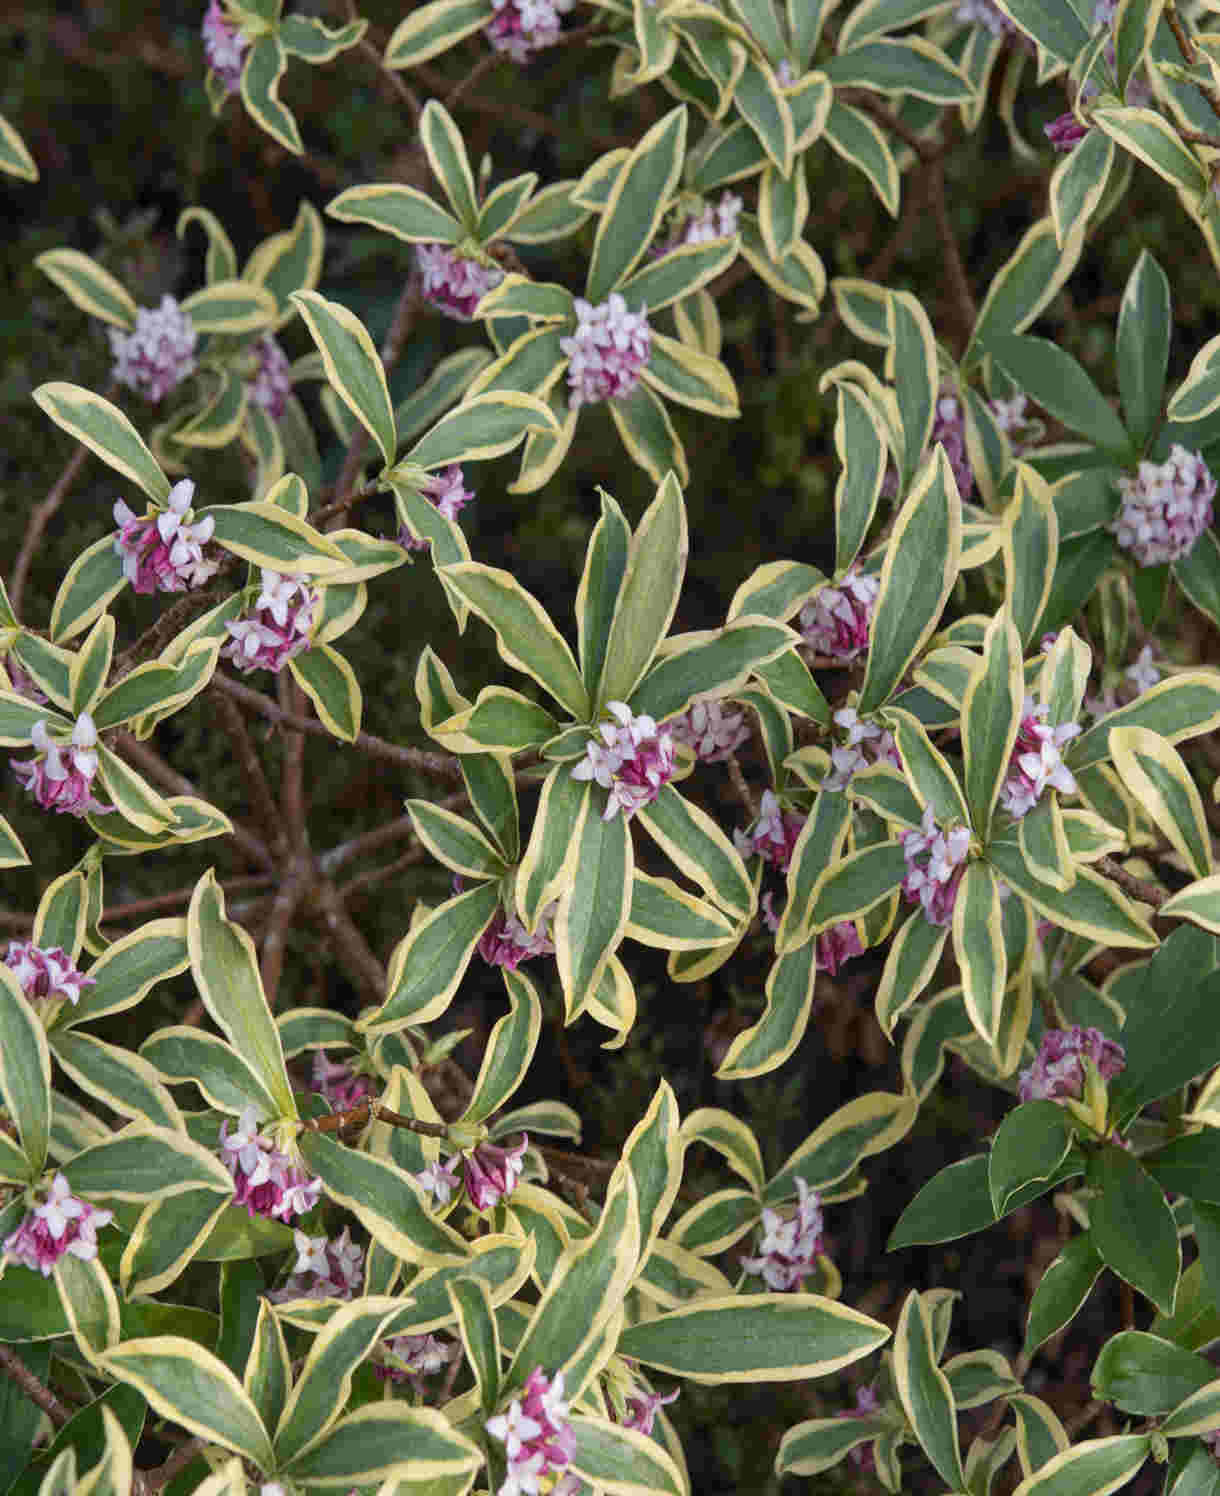
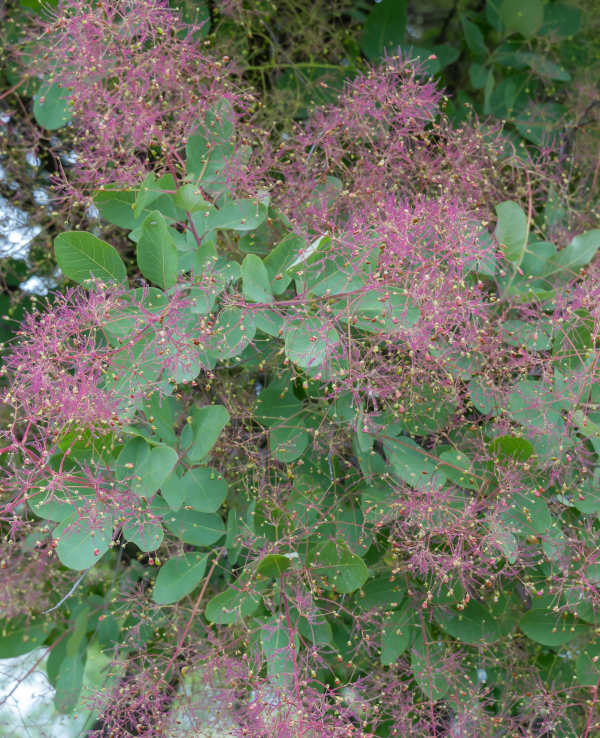
This of course depends very much on both personal taste and where you choose to locate your hebe, be that in the border, as a hedge or in a container. Also bear in mind the foliage colour and if you are looking for a contrasting impact or a blend of similar colours. As a general guide other shrubs which will thrive in similar conditions are daphne - with its earlier flowers, hibiscus with its later flowers, cotinus – with its dark or zesty foliage, and japonica – for a fabulous contrast in foliage shape.

How to care for Hebe
Pruning and Deadheading
Hebes rarely need pruning as most grow slowly to form a neat, rounded shrub. If your plant does need a bit of a tidy up, then lightly prune back to shape. Plants do not respond well to hard pruning and often fail to re grow if you cut into the woody stems. Any deadheading of the flower spikes should happen immediately after the blooms fade in order to prompt continued flowering and keep plants looking tidy.
Watering
Water newly planted shrubs regularly during their first summer as they are still established a good root structure. After this a weekly water should be sufficient unless weather is exceptionally hot and dry. Pay particular attention to plants in containers. Keep plants fairly dry over winter as cold or damp compost/soil can lead to rotting or winter damage.
Cold Protection
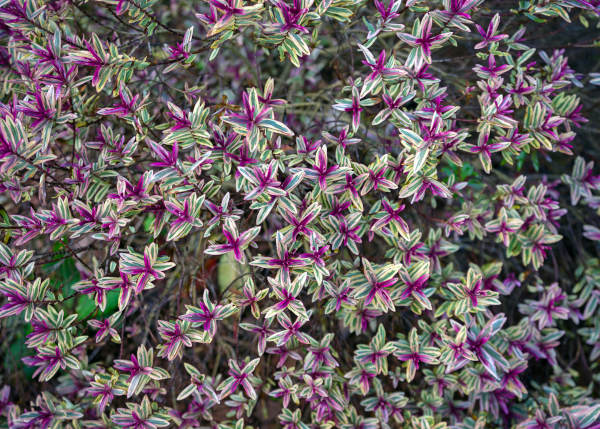
Pay particular attention to the hardiness of each variety and where needed – move pots to a sheltered spot or mulch plants in the ground and protection with horticultural fleece. Hebes with green, purple or silvery foliage tend to be the hardiest as a rule of thumb. Remember plants in pots are more susceptible to cold so huddle them together in a sheltered spot for best results from overwintering. You can also move them into a cold frame or unheated greenhouse and raise them above ground level on bricks or pot feet.
Pests and Diseases
Hebe are usually robust and trouble free when presented with appropriate conditions – a warm, sheltered, sunny spot with free draining soil. However, in wet or heavy soil they may succumb to root rot. Plants can also be impacted by downy mildew and leafspot if under glass with insufficient ventilation. Fastidious attention to hardiness will overcome winter damage as already said.
Watch for aphid infestation, although this is rare and does not usually need treatment. Hebe are one of the host plants for Xylella fastidiosa so beware of purchasing imported varieties which have not been quarantined appropriately and only buy from recommended sources.
How to propagate Hebe
You can easily make more hebes by taking softwood or semi ripe cuttings. These are taken from summer to mid-autumn (Jul-Sep) from healthy stems of the current season’s growth. With semi-ripe cuttings the base of the cutting is firm, while the tip is still soft. Cuttings are taken from non-flowering shoots on young plants. Plants grown from cuttings will be a replication of the parent plant.
Hebes will, in the majority, root readily from cuttings. You may find the smaller-leaved varieties root best from semi-ripe shoots. We suggest you take both if you are unsure.
- Snip cuttings off the plant, if possible taking a longer piece than the ideal eventual length of around 10cm (to allow for trimming).
- Put them in a plastic bag straight away to prevent drying out.
- Fill several pots with a perlite-heavy compost mix (at least 50% perlite).
- Trim the end of the cutting to just below a node (point at which leaves grow).
- Remove lowest leaves and soft tip, leaving 2-4 leaves.
- If the remaining leaves are large, cut them in half with a sharp knife (to reduce water lost through transpiration).
- Insert the cuttings into the compost and water lightly. Several cuttings can be put in the same container if there is enough space to do this without them touching.
- Place in a greenhouse or propagating unit if you have one or covered with a plastic bag on a windowsill if not (out of direct sunlight).
- Keep the cuttings misted and occasionally watered until they root. You will know this has happened when roots emerge out of the bottom of the container.
- Gently remove rooted cuttings and pot them into individual pots. Grow on in a cool yet frost-free environment such as an unheated conservatory, greenhouse, or cold frame, until they are large enough to be planted out.
- Don't overwater, as hebe cuttings can easily rot if kept too damp
- New plants should commence flowering within two years
Common Hebe questions
Do hebe prefer sun or shade?
Hebe are sun-loving plants, some of which will tolerate a lesser degree of shade.
Can hebes be cut back?
A light trim if plants need re-shaping is fine, be careful not to hard prune as your hebe may not resprout.
Should you deadhead hebe?
Deadhead spent blooms to improve the look of your hebe and keep it flowering for longer.
