How to grow Hamamelis
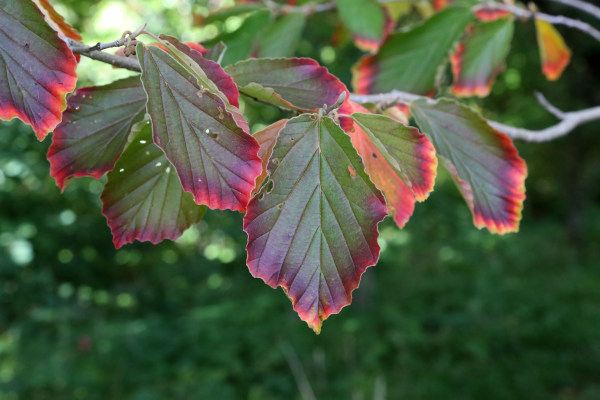
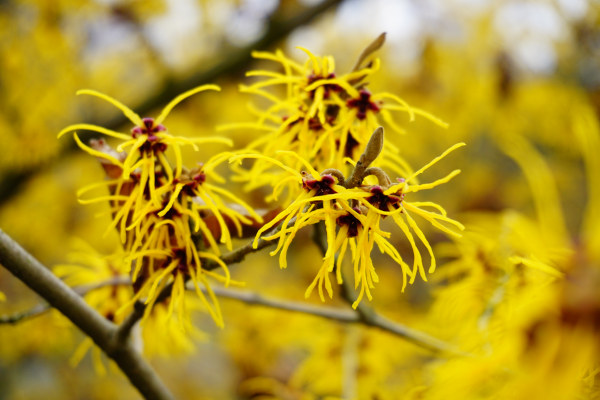
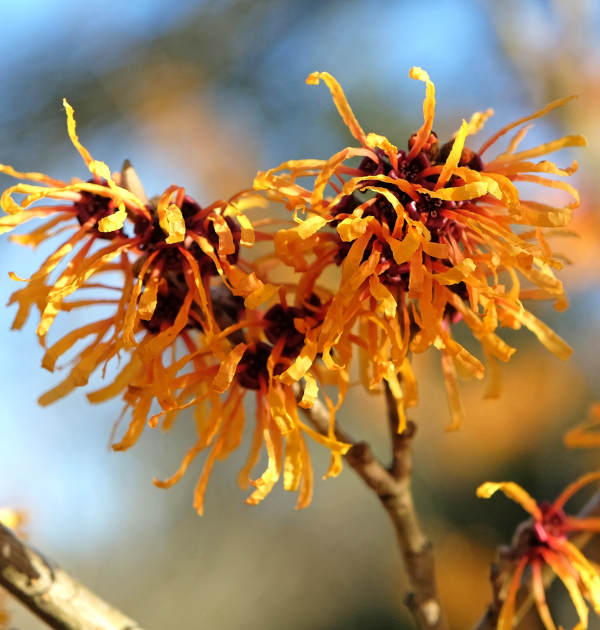
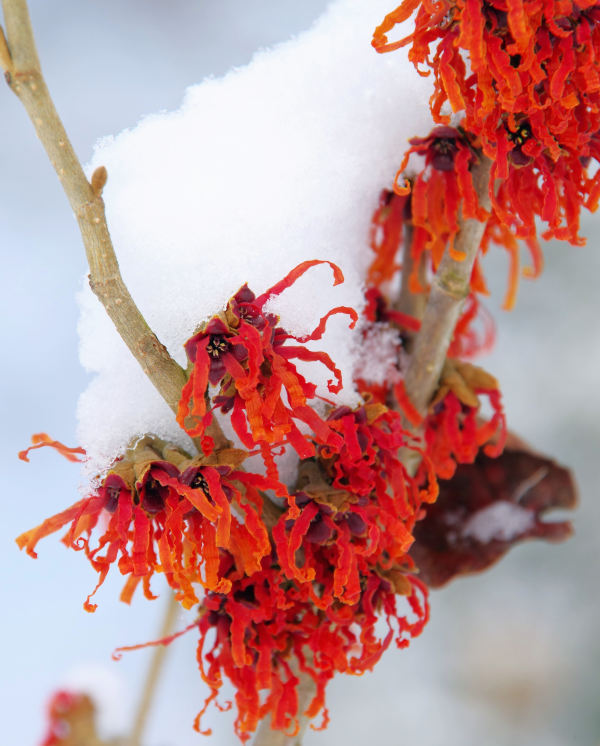
Flowering on bare branches at the coldest point in the year, this large shrub/ small tree is popular among gardeners looking to inject beauty, colour, and scent into their gardens during winter. The fragile-looking, spidery, tassel-like blooms suggest a delicate nature, however hamamelis is fully hardy and, given the right conditions, easy and undemanding to grow.
It is also known by the common name, witch hazel.
Zantedeschia is a genus of flowering plants from the family Araceae and is native to southern Africa. With a rich history dating back to the Ancient Romans, these deciduous or semi-evergreen perennials have been used as a symbol of celebration. Zantedeschia was Named after Professor Giovanni Zantedeschia, an Italian botanist.
There are two main forms of Zantedeschia: hardy and tender. Hardy forms of the plant can be grown outdoors, enjoy moist soil and full sun or partially shaded conditions - these are known as Arum lilies. Tender forms of Zantedeschia prefer being grown in containers or pots and should be brought inside over the winter - these are known as Calla lilies.
With tuberous flora in all colours from whites, yellows and oranges to deep reds and purples, Zantedeschias are not to be overlooked in any garden, as long as they have sufficient sunlight to grow in.
Ready to learn more about growing Zantedeschia? Read on for all there is to know...

Key Information
Soil pH

Position
Hardiness

Where & when to plant Hamamelis
Position - For best results plant in an open, sunny spot. Hamamelis will grow in partial shade, though tends in these cases to be more ‘gangly’ and produce fewer flowers. Always ensure shelter from cold, drying winds – hamamelis does not do well in an exposed spot.
Soil - Moist, well-draining soil with a neutral to acidic pH. Avoid the extremes of winter waterlogging and summer drought, as well as chalky, alkaline soil.
Flowering Period - Winter
Hardiness - H5 (-10°C to -15°C). Hardy throughout most of the UK even in severe winters.
For best results, plant hamamelis between October and April. Container-grown trees and shrubs can, in theory, be planted at any time of year, though a late spring or summer planting will mean frequent, watchful watering is needed to avoid the plant drying out.
Hamamelis looks best when left to grow unpruned, so, while slow growing, try to plant where there is plenty of room for it to reach its eventual height and spread. Remember to aim for somewhere sunny and open yet sheltered from cold winds, and avoid anywhere prone to waterlogging.
Hamamelis will struggle in alkaline soil, so if this is what you have in your garden you may instead wish to grow yours in a container (noting that this will result in a considerably smaller plant).
If possible, try to locate hamamelis near a path or doorway to allow its scent and beauty to be fully enjoyed during winter.
How to plant Hamamelis
- For planting in the ground, dig the soil area removing any large stones and weeds and breaking up any lumps. Mix in some organic matter such as manure or garden compost. If your soil is heavy clay, now is also the time to add a generous helping of horticultural grit. Rake level and firm with your heels. Rake level again.
- Water plants well and allow to drain before planting.
- A good tip is to dig a hole twice the size of the root-ball. Fill with water and allow to drain before placing in the plant.
- Place the plant in the hole, ensuring the top of the root ball sits level with the surface of the soil. Look out for the graft union (a bulbous part of the stem near ground level) and avoid burying this below soil level. Most hamamelis are grafted onto a rootstock which can send up vigorous suckers if planted too deep.
- Backfill with soil and firm in gently with your foot.
- Soak well with water.
- Mulch around the base with well-rotted organic matter.
- For planting in containers, first choose an appropriately sized pot. The best practice is to start just a few centimetres larger than the rootball and increase in size every year or two. Eventually you can expect your hamamelis to need a large container measuring around 60cm in width. Always ensure there are plenty of drainage holes in the bottom.
- If you are using a large or heavy pot, it can be a good idea to fill and plant it in situ to save yourself the trouble of moving once full.
- Use a good quality potting compost with plenty of horticultural grit mixed in, and, if not already present in the compost (check the description on the bag) some slow-release fertiliser granules.
- Start by partially filling the pot with compost; enough so that when placed on it the upper surface of the root ball is about 3cm lower than the top of the pot.
- Infill all the space surrounding the root ball with compost, firming down with your fingers then adding a little more so the plant is held tight. Again, take care not to bury the graft union (see above).
- Pick up the pot (if you can!) and lightly tap on the potting bench or ground a few times to help further settle the compost around the plant.
- Soak well with water.
- A mulch with horticultural grit will look attractive and help to prevent a ‘cap’ or crust forming on the top of the compost (something container plants can suffer due to the artificial nature of their watering).
What to plant with Hamamelis
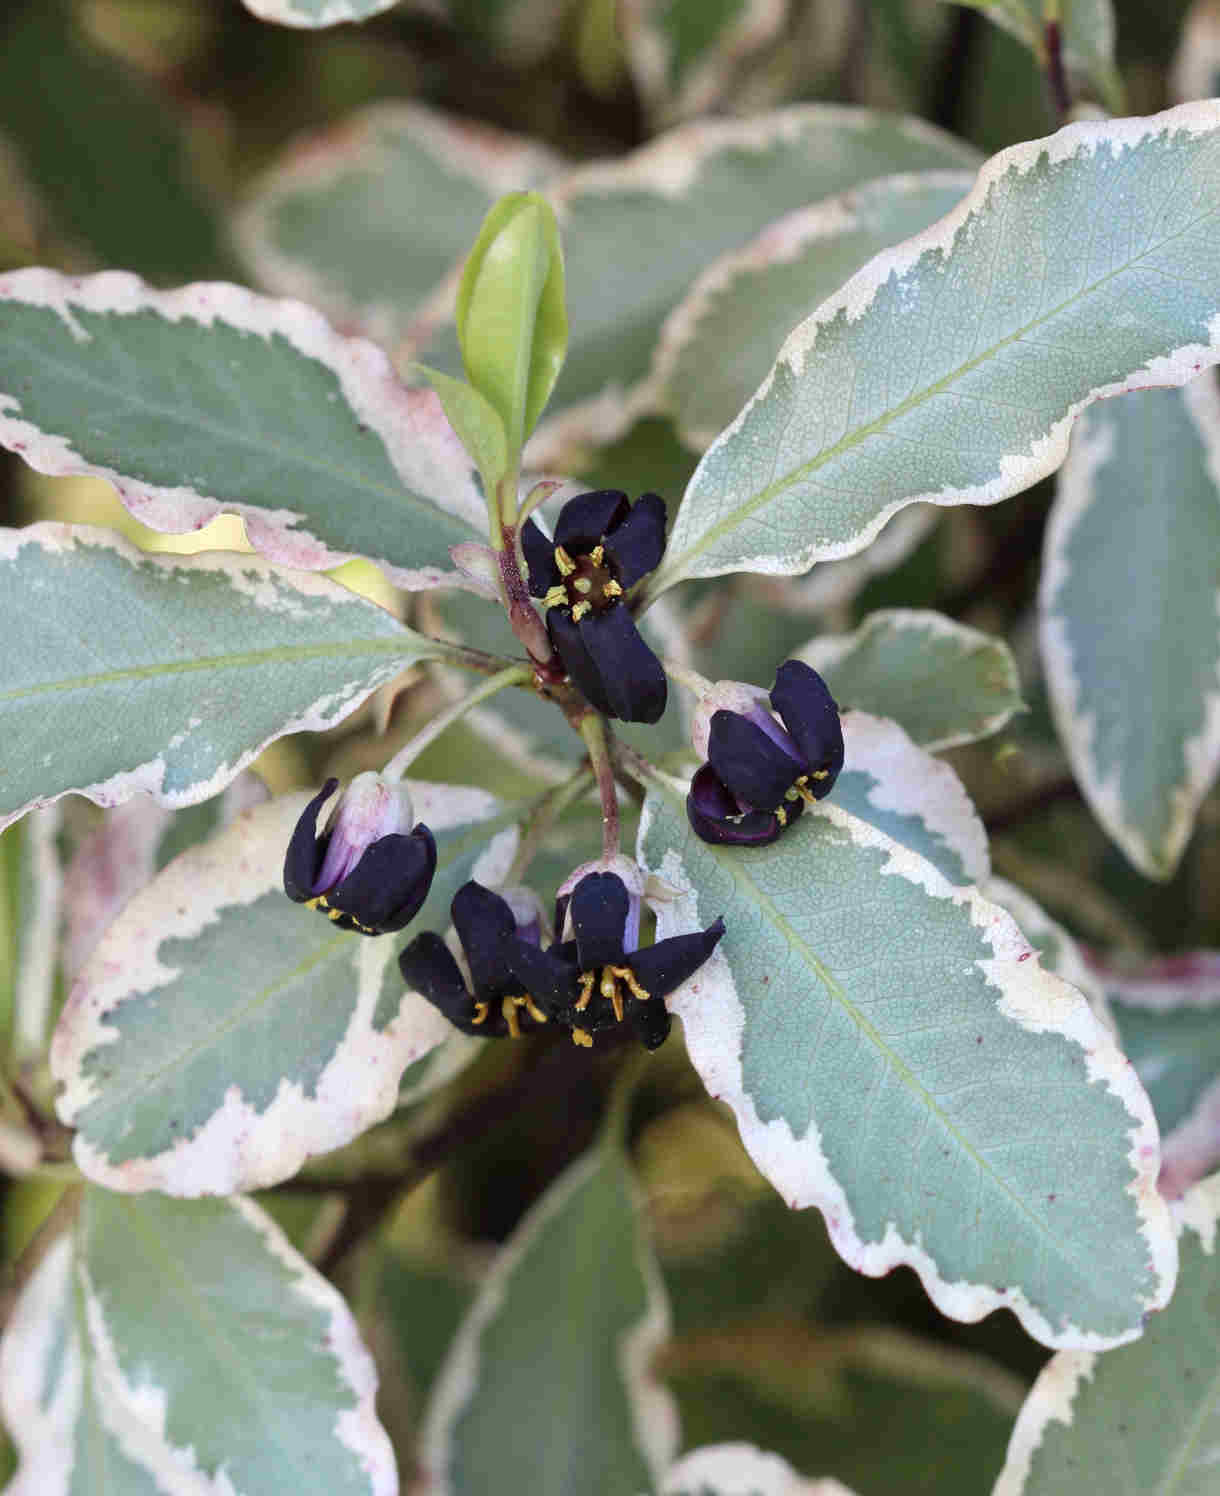
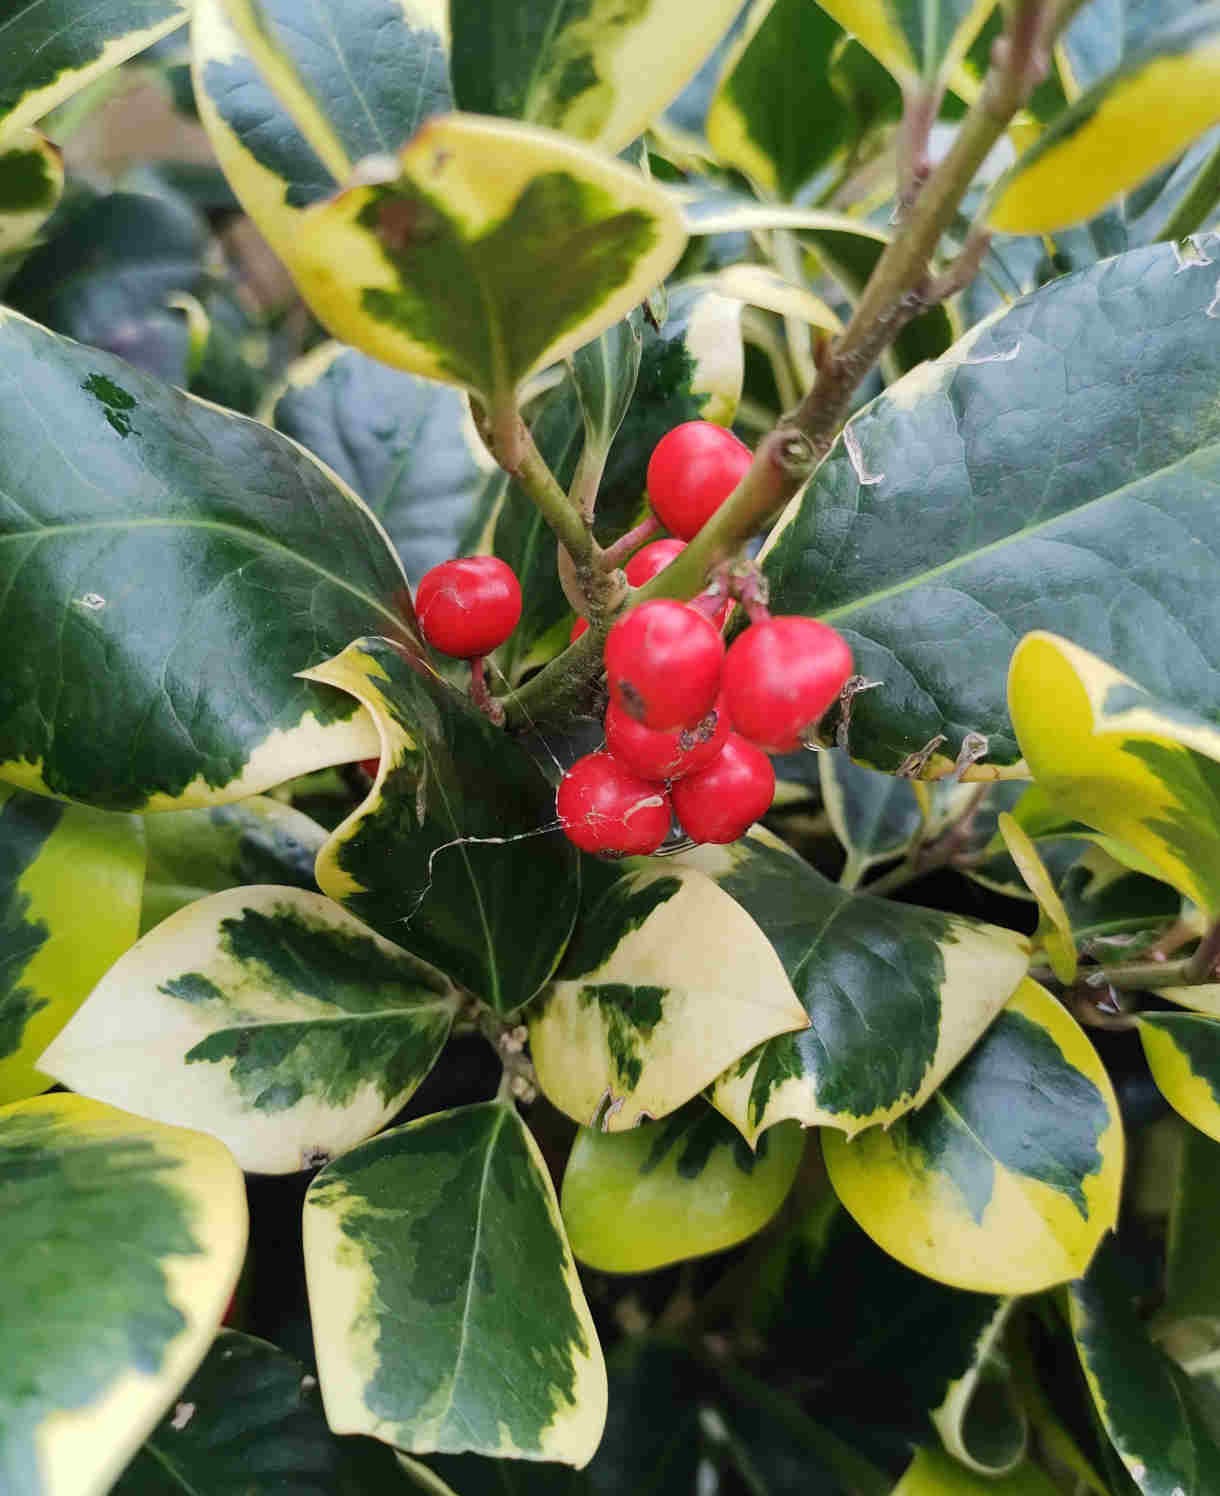
An evergreen backdrop, such as pittosporum, holly, or osmanthus, will enhance the stark, delicate beauty of this winter-flowering shrub. A smattering of early bulbs twinkling at ground level completes the picture – think crocus, winter aconite, snowdrops, and chionodoxa.

How to care for Hamamelis
Pruning and Deadheading
Hamamelis falls into the RHS pruning group 1, which means no pruning is required other than the occasional removing of dead, diseased, damaged, or badly placed growth. This is best done in spring after flowering.
Any suckers arising from the rootstock should be removed so that all energy is directed into the desired top growth. Suckers can be recognised by often holding on to their leaves longer than the main tree. Trace back to the base and cut off as cleanly and completely as possible.
Watering
New plantings require more watering than established plants. During the first growing season in the ground, a good soaking every couple of weeks should ensure long-term success (aiming for consistently moist, but not soggy soil). After this, hamamelis needs little watering other than in hot, dry conditions. It is important that hamamelis is not allowed to dry out in summer, so do remember to keep an eye on this. An annual mulch will help lock moisture into the soil (see also ‘Feeding’ section below).
Container-grown hamamelis need to be watered regularly throughout every growing season. Allowing the top couple of centimetres of compost to dry out between watering is a useful rule of thumb to help avoid overwatering. Use your finger inserted into the compost to check. From mid-autumn, the British climate tends to take over watering needs, though do remember to step in in the event of an unseasonably dry spell.
Feeding
On healthy, fertile soil, an annual mulch of well-rotted organic matter (i.e., a layer of manure or garden compost applied to the soil around the plant) should provide sufficient nutrients for your hamamelis. This has the added benefit of suppressing weeds and locking in moisture. Autumn and spring are the best times to carry out mulching.
For an extra boost (most needed in the first few years of the plant being in the ground, and/ or when growing in poor soil), applying a general purpose granular feed to the surface of the soil and lightly working in (known as a ‘top dress’) can reap benefits. Aim to do this in late winter or early spring.
Container-grown plants rely even more on the gardener for nutrition. Get off to a flying start by making sure you use a good quality compost, then throughout the growing season (March to September) apply a liquid feed at regular intervals according to its instructions. Alternatively, top dress with a general purpose granular feed every three months throughout the growing season.
Cold Protection
Hamamelis is hardy and able to withstand most UK winters without the need for additional protection. Having said this, its hardiness can be impaired by exposure to cold winds or excessive water during winter, so take time to choose a spot wisely.
Like all plants, those grown in containers can be more vulnerable to the cold. In the event of very low temperatures, it can be worth wrapping pots with hessian or fleece (this will protect the pot from cracking too).
Pests and Diseases
Hamamelis tend to be largely untroubled by pests and diseases, though can succumb to honey fungus. This fatal fungal disease tends only to be a problem where there is a heavily wooded area nearby, so is thankfully not a likely problem for most home gardeners.
Where infections do occur, little can be done other than removing the affected specimen and replacing with a known resistant alternative. Chimonanthus is a good choice to replace hamamelis, its delicate, scented winter blooms not dissimilar in appearance and nature.
How to propagate Hamamelis
Hamamelis is notoriously tricky to propagate by cuttings and grafting, and this is therefore usually best left to specialist nurseries. Instead, we recommend layering as the best approach for home gardeners. Best done in spring or autumn, this simple and effective technique involves pegging a wounded stem to the ground to develop roots while still attached to the parent plant. It requires far less input than most other methods of propagation, as the plant is largely left to do the work.
- Choose a few flexible outer shoots that can easily be bent down to the surface of the soil.
- Make a 5cm long incision where the stem will touch the ground, ensuring you slice through a leaf bud.
- Insert a matchstick to wedge the incision open slightly.
- Dig a small, shallow trench where the shoot will touch the ground (adding a little grit if the soil is heavy).
- Peg the shoot into the trench using thick wire or a strong forked twig.
- Fill with soil, firm in, and water.
- Mark the spot with a cane. Roots can take 12 months to form, making it easy to forget what you have done and where...!
- When a good root system has formed, sever from the parent plant and either replant elsewhere or put in a pot for growing on.
* Many plants carry Plant Breeders Rights and cannot be propagated for commercial purposes.
Common Hamamelis Questions
- How fast does hamamelis grow?
Hamamelis is considered a slow growing plant and can take 10 to 20 years to reach eventual size. - Where does witch hazel grow best?
A sheltered spot with plenty of light, space, and moderate moisture levels (not too wet, not too dry!) should result in a happy, thriving specimen. Just remember to avoid chalky, alkaline soils and cold winds.