How to grow Grevillea
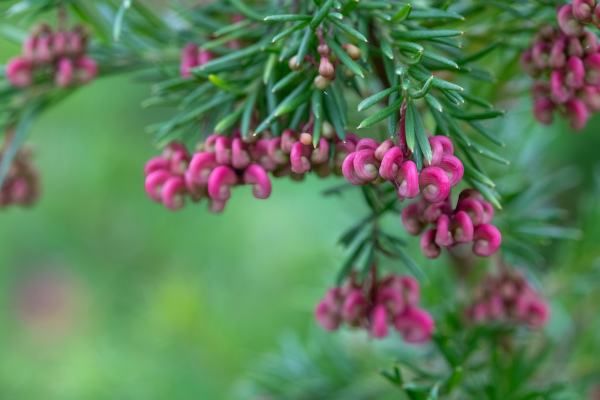
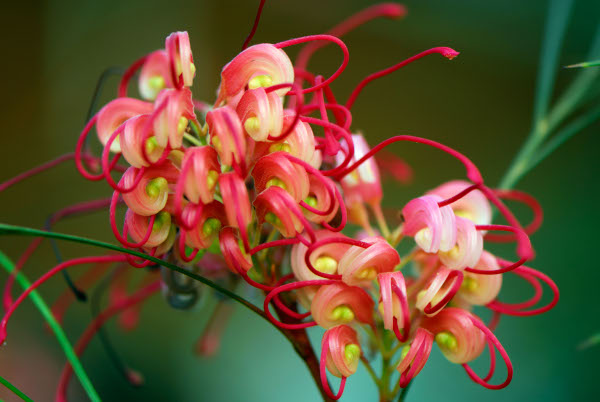
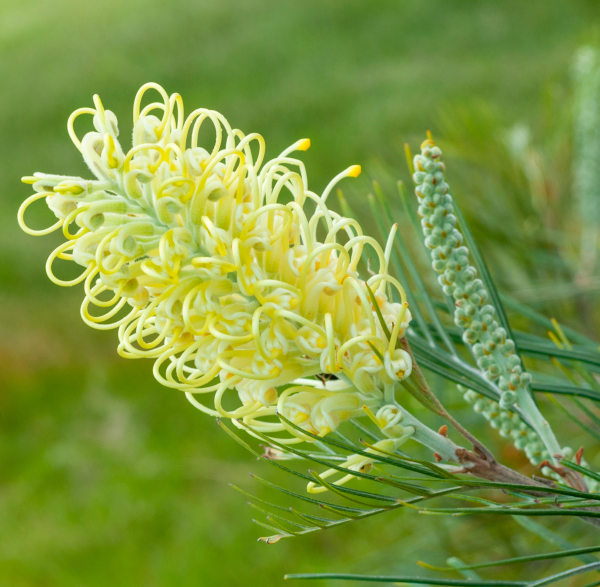
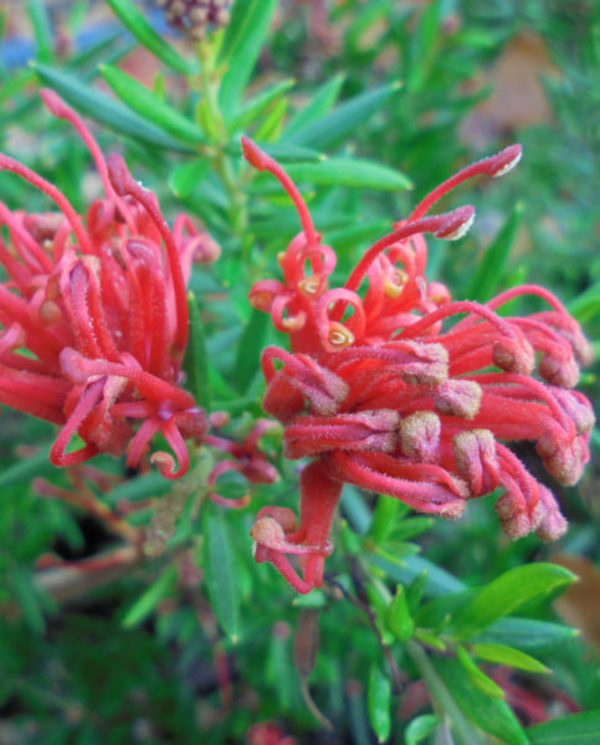
Grevillea are exotic looking members of the protea family, originally from Australia. There are several of the evergreen Grevillea species which are perfectly hardy in most southerly UK gardens and readily tolerate frost providing wood has been hardened off by a dry summer. This means we can also make the most of these fringed beauties in our gardens. The toughest two which are widely grown are G. juniperina and G. rosmarinifolia. We supply two varieties of juniperina to which these notes will relate.
One of the most endearing qualities of grevilleas is they often randomly produce flowers; almost right through the year and outside of their ‘usual’ flowering times. These shrubs are hardy down to -5 to -10°C (H4) providing they are planted in well-drained soil which prevents them from becoming waterlogged. Even better, for those who garden in areas where temperatures may dip below this, Grevillea juniperina will happily grow in pots which can, as and when required, be brought into a greenhouse or conservatory for protection.
Zantedeschia is a genus of flowering plants from the family Araceae and is native to southern Africa. With a rich history dating back to the Ancient Romans, these deciduous or semi-evergreen perennials have been used as a symbol of celebration. Zantedeschia was Named after Professor Giovanni Zantedeschia, an Italian botanist.
There are two main forms of Zantedeschia: hardy and tender. Hardy forms of the plant can be grown outdoors, enjoy moist soil and full sun or partially shaded conditions - these are known as Arum lilies. Tender forms of Zantedeschia prefer being grown in containers or pots and should be brought inside over the winter - these are known as Calla lilies.
With tuberous flora in all colours from whites, yellows and oranges to deep reds and purples, Zantedeschias are not to be overlooked in any garden, as long as they have sufficient sunlight to grow in.
Ready to learn more about growing Zantedeschia? Read on for all there is to know...

Key Information
Soil pH

Position
Hardiness

Where & when to plant Grevillea
Position - Full sun of any aspect except north facing
Soil - Happy in any soil which is well-drained. Drought tolerant once established
Flowering Period - Grevillea juniperina flowers from May to August. Grevillea juniperina ‘New Blood’ has two flushes of blooms, May to June and September to December.
Hardiness - A hardy (H4), evergreen shrub
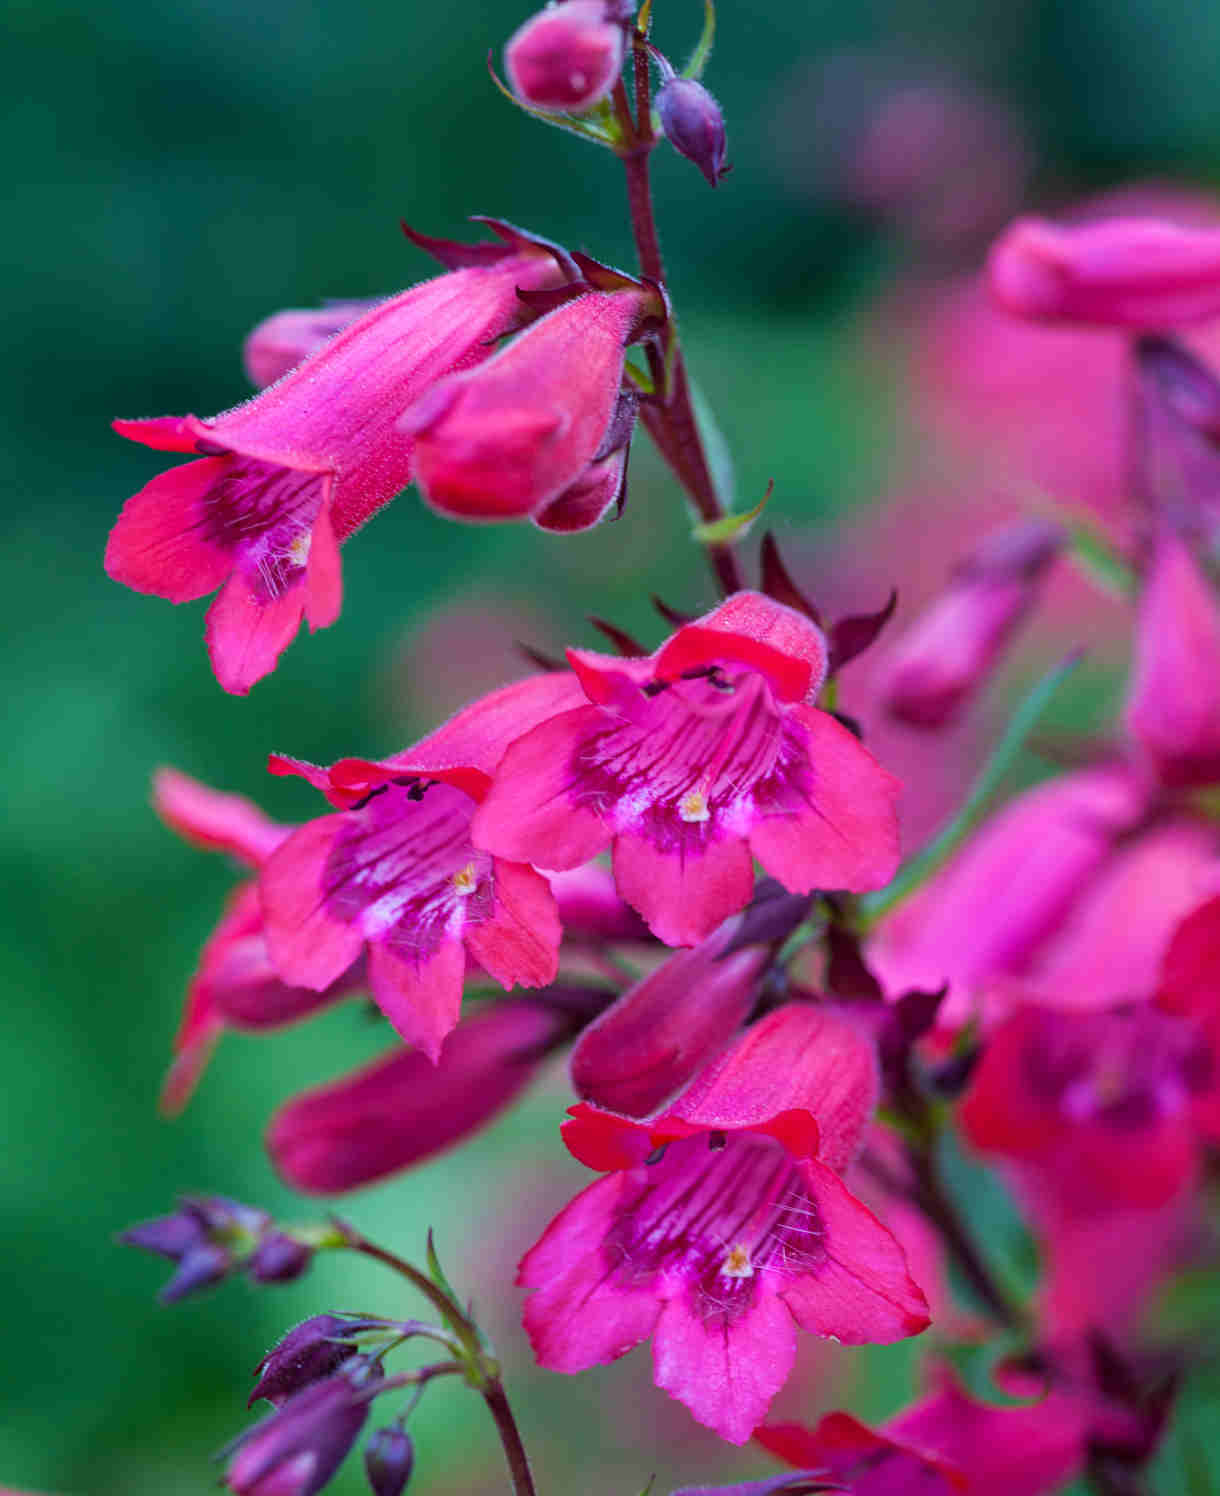
Grevillea prefer acid to neutral soil in full sun and will even grow well in poor soil but, as said, they detest being damp and waterlogged so an upraised bed or rockery may be preferable to the shrub border if you are unsure but do bear in mind Grevillea juniperina has a height of 2m and a spread of 1m, whilst the low-growing Grevillea juniperina ‘New Blood’ is around 25-30cm tall and spreads to 1.5m. Foliage is needle-shaped and looks similar to the Juniper tree from which it draws part of its name. Flowers are tassle-like and either bright red or red and yellow.
Ideal for gardens which are not prone to heavy frosts as Grevillea will only cope with temperatures down to around -5 to -10°C. Plants will happily grow in a suitably sized container if given appropriate water and nutrients to thrive. Provide plants with a sheltered spot in full sun and avoid a north facing aspect. Avoid chalky ground and provide a growing medium with a neutral to acidic pH value.
Best planted into the ground in spring so that plants can ‘harden off’ over the summer in preparation for the colder weather.
How to plant Grevillea
Dependent on where you garden in the UK your Grevillea can either be planted in open ground or in a suitably sized pot. Ideally, if your plant is relatively young and smaller on arrival, it is best nurtured in a pot whilst it establishes a good root structure as protecting it from the elements will be much easier. However, if you garden in a mild area, it will be fine planted directly into the ground.
- For planting in containers, first choose an appropriately sized pot ensuring you do not swamp your plant by choosing too large a container.
- If you are using a large or heavy pot, it can be a good idea to fill and plant it in situ to save yourself the trouble of moving once full.
- Use a good quality ericaceous compost, and, if not already present in the compost (check the description on the bag) some suitable slow-release fertiliser granules.
- Start by partially filling the pot with compost; enough so that when placed on it the upper surface of the root ball is about 3cm lower than the top of the pot.
- Infill all the space surrounding the root ball with compost, firming down with your fingers then adding a little more so the plant is held tight.
- Pick up the container and lightly tap on the potting bench or ground a few times to help further settle the compost around the plant.
- Water well to both settle the soil (preferably with rainwater) and give the plant a good drink.
- A mulch with horticultural grit will look attractive and help to prevent a ‘cap’ or crust forming on the top of the compost (something container plants can suffer due to the artificial nature of their watering).
- For planting in the garden, dig the soil area removing any large stones and weeds and breaking up any lumps. Mix in some organic matter such as manure or ericaceous compost. If your soil is heavy clay, now is also the time to add a generous helping of horticultural grit.
- Rake level and firm with your heels. Rake level again.
- Water plants well and allow to drain before planting. A good tip is to dig a hole twice the size of the root-ball. Fill with water and allow to drain before placing in the plant.
- Place the plant in the hole, ensuring the top of the root ball sits level with the surface of the soil. Too low and the plant may rot, too high and the roots can dry out.
- Backfill with soil and firm in gently with your foot.
- Soak well with rainwater.
What to plant with Grevillea
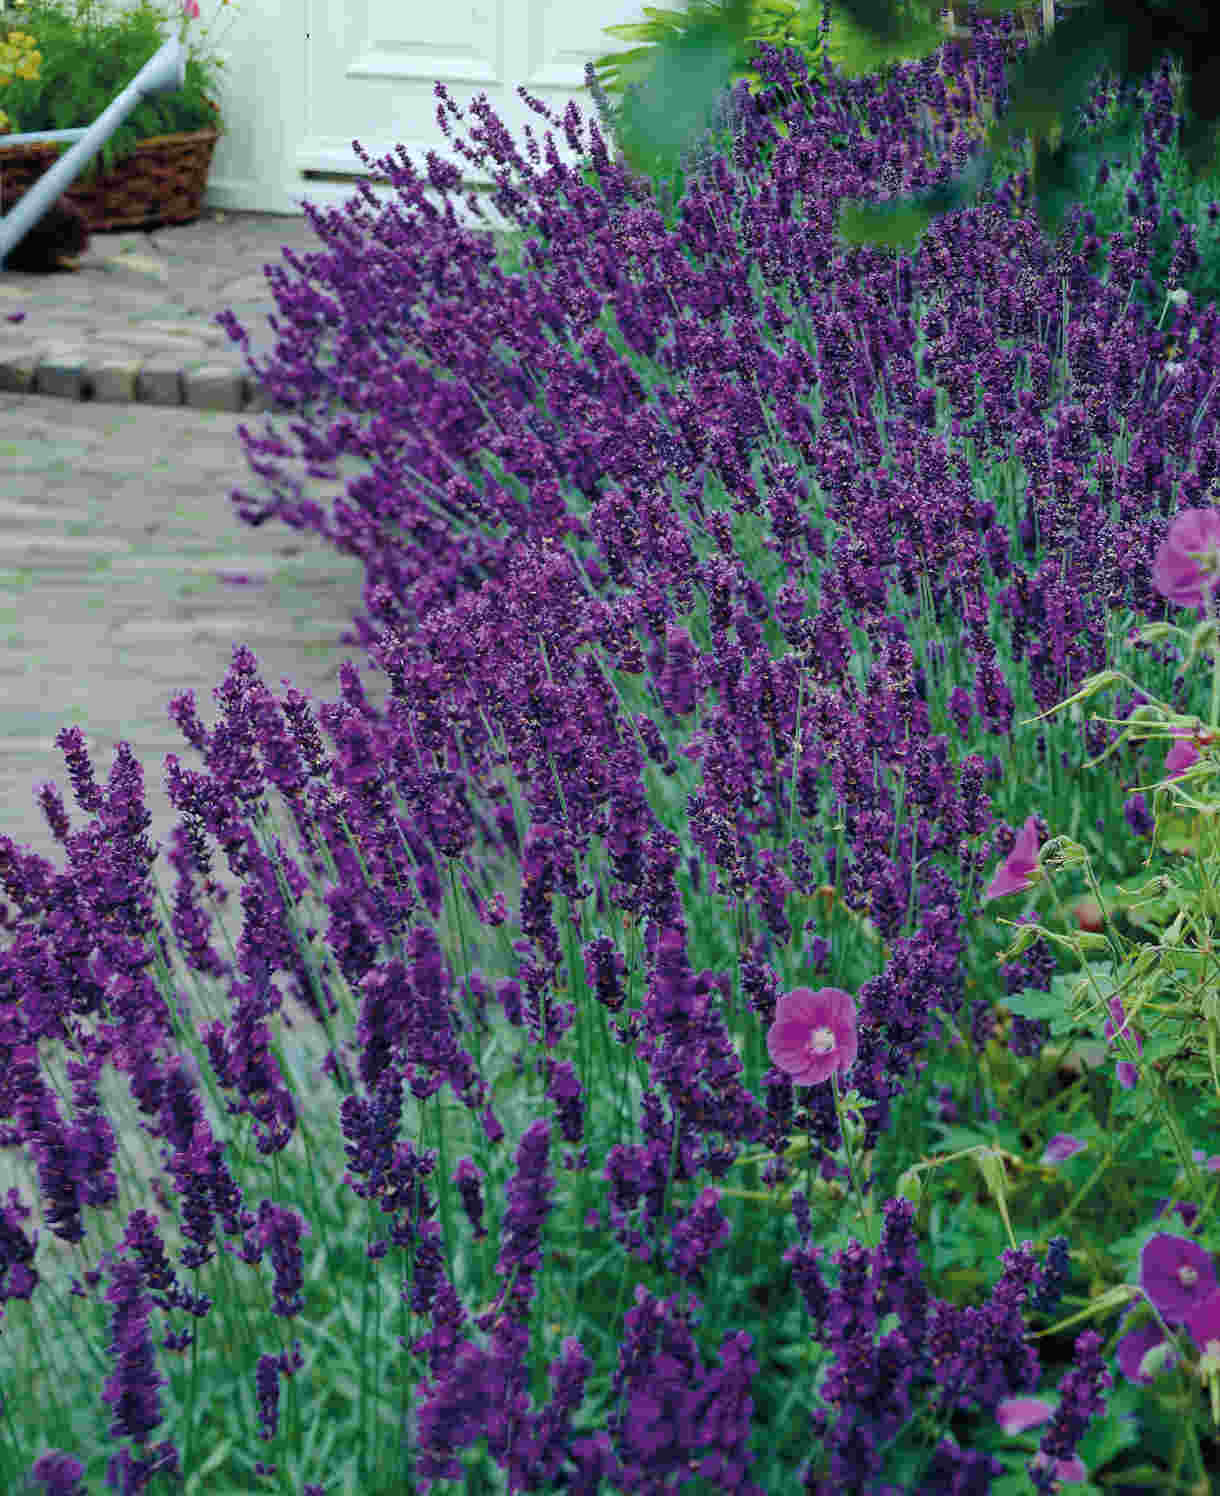
These plants are beautiful in their own right and ideal for locating anywhere in the garden which offers the necessary protection and allows you to make the most of the vibrant flowers. They combine well with other evergreen plants, contrasting foliage for variation and cover all year round. Equally, they combine well with perennials which enjoy free draining soil such as penstemons, agapanthus and lavender.

How to care for Grevillea
Pruning and Training
No routine pruning necessary. Remove diseased, damaged, congested or crossing shoots. Shoots that are growing in unwanted directions can also be pruned out. Best done once the risk of frost has passed in spring.
Watering
Water your new plant regularly for at least the first two years. Once established, it should cope well without extra watering, except in particularly hot, dry spells. Pot grown plants should be watered freely during late spring, summer and early autumn.
Feeding
Outdoors, grow in free draining, moderately fertile, acid to neutral soil in full sun. Under glass, grow in ericaceous potting compost with added extra grit, in full light. When in growth water freely and apply a low-phosphate liquid fertiliser monthly, water sparingly at other times. Top dress or pot on in spring.
Pests and Diseases
Generally, pest free. Very rarely can be susceptible to honey fungus (usually when plant is weakened by frost or over watering).
How to propagate Grevillea
Propagate by sowing scarified or pre-soaked seed in spring. Also by semi-ripe cuttings in summer. Semi-ripe cuttings are straightforward way to propagate a wide range of shrubs and trees – especially evergreens – without the need of special equipment or skills.
- Select cuttings from this season’s growth and remove them using sharp secateurs.
- Place the cuttings in a plastic bag straight away. Keep the bag in the shade and aim to pot the cuttings within 12 hours.
- Prepare the cuttings by trimming them to 10-15cm long, cutting just below a leaf node. Next, remove the lowest leaves and the soft tips.
- Dip the bottom of the cutting in fresh hormone rooting powder, ensuring that the cut is well covered. Tap to remove any excess.
- Insert the cuttings around the edge of a suitably sized container, allowing some space between each. Use 50 per cent free-draining potting compost mixed with 50 per cent sharp sand or perlite. Water well and allow to drain.
- Place the container of cuttings in a greenhouse. Alternatively, cover pots with a plastic bag and put in a warm, light position, out of direct sunlight.
- Remember to remove any excess moisture to prevent rot but keep the compost damp. Cuttings taken in summer seldom need bottom heat from a specialist propagator.
- Transfer to separate pots once a good root structure has been achieved for each cutting and grow on as for young plants.
*Many plants carry Plant Breeders Rights and cannot be propagated for commercial purposes.
Common Grevillea questions
Do grevilleas grow quickly?
No, these are moderate to slow growing plants which are easy to look after but may occasionally need some attention in order to thrive.
Can I grow grevilleas in pots?
Yes, just make sure you use ericaceous compost and bring them undercover when there is a risk of hard frost. Pots are less protected from frost than plants in the ground.
Are grevillea roots invasive?
No, they have a relatively shallow but dense root system which helps them to adapt to nutrient poor soils in their native Australia.
How long does a grevillea live?
Plants live some 15-20 years in optimum conditions.