How to grow Garrya
A genus of around twelve species which are either deciduous or evergreen trees and shrubs. Garrya hail from western N. America, Mexico, and Guatemala and the West Indies so are best suited to these kinds of environments. However, some thrive in the UK and are popular for both large and small gardens.
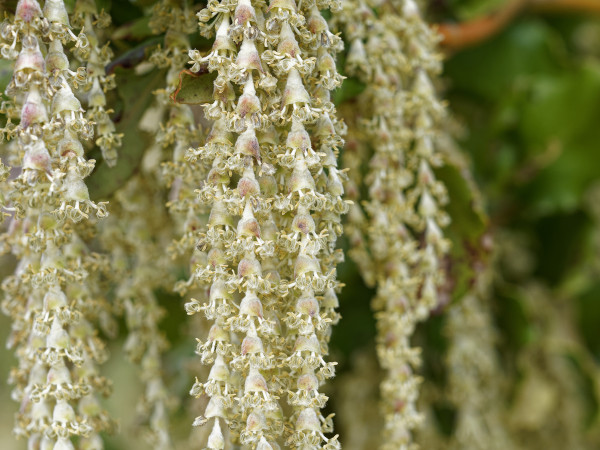
Their leaves are simple and opposite, whilst flowers have no petals as such and are borne in pendulous, catkin-like racemes which are very attractive. The family Garryaceae, of which this genus is the only member, is allied to the Cornaceae, and more particularly to Griselinia and Aucuba.
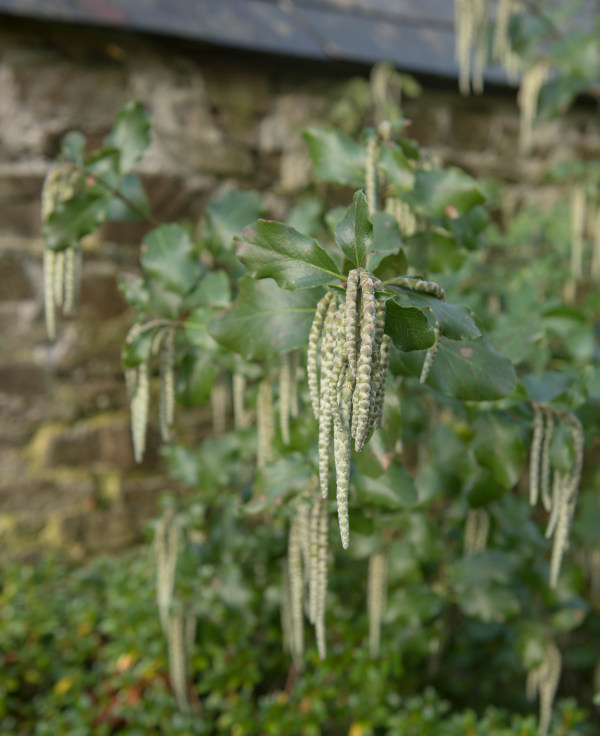
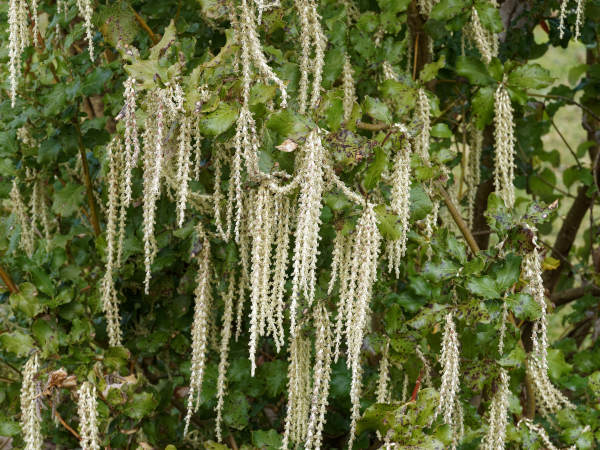
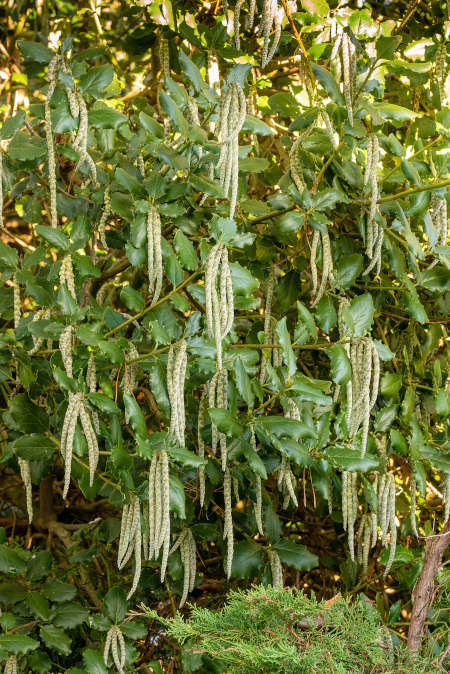
Garrya elliptica is the most attractive variety and frequently seen in gardens throughout the country. Commonly known as the Silk Tassel Tree because of the long, silvery catkins which are accented by the evergreen foliage. This is the only one we supply at present as other varieties are either not suitable for the UK climate or have little visual impact for domestic gardens. With some shelter from the coldest of weather Garrya elliptica will cope well with cold in the south of the British Isles but may need protection if temperatures dip below around -5 to -10°C. See below for further details.
Zantedeschia is a genus of flowering plants from the family Araceae and is native to southern Africa. With a rich history dating back to the Ancient Romans, these deciduous or semi-evergreen perennials have been used as a symbol of celebration. Zantedeschia was Named after Professor Giovanni Zantedeschia, an Italian botanist.
There are two main forms of Zantedeschia: hardy and tender. Hardy forms of the plant can be grown outdoors, enjoy moist soil and full sun or partially shaded conditions - these are known as Arum lilies. Tender forms of Zantedeschia prefer being grown in containers or pots and should be brought inside over the winter - these are known as Calla lilies.
With tuberous flora in all colours from whites, yellows and oranges to deep reds and purples, Zantedeschias are not to be overlooked in any garden, as long as they have sufficient sunlight to grow in.
Ready to learn more about growing Zantedeschia? Read on for all there is to know...

Key Information
Soil pH

Position
Hardiness

Where & when to plant Garrya
Position- Full sun or partial shade of any aspect, preferably sheltered
Soil- Happy in any soil which is well-drained. Drought tolerant once established
Flowering Period- December to March, with tassels retained for longer
Hardiness- A hardy (H4), evergreen shrub or tree
Ideal for gardens which are not prone to heavy frosts as Garrya elliptica will only cope with temperatures down to around -5 to -10°C. Even then, your plant likes to be protected by a warm wall, other dense shrubs or a substantial fence. Plants will happily grow in a suitably sized container if given appropriate water and nutrients to thrive, although with a mature height and spread of 4 metres after around 20 years it may need planting in open ground eventually! It is worth noting any pruning to keep growth restricted or tidy straggly branches should be done in spring as flowers begin to fade.
How to plant Garrya
Dependent on where you garden in the UK your Garrya elliptica can either be planted in open ground or in a suitably sized pot. Ideally, if your plant is relatively young and smaller on arrival, it is best nurtured in a pot whilst it establishes a good root structure as protecting it from the elements will be much easier. However, if you garden in a mild area it will be fine planted directly into the ground.
- For planting in containers, first choose an appropriately sized pot and ensure that you do not swamp your plant by choosing too large a container.
- If you are using a large or heavy pot, it can be a good idea to fill and plant it in situ to save yourself the trouble of moving once full.
- Use a good quality all-purpose compost, and, if not already present in the compost (check the description on the bag) some suitable slow-release fertiliser granules.
- Start by partially filling the pot with compost; enough so that when placed on it the upper surface of the root ball is about 3cm lower than the top of the pot.
- Infill all the space surrounding the root ball with compost, firming down with your fingers then adding a little more so the plant is held tight.
- Pick up the container and lightly tap on the potting bench or ground a few times to help further settle the compost around the plant.
- Water well to both settle the soil and give the plant a good drink.
- A mulch with horticultural grit will look attractive and help to prevent a ‘cap’ or crust forming on the top of the compost (something container plants can suffer due to the artificial nature of their watering).
- For planting in the garden, dig the soil area removing any large stones and weeds and breaking up any lumps. Mix in some organic matter such as manure or garden compost. If your soil is heavy clay, now is also the time to add a generous helping of horticultural grit.
- Rake level and firm with your heels. Rake level again.
- Water plants well and allow to drain before planting. A good tip is to dig a hole twice the size of the root-ball. Fill with water and allow to drain before placing in the plant.
- Place the plant in the hole, ensuring the top of the root ball sits level with the surface of the soil. Too low and the plant may rot, too high and the roots can dry out.
- Backfill with soil and firm in gently with your foot.
- If you have purchased a more mature tree, then stabilise by using a tree stake at a 45° angle to the trunk and a soft tie so as not to rub the bark. This will prevent too much rocking until a good root structure has established as an anchor.
- Soak well with water.
- Mulch around the base with well-rotted organic matter.
What to plant with Garrya
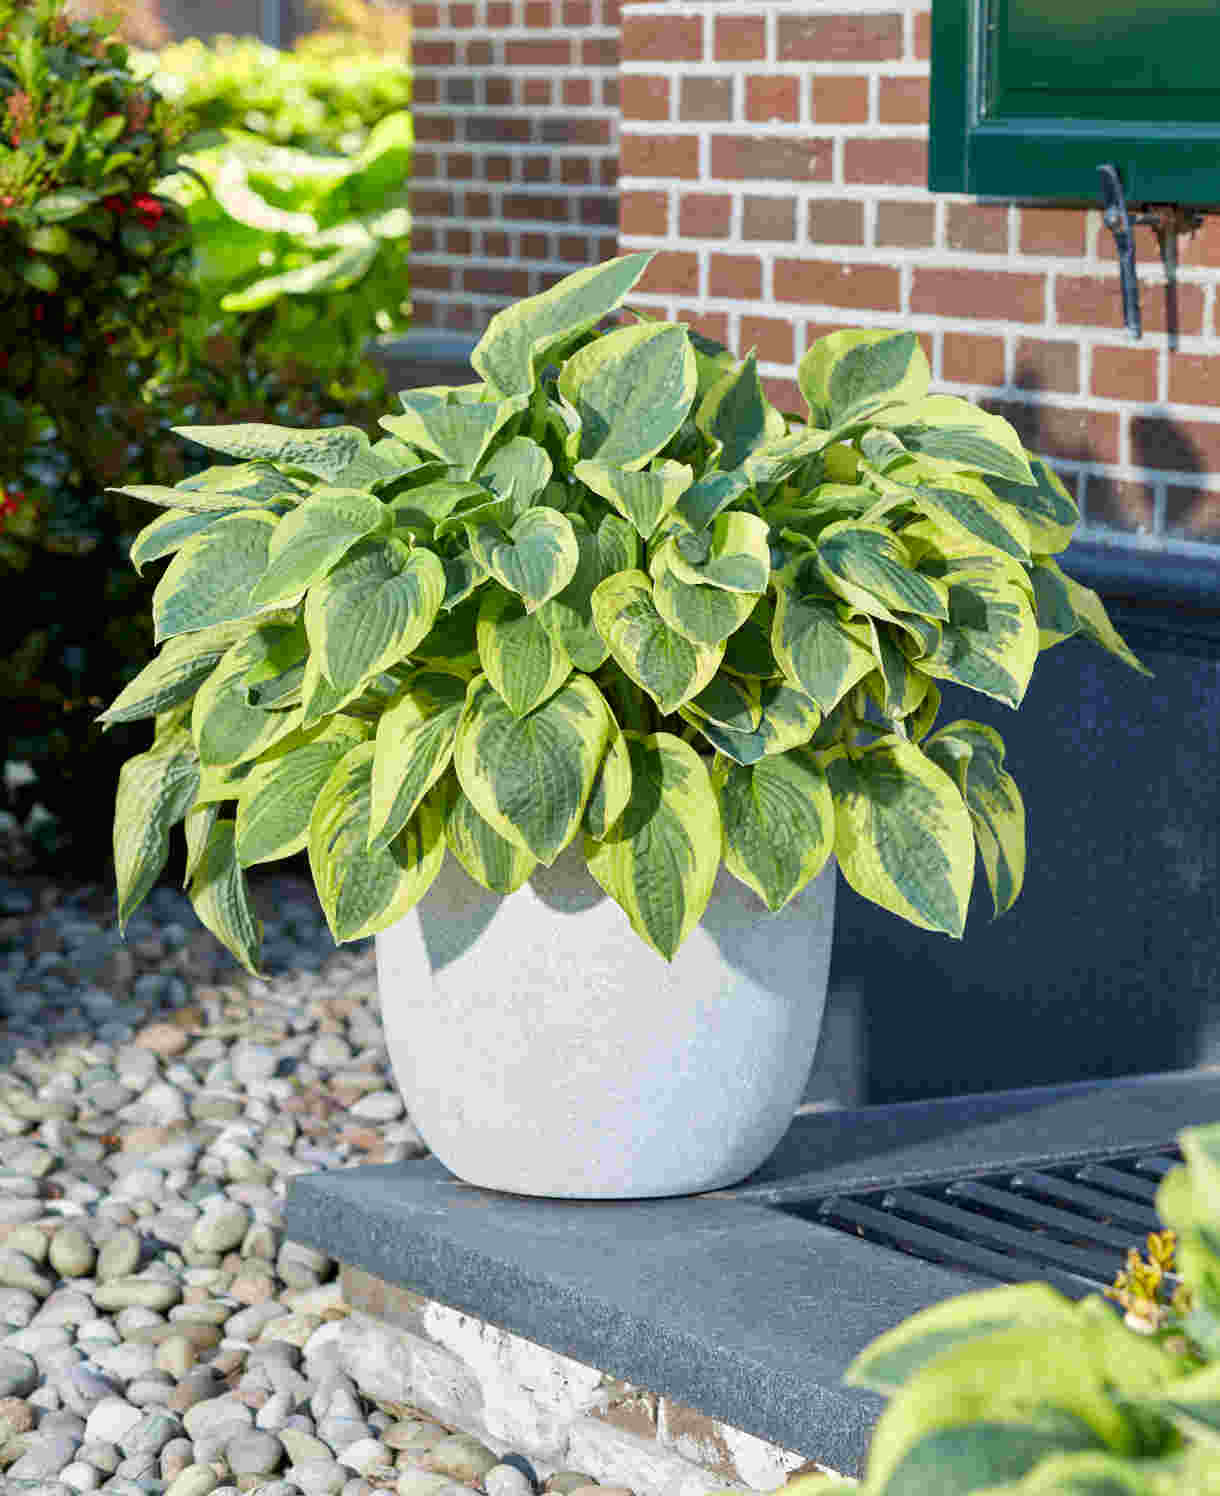
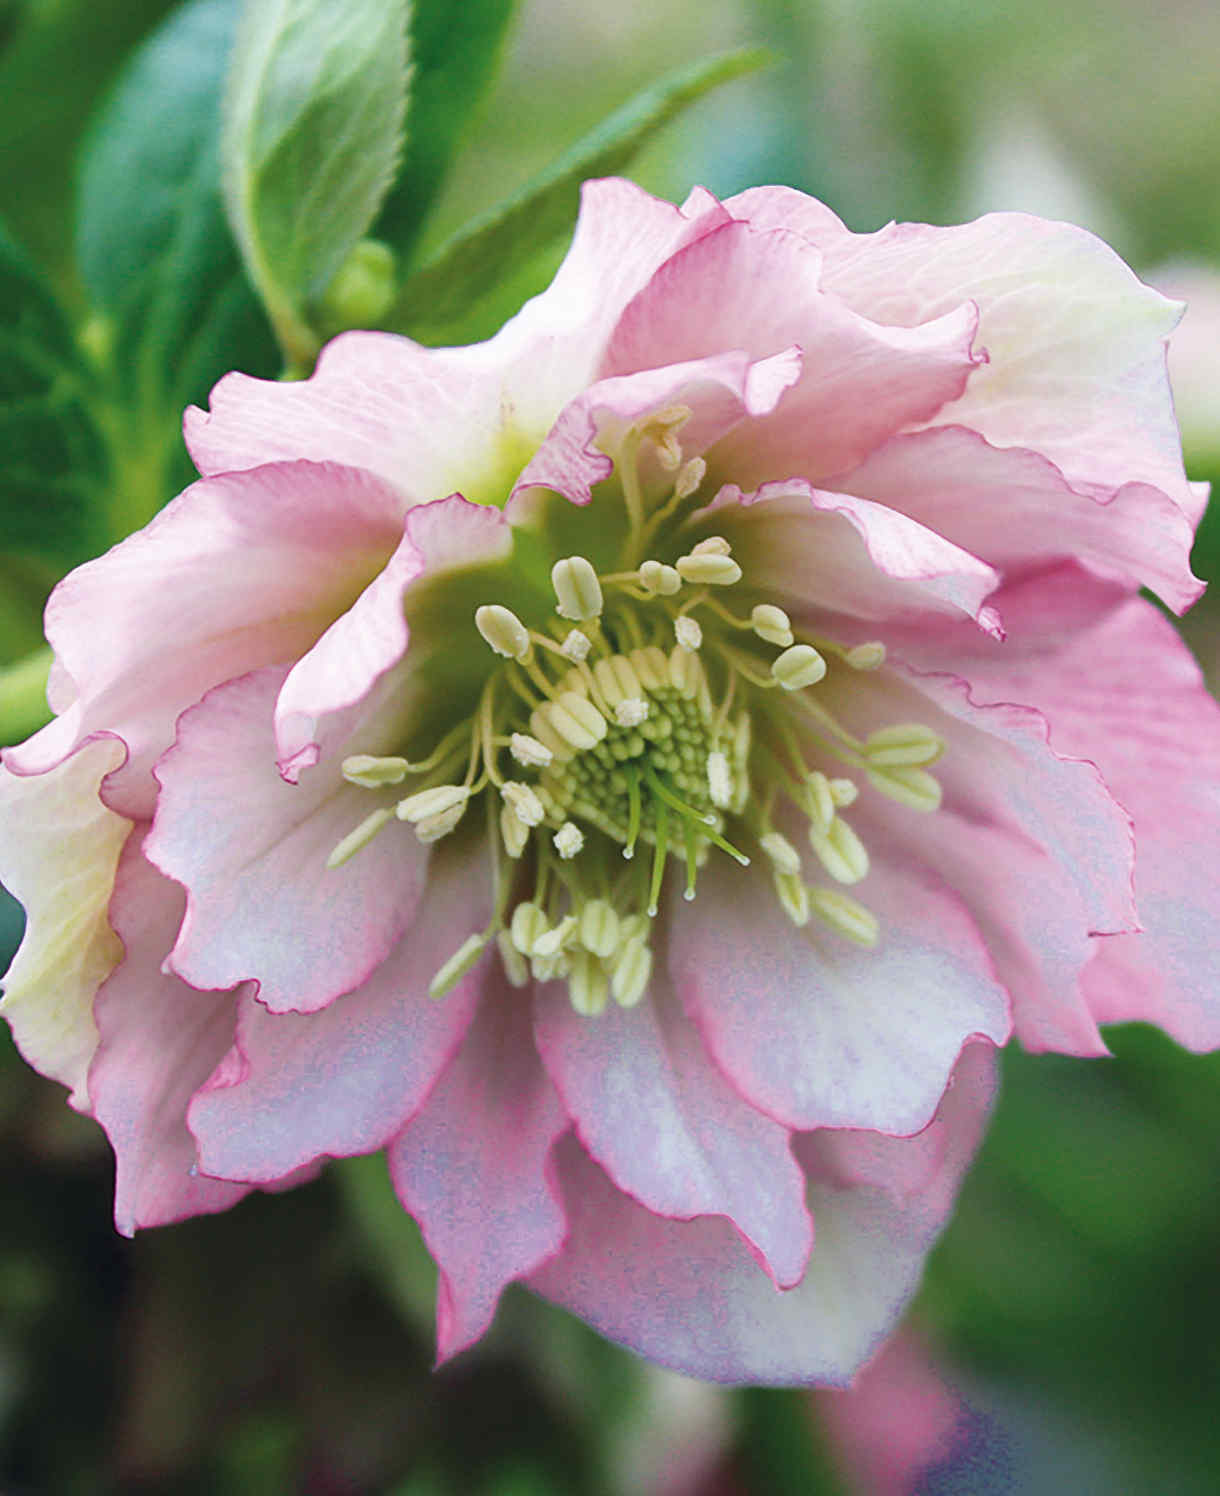
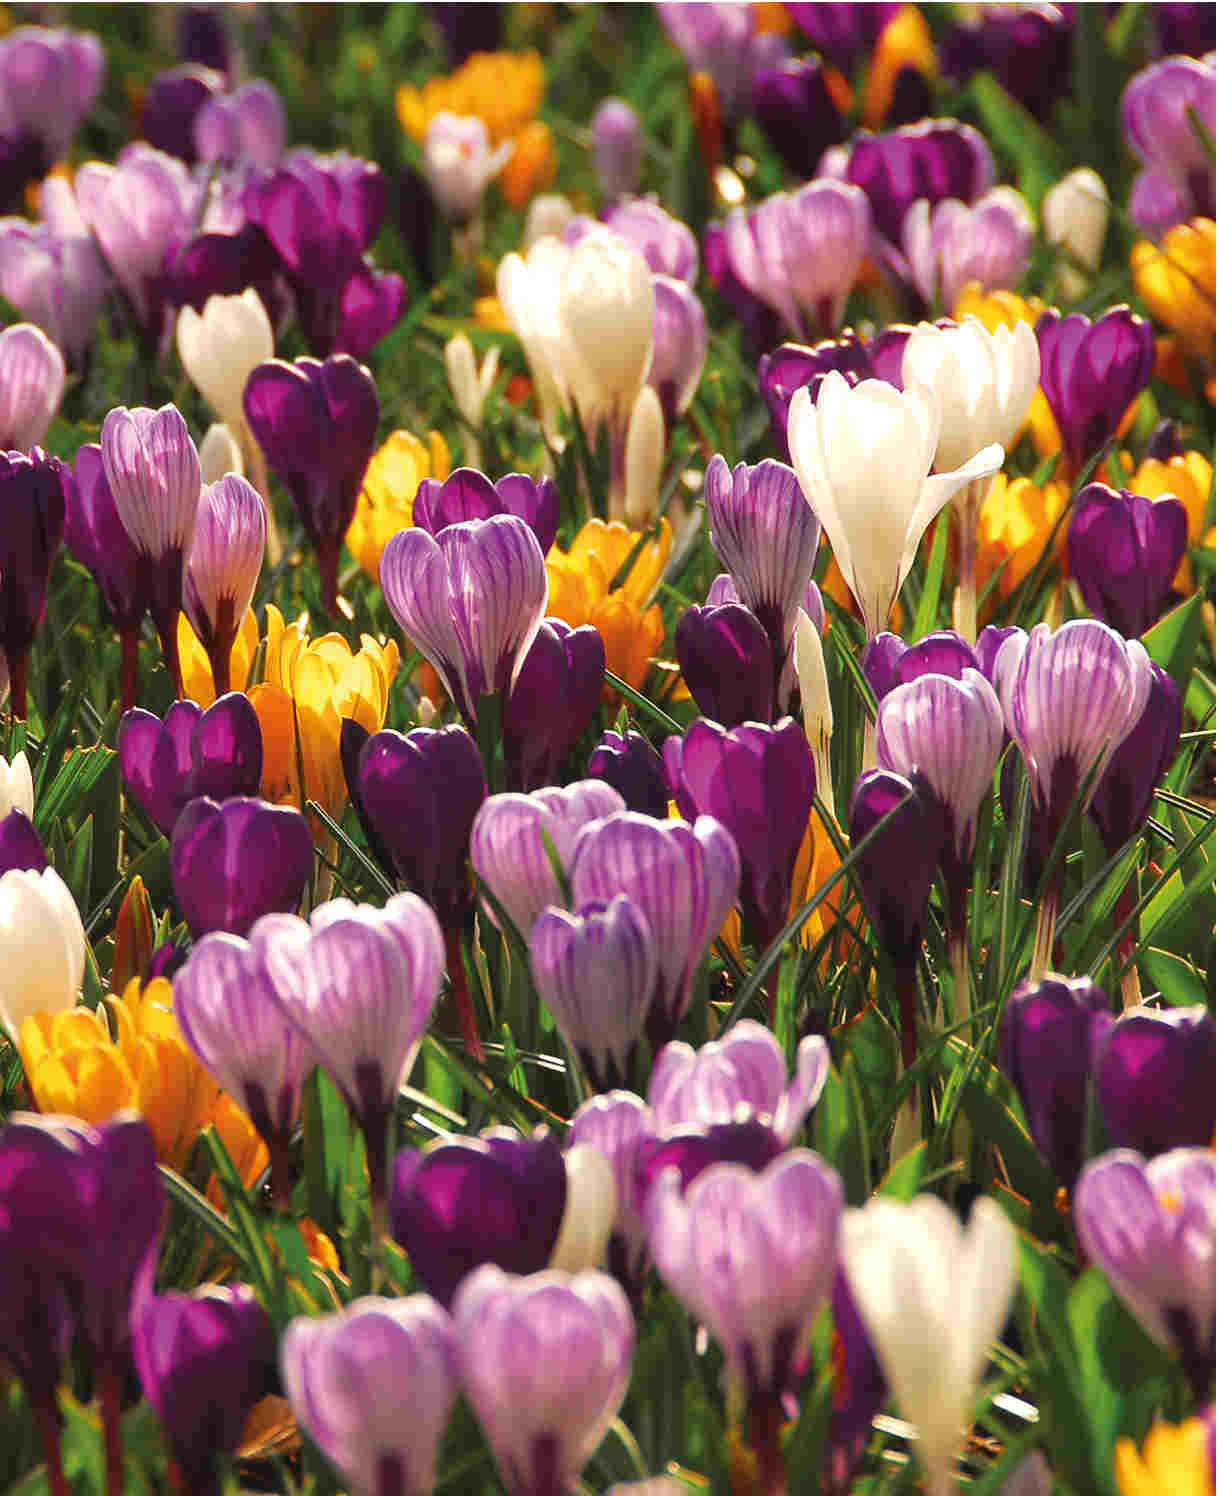
These plants are beautiful in their own right and ideal for locating anywhere in the garden which offers the necessary protection and allows you to make the most of the silvery tassles and the silvery underside of the verdant leaves which will shimmer in the breeze. They combine well with other evergreen, contrasting foliage at the back of the border for variation and cover all year round. Equally, the shade provided by the leaves makes them ideal for underplanting with spring bulbs or ferns, hostas and hellebores.
How to care for Garrya
Pruning and Training
Where pruning is required, do it in early spring, as the catkins start to fade but before new growth starts.
Free-standing shrubs
Allow free-standing shrubs grow naturally if there is sufficient space. If pruning is needed then remove any crossing, rubbing or badly placed shoots for aesthetics and any dead, diseased or damaged ones to maintain a healthy shrub.
Renovate where appropriate by cutting back plants gradually over three to four years, forming a low framework of branches. This pruning will promote a spurt of vigorous growth which will need thinning out to the strongest, best-placed shoots (with others removed).
Wall-training shrubs
Garrya elliptica is idea for training against a warm wall, either as an espalier or a fan:
Cut the plant back to one or two framework branches before planting. Tie these framework branches to bamboo canes, then attach these in the required shape to horizontal wires on the wall in the first instance.
Cut back any sideshoots that grow out from the wall and tie in well-placed new shoots to extend the framework and fill any gaps. Use extra bamboo canes if necessary.
Hedges
When garrya is grown as an informal hedge, little trimming is necessary. If you so use secateurs or hand shears rather than a hedge trimmer as this tends to damage the leaves, giving them a ragged edge which will turn brown.
Watering
Water your new plant regularly for at least the first two years. Once established, it should cope well without extra watering, except in particularly hot, dry spells. Bear in mind if your Garrya elliptica is trained as a wall shrub, it may need regular watering if rainfall does not quite reach it due to overhang.
Feeding
Garrya don’t generally need feeding, except in very poor soil or to encourage more growth or better flowering. In which case, you can apply a general-purpose fertiliser in late winter at the rate recommended on the packet. Also bear in mind container grown plants are more dependent upon you for their nutrients so feed regularly
Pests and Diseases
Garrya is usually a robust, trouble-free and long-lived shrub if given some shelter from heavy frosts. It suffers few pests and diseases although harsh weather can temporarily mar its good looks:
- Fallen leaves in early spring – garrya often sheds some of its old leaves in spring, to be replaced by new growth. The old leaves may be brown or yellowed, particularly at the edges, making the plant look tatty. This is a normal process and no cause for concern.
- Brown or yellow leaves in spring may be due to winter cold, especially when temperatures drop after a long mild spell. Fortunately, your garrya should recover without any real damage, if you wish you can trim off the affected leaves and spent catkins to neaten.
- Leaf spots in autumn and early winter – are often delayed symptoms of stress in the previous summer, such drought or waterlogging. Remove the worst affected leaves and improve the growing conditions by mulching, watering, feeding or improving drainage as appropriate.
- Leaf spots in warmer weather – may be caused by a fungal leaf spot disease. Removing and burning any infected shoots is often sufficient remedy.
How to propagate Garrya
This can be done by semi-ripe cuttings in summer or by seed. Semi-ripe cuttings are straightforward way to propagate a wide range of shrubs and trees – especially evergreens – without the need of special equipment or skills.
- Select the cuttings from this season’s growth and remove them using sharp secateurs.
- Place the cuttings in a plastic bag straight away. Keep the bag in the shade and aim to pot the cuttings within 12 hours.
- Prepare the cuttings by trimming them to 10-15cm long, cutting just below a leaf node. Next, remove the lowest leaves and the soft tips. There will be about four leaves remaining. If leave are large, cut them on half to reduce transpiration.
- Dip the bottom of the cutting in fresh hormone rooting powder, ensuring that the cut is well covered. Tap to remove any excess.
- Insert the cuttings around the edge of a suitably sized containers allowing some space between each and use filled with cuttings use 50 per cent free-draining potting compost mixed with 50 per cent sharp sand or perlite. Water well and allow to drain.
- Place the container of cuttings in a greenhouse. Alternatively, cover pots with a plastic bag and put in a warm, light position, out of direct sunlight.
- Remember to remove any excess moisture to prevent rot but keep the compost damp. Cuttings taken in summer seldom need bottom heat but by autumn cuttings will root more quickly in a heated propagator.
- Transfer to separate pots once a good root structure has been achieved for each cutting and grow on as for young plants.
*Many plants carry Plant Breeders Rights and cannot be propagated for commercial purposes.
Common Garrya Questions
- Is garrya easy to grow?
Yes if provided with warmth, shelter from excessive frost and sufficient nutrients and water. - Will my garrya last?
This is a long lasting shrub or tree which matures over 20 years and lasts for years once established. - How long are the flowers or catkins?
Those held on Garrya elliptica can grow up to 20cm long and offer intringuing structure to your planting.
- Where does the unusual name come from?
The genus was named in honour of Nicholas Garry of the Hudson’s Bay Company, for assisting an gentleman names Douglas with his plant-collecting expeditions in western North America.