


How to grow Fritillaria
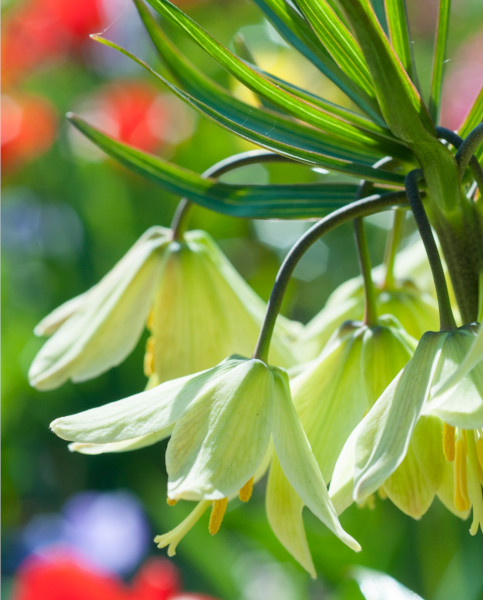
A large and diverse family. As with most families there are some vibrant and vivacious characters and some that are more subtle and demure.
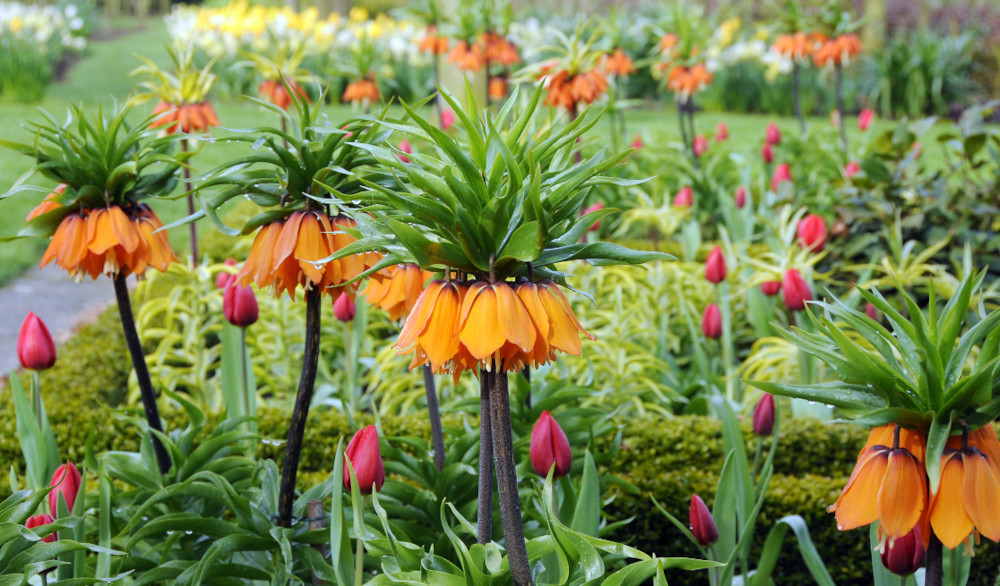
Also known commonly as Fritillaries, Fritillaria are bulbous, herbaceous, spring and early summer flowering perennials that become dormant later in summer, giving room for your perennials to take over centre stage. Displaying upright, structured, spear-shaped leaves and distinctive, nodding, bell-shaped flowers, the blooms hang over the foliage like lanterns. Many varieties have originated from mainland Europe as well as Western Siberia. Whereas Fritillaria meleagris (the Snake’s Head fritillary) was once known as a prominent wildflower plant found in moist meadows in the south of the UK. The numbers have sadly dwindled, due to indiscriminate collecting over the years and the loss of so many meadows and has now become extremely rare to spot in the wild. Although they are said to be making a come-back at an Oxfordshire nature reserve.
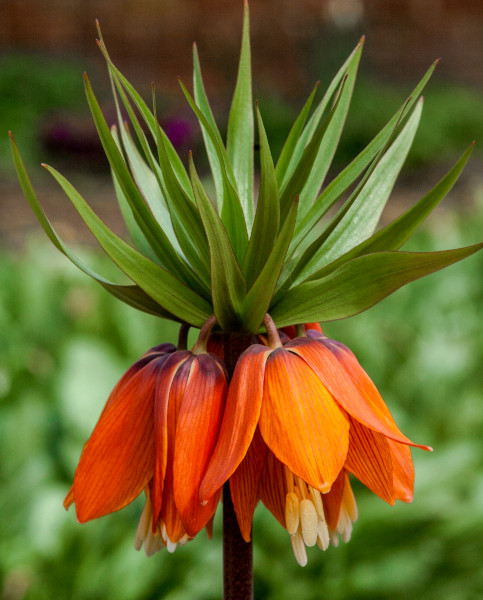
Closely related to the Lily family, the bulbs are similar in that they are fleshy and scaly, some quite small and others like the musky-scented imperialis varieties are exceptionally large.
The name is thought to have derived from the latin for ‘dice box’, as the pattern of Fritillaria meleagris was reminiscent of the checked pattern that often covered boxes that were historically used to carry dice. Popular with artists, Vincent van Gogh famously painted Fritillaries in a copper vase.
Traditionally, Fritillaria have been used in Chinese medicine to treat lung conditions, such as asthma and bronchitis.
All Fritillaria make a wonderful addition to floral arrangements within your home, adding an unusual twist and excitement.
Key Information
Soil pH

Position
Hardiness

Where & when to plant Fritillaria
For the best spring blooms, Fritillaria bulbs should be planted in the autumn, but if you cannot plant them as soon as they arrive with you, please store the package carefully in a dry place in temperatures between 4-20°, with plenty of air circulation. Once planted, the bulbs will quickly start to grow roots, before they go dormant for the winter, in preparation to sprout in the spring.
Dependant on which species you have chosen depends on the growing conditions that your bulbs require. All are happy in sun or part shade, but the soil conditions do differ. Most are happy in moist but well-drained soil, however the striking and impressive imperialis and elwesii varieties need to be grown in dry, well-drained soil so be careful not to overdo it when watering during the growing season. The native British native, Fritillaria meleagris prefers to be grown in soil which is reliably moist.
All Fritillaria hate sitting in water, especially during their summer dormancy, so when planting your bulbs, ensure that you add horticultural grit or sand to improve the drainage. Otherwise, plant near established plants that will use any excess moisture during summer.
How to plant Fritillaria
Plant your scaly Fritillaria bulbs, at an ambient temperature, with the pointed end upwards. As a loose guide, bulbs should be planted at a depth around 2-3 time the height of your bulb and spacing should be around the same. If drainage is doubtful, add sand or grit to the bottom of the hole before putting the bulb in place then in-filling with soil. Water the soil well to help everything settle.
Fritillaria can also be grown in containers and make an incredible centrepiece on your patio. Remember that your bulbs will not be as well protected as they are if planted in the ground. As above, ensure drainage is good by adding old crocks or stones to the bottom of the container. You could plant bulbs a little closer to each other than you would in the ground, but make sure that the bulbs do not physically touch.
What to plant with Fritillaria
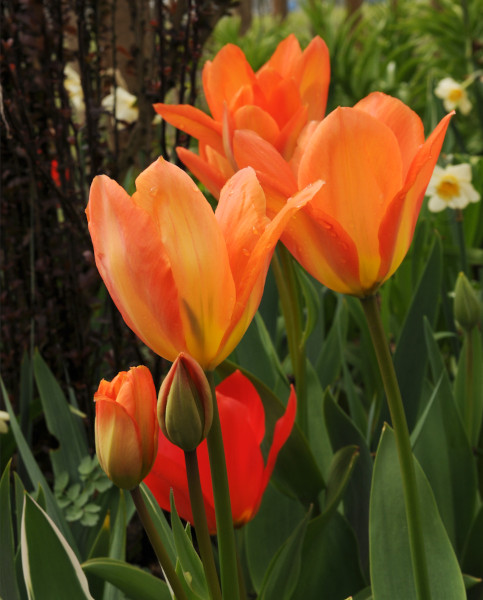
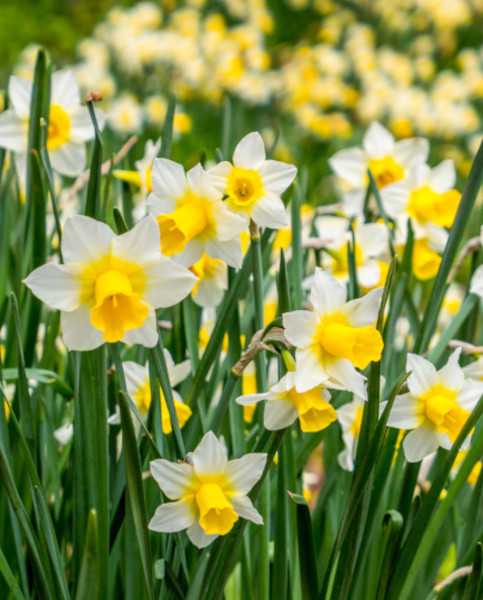
Smaller Fritillaria grow well with other spring flowering bulbs, for example tulips and daffodils. Impressive when grown within a cottage or informal garden setting, they are equally appealing growing amongst grasses or other prairie-style plants, where they weave through and add exceptional colour and intrigue.
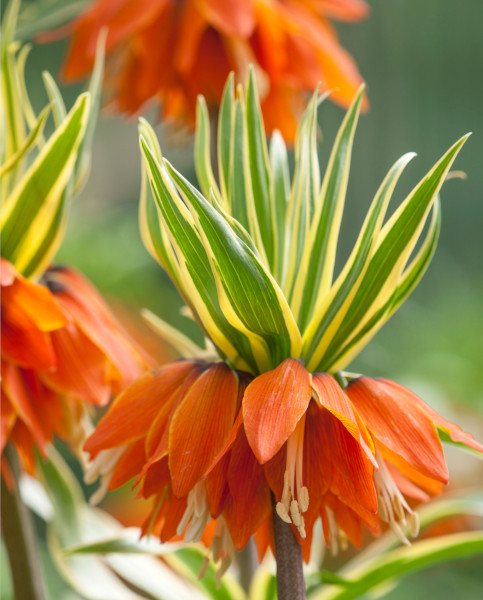
The large stature and bold, vibrant blooms of Fritillaria imperalis and Auremarginata, give an exotic impression and exotic create a dramatic statement in borders and containers. They create such a vivacious display when planted alone that they don’t often need any companions. However, when planted under a banana plant or alongside other tropical treasures, you could almost be in your very own jungle.
How to care for Fritillaria
Deadhead Fritillaria by just removing the bloom when it has gone over. Leave the foliage and stem to die off naturally so they can continue to photosynthesise and gather nutrients to store back in the bulb to use the following year. You may wish to cut back the stems to just above ground level.
Fritillaria acmopetala, elwesii, meleagris, Persica, Raddeana and uva-vulpis will need a little protection over winter. Provide a heavy, blanket-like mulch in autumn, then a top dressing of compost in the spring.
Fritillaria Aureomarginata and the imperialis cultivars are hardier but a layer of winter mulch would not hurt them. Give a feed of tomato fertiliser just before the buds start to appear.
Fritillaria acmopetala, meleagris and elwesii will all naturalise in a lawn. The bulbs should be placed on the soil after the turf has been lifted. Allow the foliage to die back completely before mowing the grass, so all the possible nutrients can be transferred back and stored in the bulb.
It is possible to propagate Fritillaria by seed that can be sown in pots during autumn. The young plants will need to be grown on for two years before planting out. Alternatively, Fritillaria will increase naturally, multiplying under the surface, so you can divide the offsets in late summer to plant elsewhere.
How to propagate Fritillaria
Fritillaria acmopetala, meleagris and elwesii will all naturalise in a lawn. The bulbs should be placed on the soil after the turf has been lifted. Allow the foliage to die back completely before mowing the grass, so all the possible nutrients can be transferred back and stored in the bulb.
It is possible to propagate Fritillaria by seed that can be sown in pots during autumn. The young plants will need to be grown on for two years before planting out. Alternatively, Fritillaria will increase naturally, multiplying under the surface, so you can divide the offsets in late summer to plant elsewhere.