


How to grow Francoa
Francoa are a genus of 7 species within the family of Francoaceae.
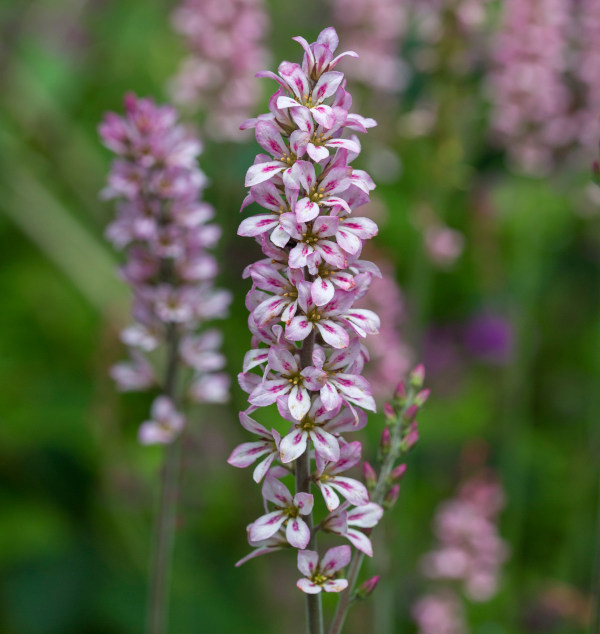
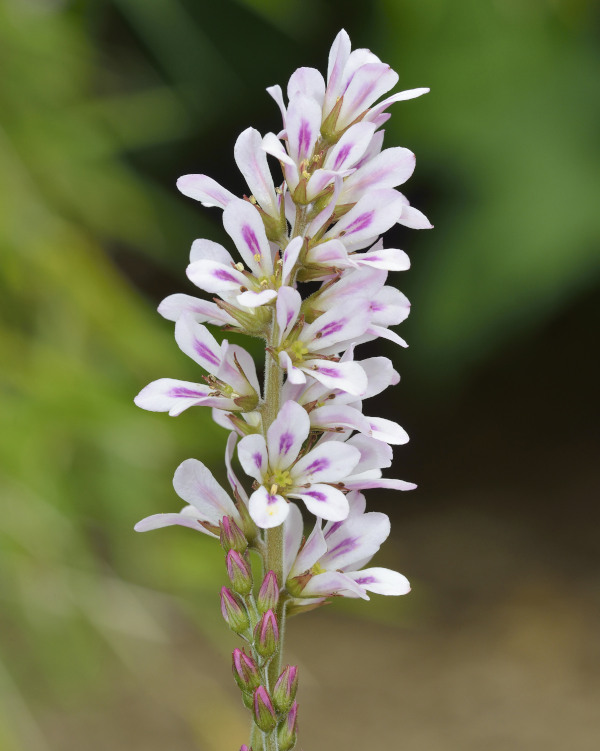
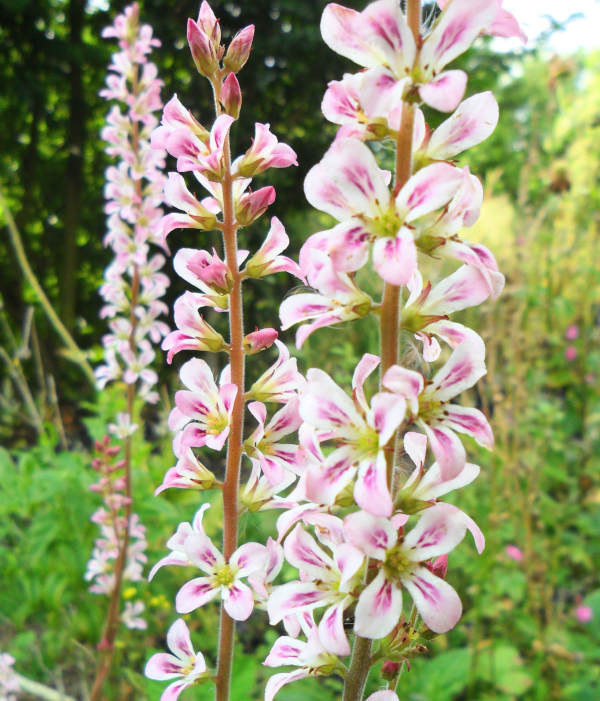
Endemic to Chile, these plants are herbaceous perennials growing from a basal clump forming a mound of deeply lobed dark green fuzzy, heavily veined leaves. In summer and early autumn red pencil thickness flower stalks reach up to 1m high forming a raceme of small four petalled cup shaped flowers which vary in colour variety and can be from purest white thought to pink or purple and contrasting coloured markings. The plant resembles shape and habit of a heuchera.
These dense weed supressing evergreen plants thrive in full sun or part shade locations in an exposed or sheltered location. Thriving in moist, rich soils which do not get wet in winter and will cope with drier soils if the location is shaded.
The flowers of francoa make long lasting cut flowers.
Zantedeschia is a genus of flowering plants from the family Araceae and is native to southern Africa. With a rich history dating back to the Ancient Romans, these deciduous or semi-evergreen perennials have been used as a symbol of celebration. Zantedeschia was Named after Professor Giovanni Zantedeschia, an Italian botanist.
There are two main forms of Zantedeschia: hardy and tender. Hardy forms of the plant can be grown outdoors, enjoy moist soil and full sun or partially shaded conditions - these are known as Arum lilies. Tender forms of Zantedeschia prefer being grown in containers or pots and should be brought inside over the winter - these are known as Calla lilies.
With tuberous flora in all colours from whites, yellows and oranges to deep reds and purples, Zantedeschias are not to be overlooked in any garden, as long as they have sufficient sunlight to grow in.
Ready to learn more about growing Zantedeschia? Read on for all there is to know...

Key Information
Soil pH

Position
Hardiness

Where & when to plant Francoa
Position - Full sun/ Dappled sun.
Soil - Well-drained soil which can be slightly. Will grow in chalk, clay, loam or sand.
Flowers - Summer.
Horticultural Divisions - Here we list out the most popularly cultivated species and hybrids available in the U.K.
| Species | Common name |
Hardy through most of the UK
H4 ( -10°C to -5°C)
| Francoa appendiculata | Bridal Wreath |
Francoa ramosa | Bridal Wreath | |
Francoa rupestris | Bridal Wreath | |
Francoa sonchifolia | Bridal Wreath |
Francoa can be planted all year around when purchased grown in pots, however can be more prone to rotting off if planted in autumn and winter
If container grown plants are planted out during the active summer growing season make sure that they are watered regularly until the plant has settled into its new location. Water at soil level rather than the foliage.
Francoa are ideal in cottage garden schemes, patio container plants, flower borders, underplanting of roses and shrubs, and cut flower gardens.
How to plant Francoa
- For planting in the garden, dig the soil area removing any large stones and weeds and breaking up any lumps. Mix in some organic matter, ideally leaf mould, though manure or garden compost are also fine. Rake level and firm with your heels. Rake level again.
- Water plants well and allow to drain before planting.
- A good tip is to dig a hole twice the size of the root-ball. Fill with water and allow to drain before placing in the plant which is especially good for summer plantings.
- Remove the plant from its pot placing the plant in the hole, ensuring the top of the root ball sits level with the surface of the soil. Too low and the plant may rot, too high and the roots can dry out.
- Backfill with soil and firm in gently with your foot.
- Soak soil well with water.
- For planting in containers, first choose an appropriately sized pot around 5-7cm larger than the root ball of your plant (you’ll need to gradually increase the pot size every few years). Always ensure there are plenty of drainage holes in the bottom.
- Use a good quality potting compost if you have it and mix with garden soil. Mix in some horticultural grit and, if not already present (check the labelling on the bag) some slow-release fertiliser granules.
- Start by partially filling the pot with compost; enough so that when placed on it the upper surface of the root ball is about 3cm lower than the top of the pot.
- Fill around the plant with compost, firming down with your fingers then adding a little more so it is held tight.
- Pick up the container and lightly tap on the potting bench or ground a few times to help further settle the compost around the plant.
- Soak well with water.
*Francoa would make a great mixed patio planter arrangement.
What to plant with Francoa
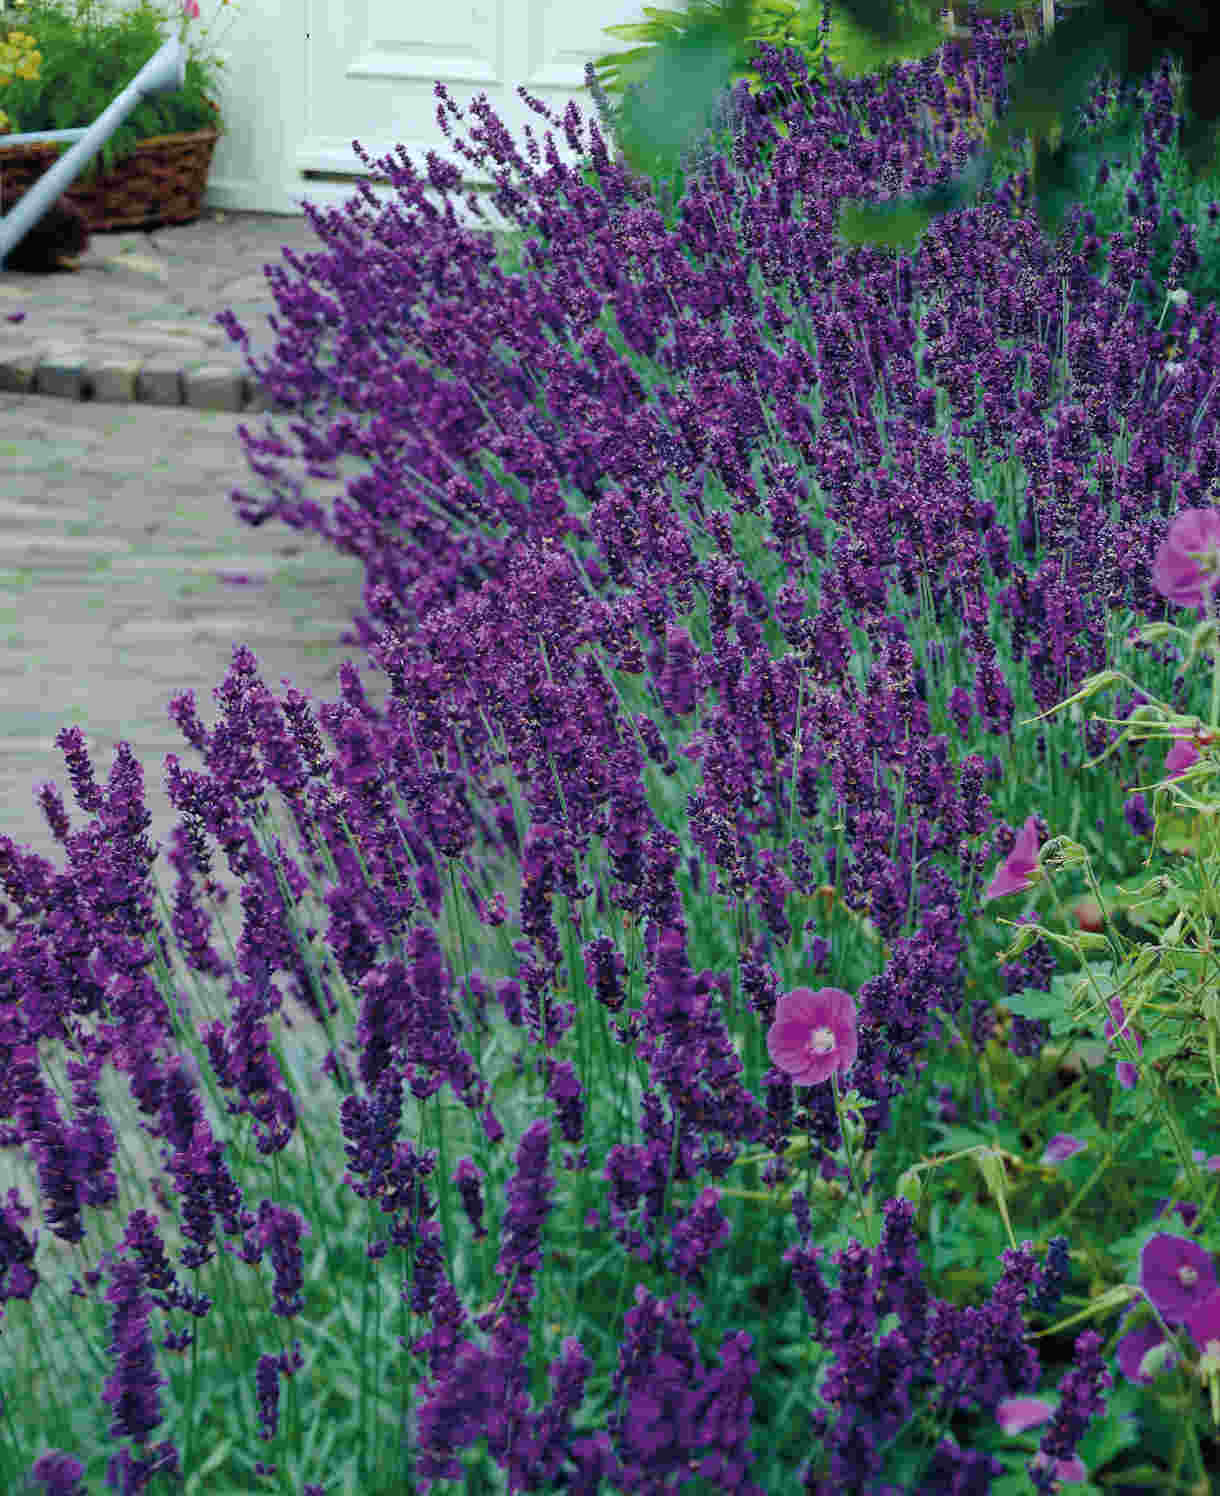
Outdoors, plant alongside plants with different shaped or coloured foliage as a contrast whilst also making sure nearby plants have interest when francoa is not in flower.
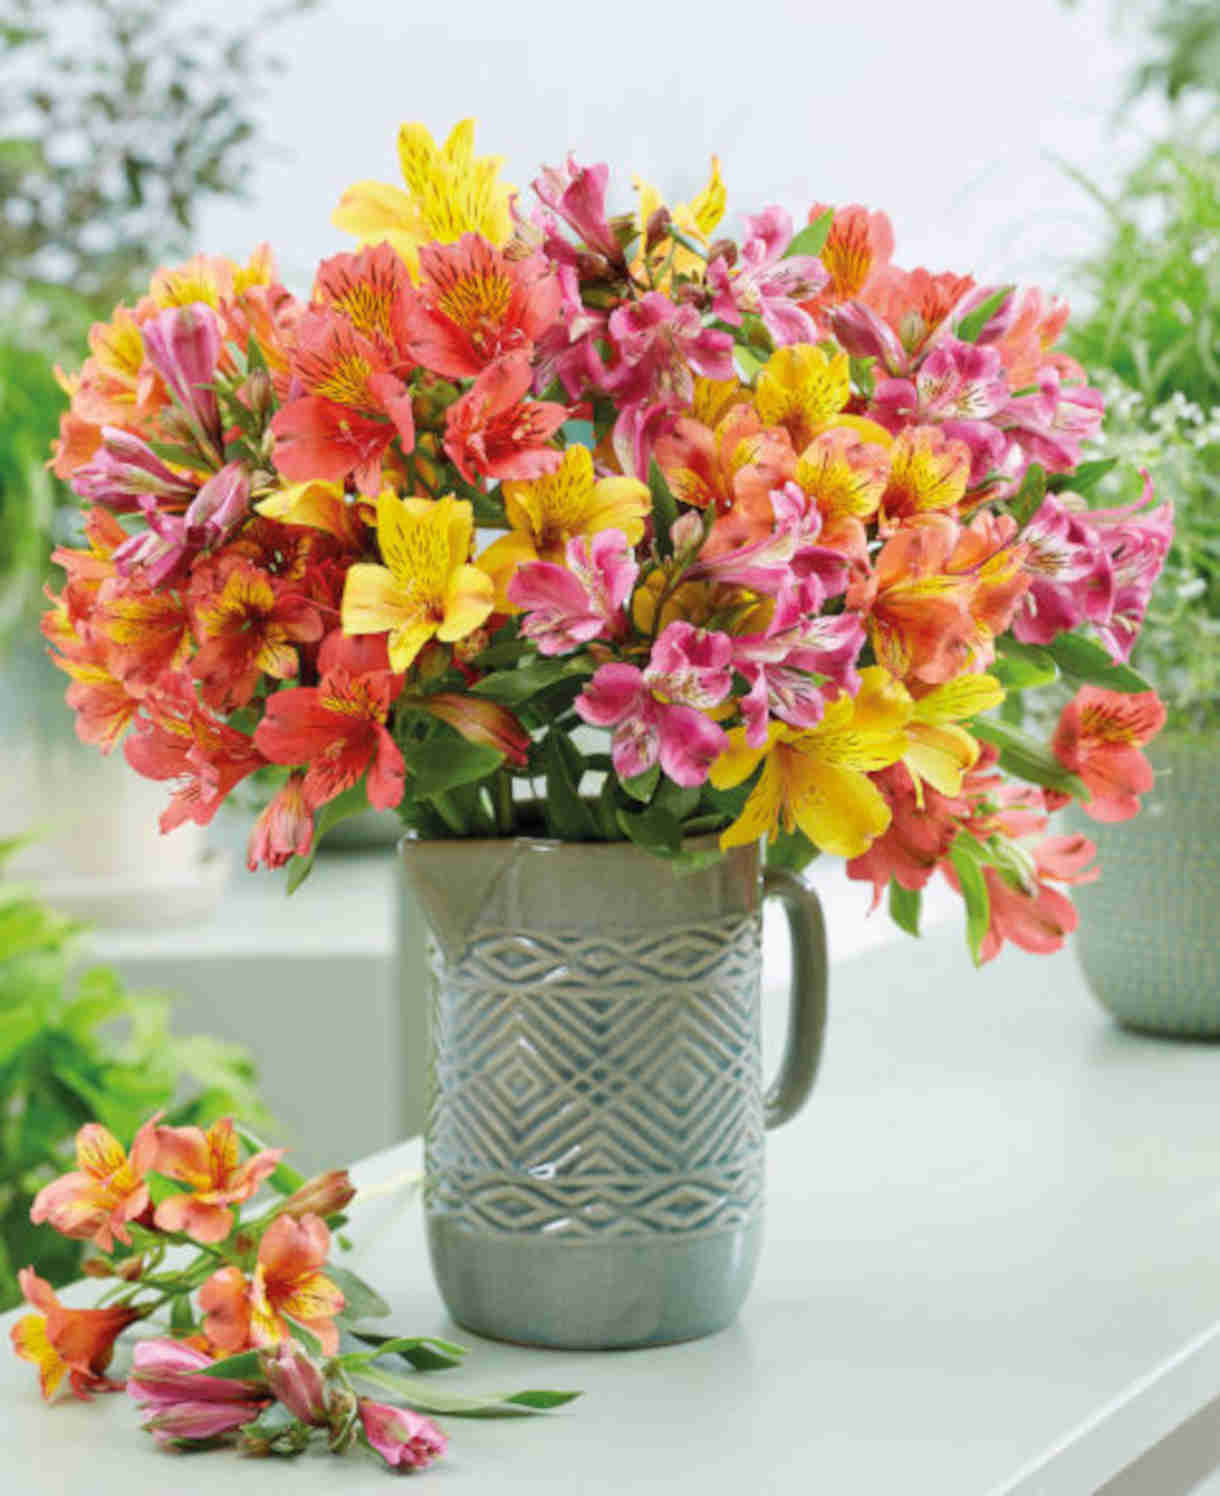
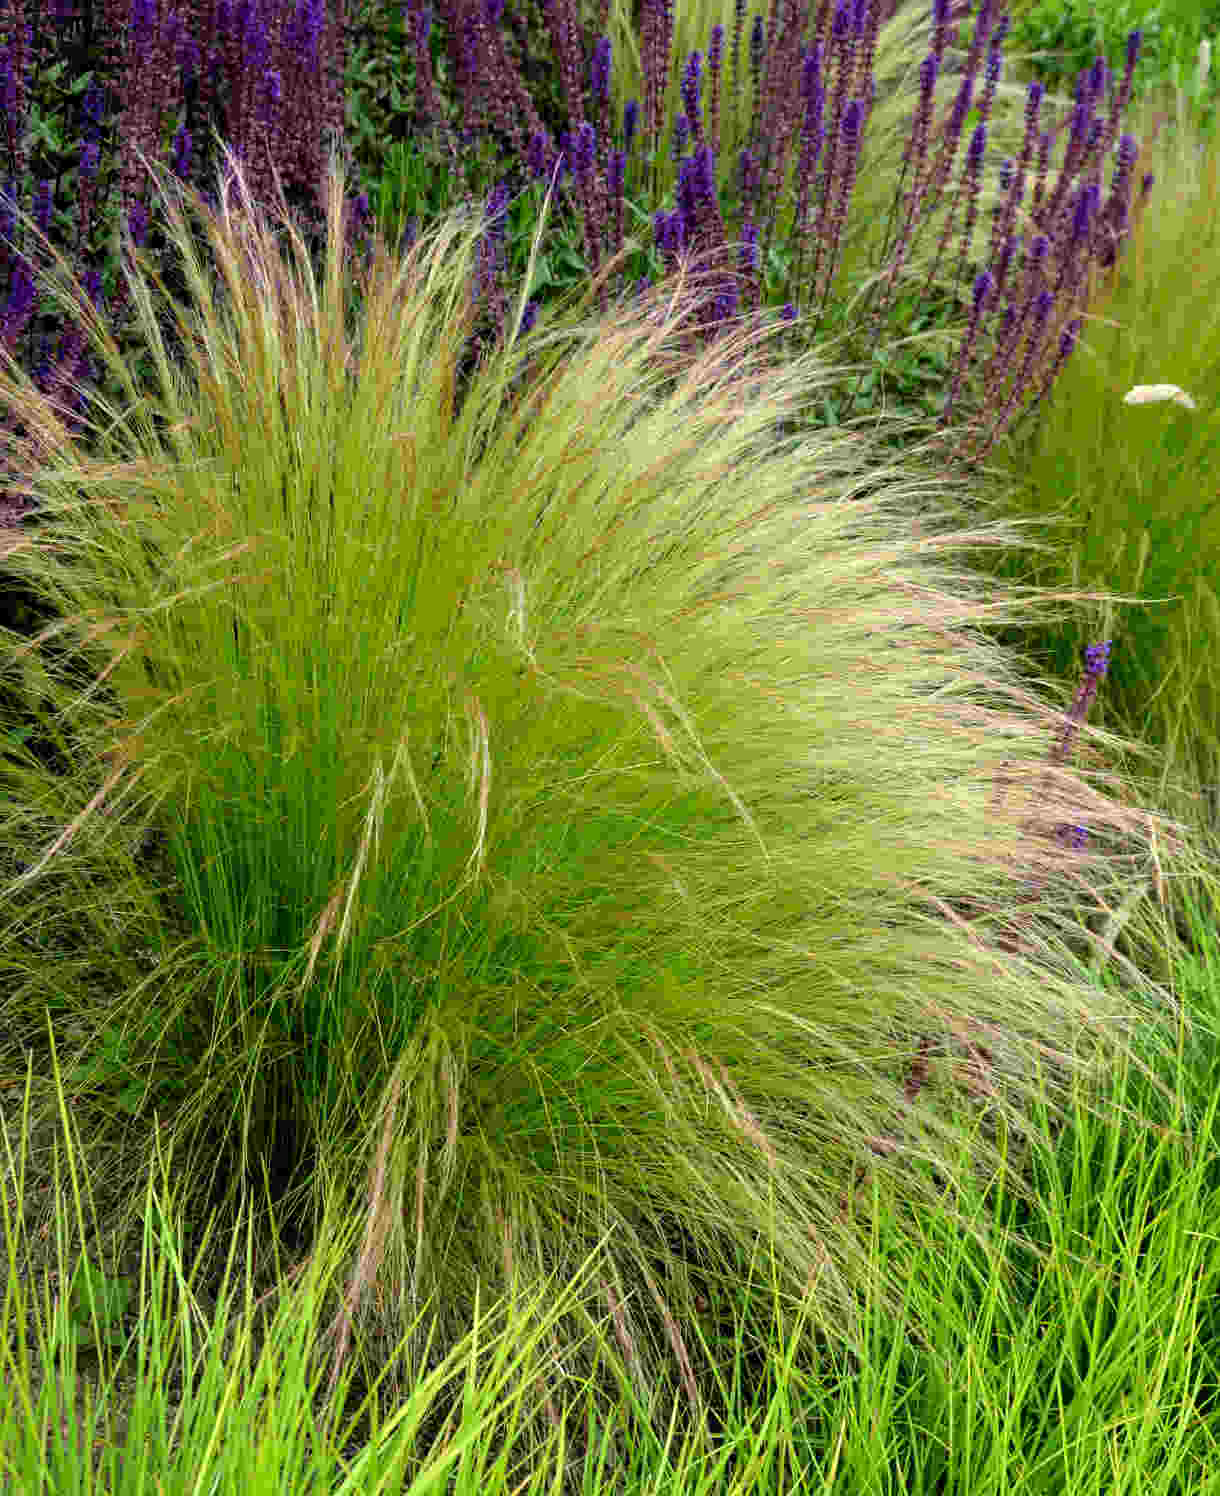
Try Alstroemeria, Ceanothus, Clematis, Delphinium, Ferns and Grasses, Hardy Geranium, Roses, Pansy, Tulip, Narcissus (Daffodil) and Viburnum.
How to care for Francoa
Pruning and Deadheading
Dead head faded flower stems of francoa back to soil level to encourage further flower production. Franchoa make superb cut flowers.
An evergreen mounding perennial, simply remove decaying leaves as they occur.
Watering
Preferring moist yet, free drained sites water sparingly.
On planting outside, they benefit from a good watering in on planting and then regular soakings until established. After this they should not need watering.
If grown in containers water the soil regularly checking the compost to see if the soil is dry when you wiggle your fingertip into the soil surface. Francoa do not like to be too wet in winter.
Feeding
On healthy, fertile soil, a mulch of well-rotted organic matter (i.e., a layer of leaf mould, manure, or garden compost applied to the soil around the plant) should provide enough nutrients for your francoa. This has the added benefit of suppressing weeds and locking in moisture. Mulch when planting, and then again each spring.
If you garden on poor soil or your francoa looks in need of a boost, applying a granular general purpose feed to the surface of the soil and lightly working in can reap benefits. This is known as a top dress and should be done when you’re mulching in spring – first apply the feed, then cover with the mulch. – always check your francoa is not suffering from being too wet which is a common cause of it looking sick.
Container-grown plants are different as they rely solely on the gardener for nutrition. Get off to a flying start by making sure you use a good quality compost with slow-release granules mixed in. These generally provide nutrients for around 6 to 8 weeks, after which you’ll need to apply a liquid feed every 2-3 weeks until the end of the growing season (i.e., September-ish).
Remember to repot your francoa every few years into a slightly larger pot using fresh compost. In-between, it’s worth removing the top few centimetres of compost each spring and replacing with a fresh mix of compost and slow-release granules.
Cold Protection
Francoa can cope with conditions below minus 10oC for short periods providing they are not too wet. If container grown ensure water can get away from the base of container by using pot feet.
Pests and Diseases
Francoa are generally pest free.
How to propagate Francoa
Francoa can be grown from seed and by root division.
Growing from seed
- From February to June fill a seed tray with good quality seed compost. Level and firm with the base of another seed tray. Water well and allow to drain.
- Carefully scatter the seeds across the compost surface of the tray.
- Cover the seed to their own depth with compost.
- Cover the seed tray with a flat sheet of glass or cling film. This keeps humidity within the sowing area.
- Place the tray in a light sheltered area at 13-15o Check a couple of times a week for signs of life and to ensure the compost is still moist and not saturated. Germination should take between 14 and 30 days.
- Once visible signs of growth can be seen, begin hardening off the seedlings by removing glass or cling film for longer periods to allow ventilation. Start from 15 minutes per day and slowly work up to total removal over a couple of weeks. Protect seedlings from weather extremes and water if tray feels dry. Glass or cling film should not be touching the leaves.
- When seedlings are large enough to handle, carefully transplant individually into 9cm pots of compost.
- Grow on in a well-lit bright area and begin a dilute liquid feed at 6 – 8 weeks. Plant out into a sunny location when roots are visible from the bottom of the pot.
Root Division.
When your plant is at least 3 years old and has been growing well in the previous season you should be able to divide the root structure into more plants.
Francoa are summer flowering so require division in early spring.
- Make sure the plant is not suffering from drought, pest or disease.
- Lift plants carefully by digging all around its crown with a fork.
- Shake off excess soil so you can clearly see the roots.
- With a sharp clean knife portion the root into 2 or 3 sections each containing growing tips and roots.
- Either replant the bare rooted section back into the position in the garden as described in Planting in the Garden or plant root sections into a 1 litre pot as per the instructions for Planting into a Container
- Water well and leave.
- Francoa should show signs of shoot growth within weeks.
* Many plants carry Plant Breeders Rights and cannot be propagated for commercial purposes.
Common Francoa questions
Is francoa hardy?
Yes francoa are hardy down to minus 10oC but they do not like too much winter wet.
Should I deadhead francoa?
Yes deadhead francoa firstly to tidy the plant, but also deadheading may encourage the plant to produce more flowering stems.