How to grow Foeniculum
A small genus of just three species. Two of which are from mid Africa and are not cultivated and the third from the Mediterranean. Within the Apiaceae family also known as Umbellifers, foeniculum have well known relatives such as carrots, celery, parsnip and parsley which typically all have hollow stems, divided or compound leaves and flowers of umbel shape.
Commonly known as fennel, Foeniculum vulgare is the only cultivated form. It has naturalised in many regions across the world.
A robust upright, ornamental and aromatic culinary herb perennial growing to 1.8m tall.
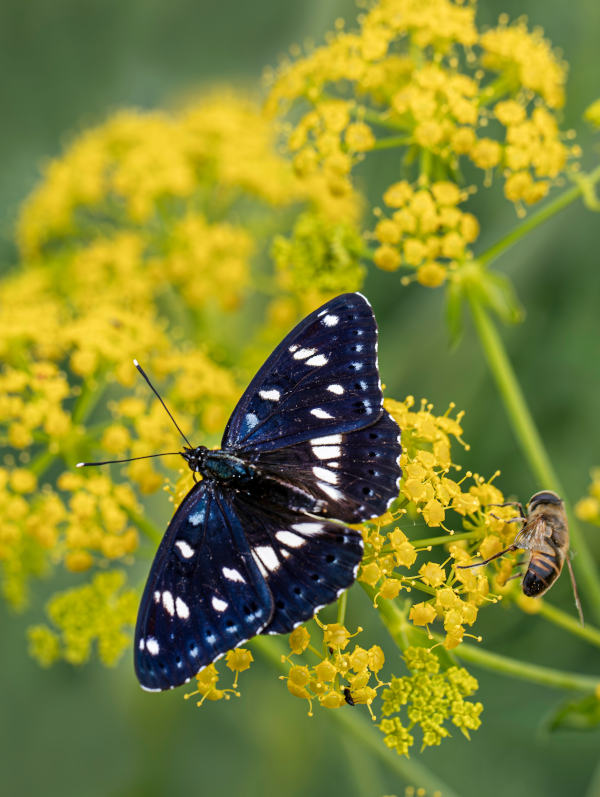
This herb is multi-talented - Fennel has a strong aniseed flavour and should be used sparingly in roasts, stews, salads, marinades, sauces and even cakes! Its medicinal uses are for heart conditions, weight control, immune system boost and blood pressure control. With cosmetic uses such as skin cleansing, aromatherapy, hair washing and breath freshener!
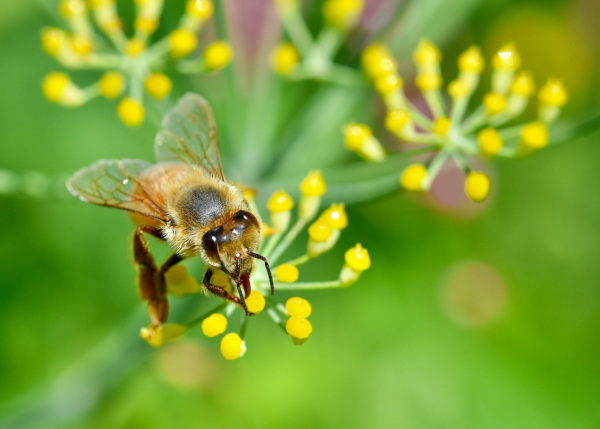
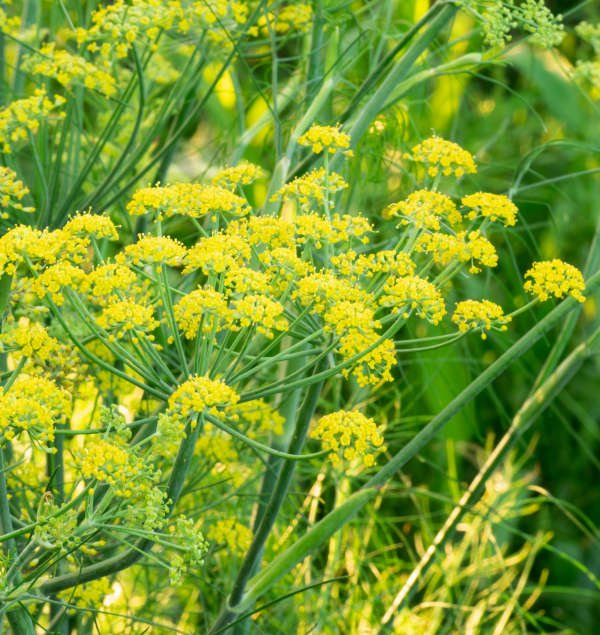
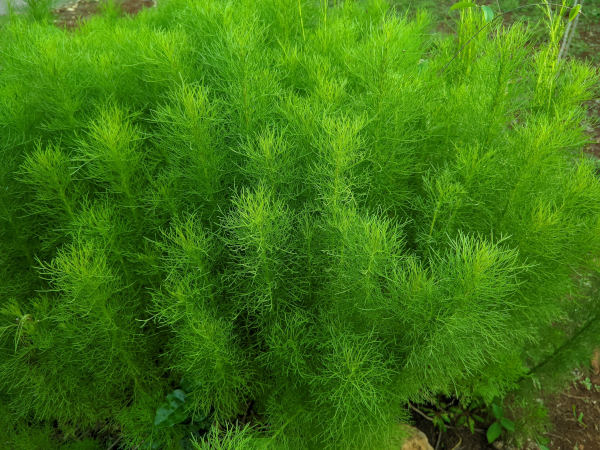
Erect hollow stems arise from a swollen leaf base or bulbous looking root often growing above soil level with finely divided fern like leaf foliage. The foliage bristles and shimmers in the breeze. There are green leaved and bronzed leaved varieties available. In late summer atop the hollow stems an acid yellow coloured umbel inflorescence forms. All parts are edible including its seeds which can be used in cakes to curries!
Some varieties of Foeniculum vulgare have been cultivated to grow a bigger bulb, commonly known as ‘Florence Fennel’ widely available from vegetable seed companies which has a much shorter life cycle and usually grows shorter in height, yet producing a bigger fleshy leaf base. Producing baby bulbs after only 6 weeks. This bulb can be stewed or roasted. The whiter flesh produces the most delicious non bitter flavour. Soil needs to be pushed up around the swollen plant base blocking light and chlorophyll production to ‘blanch’ the stem.
Zantedeschia is a genus of flowering plants from the family Araceae and is native to southern Africa. With a rich history dating back to the Ancient Romans, these deciduous or semi-evergreen perennials have been used as a symbol of celebration. Zantedeschia was Named after Professor Giovanni Zantedeschia, an Italian botanist.
There are two main forms of Zantedeschia: hardy and tender. Hardy forms of the plant can be grown outdoors, enjoy moist soil and full sun or partially shaded conditions - these are known as Arum lilies. Tender forms of Zantedeschia prefer being grown in containers or pots and should be brought inside over the winter - these are known as Calla lilies.
With tuberous flora in all colours from whites, yellows and oranges to deep reds and purples, Zantedeschias are not to be overlooked in any garden, as long as they have sufficient sunlight to grow in.
Ready to learn more about growing Zantedeschia? Read on for all there is to know...

Key Information
Soil pH

Position
Hardiness

Where & when to plant Foeniculum
Position - Full Sun
Soil - Moist, well-drained soil. Will grow in chalk, clay, loam and sand.
Flowers - Late Summer.
Hardiness - H5 (-10°C to -15°C)
Foeniculum can be planted all year around when purchased grown in pots so long as the ground is not frozen or waterlogged.
If container grown plants are planted out during the active summer growing season make sure that they are watered regularly until the plant has settled into its new location. Water at soil level rather than the foliage.
Preferring a sheltered site facing south or west with in fertile well drained soil.
For vegetable cultivation shorter lived varieties of seeds can be sown from May to July.
How to plant Foeniculum
Pot grown plants of perennial herb Foeniculum.
- Planting in the garden, dig the soil area removing any large stones and weeds and breaking up any lumps. Mix in some organic matter, ideally leaf mould, though manure or garden compost are also fine. Rake level and firm with your heels. Rake level again.
- Water plants well and allow to drain before planting.
- A good tip is to dig a hole twice the size of the root-ball. Fill with water and allow to drain before placing in the plant which is especially good for summer plantings.
- Remove the plant from its pot placing the plant in the hole, ensuring the top of the root ball sits level with the surface of the soil. Too low and the plant may rot, too high and the roots can dry out
- Backfill with soil and firm in gently with your foot.
- Soak soil well with water.
- For planting in containers, first choose an appropriately sized pot around 5-7cm larger than the root ball of your plant (you’ll need to gradually increase the pot size every few years). Always ensure there are plenty of drainage holes in the bottom.
- Use a good quality potting compost if you have it and mix with garden soil. Mix in some horticultural grit and, if not already present (check the labelling on the bag) some slow-release fertiliser granules.
- Start by partially filling the pot with compost; enough so that when placed on it the upper surface of the root ball is about 3cm lower than the top of the pot.
- Fill around the plant with compost, firming down with your fingers then adding a little more so it is held tight.
- Pick up the container and lightly tap on the potting bench or ground a few times to help further settle the compost around the plant.
- Soak well with water.
*Feoniculum (fennel) make great plants within a mixed herb patio container too.
Sowing seeds for vegetable cultivation.
Choose an open site in the vegetable garden or garden border. Choose to grow either fennel for ornamental, edible purposes or shorter lived ‘Florence Fennel’ for its prized bulbs. Foeniculum vulgare var. azoricum
- Dig the soil area removing any large stones and weeds and breaking up any lumps. Mix in some organic matter, ideally leaf mould, though manure or garden compost are also fine. Rake level and firm with your heels. Rake level again. Water and allow to drain.
- Using a marker line. Make a shallow drill 1.5 cm deep in rows 45cm apart
- Sow thinly approx. 1 seed every 3cm. Lightly cover the seeds with soil.
- Water regularly with a fine rose to not was the seeds away. Seeds should appear within 21 days.
- Thin seedlings to 20cm apart. Thinnings can be eaten whole.
- If growing Florence Fennel, as the swollen bulb like stem grows build up the soil around it to keep it white for a subtle flavour. Harvest leaves sparingly for culinary use.
- Baby Bulbs of Florence Fennel can be harvested within 6 weeks. Harvest as required for garden to plate freshness.
What to plant with Foeniculum
Outdoors, plant alongside plants with different shaped or coloured foliage as a contrast whilst also making sure nearby plants have interest when Foeniculum are dormant in winter. * When harvesting for culinary use ensure you only pick varieties for use are also edible.
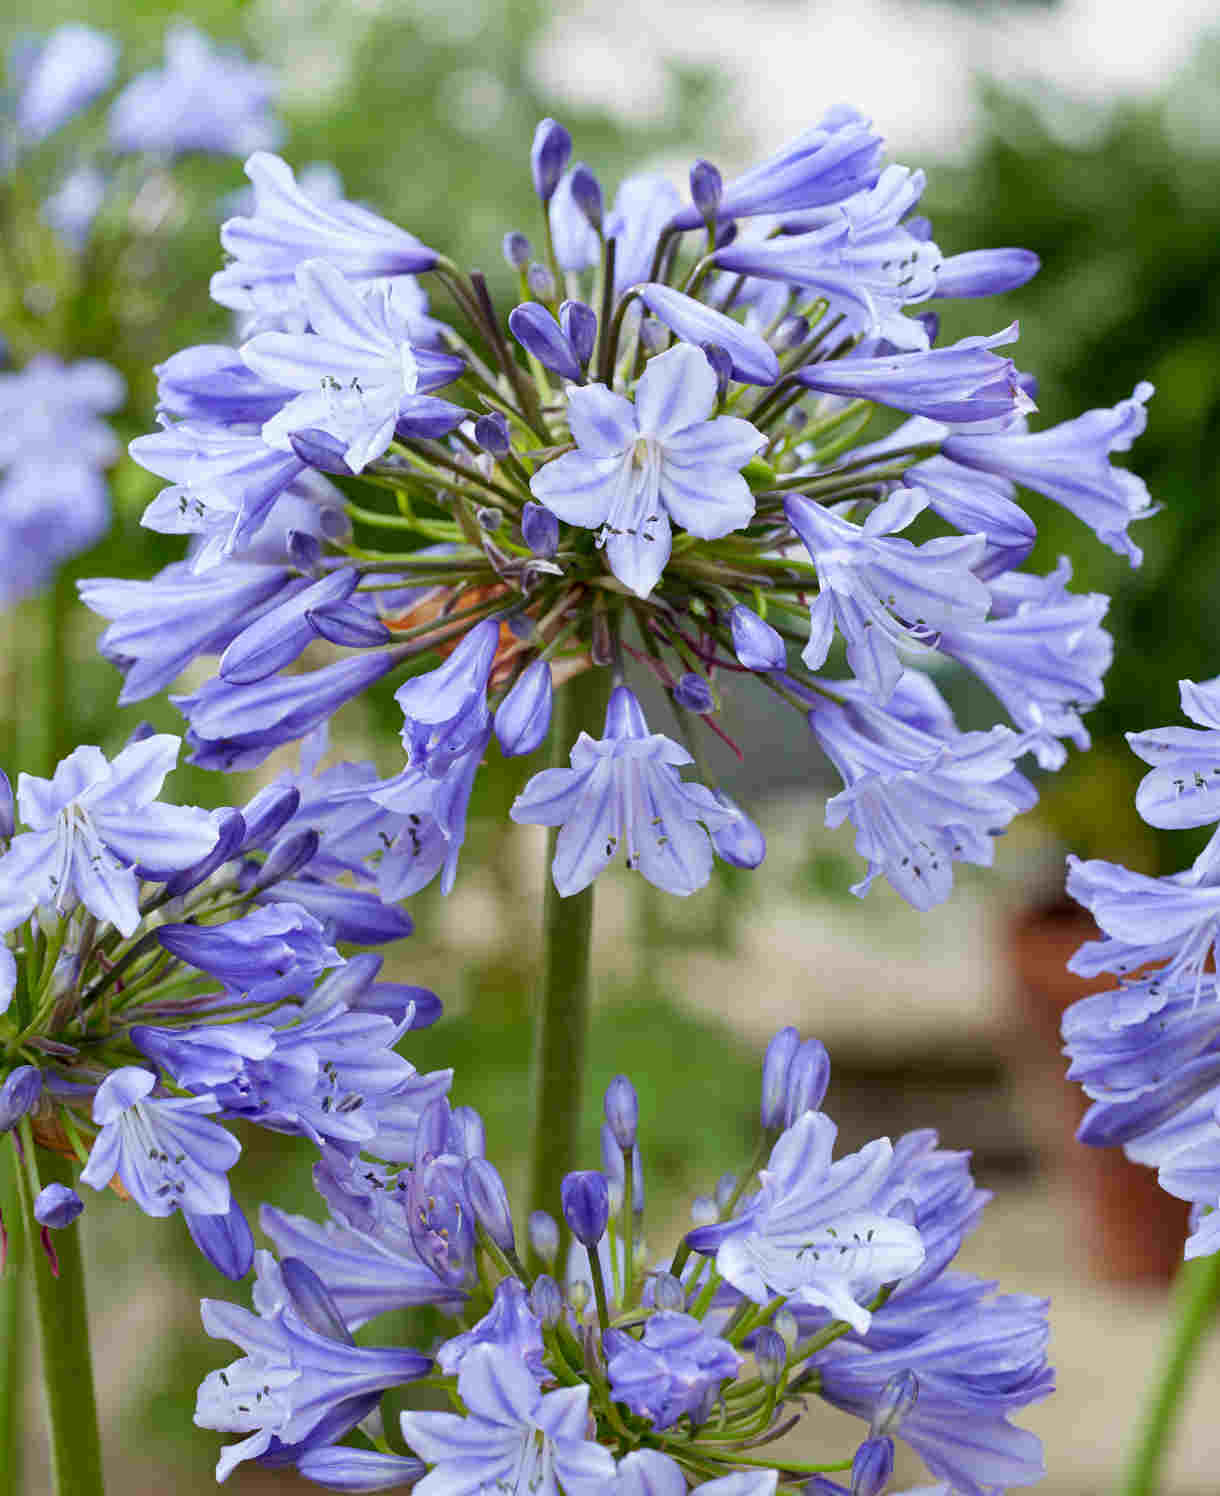
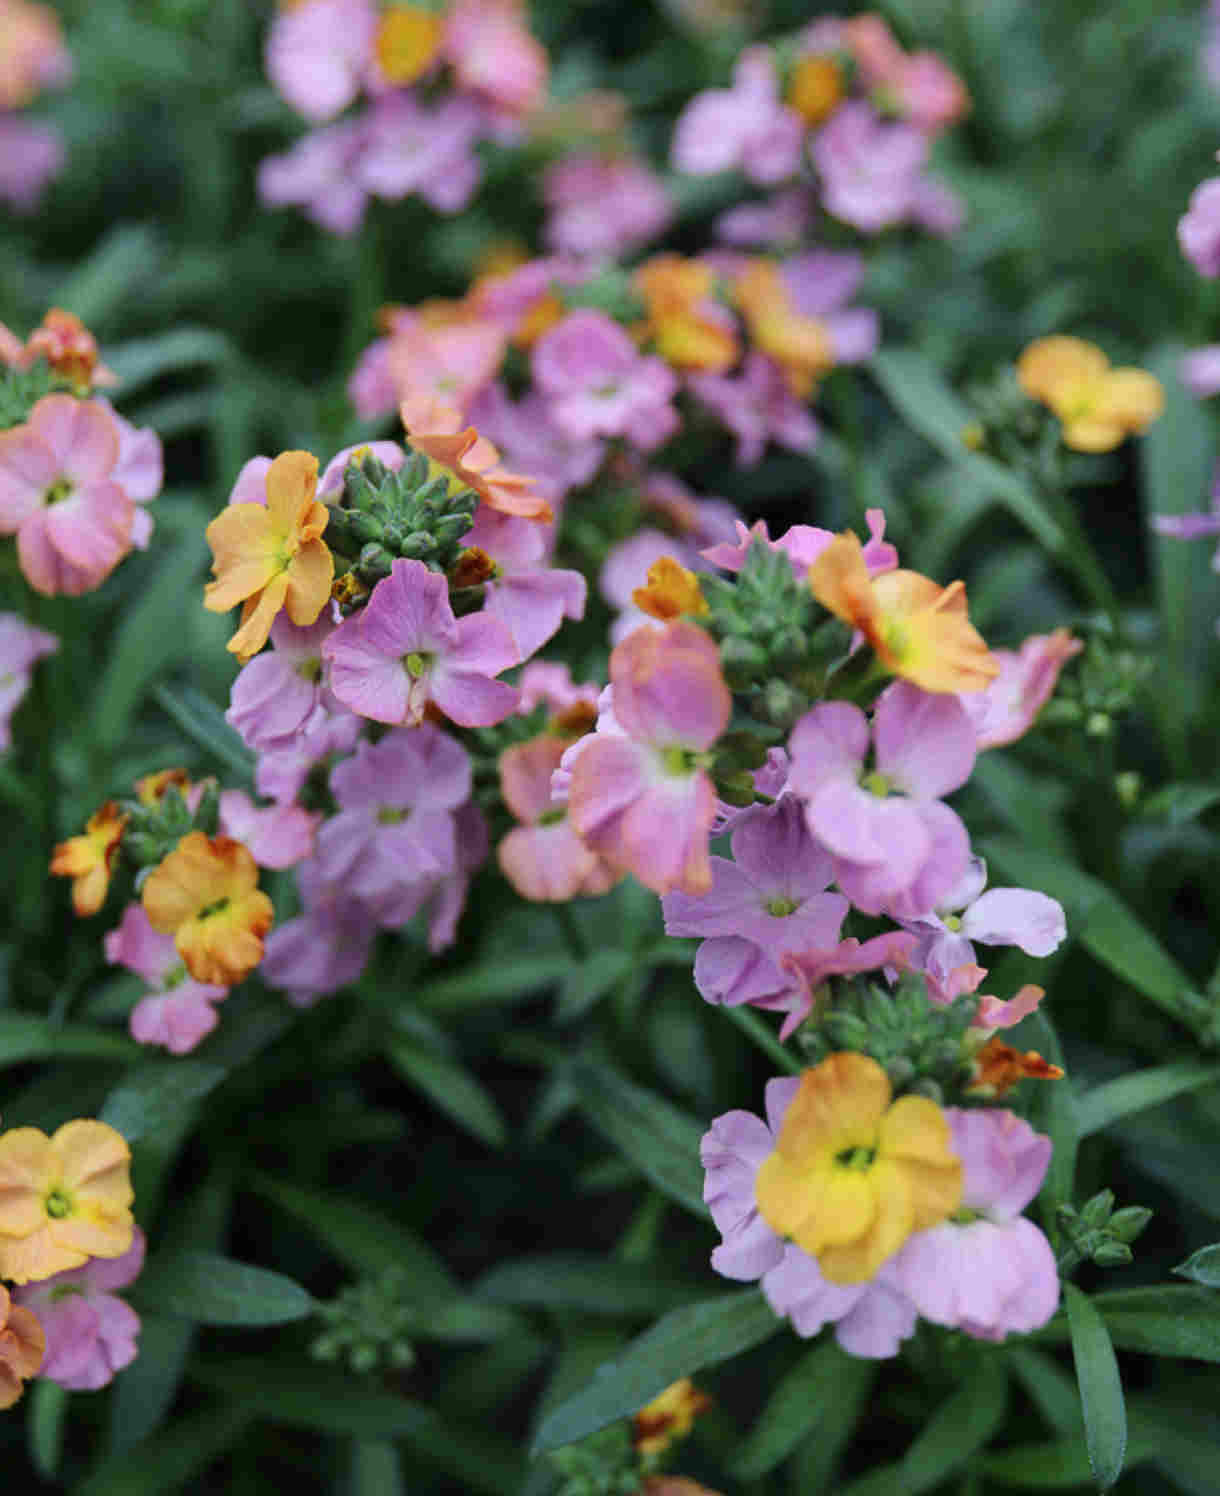
Try Agapanthus, Alstroemeria, Buddleja, Cordyline, Canna, Erysimum, Ferns and Grasses, Kitchen garden plants, Lavender, Phormium and Tulip.

How to care for Foeniculum
Pruning and Deadheading
There is no need to deadhead foeniculum as you can harvest the seeds produced. However in early years it is best to remove flowering stems so the plant puts more energy into growing itself stronger rather than producing seeds. Simply cut the flowering stem back to a leaf joint.
Tall stems made need some support in more exposed locations. Or, you can trim the plant back regularly to 30cm to encourage plenty of new young foliage for harvesting or ornamental appeal.
In autumn the foliage dies down to a below ground tuber. Leave the stems to provide architectural interest which looks superb with cobwebs and a morning frost and dead hollow stems provide shelter for insects. Tidy up the plant in spring by cutting old stems to ground level before the new shoots appear.
If left on and not harvested its seeds can produce new plants where they fall.
Watering
On planting outside, they benefit from a good watering in on planting and then regular soakings until established. After this they shouldn’t need watering only in very dry sites.
For container grown plants water regularly to keep moist at all times. Allow the top few centimetres to dry out between soakings is a good rule of thumb to avoid overwatering. To check this, wiggle your finger down into the soil until you hit a cool, damp bit. Ensure your container has drainage holes and water can escape from the planter by using pot feet.
Water the soil around the plant rather than its leaves.
Feeding
Foeniculum require an annual a mulch of well-rotted organic matter (i.e., a layer of leaf mould, manure, or garden compost applied to the soil around the plant) should provide enough nutrients for your Foeniculum. This has the added benefit of suppressing weeds and locking in moisture.
Cold Protection
Perennial Foeniculum do not like cold winds in exposed sites. They also do not like their roots to get too wet in winter. Choose a suitable location on planting or grow in a container which can be moved into shelter during the winter.
Pests and Diseases
Foeniculum are generally pest and disease free. Watch out for slugs and snails and aphids that may colonise in the young shoots in spring and early summer.
How to propagate Foeniculum
Foeniculum can be propagated by root cuttings or root division for true to type propagation which isn’t always easy, its tap root doesn’t divide or be moved successfully. Sowing seeds is by far the easiest way to propagate foeniculum. Harvest seeds before they fall or buy fresh seed which is true to type from a reputable seed supplier
- During March to May fill a 9cm pot with good quality seed compost. Level and firm with the base of another pot. Water well and allow to drain.
- Carefully scatter 5 or 6 seeds across the compost surface of the pot.
- Cover the seed to their own depth with compost.
- Cover pot with a plastic sandwich bag held off the surface like a little greenhouse. Use and elastic band to hold the bag in place on the pot. This keeps humidity within the sowing area.
- Place the pot on a saucer in a light sheltered area at 15-20o Check a couple of times a week for signs of life and to ensure the compost is still moist and not saturated. Germination should take up to 21 days.
- Once visible signs of growth can be seen begin hardening off the seedlings by removing glass or cling film for longer periods to allow ventilation. Start from 15 minutes per day and slowly work up to total removal over a couple of weeks. Protect seedlings from weather extremes.
- Thin plants to 2 or 3 seedlings per pot.
- Grow on in a well-lit bright area and begin a dilute liquid feed at 6 – 8 weeks. Plant out into a sunny location when roots are visible from the bottom of the pot.
* Many plants carry Plant Breeders Rights and cannot be propagated for commercial purposes.
Common Foeniculum questions
Is Foeniculum poisonous?
No all parts are edible.
How quickly does Foeniculum grow?
Dependent upon variety Foeniculum vulgare - the culinary herb Fennel- grows very quickly. You can expect a plant that reaches maturity within 2 years.