


How to grow Erigeron
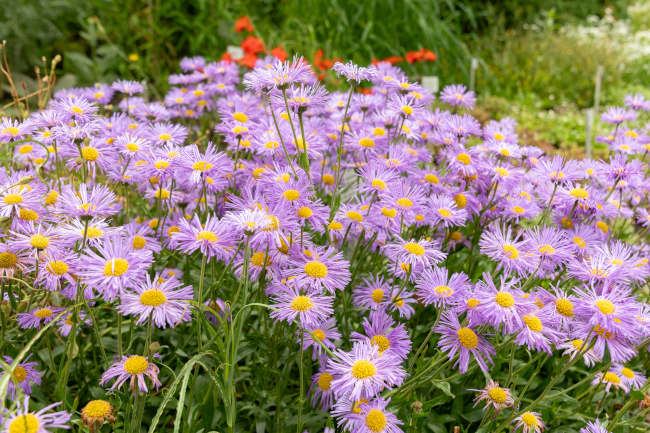
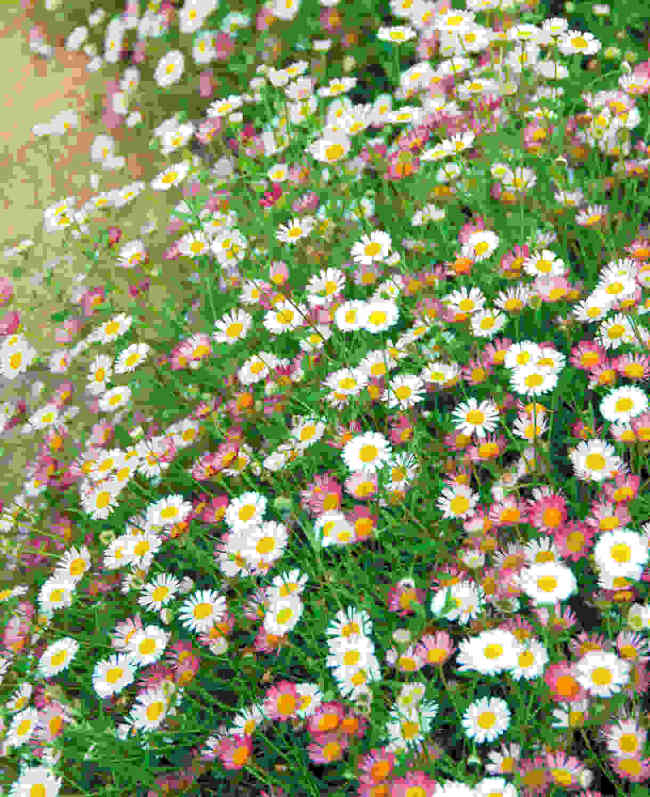
Found in dry grasslands and mountainous areas throughout the world, erigeron is a genus in the daisy family containing over 200 species. These can range from low-growing, alpine plants, to taller, bushier, clump-forming plants. The most well-known is undoubtedly Erigeron karvinskianus (also known as Mexican fleabane); its clouds of small white and pink flowers often seen bursting out of walls and paving cracks during the summer months.
Erigeron is grown for its long-flowering period, tolerance of coastal conditions, and overall ease of cultivation.
Key Information
Soil pH

Position
Hardiness

When and where to plant Erigeron
Position- Full sun to partial shade
Soil- Well-drained
Flowering Period- Summer
Hardiness- Hardy
For best results, plant in autumn or spring. An autumn planting is suitable for those gardening in mild conditions (broadly speaking, the southern half of the UK). For those liable to very cold winters it is best to wait until spring (generally the northern half of the UK). Planting can also be carried out during summer, though a watchful approach to watering is required.
Erigeron will grow in any well-draining, sunny-ish spot, and can be used in borders, pots, gravel gardens, rockeries, and coastal gardens. Erigeron karvinskianus is particularly adept at self-seeding and will gently spread to surrounding cracks and crevices. Try growing one of these in a pot and having it in a different part of the garden each year. It will take care of the rest, and before long your paving, steps, and walls will be awash with soft white and pink daisies.
How to plant Erigeron
In the ground
- Clear the chosen area of weeds.
- Dig a planting hole several times larger than the root ball. If your soil is at all moist, add plenty of sand or horticultural grit to the planting hole and mix thoroughly. Avoid heavy, clay soil.
- Place the plant in the hole, ensuring the top of the root ball sits level with the surface of the soil. Too low and the plant may rot, too high and the roots can dry out.
- Backfill with soil and firm in gently.
- Soak well with water.
- Mulch around the base with horticultural grit or gravel.
In a container
- Choose an appropriate container. Ensure there are plenty of drainage holes in the bottom.
- Use a good quality potting compost with plenty of horticultural grit mixed in (aiming for at least 30% grit), and, if not already present in the compost (check the description on the bag) some slow-release fertiliser granules.
- Start by partially filling the pot with compost; enough so that when placed on it the upper surface of the root ball is about 3cm lower than the top of the pot.
- Infill all the space surrounding the root ball with compost, firming down with your fingers then adding a little more so the plant is held tight.
- Pick up the pot (if you can!) and lightly tap on the potting bench or ground a few times to help further settle the compost around the plant.
- Soak well with water.
- A mulch with horticultural grit will look attractive and help to prevent a ‘cap’ or crust forming on the top of the compost (something container plants can suffer due to the artificial nature of their watering).
What to plant with Erigeron
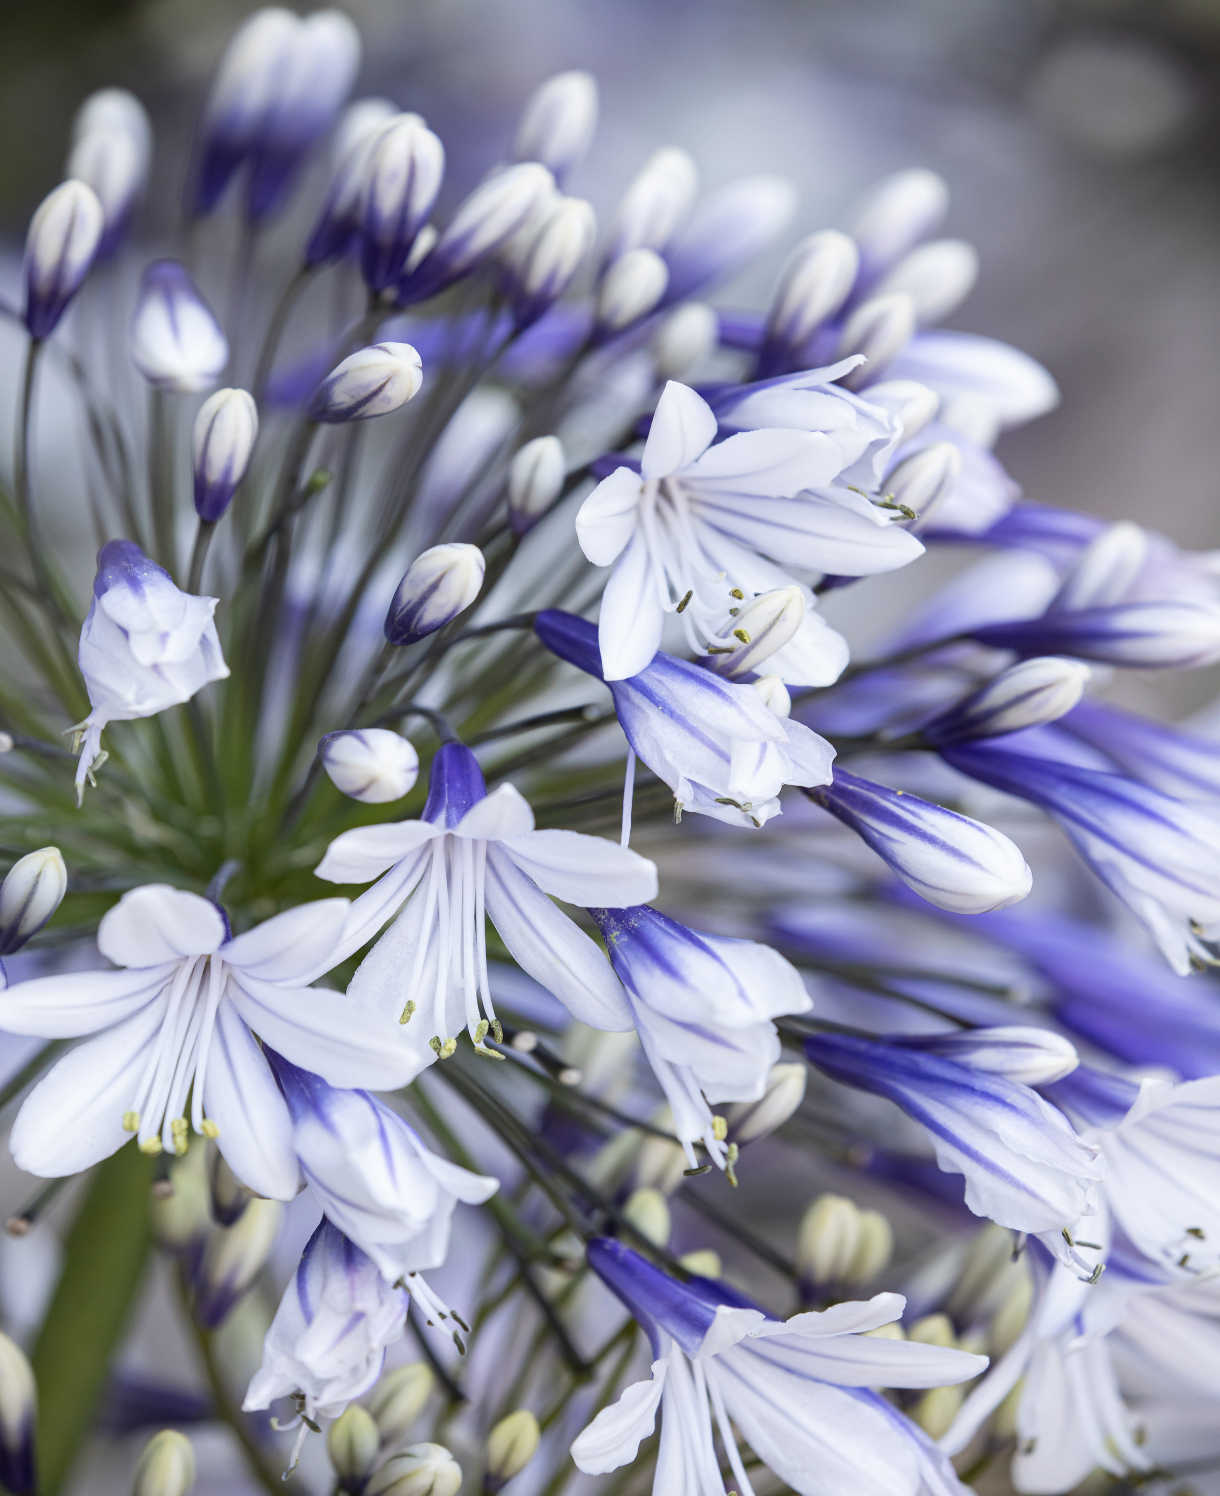
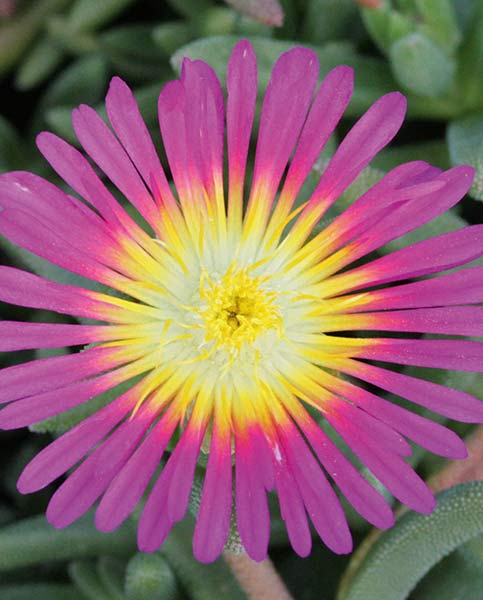
Often grown for its tolerance of salty, windswept conditions, erigeron fits naturally with other coastal favourites such as lavatera, armeria, agapanthus, leptospermum, and delosperma.
If you are using Erigeron karvinskianus for its delicate crevice-colonising tendencies, try pairing with the similarly inclined Campanula poscharskyana (trailing bellflower). A winning combination!
How to care for Erigeron
Pruning and Deadheading
Larger flowered varieties will benefit from deadheading to prolong the flowering season. Cut all erigeron right back each year to maintain and attractive, neat form. This can be done in autumn or spring, though we recommend leaving it until spring if you can (for the additional winter protection).
Watering
Water until established, after which this drought tolerant plant tends to take care of itself.
Cold Protection
Erigeron is hardy to somewhere between -5°C and -15°C (depending on the species) which means it should overwinter in most of the UK without the need for added protection. As above in the ‘Pruning and Deadheading’ section, we recommend delaying pruning until spring to avoid exposing the crown of the plant to winter cold and wet. As is the case with many drainage-loving plants, hardiness will be impaired if grown in wet, poorly drained soil.
Pests and Diseases
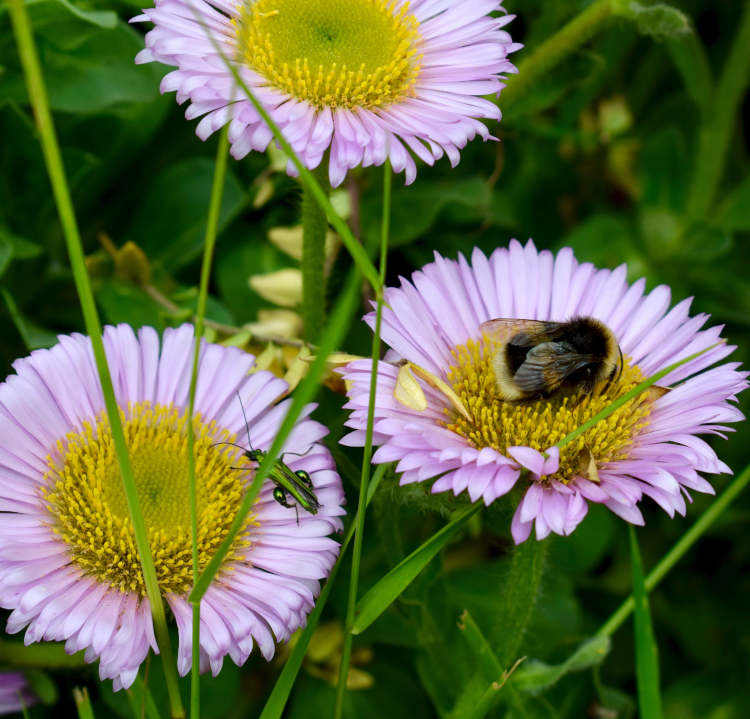
Erigeron tends to be largely trouble-free.
How to propagate Erigeron
Such is its propensity to self-seed, the need to propagate Erigeron karvinskianus is unlikely. For other species, advice is as follows:
Propagate by basal stem cuttings in spring.
- Find several strong, basal shoots (originating from the crown) around 10cm long.
- With sharp secateurs or a knife, sever cleanly from as close to the base as possible.
- Put them in a plastic bag straight away to prevent drying out.
- Fill a container with a compost mix which is at least 50% perlite (or if you prefer, as we do, 100% perlite).
- Remove the lowest third of leaves.
- If the remaining leaves are large, cut them in half with a sharp knife (to reduce water lost through transpiration).
- Insert the cuttings into the compost and water lightly. Several cuttings can be put in the same container if there is enough space to do this without them touching.
- Place in a greenhouse or propagating unit if you have one or covered with a plastic bag on a windowsill if not (out of direct sunlight).
- Keep the cuttings misted and occasionally watered until they root. You will know this has happened when roots emerge out of the bottom of the container.
- Gently remove rooted cuttings and pot them into individual pots. Grow on in an unheated yet protected environment such a conservatory, greenhouse, or cold frame until they are large enough to plant out.
Another option for erigeron is to lift and divide, again best done in spring. As well as providing new plants, this also maintains the health and vigour of existing specimens.
- Choose a day when the soil is not frozen or waterlogged.
- Dig the plant out of the ground.
- Shake off any excess soil.
- Separate the plant into sections using either swift, cutting blows with a sharp spade, or two forks inserted back-to-back with tines touching, handles then pushed together to prise the plant apart.
- Discard old, damaged, or surplus pieces, keeping healthy, vigorous material.
- Replant selected pieces where desired.
- Water well until fully established.
Common Erigeron Questions:
Does erigeron come back every year?
While some erigeron species can be annual or biennial, all of those currently stocked by Hayloft are perennial. This means that, given the right growing conditions, they will come back year after year.
Should erigeron be cut back?
See ‘Pruning and Deadheading’ section above. It is advisable to cut erigeron back annually, either in autumn or spring. Leaving it until spring has the added benefit of providing extra winter insulation to the crown of the plant.
Where does erigeron grow?
Erigeron will grow in any well-draining, sunny spot and is able to tolerate partial shade. The species Erigeron karvinskianus is also known for its ability to colonise cracks and crevices.
Can I divide erigeron?
Absolutely. Erigeron is best divided in spring (see ‘How to propagate erigeron’ section above).