


How to grow Eremurus
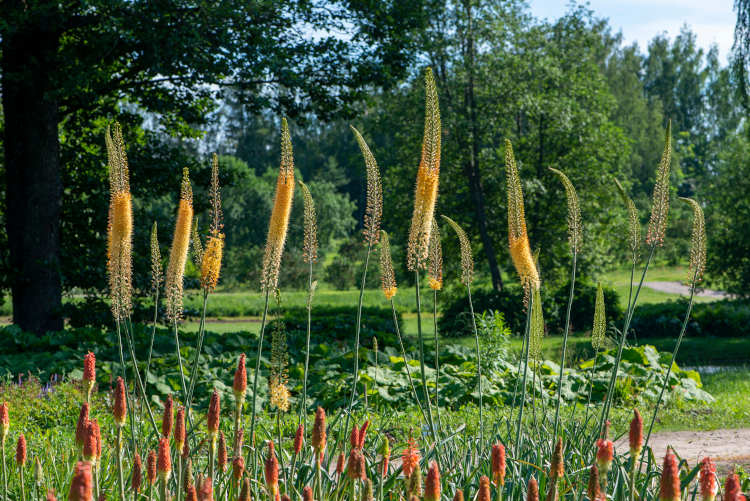
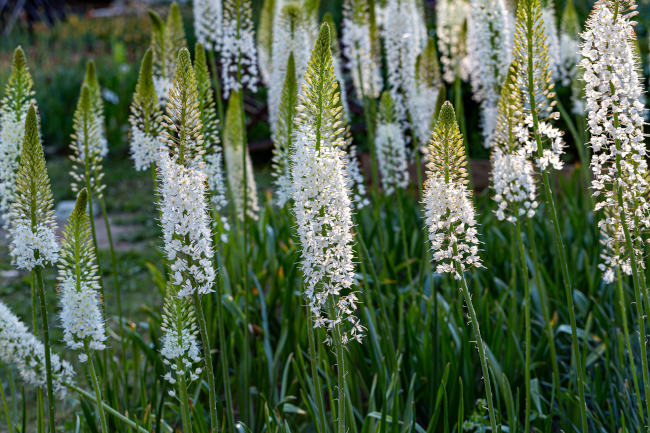
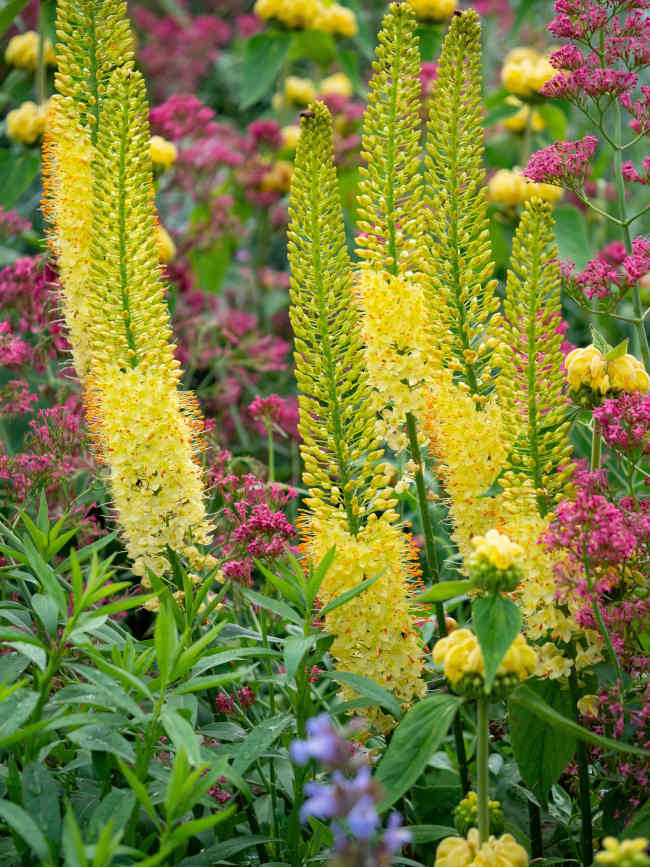
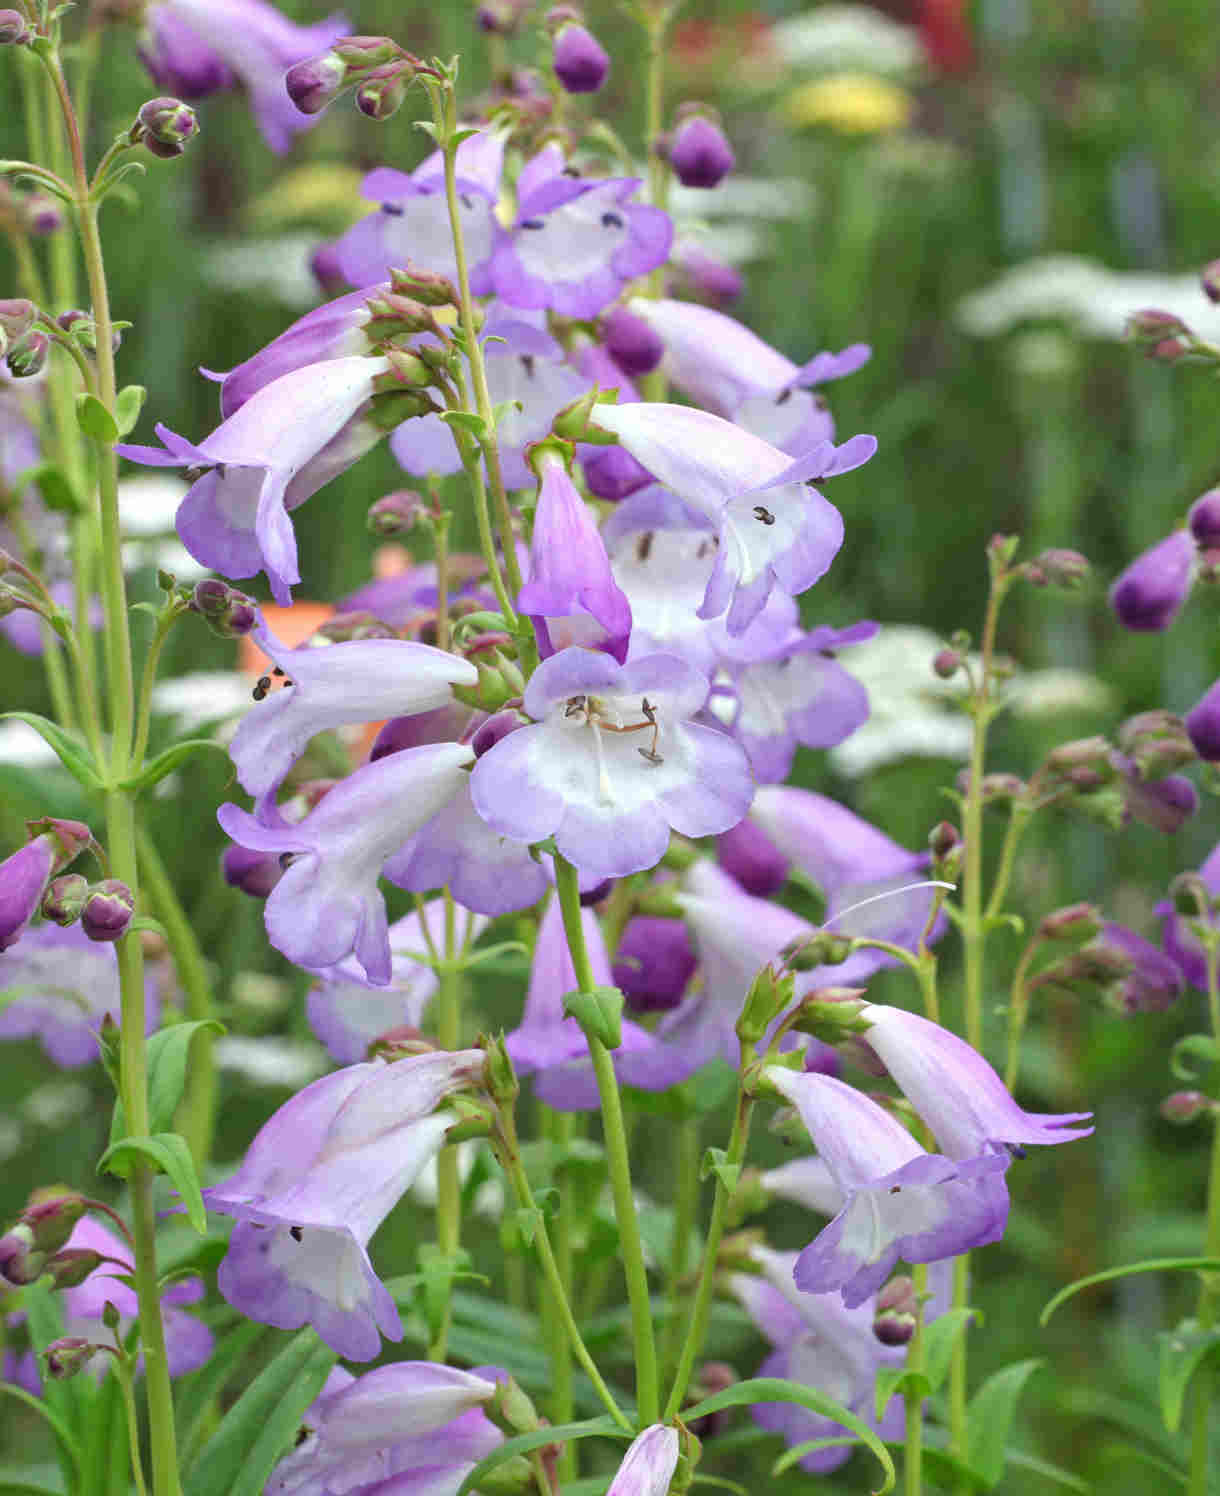
A star of early to midsummer in the garden and prized for adding height and interest to the back of a border, eremurus is a deciduous, clump-forming perennial with tall, tapering, fluffy, flower spikes. These can reach anything from 1m to 4m, depending on the species or cultivar, and emerge from a basal rosette of folded, strappy leaves which die back once the flowers have finished.
Usually sold in bare root form during dormancy (though you may also find it available as a potted plant in spring), eremurus is instantly recognisable for the fleshy roots that radiate from the crown, giving it a distinctly starfish-like appearance. These can be brittle and easily damaged, so remember to handle with care.
Eremurus is also known by the common names of foxtail lily and desert candle. It is found growing on rocky, baked hillsides in western and central Asia.
Key Information
Position
Soil Conditions

Hardiness

Where & when to plant Eremurus
Position- Full sun with shelter from winds
Soil- Very well-draining, any pH
Flowering Period- Early to midsummer
Hardiness- Hardy/ H6/ -15°C to -20°C, though young growth can be frost tender.
Soak your bareroot eremurus in water for a couple of hours on arrival, and then get it into the ground straight away. Don’t hang around! Letting bareroots dry out can be a death sentence. Having said this, it is important to avoid planting in frozen or very wet weather, so if you have to wait a day or two for the right conditions, pot the bareroots temporarily in a large container or bucket filled with slightly damp compost. Remember to be careful not to damage the delicate roots.
Recreating the natural habitat of eremurus can require a little effort, though if you get this initial part right the plant requires minimal care thereafter. The two main aims are sunlight and drainage, so firstly choose the sunniest spot your garden has to offer and then get to work on improving the soil (see next section). Eremurus is perfect for the middle to back of a border. It struggles in containers, so we don’t recommend growing it in this way.
How to plant Eremurus
Bareroots should be soaked in a bucket of water for a few hours as soon as they arrive. Following this, proceed as follows:
- For planting in the ground, dig the soil area removing any large stones and weeds and breaking up any lumps. Mix in some organic matter such as garden compost and a very generous helping of horticultural grit. Rake level and firm with your heels. Rake level again.
- Bareroots should be soaking nicely at this point.
- Dig a shallow hole approximately twice as large as the bareroot. Put the gritty soil you dig out in a bucket.
- Unless you garden on very sandy, free-draining soil, planting eremurus on a mound is advisable to increase drainage. Fill the hole with a mound of grit or sand, and carefully place the bareroot on the surface.
- Cover with the gritty soil from the bucket. Eremurus likes to be planted shallowly, so cover with just a couple of centimetres.
- Place a cane or some sort of marker in the ground (taking care not to puncture the crown or roots), to avoid accidental damage during dormancy.
- Don’t worry about watering. If you have soaked your bareroot, the weather will take care of the rest.
- Although hardy, eremurus can be damaged by excessive moisture during winter. To help avoid this, apply a thick layer of dry mulch such as bracken, straw, or bark chippings over the roots, taking care not to cover the crown (it doesn’t take much for this plant to rot).
What to plant with Eremurus
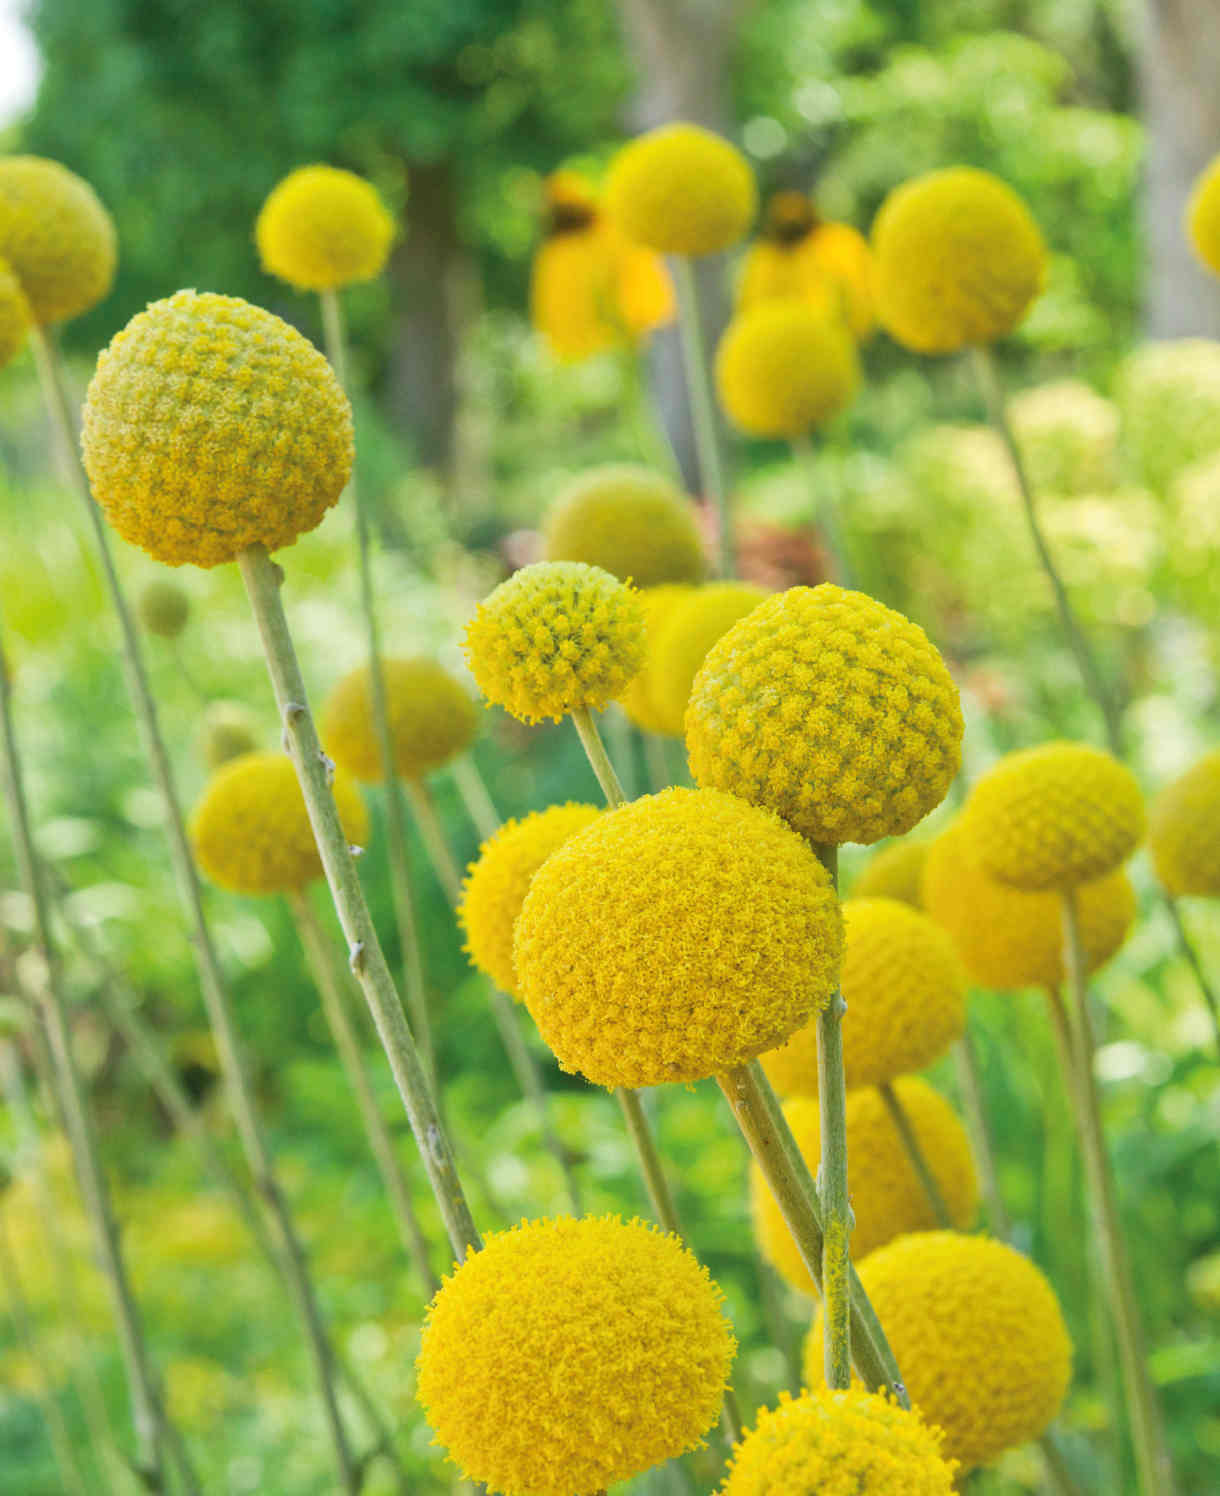
Eremurus enjoy plenty of elbow room for their roots and don’t grow well with competition in the immediate vicinity. Stick with shallow rooted annuals such as craspedia, nicotiana, pilosella, and Campanula rotundifolia, and small bulbs including crocus, muscari, and some of the smaller narcissus varieties.
How to care for Eremurus
Pruning and Deadheading
If you want to encourage your eremurus to self-seed around an area, leave flower spikes intact until autumn/ winter, at which point they can be cut back.
Otherwise, cut them back after flowering. The foliage will die back naturally.
Watering
When in leaf eremurus shouldn’t be allowed to dry out completely, so keep an eye on it in hot, dry weather and give an occasional soaking if necessary. Once the foliage has died back, this plant enjoys as dry a dormancy as possible.
Feeding
Once the crown shows signs of life – and this is usually in April – remove the dry mulch and give your eremurus a helping of general purpose granular feed, applied to the surface of the soil and very lightly worked in (remembering those shallow, delicate roots). This is known as a ‘top dress’. Cover with a mulch of well-rotted garden compost, again – taking great care to avoid covering the crown. As well as adding extra nutrients to the soil as it breaks down, this has the added benefit of suppressing weeds and regulating moisture levels.
On healthy, fertile soil this annual treatment should suffice, though if your plant seems lacking in vigour, or if the foliage is damaged by a late frost, a monthly liquid feed throughout spring and summer can also be beneficial.
Cold Protection
As mentioned above, though the eremurus is technically hardy its roots can be damaged by too much water in winter, and its new growth may be damaged by late frosts in spring.
To reduce the likelihood of problems:
- Cover the roots with a dry mulch in winter (as described in ‘How to plant eremurus’)
- If there are any cold snaps forecast once your eremurus has come into growth (usually in April), protect it with a cloche or a covering of horticultural fleece overnight. Remember to remove this during the day once temperatures rise above freezing.
Eremurus needs winter cold to induce flowering, so don’t have this protection in place all winter – only use if necessary once spring growth has started.
Pests and Diseases
Eremurus tends to be largely pest and disease free, though you may find slugs develop a taste for its leaves, particularly when young. Encouraging natural predators into your garden, such as birds, frogs, toads, and hedgehogs, will make a big difference. Torchlight searches after dark (when slugs and snails are at their most active) are also effective, allowing you to collect the offending molluscs in a bucket and dispose of as you see fit. Relocating to a nearby woods or bagging up and putting in your freezer before popping them in the bin are said to be the most humane approaches.
Like most plants, once eremurus is well established it tends to be better able to tolerate the actions of slugs and snails without the need for intervention.
How to propagate Eremurus
Eremurus self-seeds readily, so the easiest way to propagate it is to leave flower stalks intact until late in the year and let nature take its course. The seedlings can either be transplanted to a new location or left where they are.
To propagate manually, here’s how to collect and sow seed yourself.
- After flowering, large, round, marble-sized seedpods will develop with winged seeds found inside.
- These are typically ready for collecting in late summer when they have dried and turned brown.
- Wait for a dry day and collect the seeds in a paper bag or envelope.
- Fill a seed tray or small pot with a very well-draining compost mix, compressing the surface lightly with a flat piece of wood or the bottom of another pot.
- Sprinkle the seeds evenly over the surface of the compost, pressing down lightly to ensure contact.
- Use a garden sieve to apply a light covering of compost.
- Water the soil gently with a fine spray until it is evenly moist but not waterlogged.
- Place the seed tray or pots in a coldframe, unheated greenhouse, or on a cool, bright windowsill. Eremurus needs winter cold as part of its annual cycle, so while it is good to protect young seedlings from the frost, try not to keep them anywhere too warm.
- When the seedlings have grown large enough to handle, transplant them into individual pots filled with a very gritty mix and continue to grow on in a frost-free environment.
- Keep barely moist, never soggy.
- Plant out into their eventual spots at the end of the second or third year. Expect plants to take 3-5 years to flower.
* Many plants carry Plant Breeders Rights and cannot be propagated for commercial purposes.
Common Eremurus questions
- Is eremurus a perennial?
It is. Given the right conditions (sunshine, good drainage, and protection from late frosts), it will return year after year. - Is eremurus frost hardy?
As an overall plant, yes. However, this can be compromised if it gets too wet during winter, and its fresh, new growth can be knocked back by a late frost in spring. See our ‘Cold Protection’ section for more details. - Can you plant eremurus in pots?
In theory, yes, however this would require such a huge container to accommodate the wide spread of the roots as to be unfeasible. Instead, we recommend sticking to open ground. - Is it safe to weed around eremurus?
Try to keep any soil disturbance around these plants to a minimum as their fleshy roots are very easily damaged. Use an annual mulch to help keep weeds down and any that do manage to grow, take out carefully by hand.