


How to grow Dierama
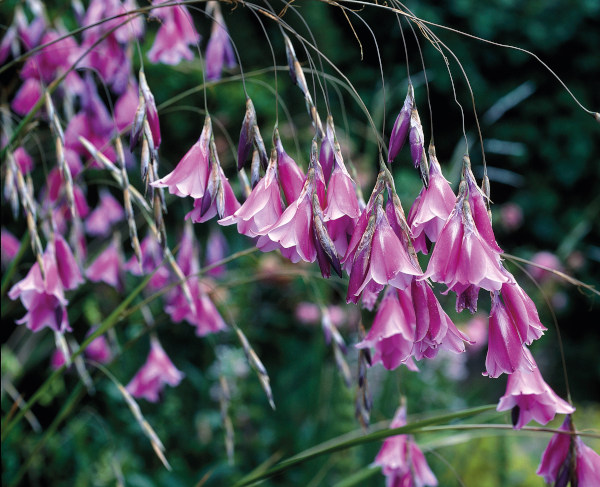
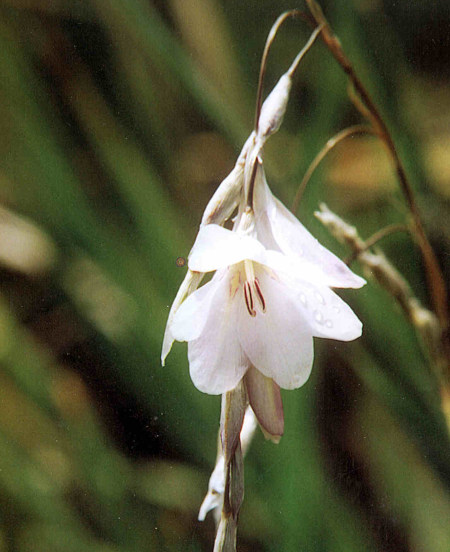
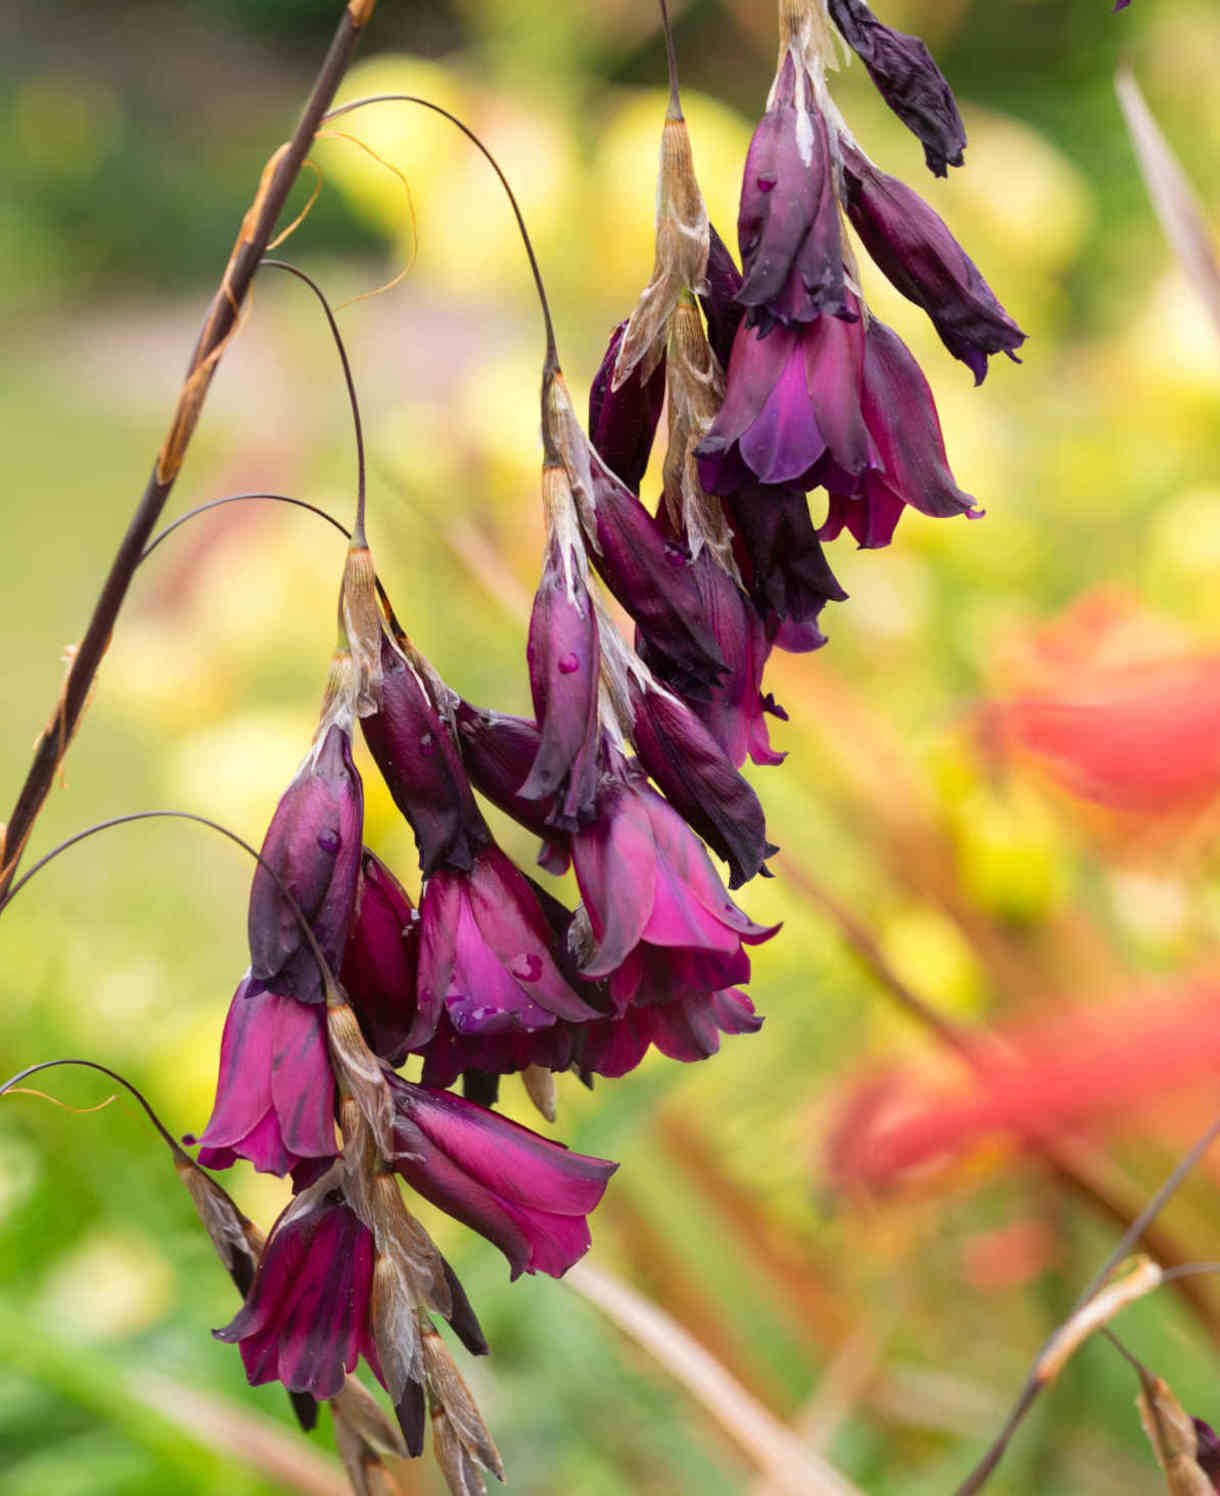
This South African member of the iris family is a corrmous perennial grown for its summer-long succession of nodding, pink, bell-shaped flowers. These are held on elegantly arching stems above clumps of grassy, evergreen or semi-evergreen foliage. Depending on the species and/ or cultivar, dierama can range in height from 60 to 150cm, and is available in many shades of pink from deep magenta through to almost white. Despite its delicate appearance dierama is surprisingly robust, and, given the right conditions, will thrive for many years with the minimum of fuss.
Dierama is also known by the common name of angel’s fishing rod, or sometimes wandflower.
Acacia is also known by the common names of wattle and mimosa.
Key Information
Position
Soil Conditions

Hardiness

Where & when to plant Dierama
For best results, plant in autumn or spring. An autumn planting can be done by those gardening in mild conditions (and broadly speaking, this is the southern half of the UK). For those liable to cold winters, it is best to wait until spring (generally the northern half of the UK). Planting can also be carried out in summer, though be prepared to water regularly.
Dierama teams particularly well with ornamental grasses. Taller species can be used at the back of a sunny border, while shorter, dwarf species are best further towards the front. In any case, give them plenty of room, as they don’t enjoy being crowded. Shelter from cold wind and avoidance of waterlogging are both essential for successful overwintering. Dierama resents root disturbance, making it particularly important to get the planting location right first time!
A long rooting habit means dierama grows best in the ground. Container-growing can work providing the container is very deep.
Position- Although hardy, dierama grows best in a warm, sunny, sheltered spot
Soil- Humus-rich, moist yet well-drained, any pH.
Avoid the extremes of waterlogging or drought.
Flowering Period- Midsummer to autumn
Hardiness- Hardy to between -5°C and -10°C (i.e., fine for an average UK winter)
How to plant Dierama
- For planting in the garden, dig the soil area removing any large stones and weeds and breaking up any lumps. Mix in some organic matter such as manure or garden compost. If your soil is heavy, now is also the time to add a generous helping of horticultural grit. Rake level and firm with your heels. Rake level again.
- Water plants well and allow to drain before planting.
- A good tip is to dig a hole twice the size of the root-ball. Fill with water and allow to drain before placing in the plant.
- Place the plant in the hole, ensuring the top of the root ball sits level with the surface of the soil. Too low and the plant may rot, too high and the roots can dry out.
- Backfill with soil and firm in gently with your foot.
- Soak well with water.
- Mulch around the base with well-rotted organic matter.
- For planting in containers, first choose an appropriately sized pot. The best practice is to start just a few centimetres larger than the rootball and increase in size every year or two. Choose the deepest you can find and ensure there are plenty of drainage holes in the bottom.
- If you are using a large or heavy pot, it can be a good idea to fill and plant it in situ to save yourself the trouble of moving once full.
- Use a good quality potting compost with plenty of horticultural grit mixed in, and, if not already present in the compost (check the description on the bag) some slow-release fertiliser granules.
- Start by partially filling the pot with compost; enough so that when placed on it the upper surface of the root ball is about 3cm lower than the top of the pot.
- Infill all the space surrounding the root ball with compost, firming down with your fingers then adding a little more so the plant is held tight.
- Pick up the container (if you can!) and lightly tap on the potting bench or ground a few times to help further settle the compost around the plant.
- Soak well with water.
- A mulch with horticultural grit will look attractive and help to prevent a ‘cap’ or crust forming on the top of the compost (something container plants can suffer due to the artificial nature of their watering).
What to plant with Dierama
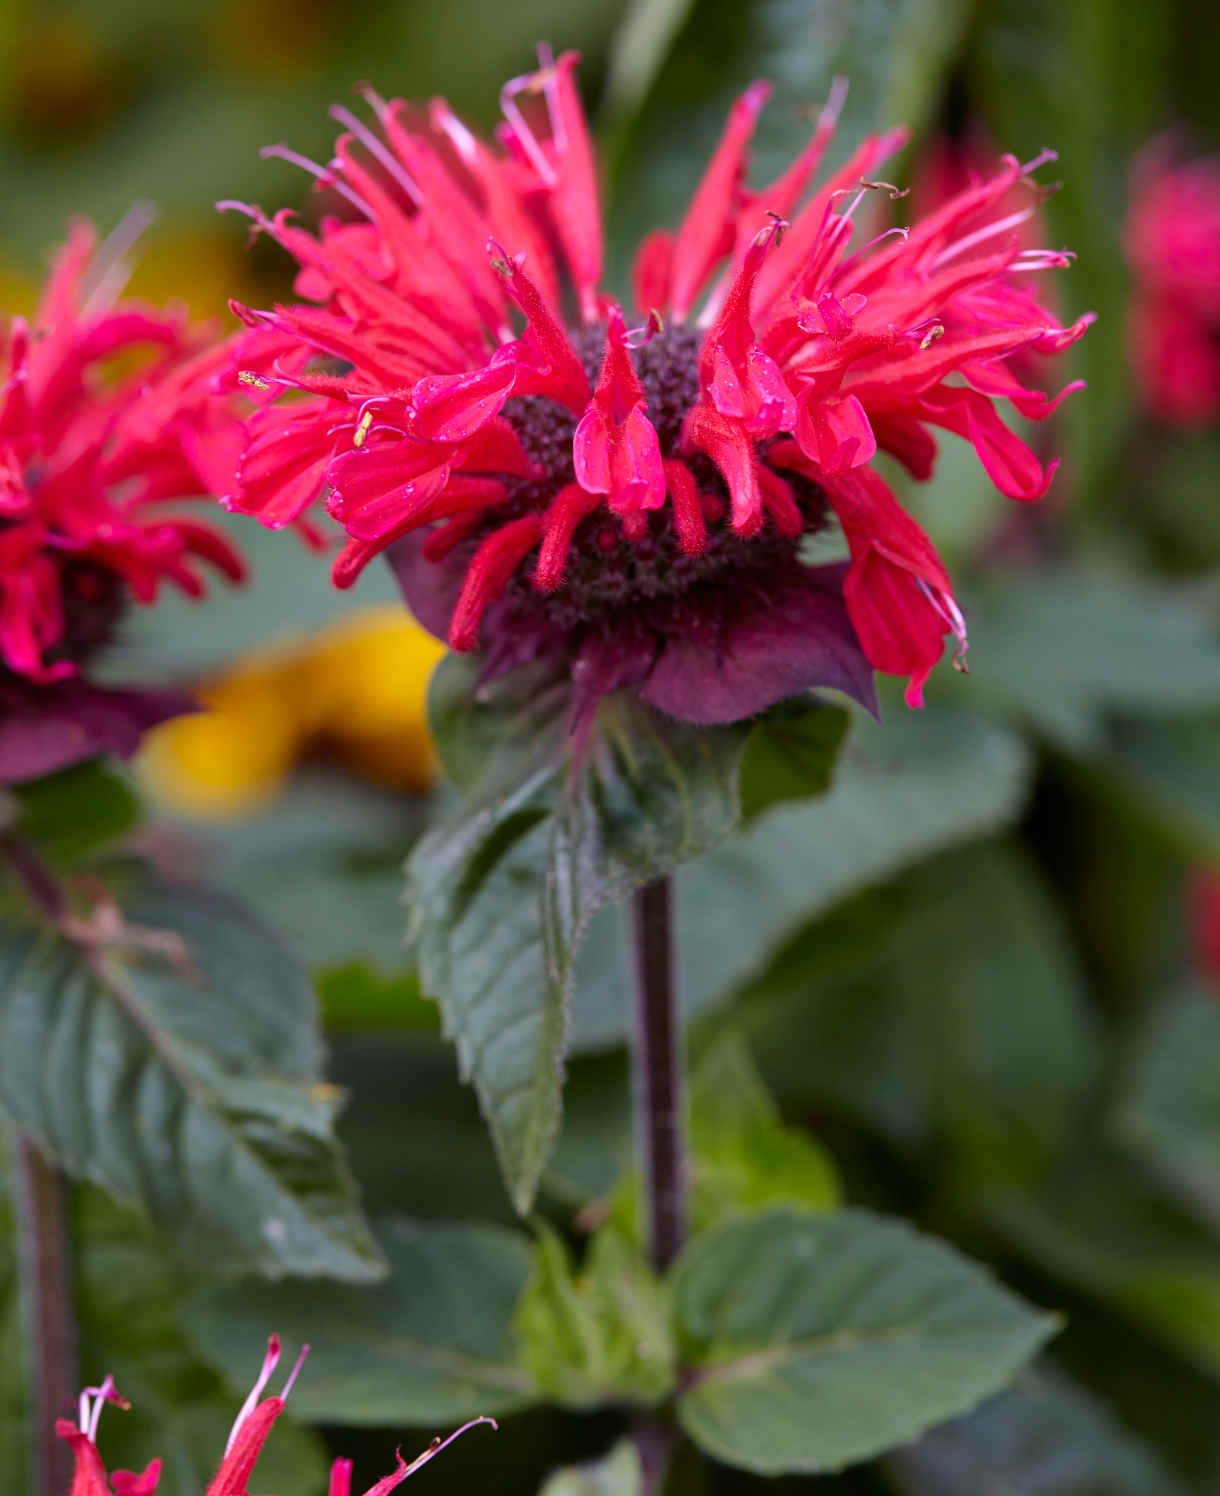
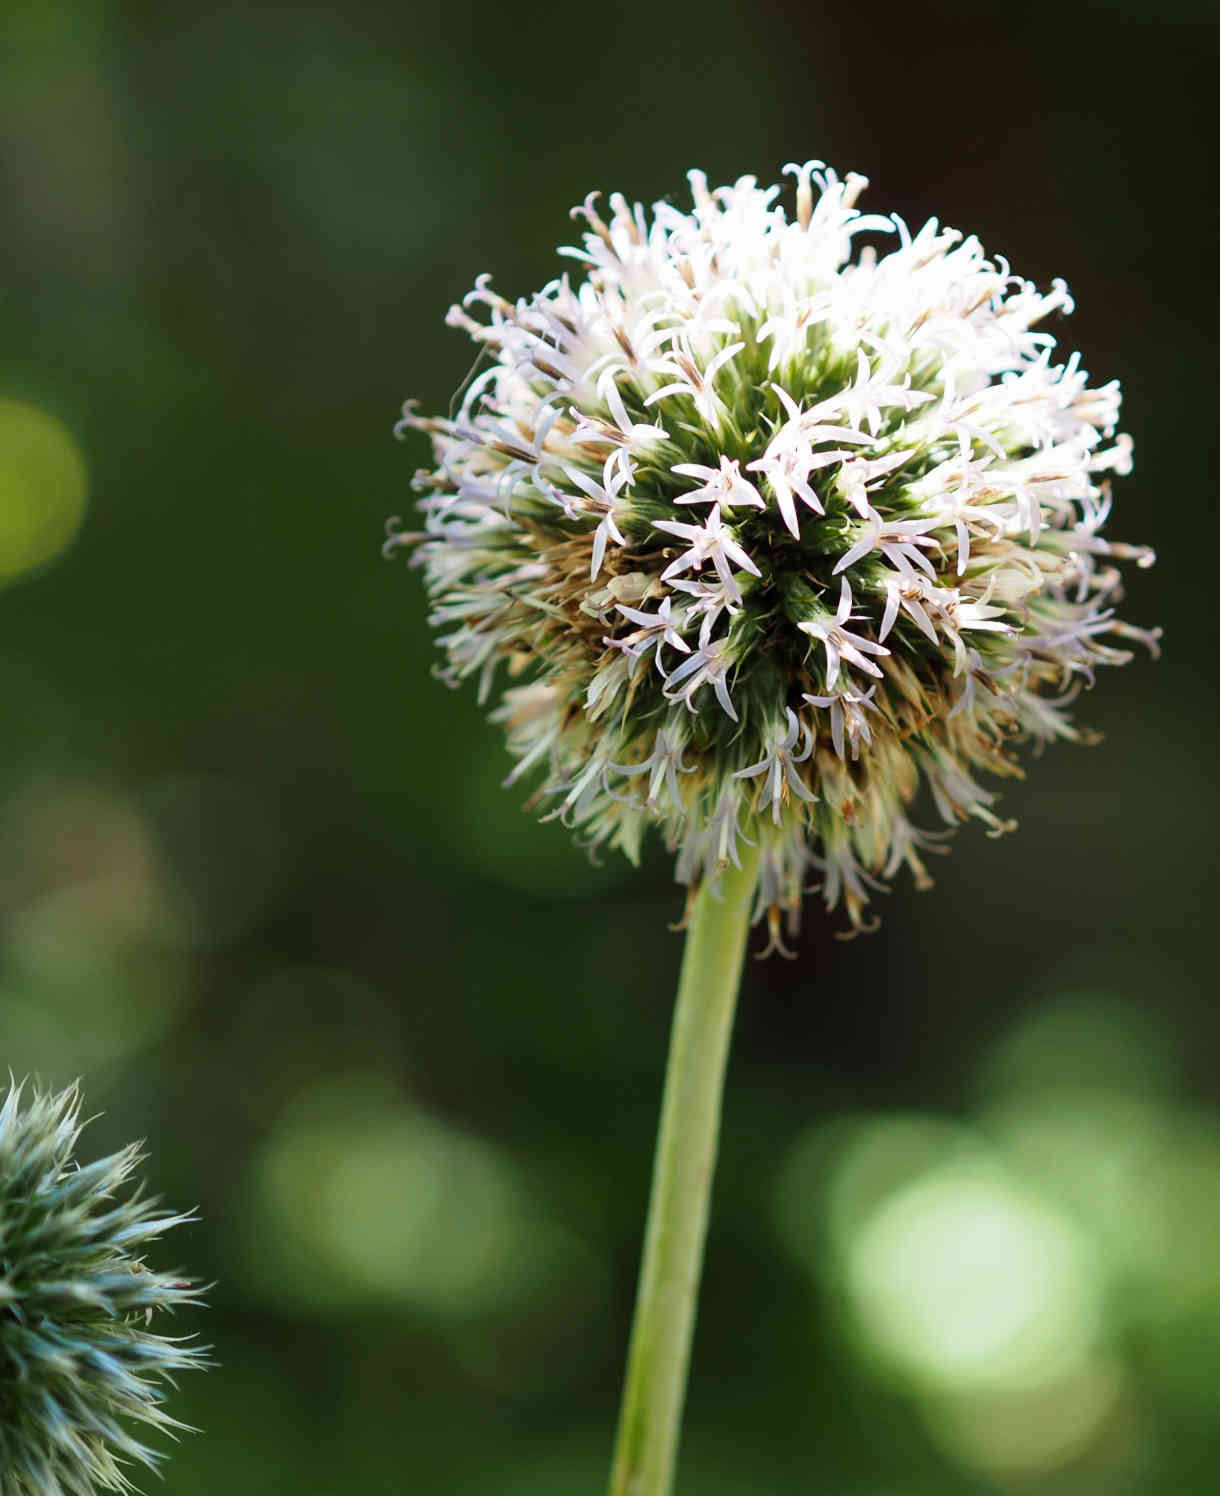
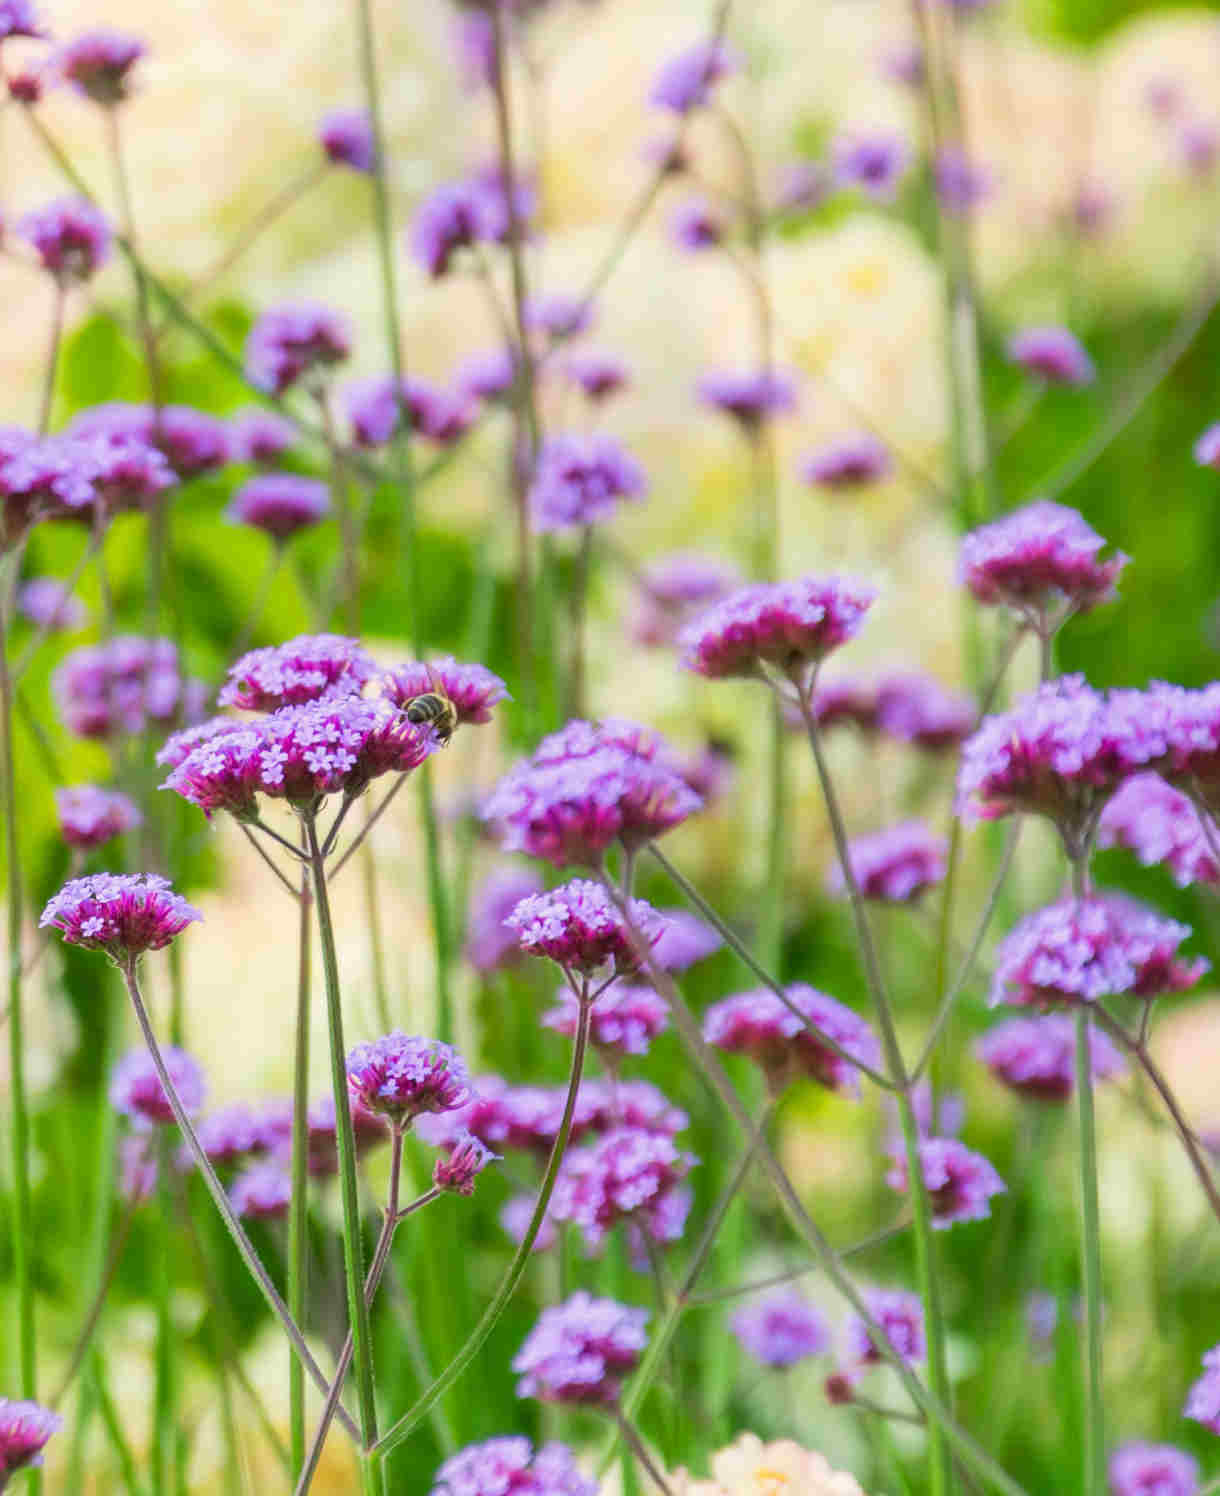
This dreamy, swaying plant looks good almost anywhere, though we love it best paired with drifts of grasses such as stipa, miscanthus, and pennisetum, along with other naturalistic perennials such as verbena, monarda, and echinops to name a few.
How to care for Dierama
Pruning and Deadheading
Dierama requires little in the way of maintenance. Try to leave seedheads on the plant as attractive, frost-catching winter interest, cutting back if they flop.
Tatty foliage can be removed in spring.
Watering
Dierama should be watered freely throughout its first growing season. After this, water in very hot, dry spells only.
Container-grown dierama requires ongoing attention. Water freely during each growing season, aiming for consistently moist but not soggy compost. From mid-autumn, the British climate tends to take over watering needs, though do remember to step in in the event of an unseasonably dry spell.
Feeding
On healthy, fertile soil, an annual mulch of well-rotted organic matter (i.e., a layer of manure or garden compost applied to the soil around the plant) should provide sufficient nutrients for your dierama. This has the added benefit of suppressing weeds and locking in moisture.
If yours looks in need of an extra boost, applying a general purpose granular feed to the surface of the soil and lightly working in (known as a ‘top dress’) can reap benefits. Aim to do this in spring, and then again in midsummer if needed.
Container-grown plants rely more on the gardener for their nutritional needs. Get off to a flying start by making sure you use a good quality compost, then throughout the growing season (March to September) apply a liquid feed at regular intervals according to its instructions. Alternatively, top dress with a general purpose granular feed every three months throughout the growing season.
Cold Protection
Although dierama is hardy, it is likely to struggle if exposed to waterlogged conditions, cold winds, or severe frosts. Choose your planting spot carefully to ensure the right growing conditions, and if you are expecting a very cold winter make sure you offer plants some additional protection. This might be a cloche or some horticultural fleece placed over top growth, or a thick layer of dry mulch to insulate the roots (straw, bracken, or bark chippings are suitable). This is most important when plants are young; established clumps have been known to tolerate up to -10°C with no extra protection.
Move container-grown dierama to a protected place such as a cool greenhouse or conservatory. Failing this, cover the plant with fleece, wrap the container in bubblewrap or hessian sacking, and move to a sheltered spot such as against a south-facing wall.
Pests and Diseases
Dierama tends to be problem free.
How to propagate Dierama
Dierama can be divided in spring, though it is important to note that plants can take a few years to recover and re-establish following this. An alternative approach is to collect and sow the readily produced seeds in late summer, though again, it is likely to take around five years before the results become flowering plants (and their appearance can vary considerably from the parent plant). Whichever you decide, follow our step-by-step guide below:
DIVISION
- Choose a day when the soil is not frozen or waterlogged.
- Dig the plant out of the ground, taking care not to damage the thick, brittle roots.
- Shake off any excess soil.
- Expect to find chains of corm, formed one on top of the other (like gladiolus). Gently pull apart into smaller clumps.
- Discard old, damaged, or surplus pieces, keeping healthy, vigorous material.
- Cut the foliage down by half to reduce water loss.
- Replant decent-sized pieces where desired, and any smaller bits can be potted up. Aim for corms to be around 5-7cm deep.
- Water well until fully established.
SEED
- Seeds are typically ready for collecting in September when the seedheads have dried and turned brown.
- Snip the seedheads from the plant using scissors or secateurs. Try to do this in dry conditions, and place in a small paper bag or envelope.
- Fill a seed tray or small pot with a very well-draining compost mix, compressing the surface lightly with a flat piece of wood or the bottom of another pot.
- Sprinkle the seeds evenly over the surface of the compost.
- Use a garden sieve to cover with a fine layer of compost.
- Water the soil gently with a fine spray until it is evenly moist but not waterlogged.
- Place the seed tray or pots in a coldframe, unheated greenhouse, or on a cool, bright windowsill.
- When the seedlings have grown large enough to handle, transplant them into individual pots filled with a very gritty mix and continue to grow on in a frost-free environment.
- Water regularly but avoid overwatering.
- Plant out the following spring, following our ‘How to plant dierama’ section above.
* Many plants carry Plant Breeders Rights and cannot be propagated for commercial purposes.
Common Dierama questions
- Can you grow dierama in pots?
With its very long roots, there is no doubt dierama prefers to be grown in the ground, however you may get away with a deep container. Go for one of the smaller species such as Dierama igneum. - Is dierama poisonous to dogs?
Dierama has no toxic effects reported. - Is dierama a bulb?
Dierama grows from a corm, which is a corky, round, flattened storage structure. In many ways it behaves similarly to a bulb, and you will often find dierama referred to in this way. Other examples of cormous plants include freesia, gladiolus, and crocosmia.