


How to grow Diascia
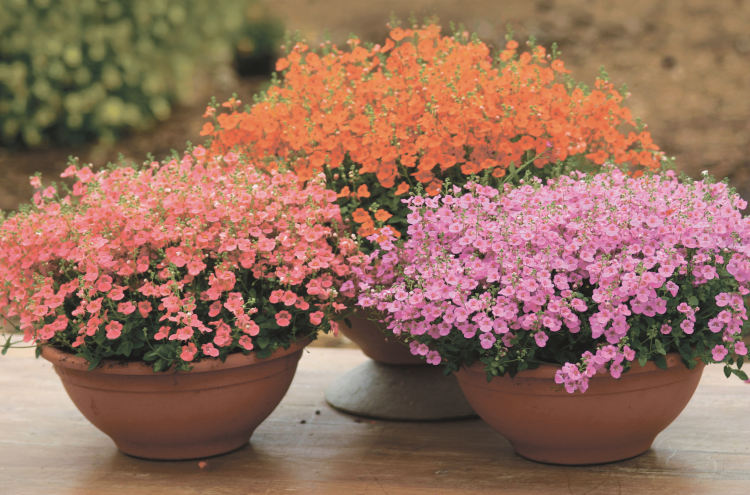
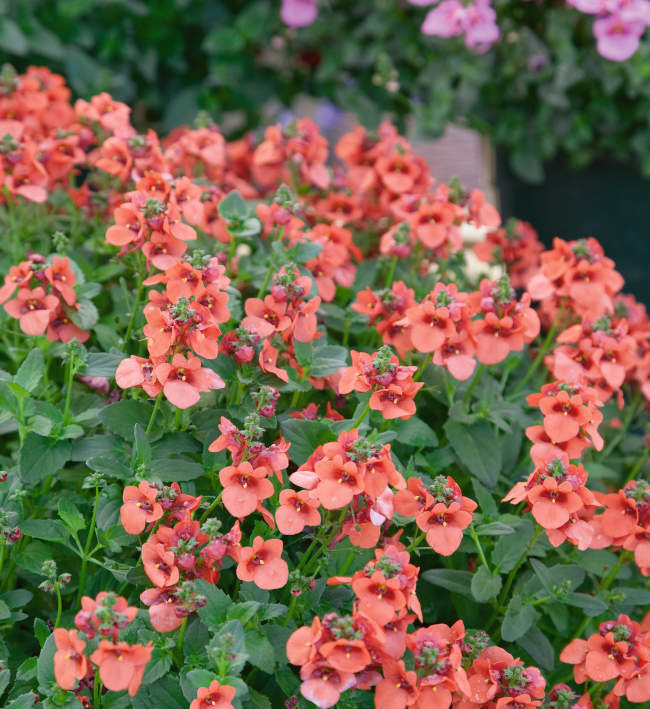
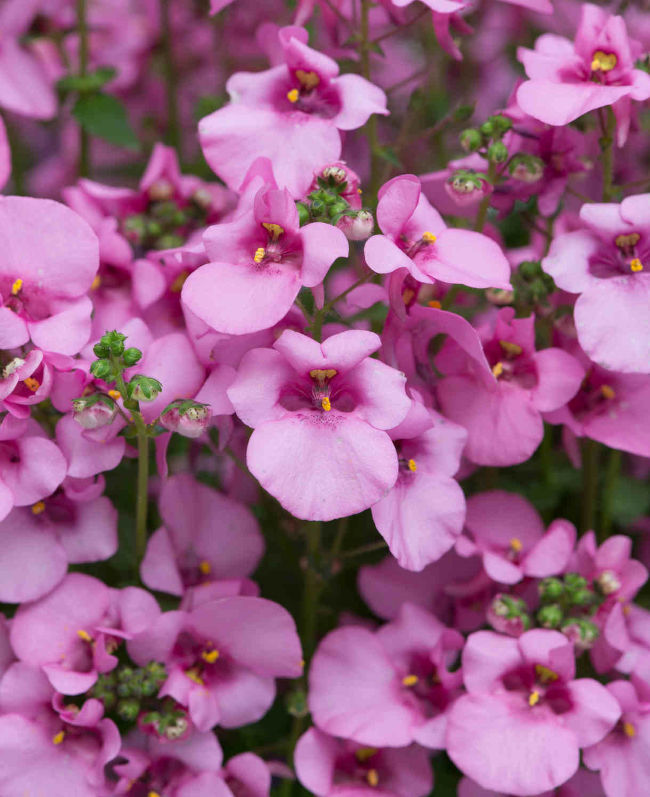
Hailing from the mountains of southern Africa, this semi-evergreen relative of the snapdragon is valued for its richly coloured flowers, produced in abundance over an exceptionally long period. The genus contains over 50 species, though it is the many newly developed hybrids that can usually be found growing in our gardens. These offer a variety of forms and multitude of colours, often in shades of soft pink, apricot, and orange.
Diascia has small foliage and tubular, cup-shaped blooms with two backward-pointing spurs. It is commonly known as ‘twinspur’.
Key Information
Position
Soil Conditions

Hardiness

Where & when to plant Diascia
Our diascia plants are available from late spring, which should roughly coincide with the passing of the last risk of frost. If they arrive before this is the case in your area, pot them up and keep in a cool, frost-free environment such as an unheated conservatory or greenhouse until it is safe to move them outside.
Diascia makes a prolific and long-flowering container plant. Of the many varieties now on offer, some have a more trailing habit and are suitable for hanging baskets, while others are more upright and better for window boxes and patio pots. Diascia is equally happy in the ground, working well towards the front of a border, on sunny banks, and in rock gardens and raised beds.
Diascia will flower best in full sun, however in very hot, sun-baked gardens it can be grateful of a little afternoon shade.
Position- Full sun
Soil- Moist and well-drained
Flowering Period- Late spring until the first frosts
Hardiness- Mostly half-hardy (i.e., likely to be damaged by cold winters)
How to plant Diascia
In a container
- Pinch out the growing tip of your plant, snipping it off just above a slightly lower set of leaves. This will encourage it to become bushier and more floriferous.
- Choose an appropriate container. The eventual size of diascia can vary considerably, so do check individual descriptions for details. You may wish to give your diascia its own pot, or include it in a larger, mixed tub. Ensure there are plenty of drainage holes in the bottom.
- Use a good quality potting compost with plenty of horticultural grit mixed in, and, if not already present in the compost (check the description on the bag) some slow-release fertiliser granules.
- Start by partially filling the pot with compost; enough so that when placed on it the upper surface of the root ball is about 3cm lower than the top of the pot.
- Infill all the space surrounding the root ball with compost, firming down with your fingers then adding a little more so the plant is held tight.
- Pick up the pot (if you can!) and lightly tap on the potting bench or ground a few times to help further settle the compost around the plant.
- Soak well with water.
- A mulch with horticultural grit will look attractive and help to prevent a ‘cap’ or crust forming on the top of the compost (something container plants can suffer due to the artificial nature of their watering).
In the ground
- Pinch out the growing tip of your plant, snipping it off just above a slightly lower set of leaves. This will encourage it to become bushier and more floriferous.
- Clear the chosen area of weeds.
- Dig a planting hole several times larger than the root ball. If you are gardening on soil that is poor, dry, or stony it is a good idea to mix in some well-rotted organic matter at this stage.
- Place the plant in the hole, ensuring the top of the root ball sits level with the surface of the soil. Too low and the plant may rot, too high and the roots can dry out.
- Backfill with soil and firm in gently with your foot.
- Soak well with water.
- Mulch around the base with well-rotted organic matter.
What to plant with Diascia
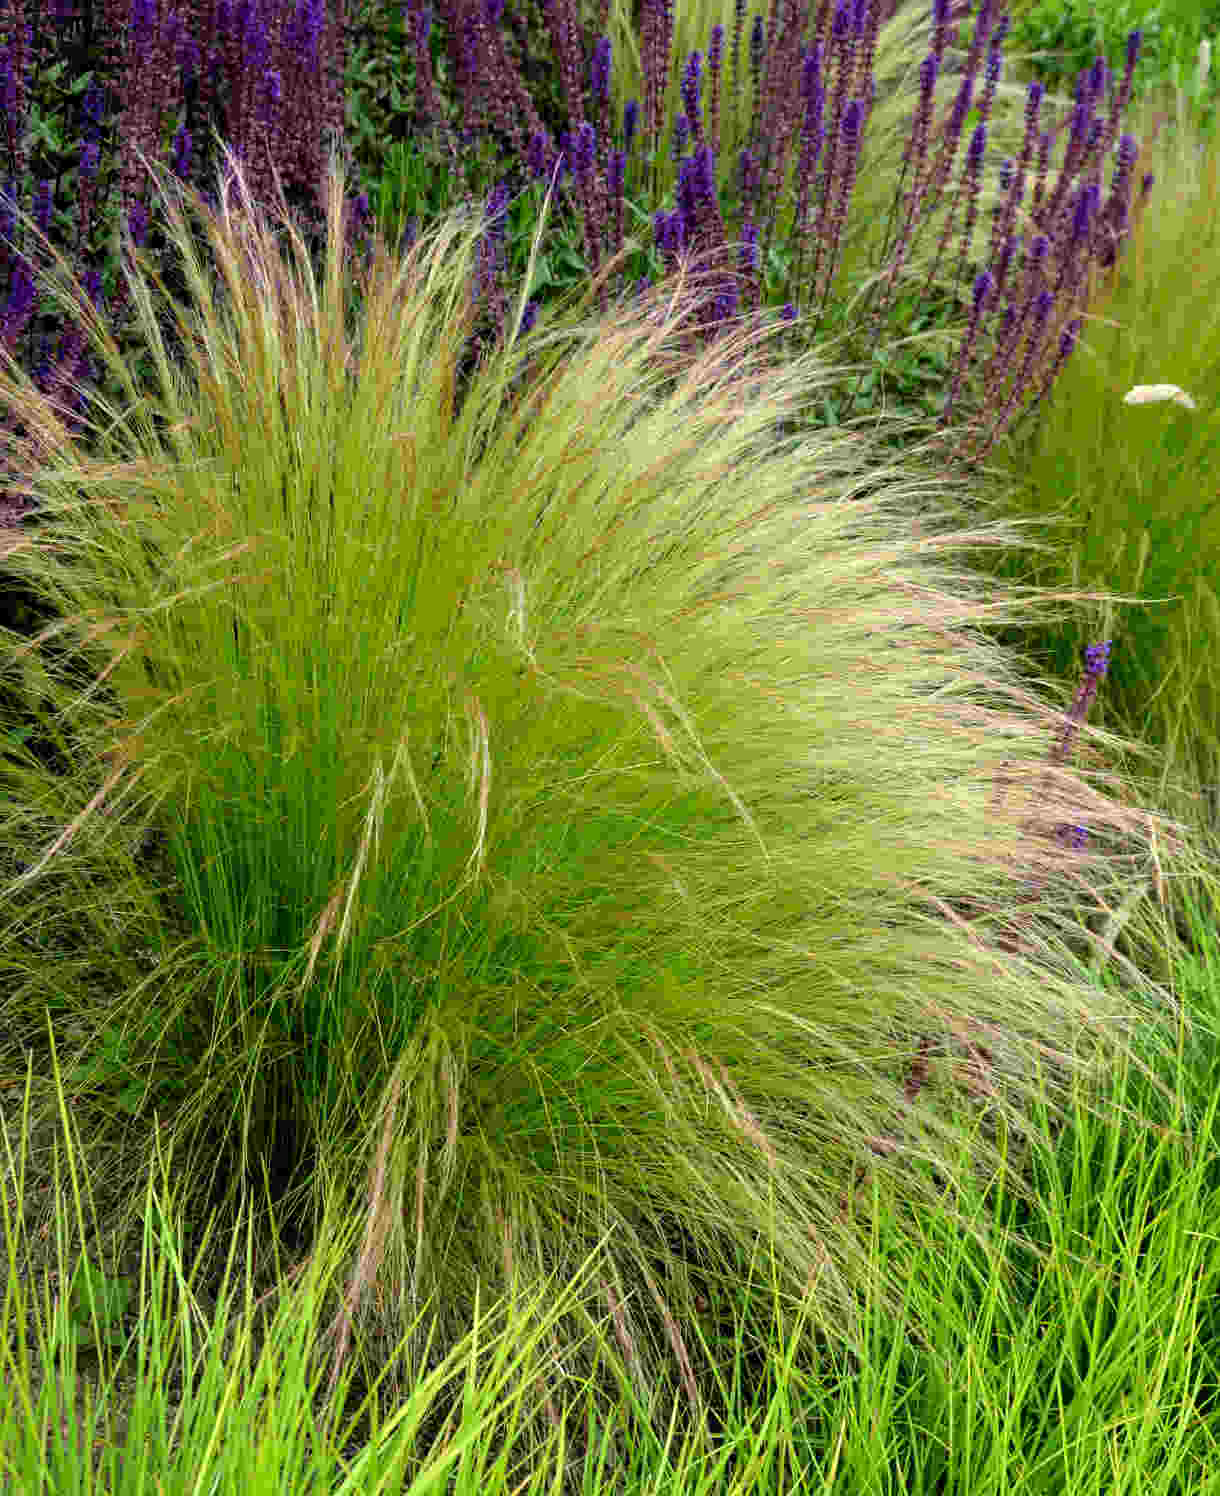
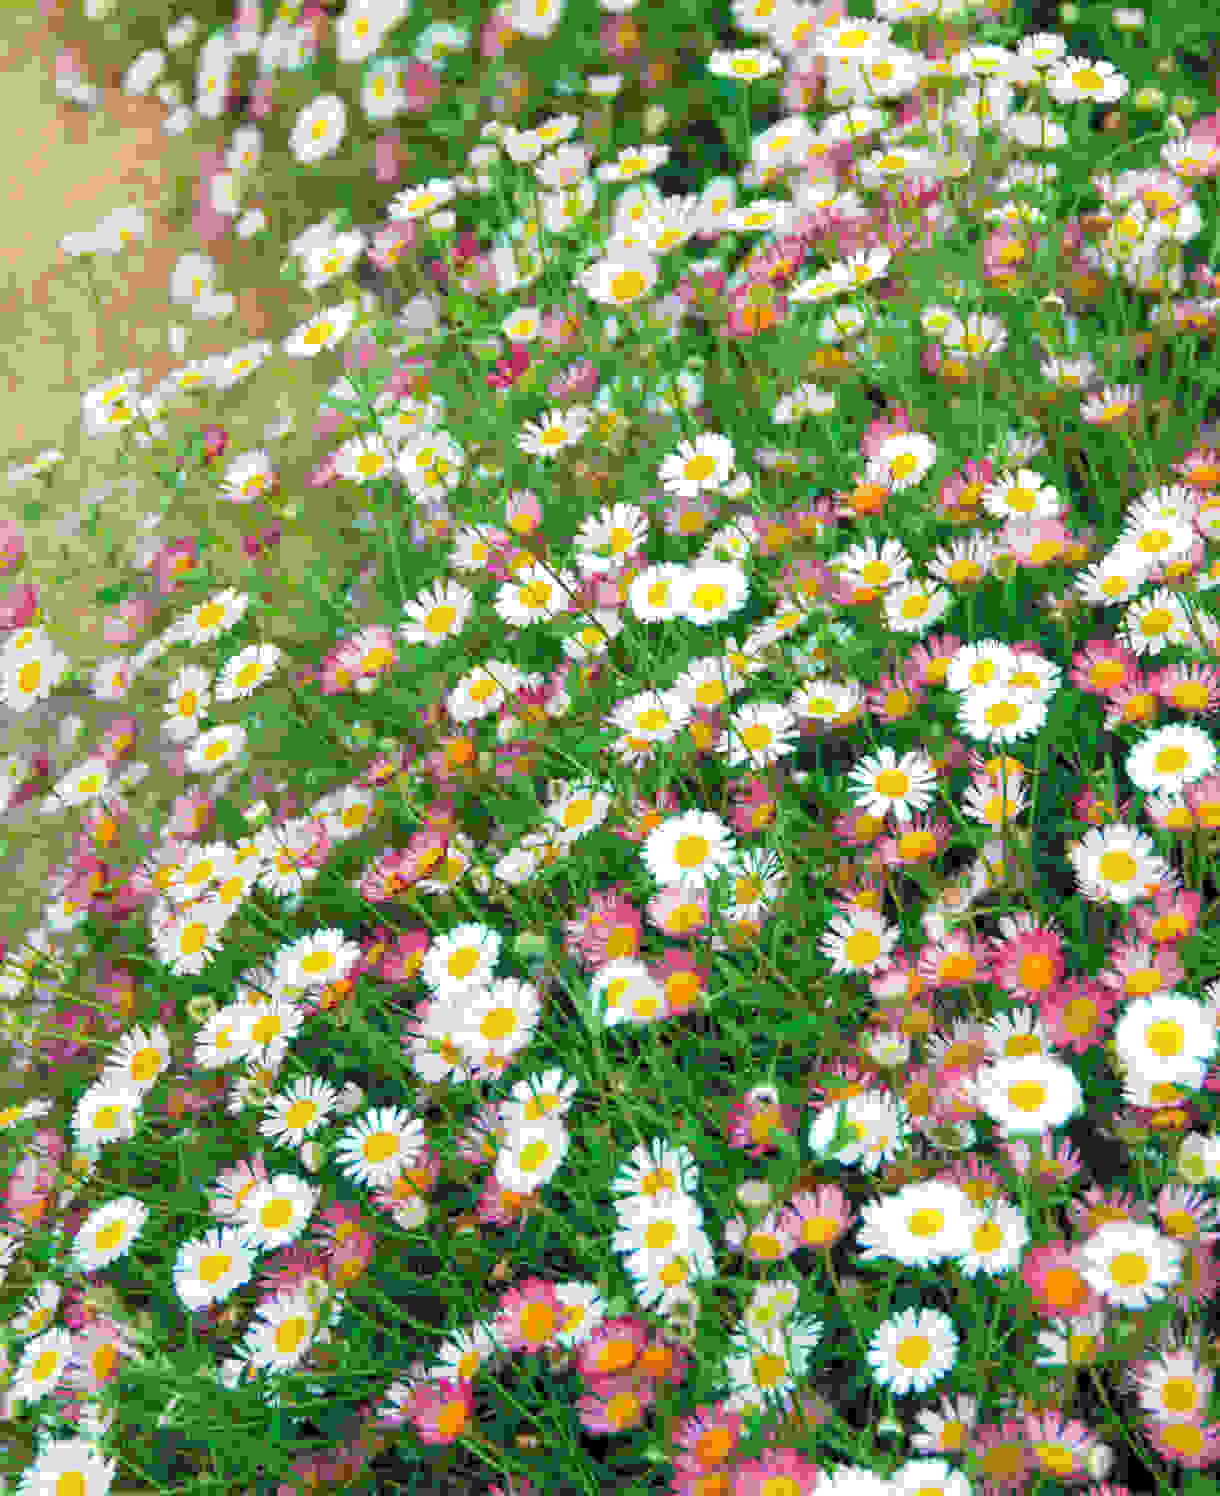
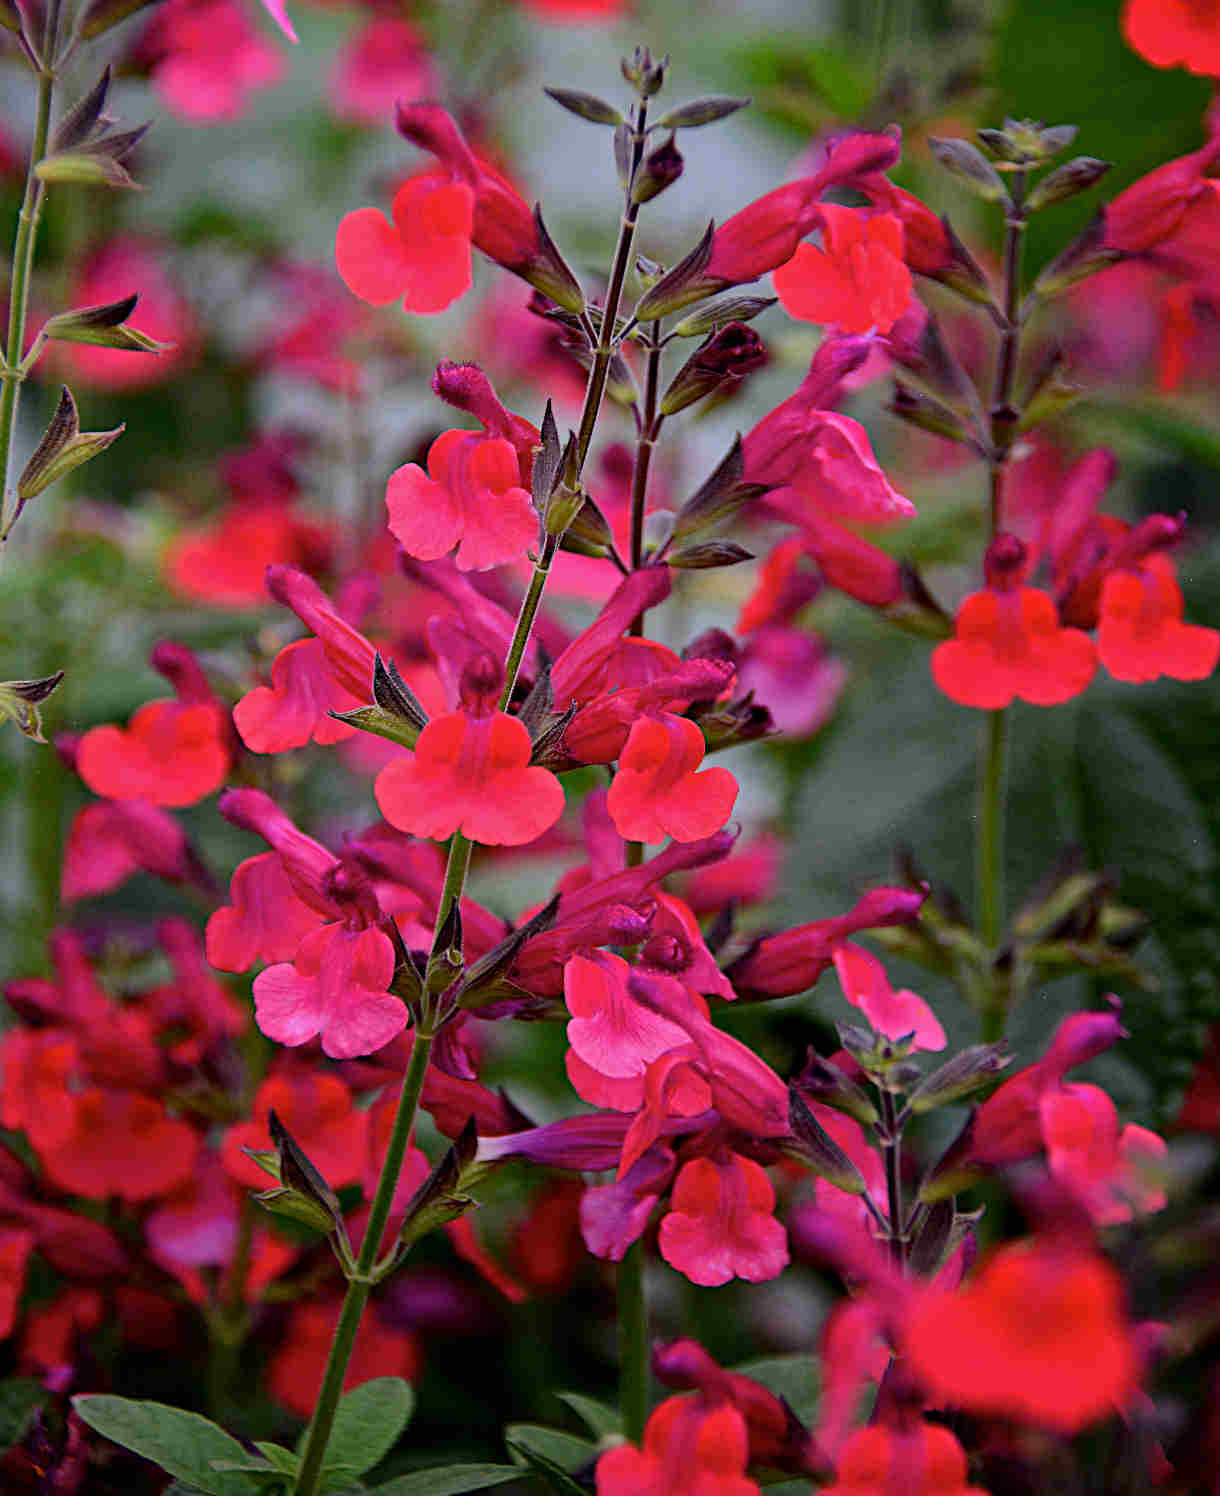
Where do we begin..? Diascia flowers long and hard and mixes easily with all manner of garden plants. Use it to plug gaps in a border of almost any style and it is likely to fit in perfectly. We particularly enjoy it in a naturalistic, cottage garden style, along with other soft, delicate plants such as stipa, erigeron, scabious and salvia.
If growing in a pot, try combining diascia with other long-flowering favourites such as pelargonium and argyranthemum.
How to care for Diascia
Pruning and Deadheading
Diascia is a wonderfully obliging plant. Simply chop it back by about half anytime it is starting to look straggly and untidy, and it will respond with more flowers.
Watering
Water regularly until established. After this, container grown diascia will continue to need watering throughout the growing season. Allow the top few centimetres of compost to dry out between soakings.
Once established, diascia in the ground will only need watering during very dry spells.
Cold Protection
This half-hardy perennial tends to be treated as an annuals in frost-prone climates such as ours. Whilst winter protection can keep it going, its appearance and vigour rarely matches that of the first year. Added to the fact it is spectacularly quick and easy to propagate by cuttings, and most gardeners see little point in overwintering it.
If you do wish to give it a go, trim lightly after flowering then move container grown specimens to a cool, frost-free environment such as an unheated conservatory or greenhouse, or apply a generous dry mulch to those grown in the ground.
Pests and Diseases
Diascia tend to be largely pest and disease free, though you may find slugs and snails develop a taste for its leaves, particularly when newly planted. Encouraging natural predators into your garden, such as birds, frogs, toads, and hedgehogs, will make a big difference. Torchlight searches after dark (when slugs and snails are at their most active) are also effective, allowing you to collect the offending molluscs in a bucket. Place on the compost heap, or in a part of the garden containing less vulnerable plants.
Like most plants, once diascia is well established it tends to be better able to tolerate the actions of slugs and snails without the need for intervention.
How to propagate Diascia
Diascia hybrids will rarely come true from seed, therefore the best approach is to take cuttings. This can be done anytime during the growing season.
- Find non-flowering shoots 5-10cm long and snip off the plant.
- Put them in a plastic bag straight away to prevent drying out.
- Fill a container with a compost mix which is at least 50% perlite (or if you prefer, as we do, 100% perlite).
- Trim the end of the cutting to just below a node (point at which leaves grow).
- Remove the lowest leaves and soft tip, leaving 2-4 leaves.
- Insert the cuttings into the compost and water lightly. Several cuttings can be put in the same container if there is enough space to do this without them touching.
- Place in a greenhouse or propagating unit if you have one, or covered with a plastic bag on a windowsill if not (out of direct sunlight).
- Keep the cuttings misted and occasionally watered until they root. You will know this has happened when roots emerge out of the bottom of the container.
- Gently remove rooted cuttings and pot them into individual pots. Overwinter in a cool yet frost-free environment such as an unheated conservatory, greenhouse, or cold frame, before planting out in late spring (once all risk of frost has passed).
Common Diascia questions
- Is diascia a perennial/ does diascia come back every year?
Yes, if overwintered as seen above in the ‘Cold Protection’ section. More often it is treated as an annual. Taking cuttings each year will easily ensure a succession of young plants. - How do you overwinter diascia?
See above ‘Cold Protection’ section. We recommend treated diascia as an annual and starting again each year with new plants grown from cuttings. These will need to be overwintered in a frost-free environment such as unheated conservatory, greenhouse, or cold frame.